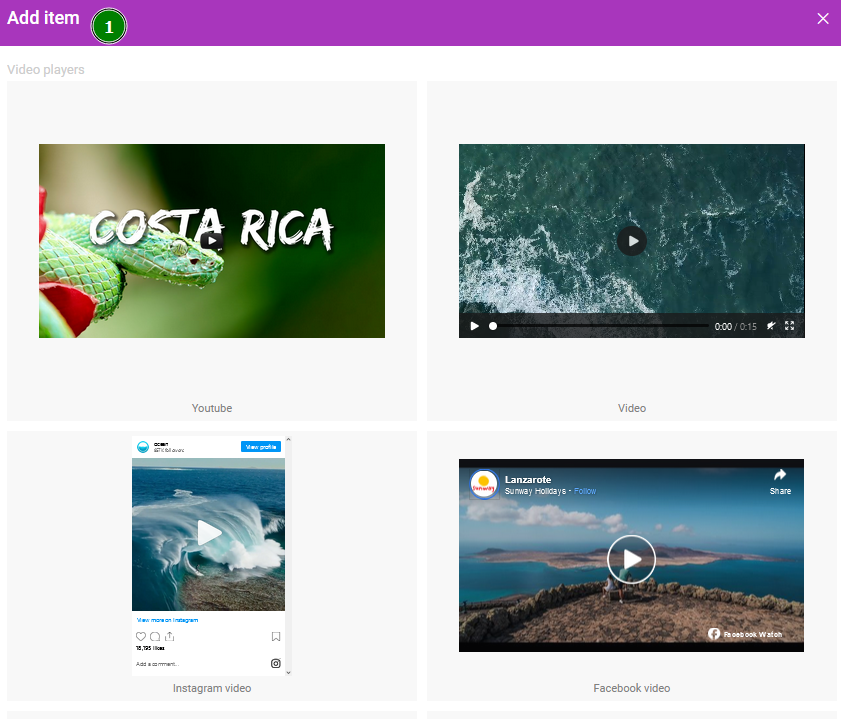
(2) and configure additional video settings (3, 4) (like display order, size, position, player controls, etc):
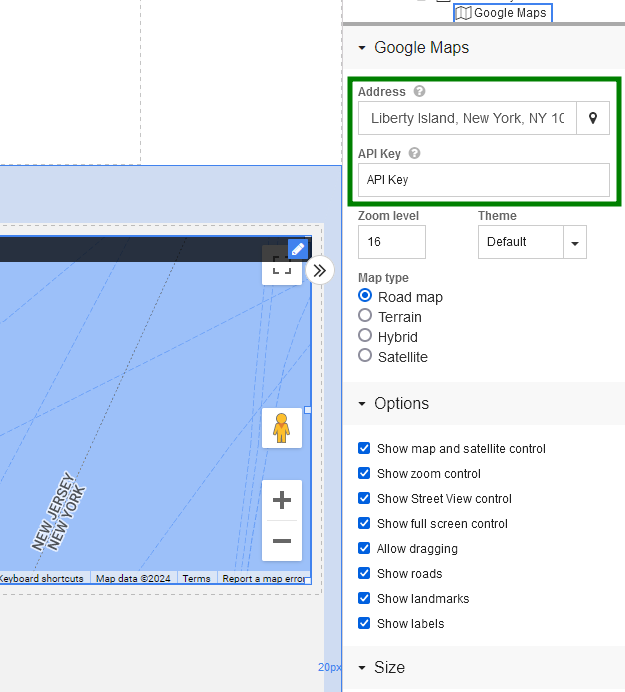
It is possible to add
Google Maps,
Yandex, and
Bing maps. Make sure to get an API Key from
Google and Bing if you want to work with these maps.
You can specify coordinates or a physical address to be shown on the map. Select
Zoom level and drag marker to set your location.
In case you wish to add some basic graphics, you can use the
Shape menu and select the available options:
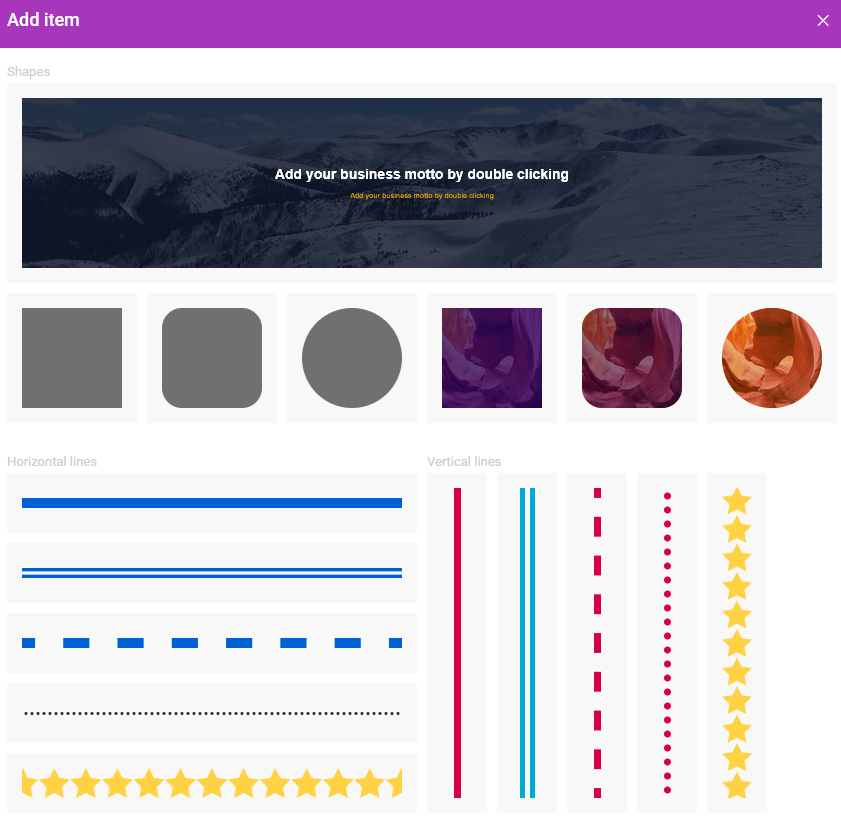
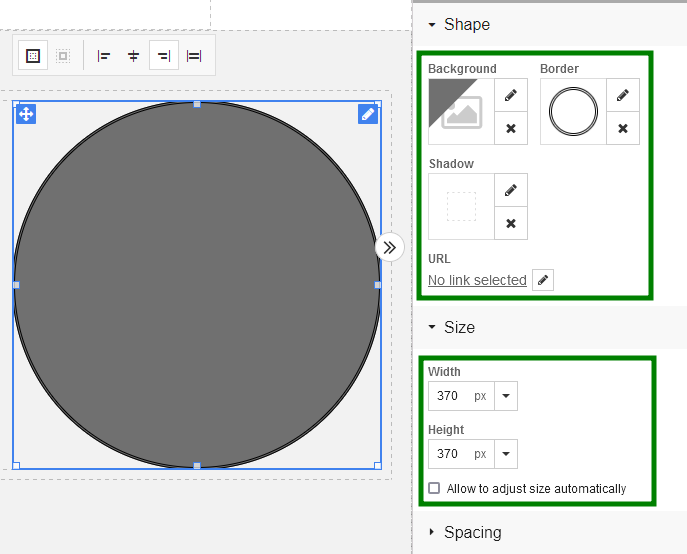
Alternatively, add your own shape with different effects using the options on the right bar:
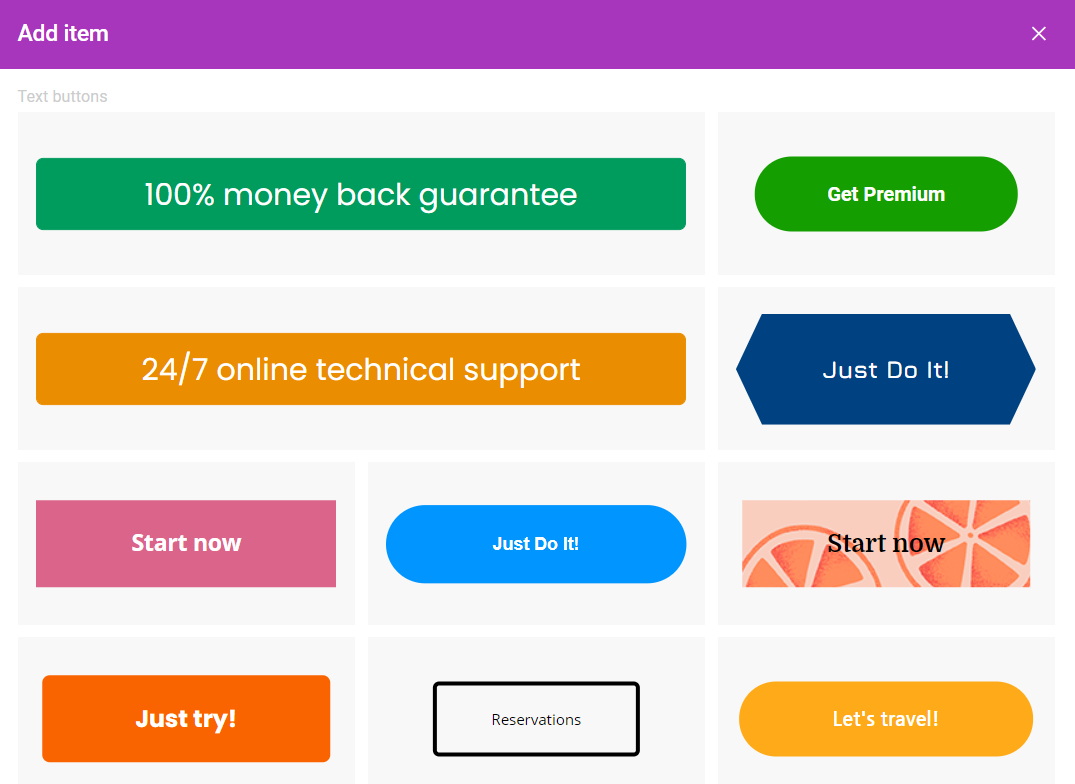
You can also create different buttons for the website using the
Button feature:
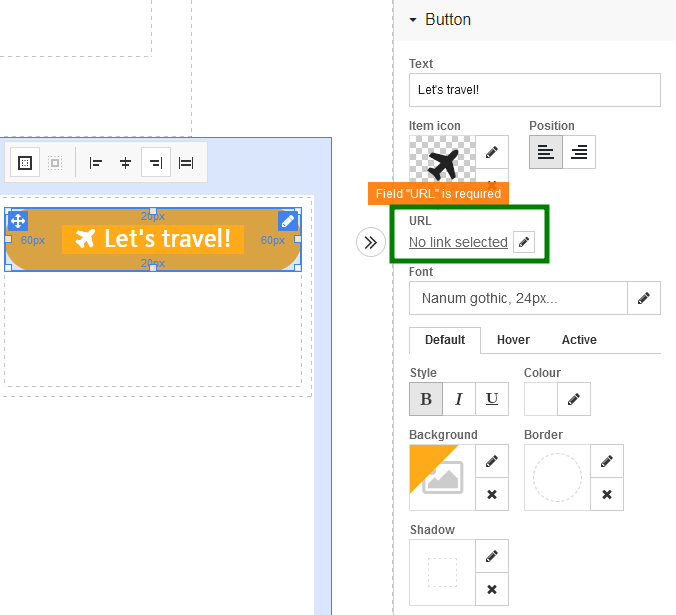
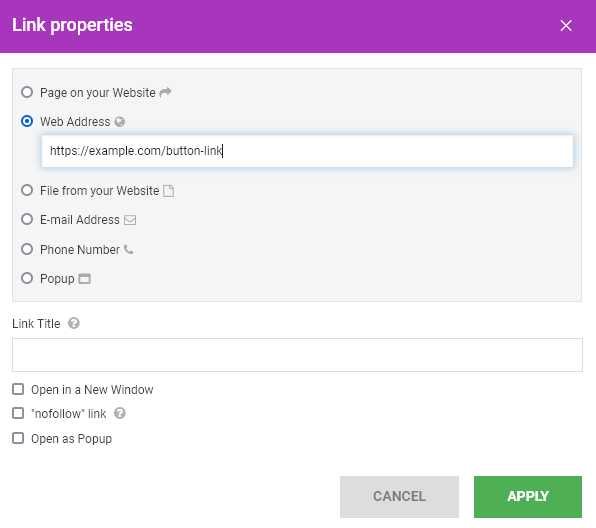
If you wish to change the button text, URL, and format, just click on it and the editing menu will open on the right. Locate the
URL options >> click on the pencil to connect the button to an outside URL, a separate page on your website, a popup, an email address, or a downloadable file from your website:
The
Form menu provides the templates of common contact forms:
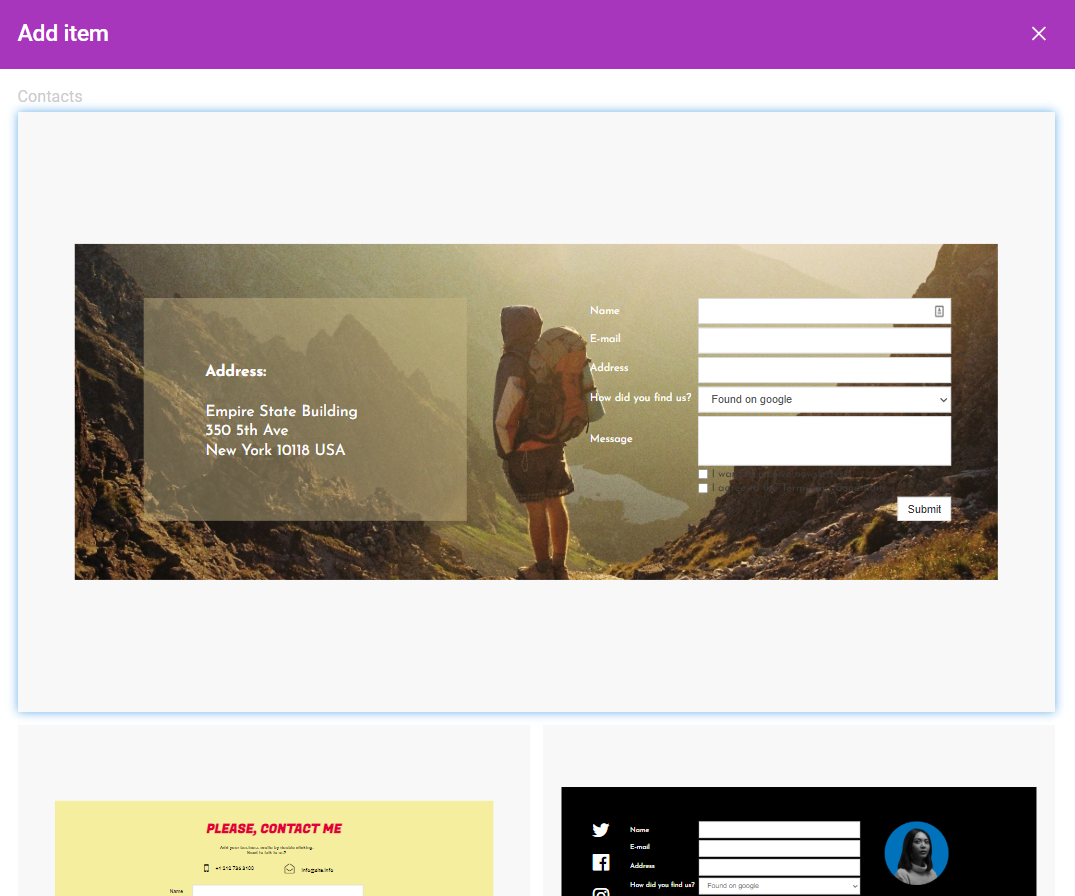
With its help, you can create a contact form with a built-in PHP mailer as well as SMTP authentication.
By clicking on the form itself (1), the corresponding menu will open on the right. There you can fill out the fields to ensure the contact form sends the email correctly (see details below), as well as edit the form and configure fields that will be shown in the contact form (2):

Here you can choose default fields or set your own. Available field types are
Text,
E-mail,
Phone Number,
Drop-down,
Checkbox,
Attachment, and others. It's also possible to mark lines as
Required.
If you use default PHP mailer to send emails, make sure to fill out the following settings:
1.
Submit form to - You should select where you would like to receive the form submission data (email, URL, or Telegram).
2.
Form will be sent to this E-mail - You must specify the email address that will receive emails from the contact form. It is possible to enter several emails separated by semicolons.
2.
Form will be sent from this E-mail - You need to use the email address listed for your account in the cPanel or a third-party email address.
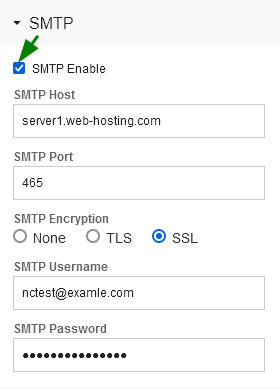
If you want to use a third-party email address in the From field (like Yahoo, Private Email) or avoid 'via cPanel user@server' part, SMTP authentication is required. You need to tick
SMTP Enable in the SMTP tab and enter SMTP details:
- SMTP Host: hostname of the SMTP server or localhost
- SMTP Port: 465 for SSL encryption and 587 for TLS option.
- SMTP Username: full email address - this should be the same address listed under 'Form will be send from this Email'
- SMTP Password: password from this email account
You can find the example of the SMTP setup below:
If you have any issues with the form,
contact our support for investigation.
3. The maximum size of attachments the users will be able to send through the form can be set to a specific number (like 2MB) or changed according to the maximum allowed size for uploads for your account or maximum size your email server will accept in a message (whichever is smaller).
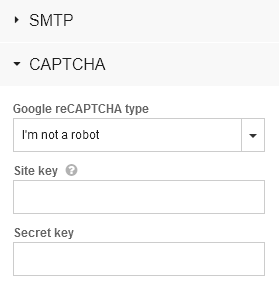
4. The menu also allows enabling
Google reCAPTCHA in the
CAPTCHA tab. CAPTCHAs allow you to prevent many forms of automated spam:
In the menu on the right, you can also configure additional design-wise settings like the size of the form, its location, the design of fields, and adding an anchor.
To see all the data regarding the form submissions, click on the form itself (1) and then on the "Enquiries" feature (2) in the "Form" menu:

When customers fill out the form, their data is saved to this special table from where you can export it in the XLSX format:

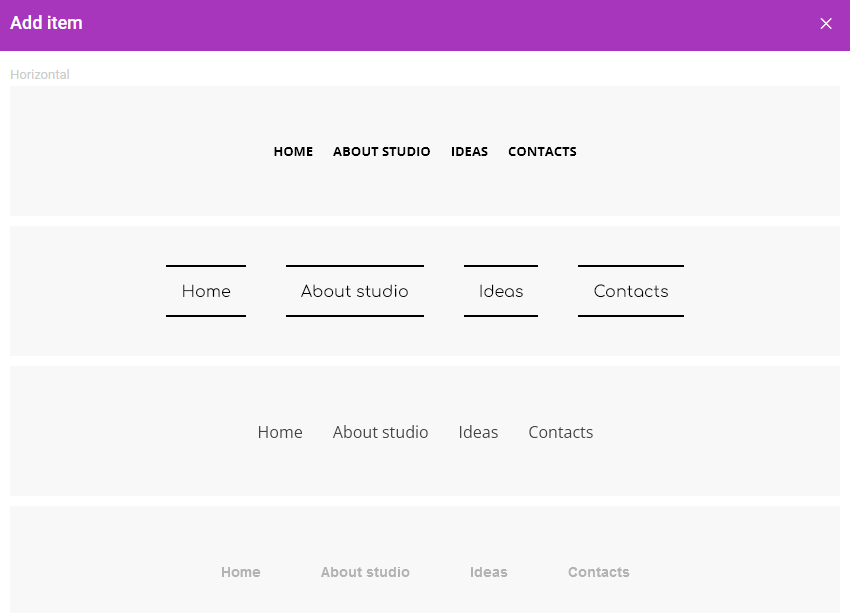
The
Menu feature helps you to manage existing menus and create additional ones by choosing available templates:
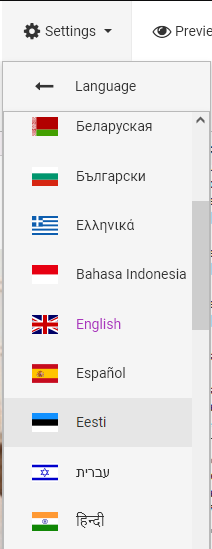
If the website is targeted to a multilingual audience, the
Languages menu will be helpful as well. It creates menus that allow switching between languages and allows you to create several versions of the website in the same interface:

To enable it, you will need to add two or more languages and choose
Language switcher:
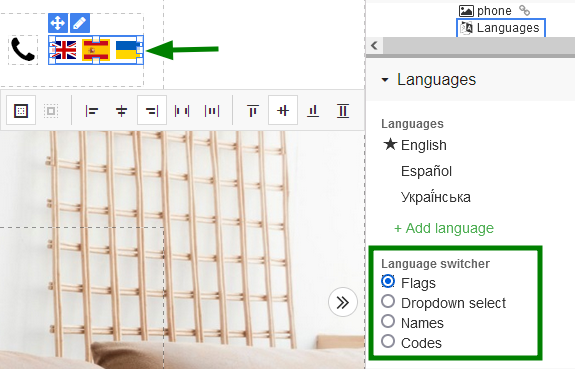
If you set the switcher to
Flags, additional Flag settings will appear:

After you configure the feature and add it to your website, you can switch between the languages and start creating the multilingual website:
 NOTE
NOTE: You will need to translate the website content manually - the Languages option doesn't actually perform translation on the text.
The
Blocks section has already configured mockups for pages that can be used as the
Contacts,
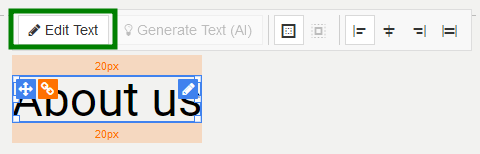
About us,
Media,
Products,
Teams sections, and so on:

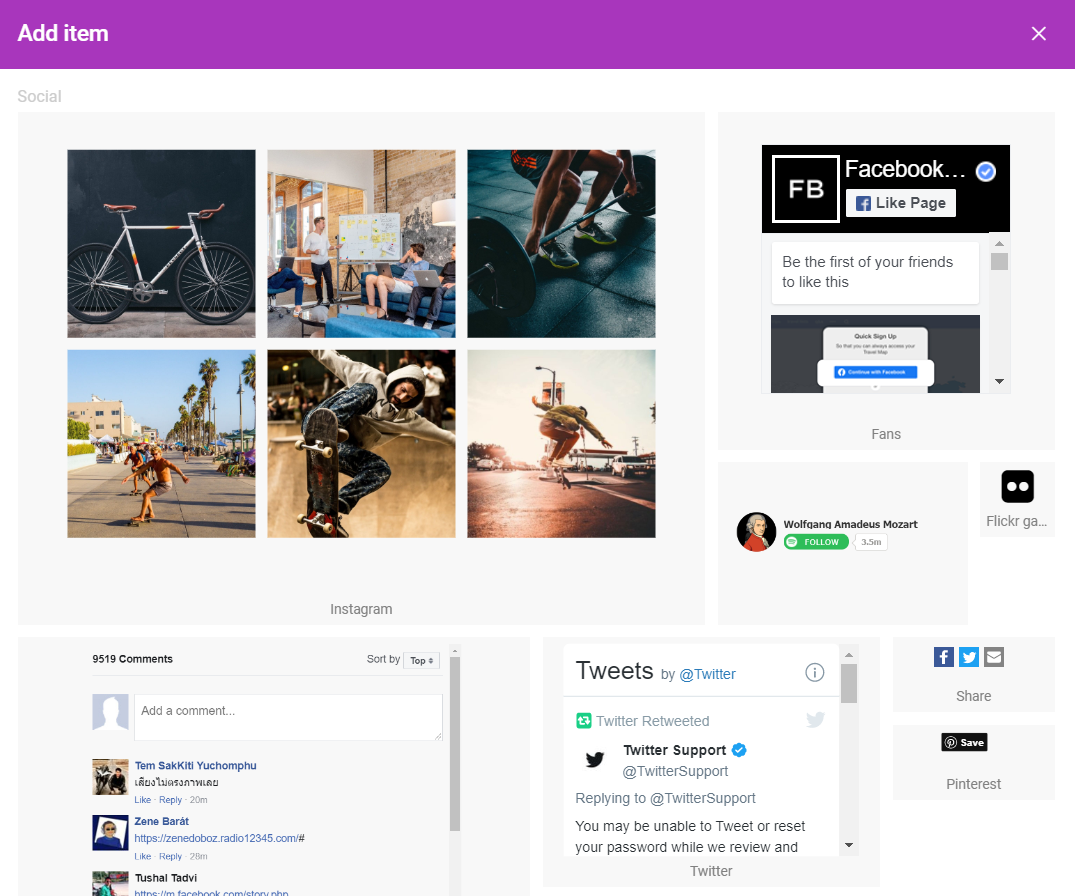
The
Social tab can help you to add links to your
Instagram,
Facebook,
Pinterest,
Telegram and
Twitter social media accounts:
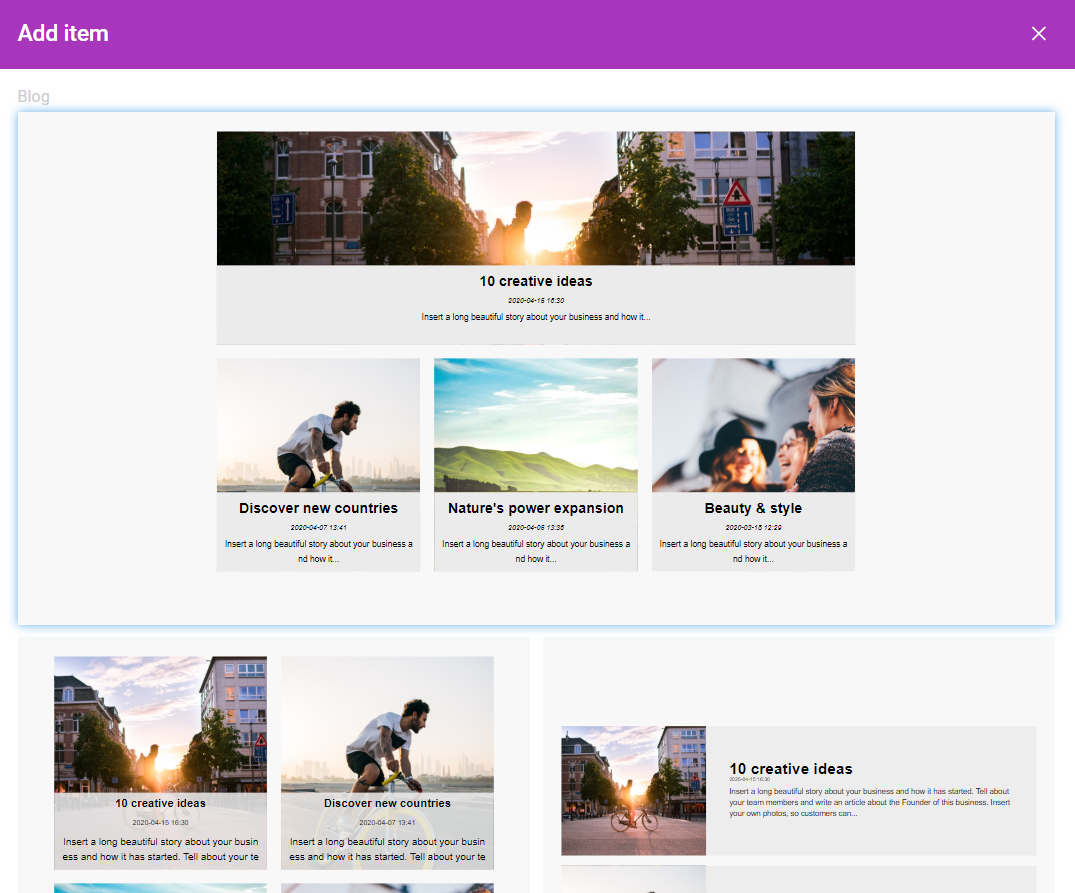
In the
Blog menu you can choose available mockups for blog type of content:
There are also many
E-commerce tools that can be found in the
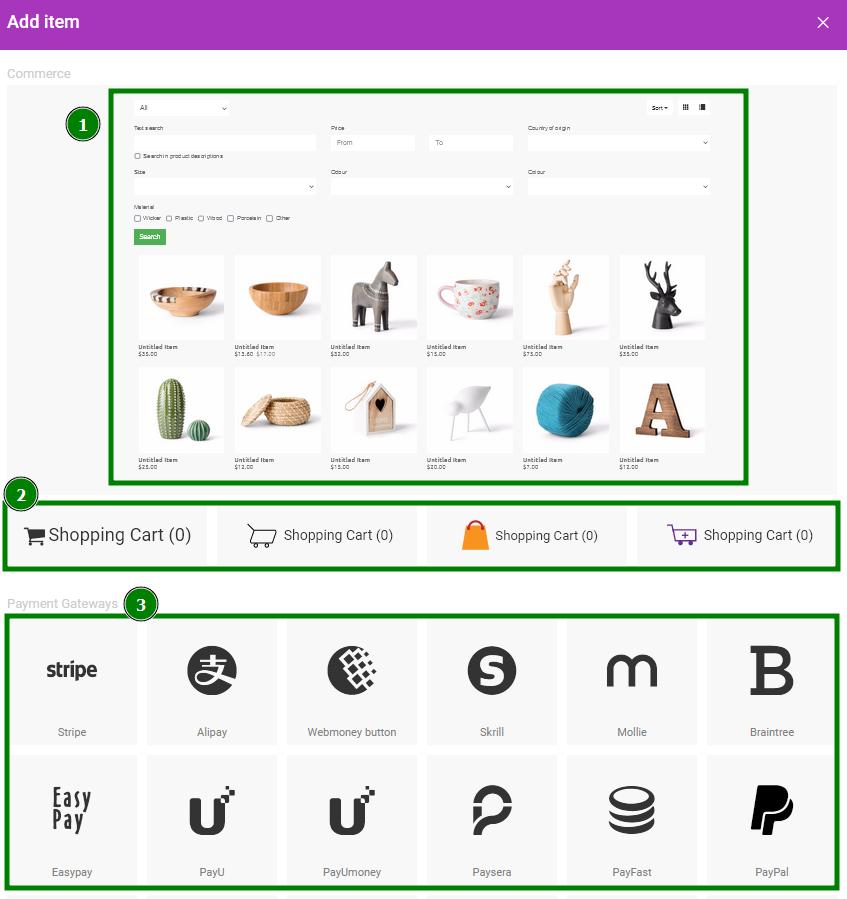
Commerce section. You can add your own
Store (1),
Store Cart (2), or configure a payment processor to receive payments (3):
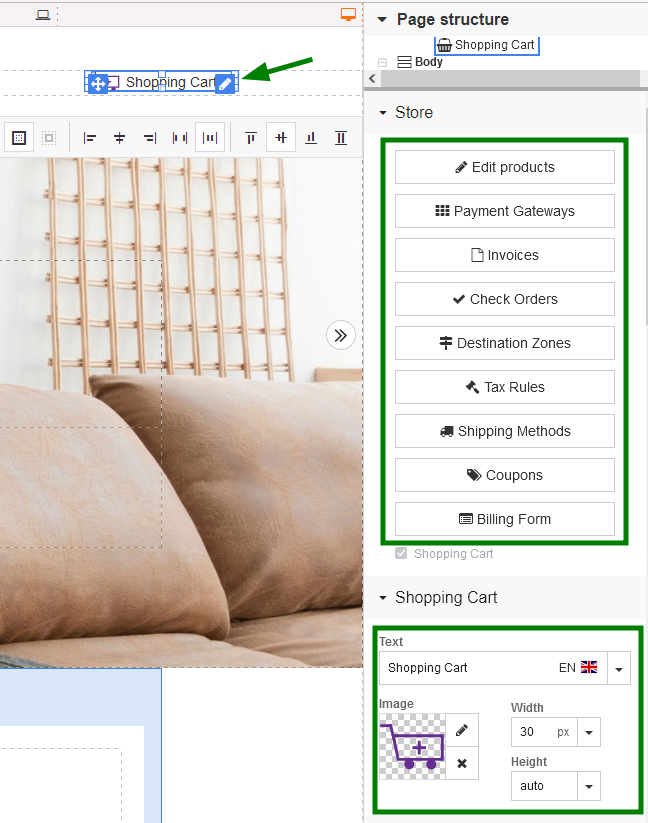
If you want to configure several payment systems, first you need to add
Shopping Cart and open Settings on the right bar menu (by clicking on a cart). There you'll see the list of available store settings including
Shipping Methods,
Invoices,
Payment Getaways, and others:
Different payment gateways (payment processors) can be added by check-marking the needed options in the list:
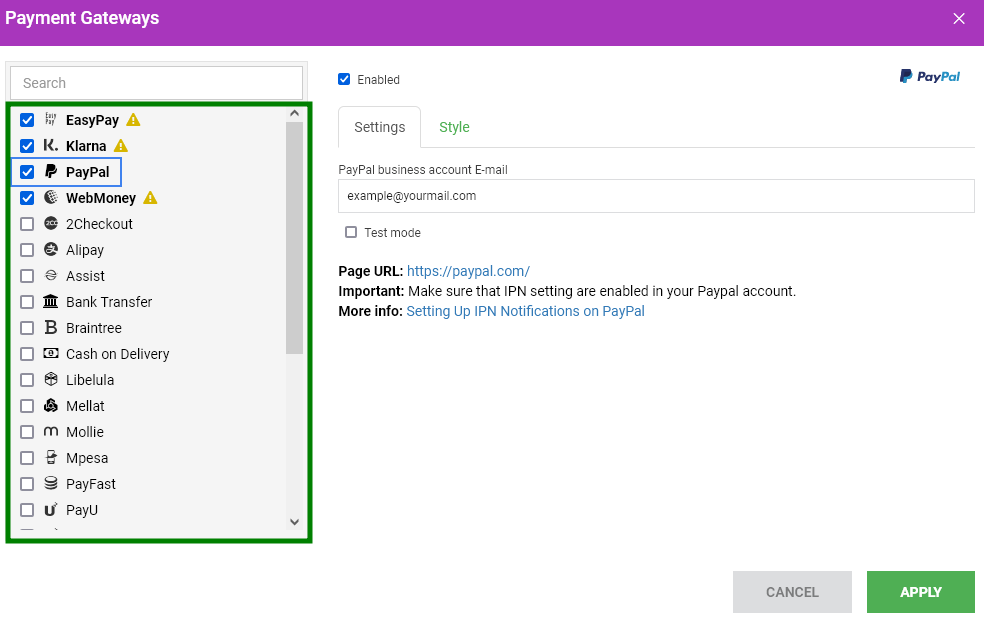
More details can be checked on the official websites of the payment processing companies.
PayPal requires an email address to make the payment system work. During the checkout process, your customers will have the opportunity to enter their billing and shipping details, and the PayPal Buy Now button will be available in Payment methods.
However, other payment processors may need additional details to process payments. Please check with the individual companies for more information.
The
Advanced section has extended features:

In this section you can do any of the following to your website:
- add Google Calendar using its ID. Be sure the calendar is set to be publicly viewable or it will not appear. (NOTE: It won't be possible to change or add events to the calendar via the website);
- configure a flexible booking calendar Bookingmood;
- add Slider;
- add Tabs;
- add Accordion;
- manage HTML Tables;
- generate an ad in your Google AdSense account and copy & paste its HTML code into AdSense;
- add advertising/flash Banners;
- insert your own HTML code to the website;
- add Countdown in case you are only preparing your website for publishing;
- add Count Up;
- configure Getbutton;
- configure Zendesk;
- configure a Smartarget Whatsapp call or chat with a particular user.
Where Website Builder stores files
You can check your website's files in
cPanel >>
Files section >>
File Manager menu.
Website Builder creates a folder called
/ncsitebuilder, and you can locate .htaccess, index.php, and web.config files in the root directory of the domain.
You can find more information on File Manager
here.
That's it!


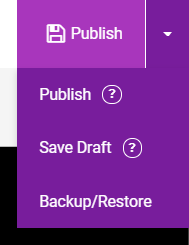
 can be used to undo the most recent changes or restore them.