| Subtotal | $0.00 |
| Subtotal | $0.00 |
This guide will walk you through the process of CSR generation using the MacOS Server application. If the application is not present on your system, you will need to follow the steps described in this article.
To generate a CSR code on your Mac OS X server, you will need to log into your server first.
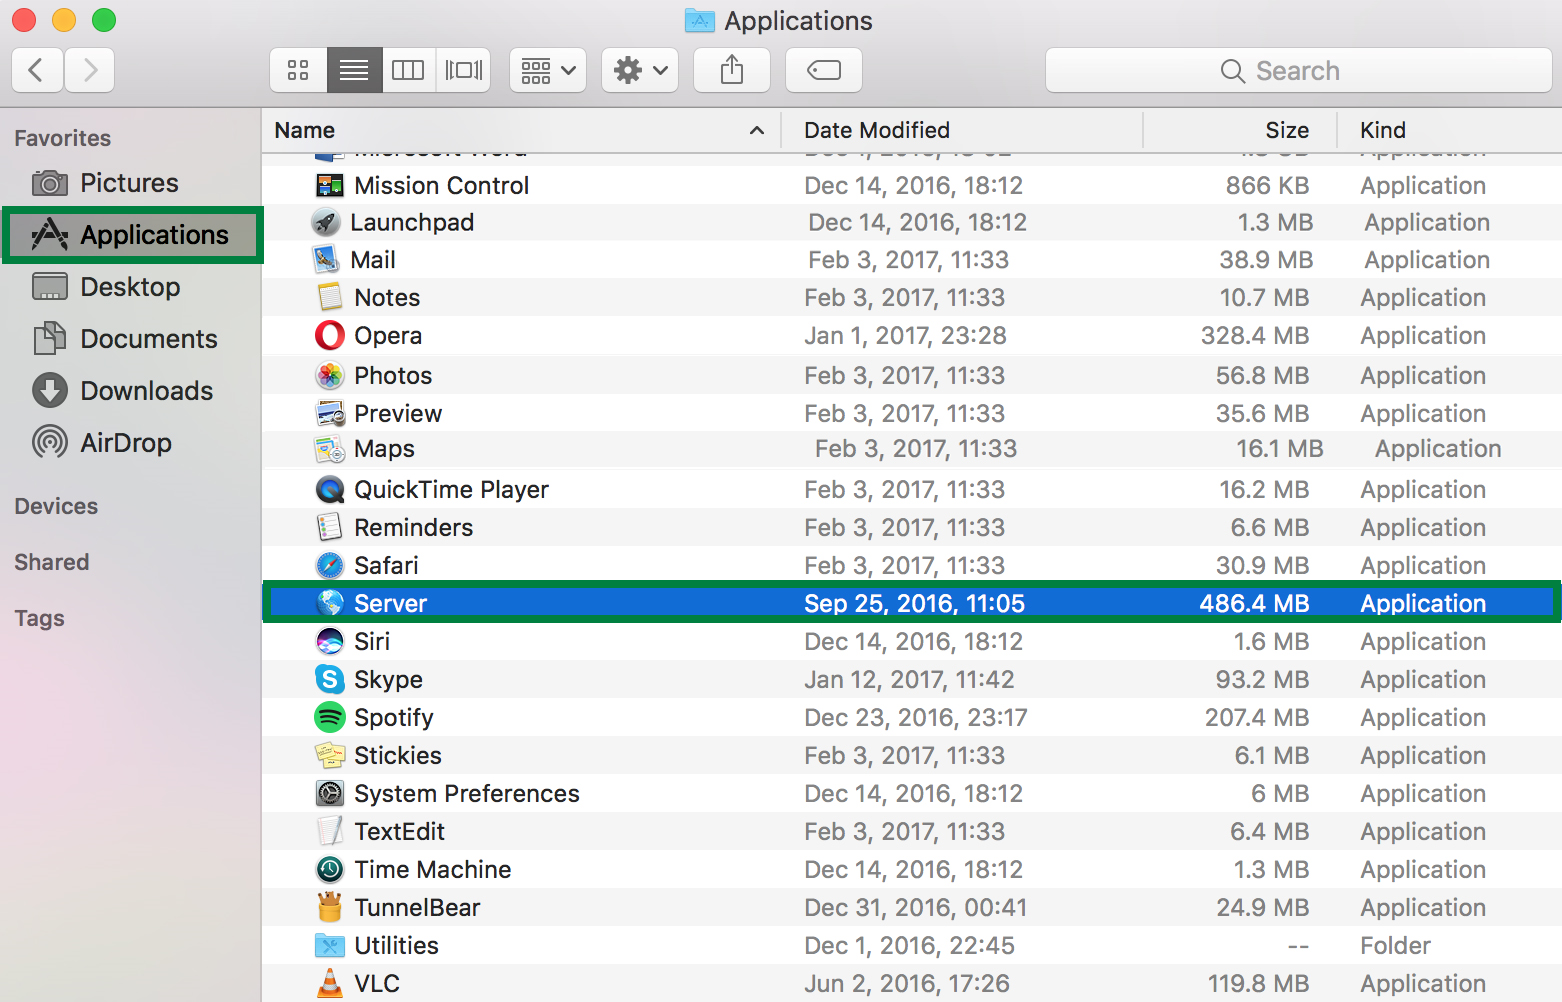
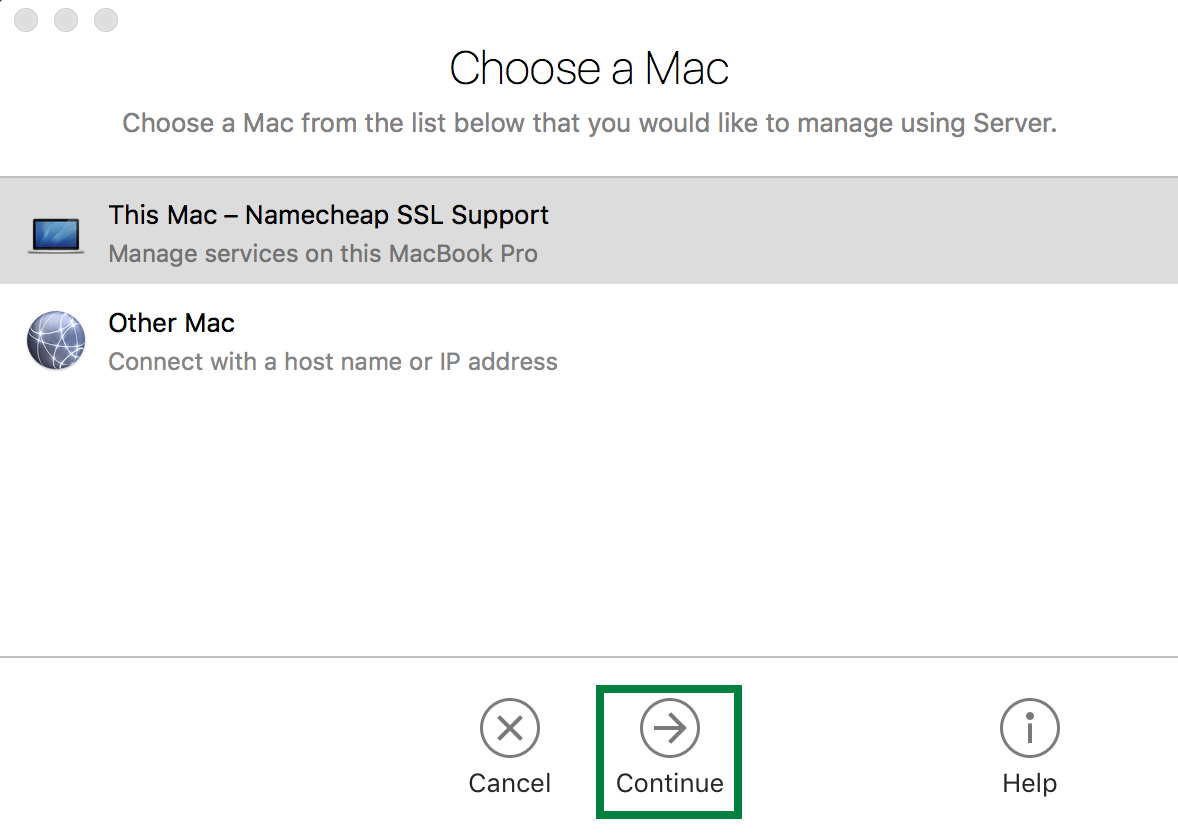
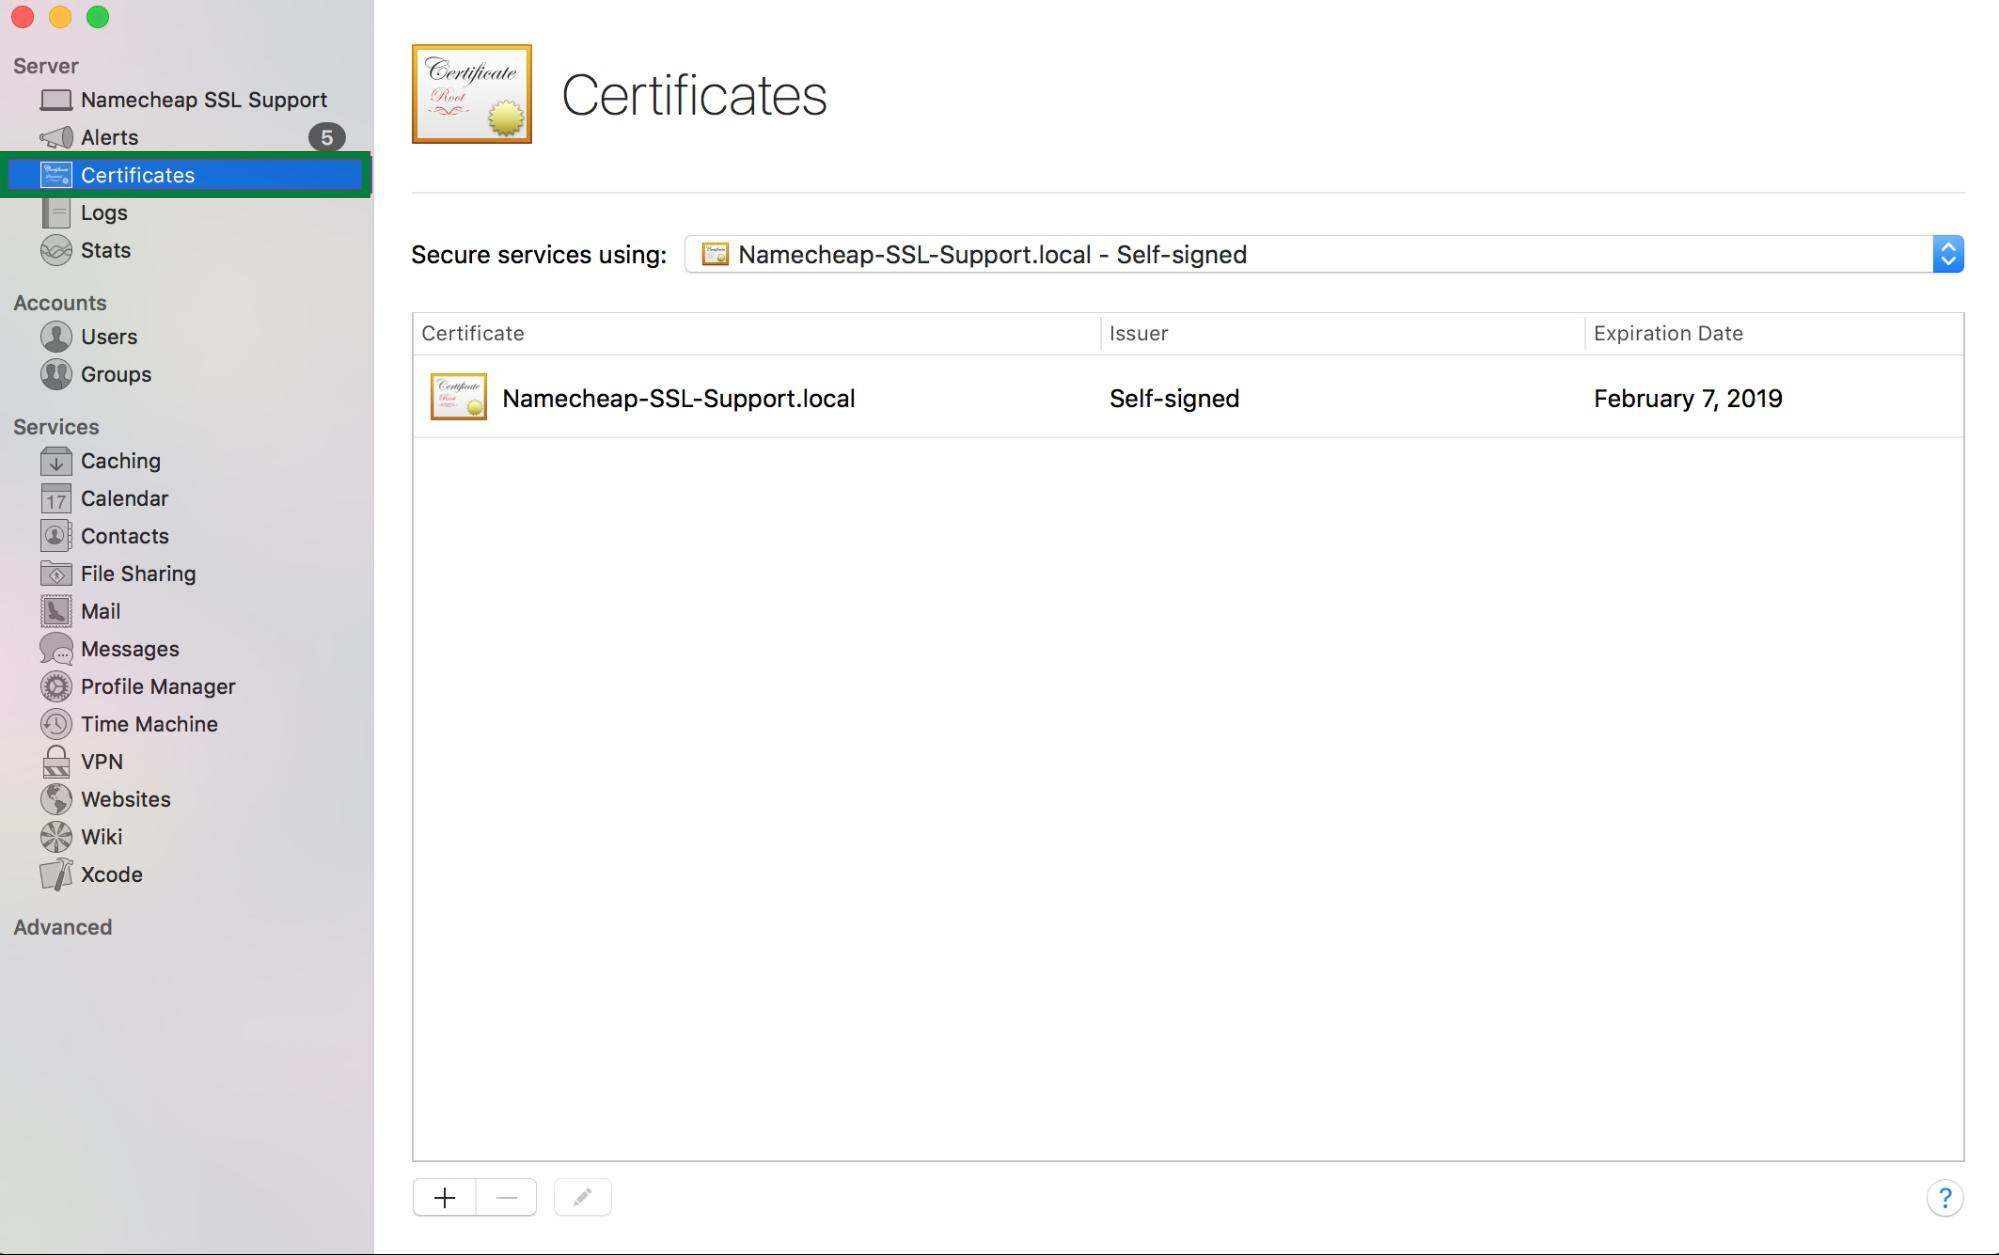
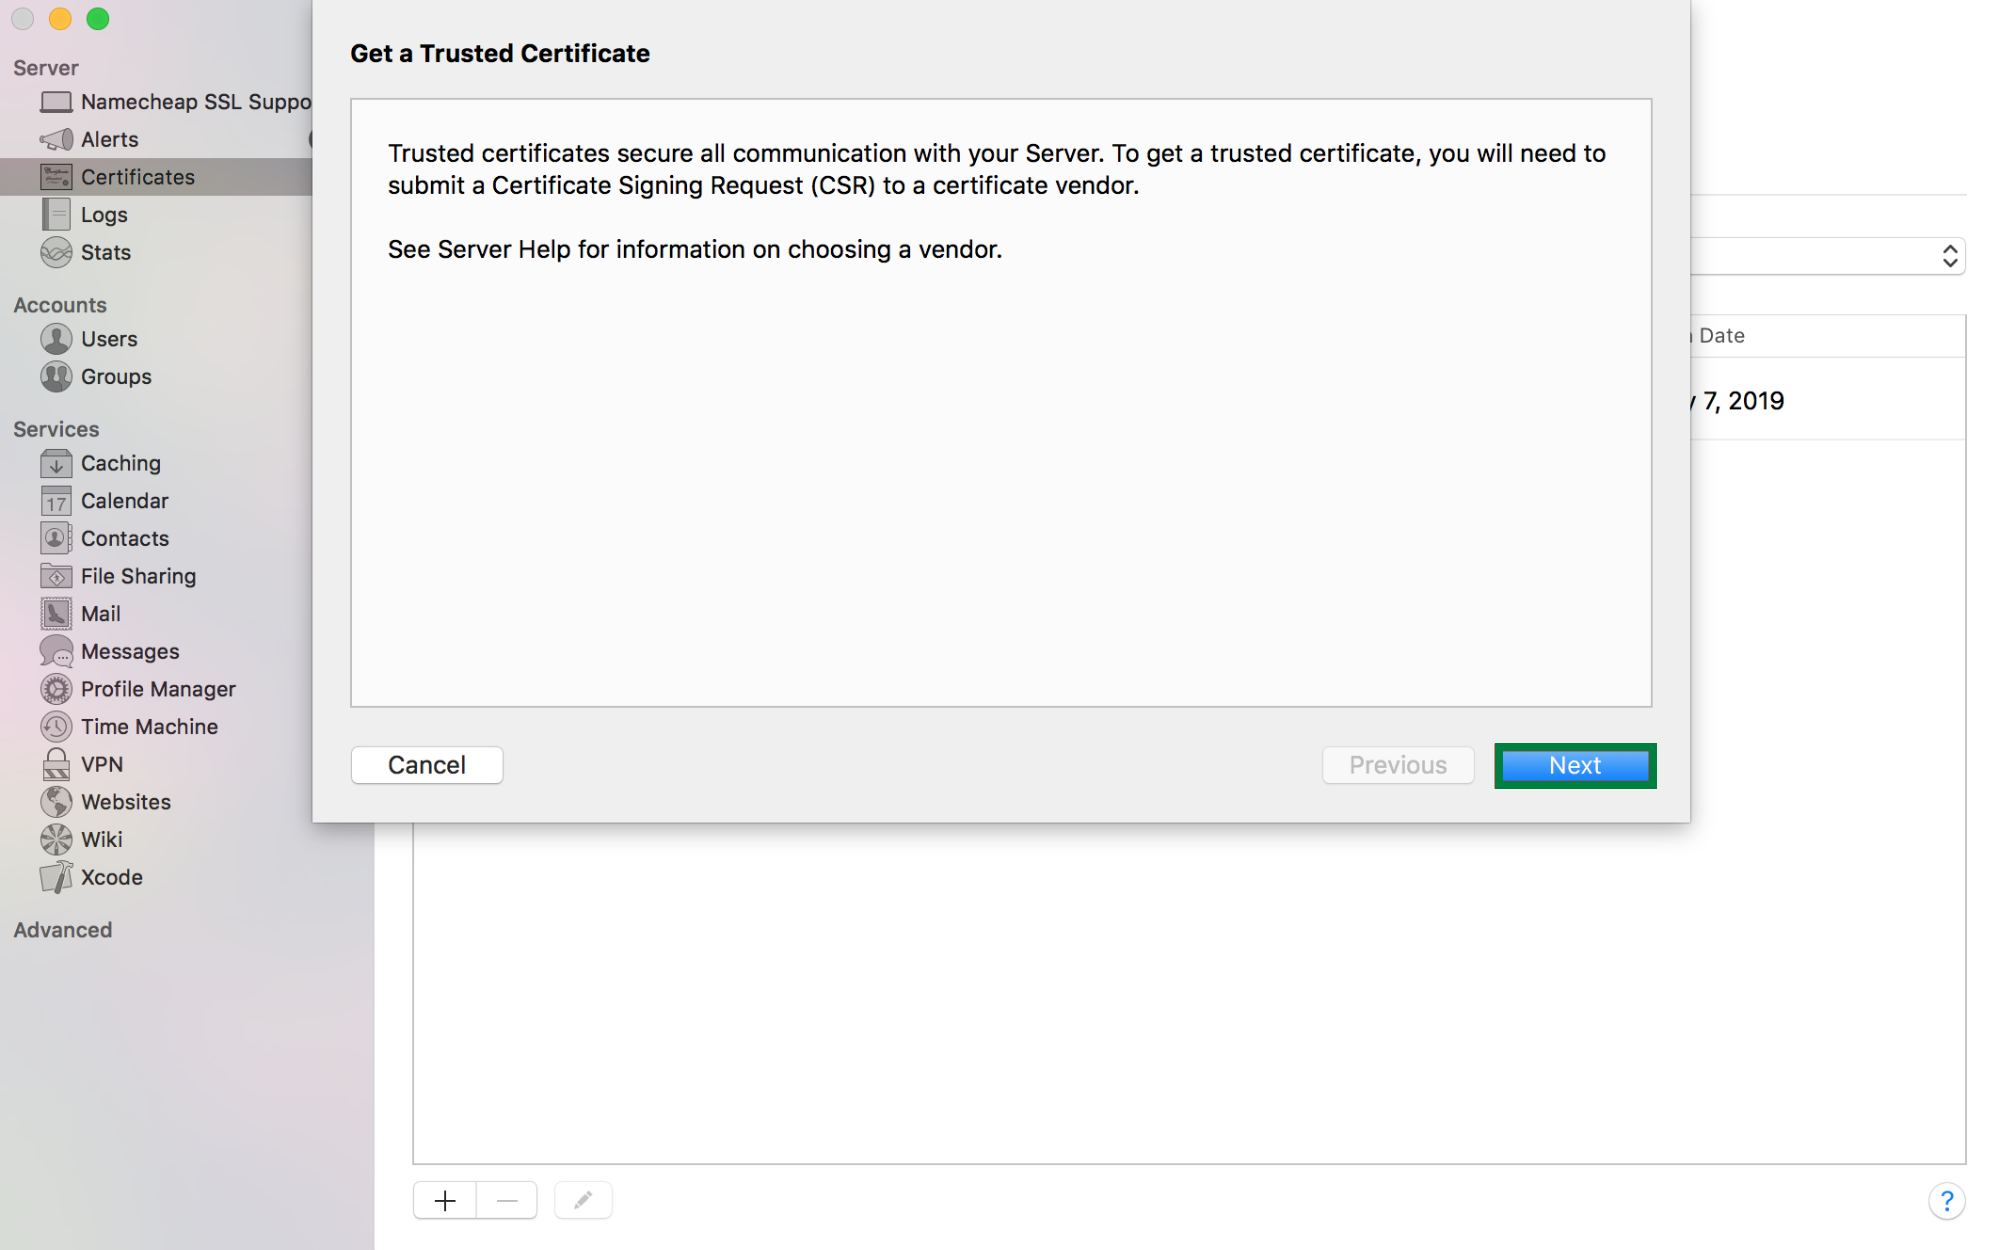
You will see the “local” self-signed certificate with the name of your server. This certificate is signed by the server itself, not a trusted certificate authority. This type of certificate is not trusted by other applications/operating systems, which may lead to authentication errors. Thus, it is not recommended to use it.
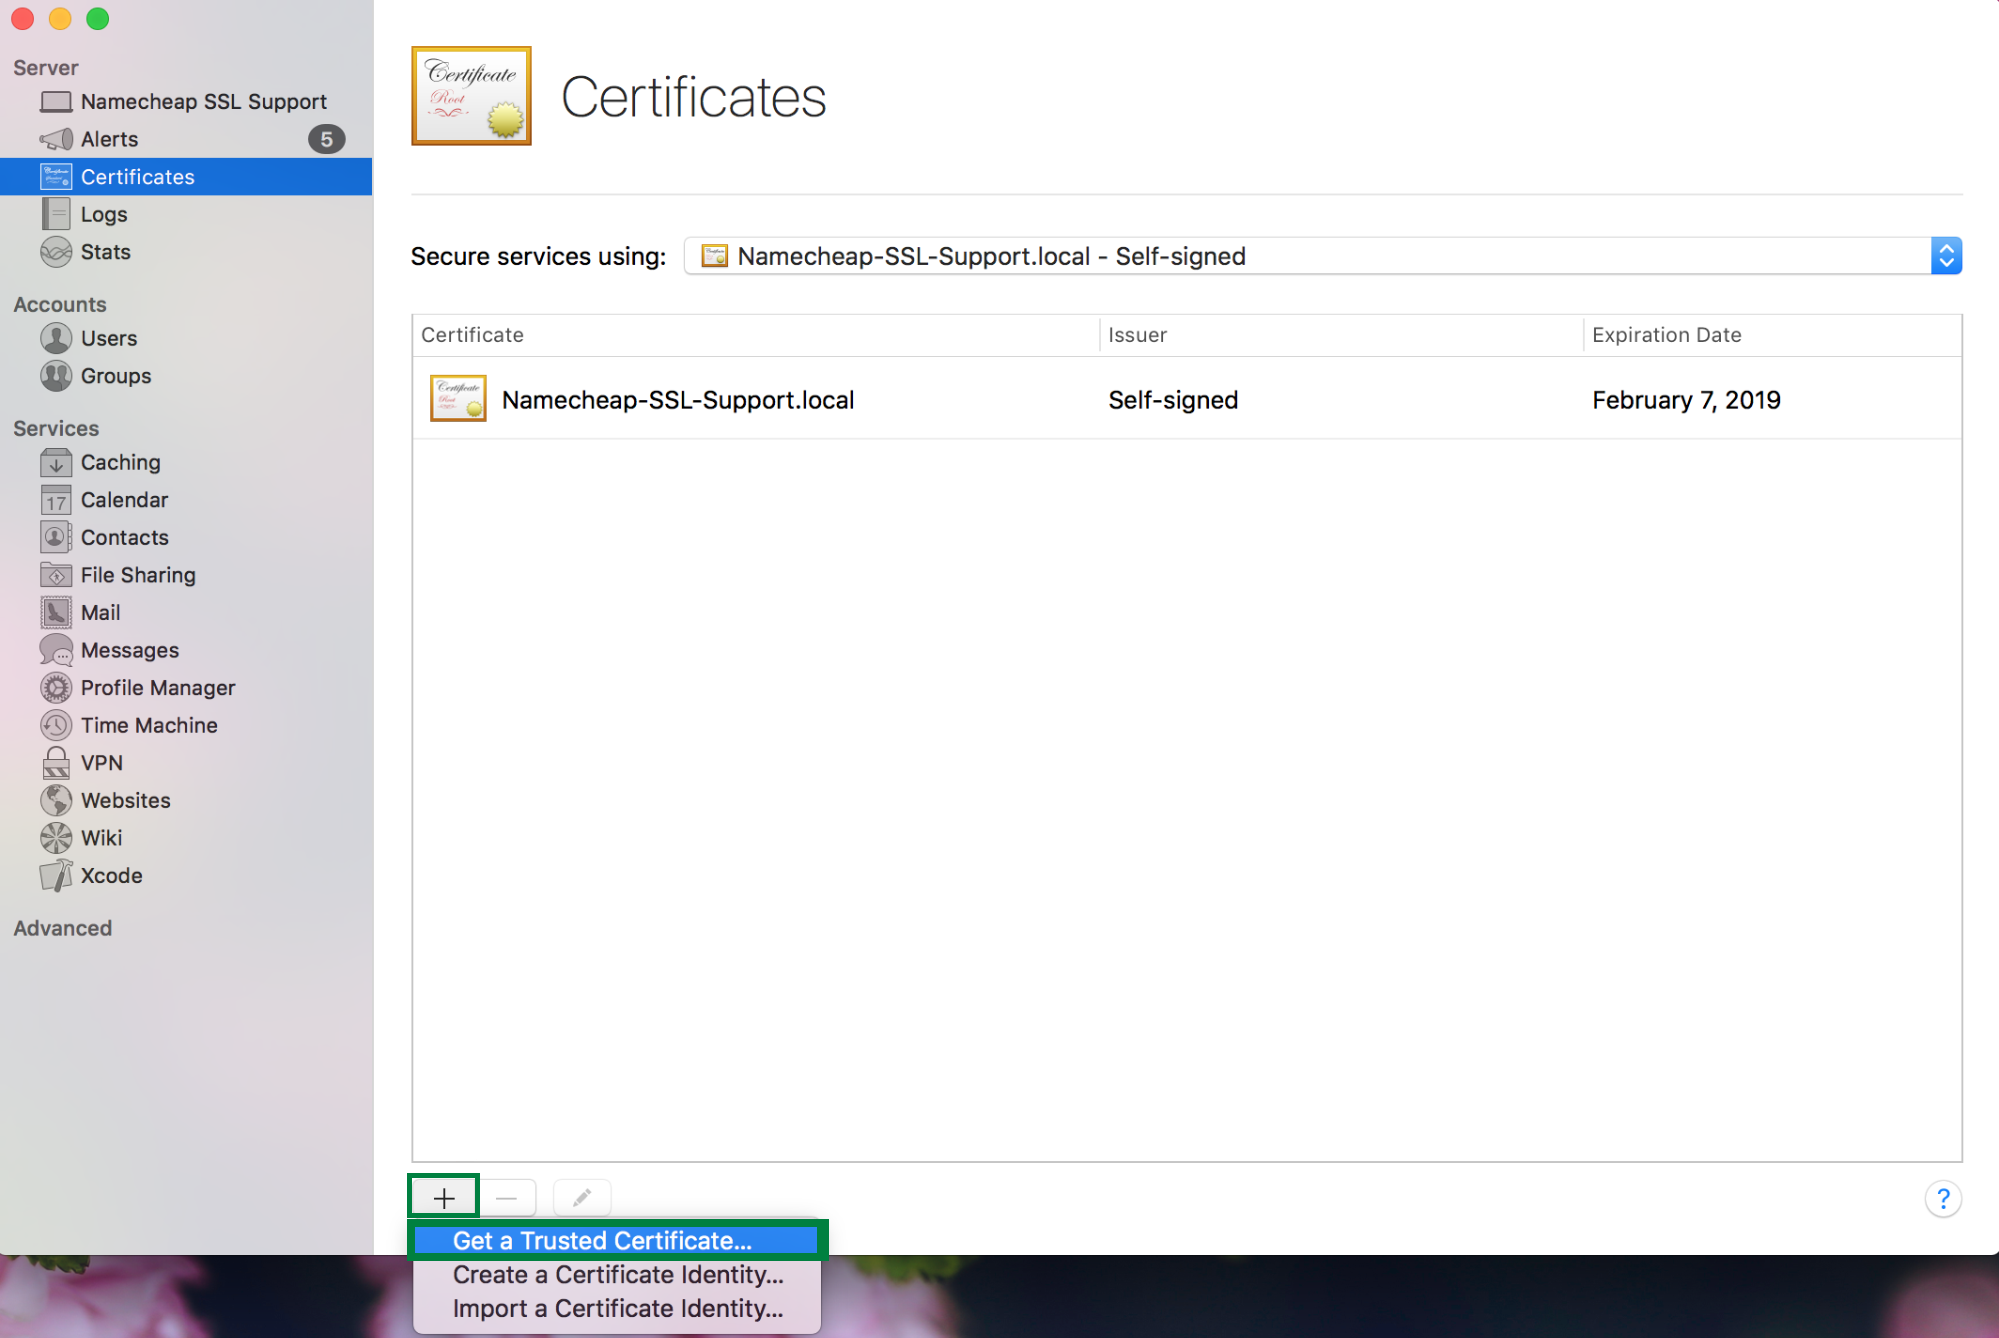
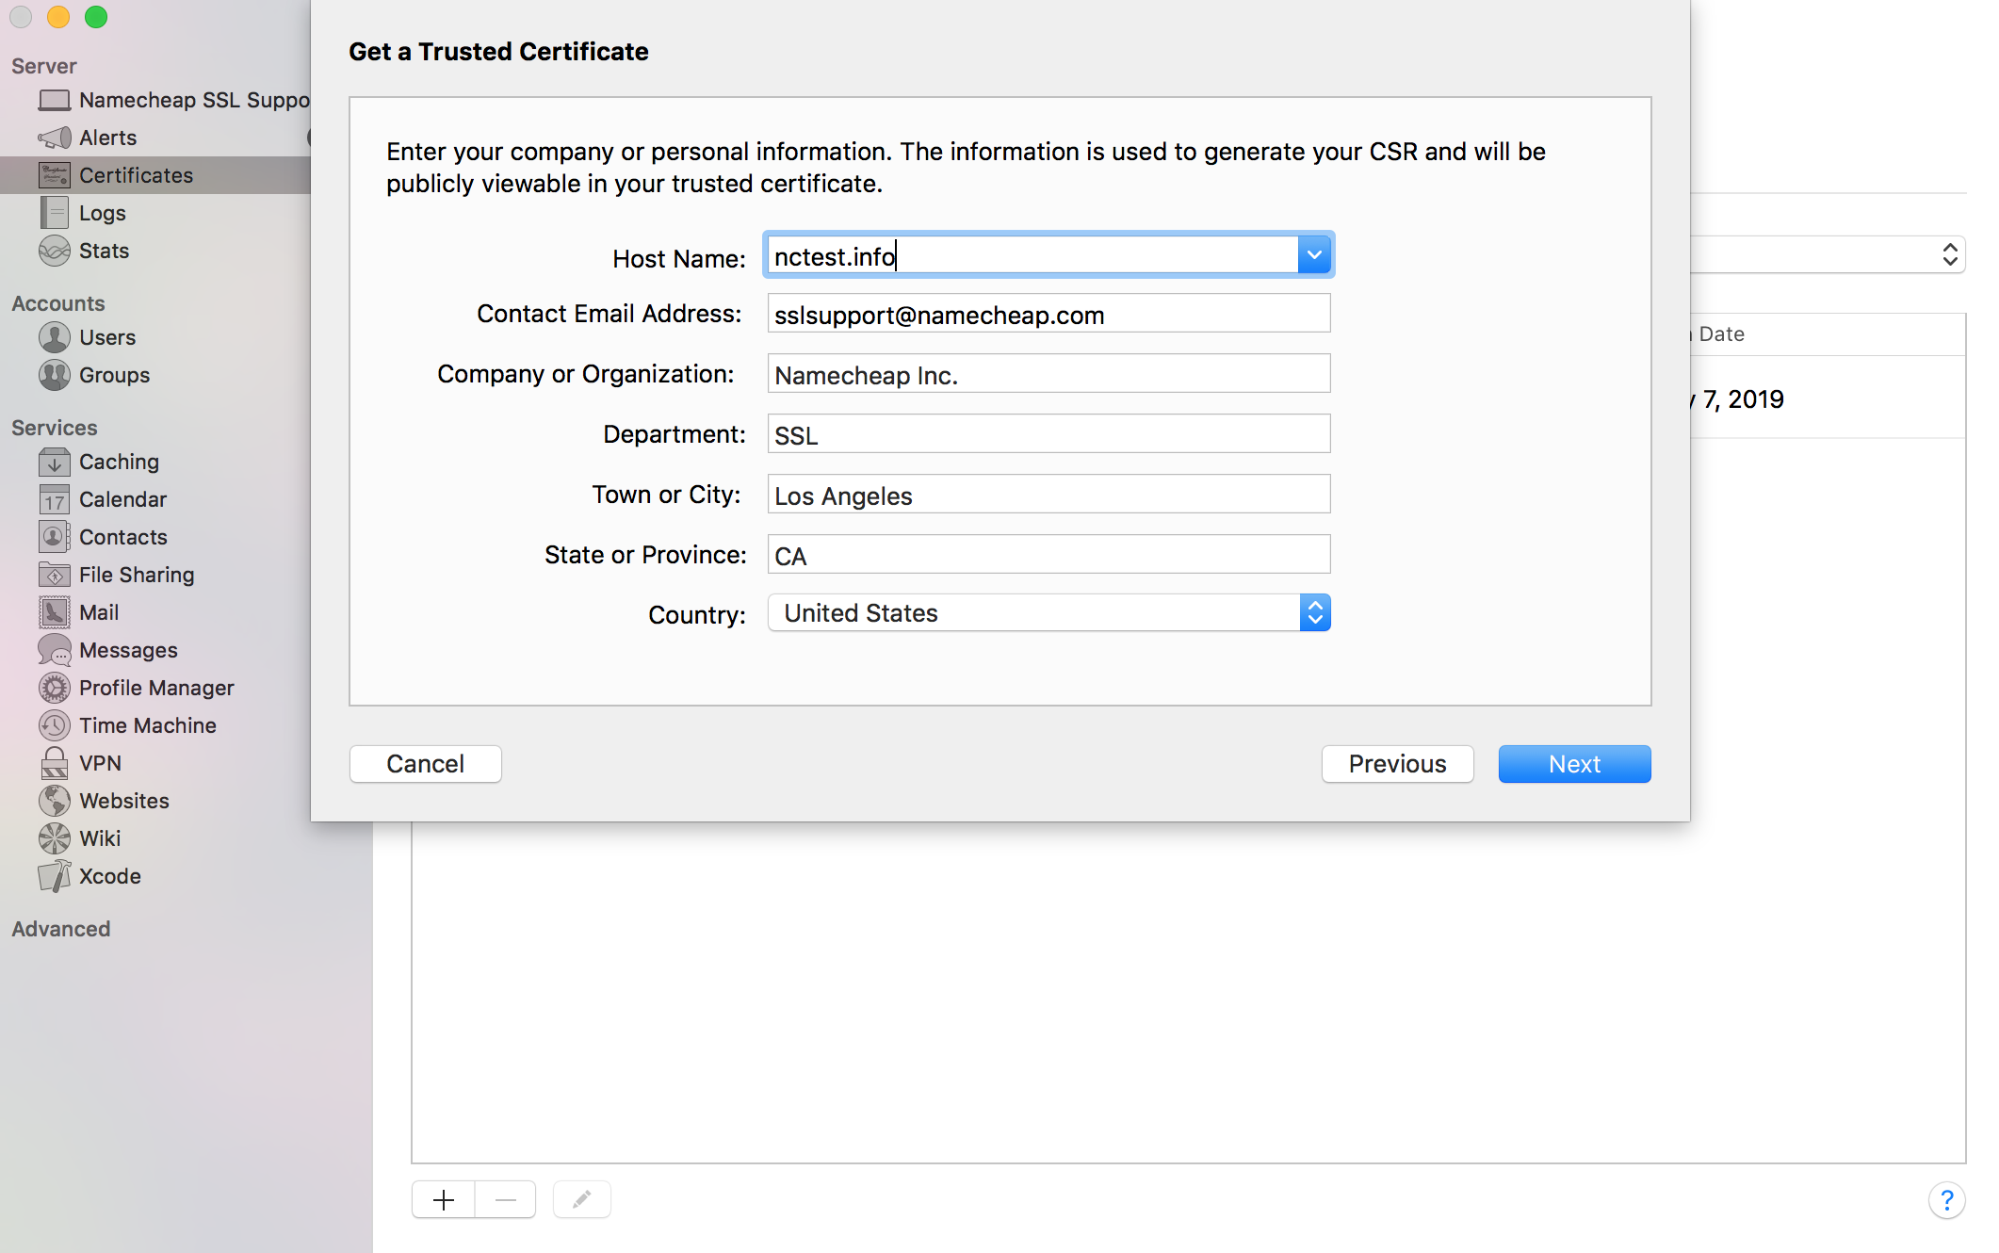
- Host Name: this is the domain name (subdomain) you would like to secure (enter example.com for single-domain and multi-domain certificates; *.example.com for wildcard certs)
- Contact Email Address: enter the email address that can be used to contact the website’s administrator
- Company or Organization: this is the registered name of your company or organization (if you do not have one, you can use "NA" instead)
- Department: enter the name of your department within the organization (for example, "IT" or "NA" if you do not have one)
- Town or city: the town or city where your company is located
- State or province: the state or province where your company is located
- Country: choose your country from the drop-down menu
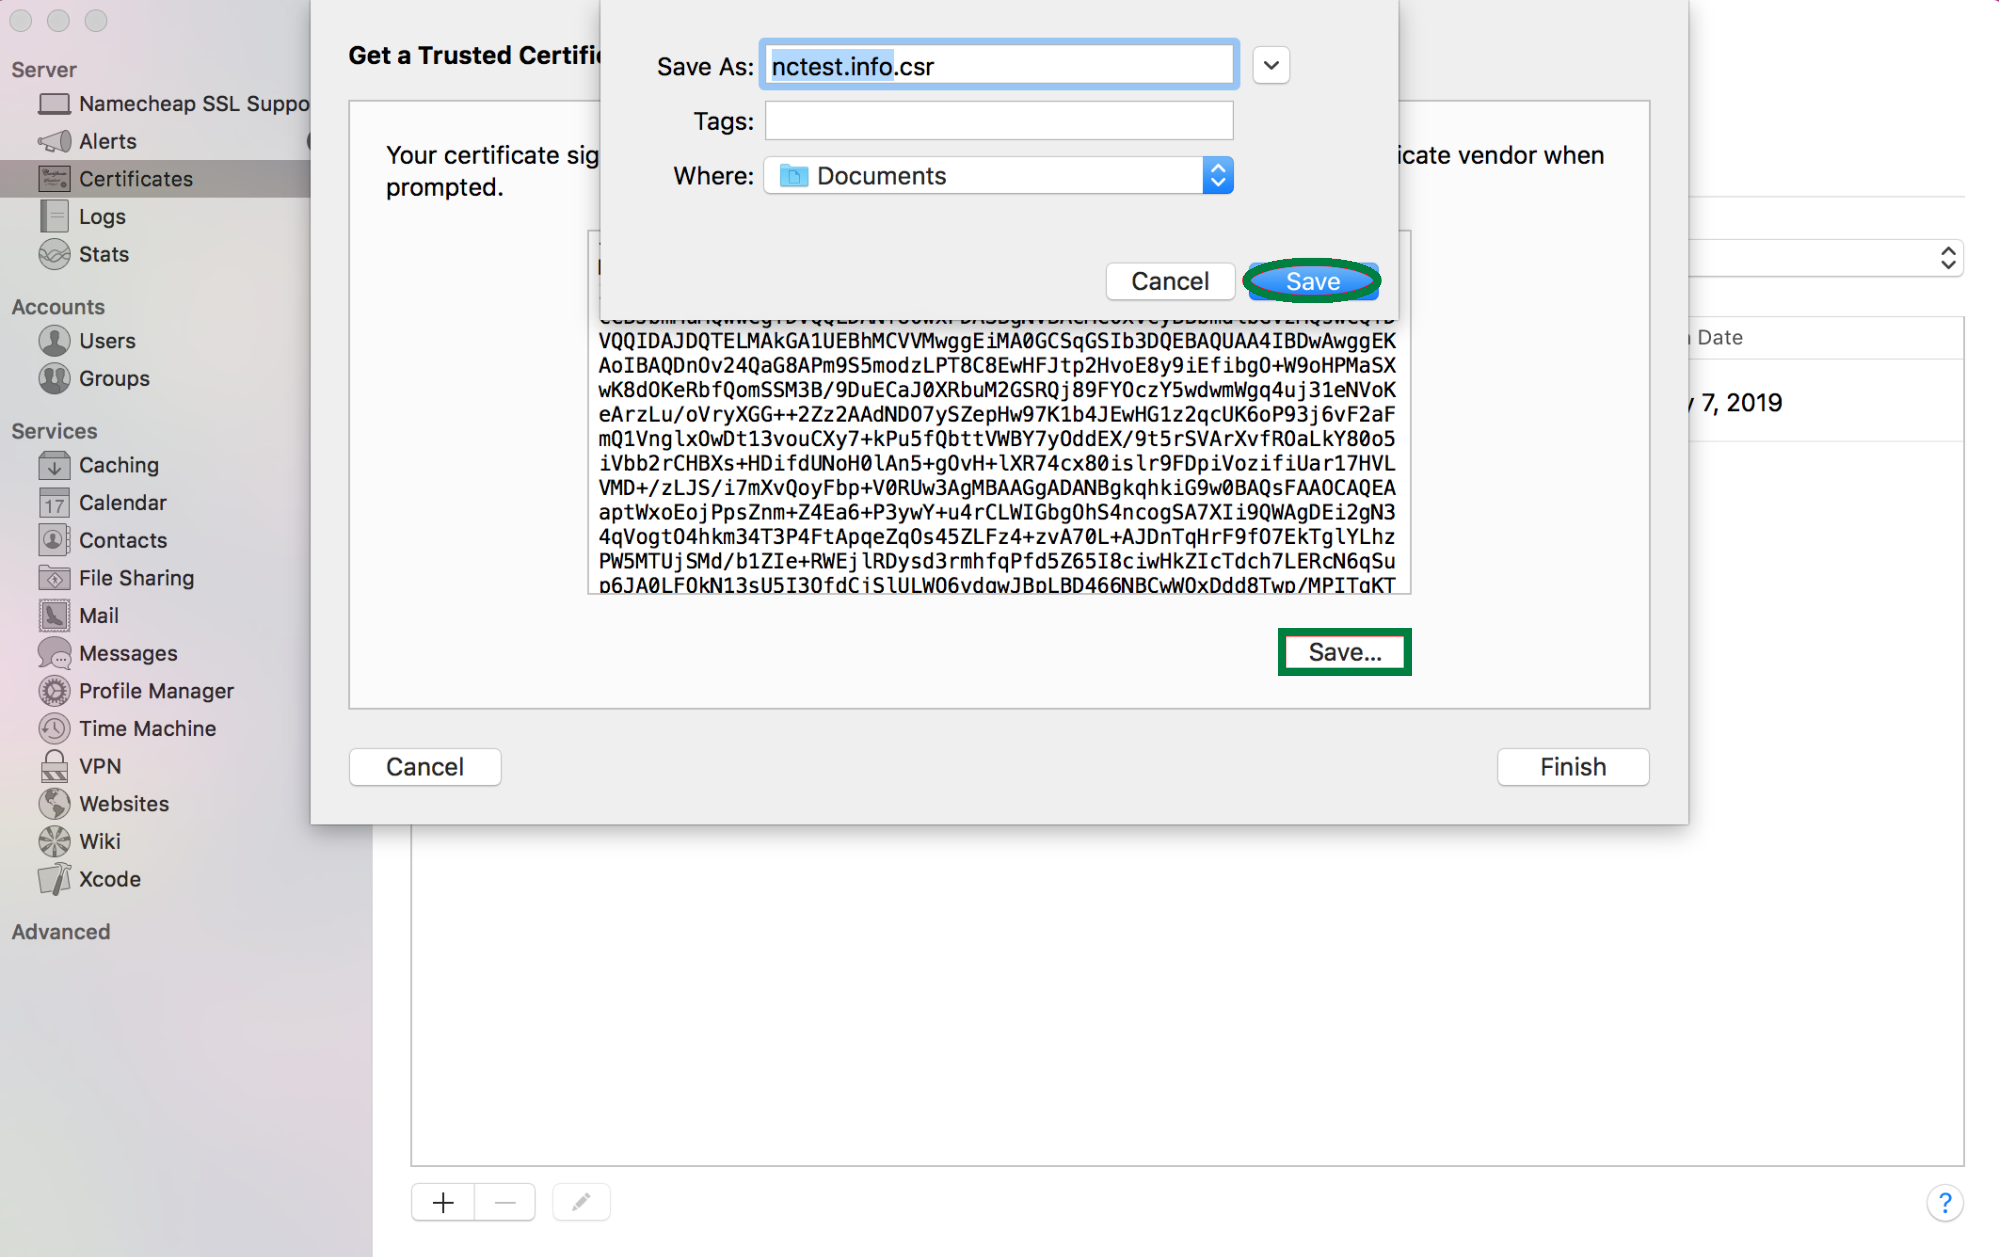
The RSA Private Key is generated automatically along with the CSR. It will be stored in the Keychain of your Mac.
Once the CSR code is generated, you can proceed with the activation process of your SSL certificate in your Namecheap account. The guide on the certificate activation process can be found here.
After the certificate has been validated and issued, you can proceed with the installation by referring to this guide.
Need help? We're always here for you.