
Note: To follow this guide you will require an issued certificate activated using a CSR that originated from the Mac OS Server application. This process is described in the article here.
Once you have your certificate activated, validated and issued (the issued certificate will be emailed to your administrative contact email mentioned during the activation or can be downloaded from the account by following this guide, it will be necessary to install it along with its CA bundle on your server and assign the certificate to different services, such as Mail (IMAP, POP and SMTP), File Sharing (iOS), Messages and Websites.
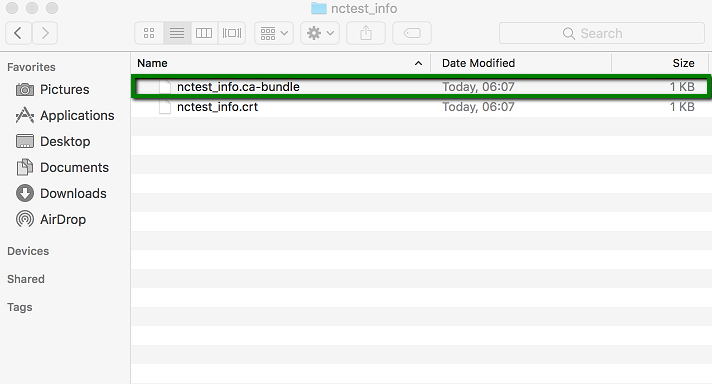
CA bundle installation
CA bundle is a file that contains root and intermediate certificates. It is required to improve compatibility of the certificates with web browsers and other kind of clients so that browsers recognize your certificate and no security warnings appear.
If the certificate has been imported to the server without the CA bundle, it will be shown as “signed by an unknown authority”:

Note: If you installed the CA bundle for the same type of the certificate previously (e.g., this time you install a renewal certificate), there is no need to go through the whole procedure of the CA bundle installation once again.

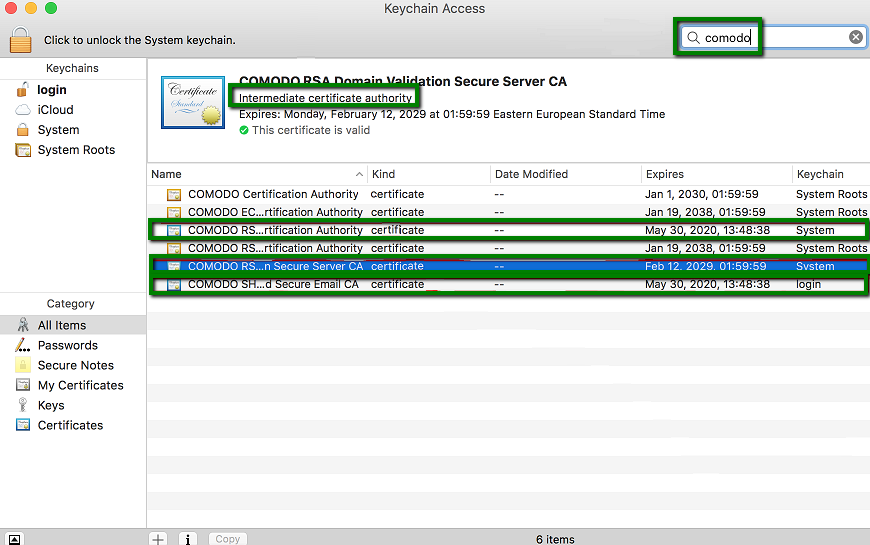
Intermediate certificates have a blue icon unlike root ones (root CA certificates have a yellow icon).
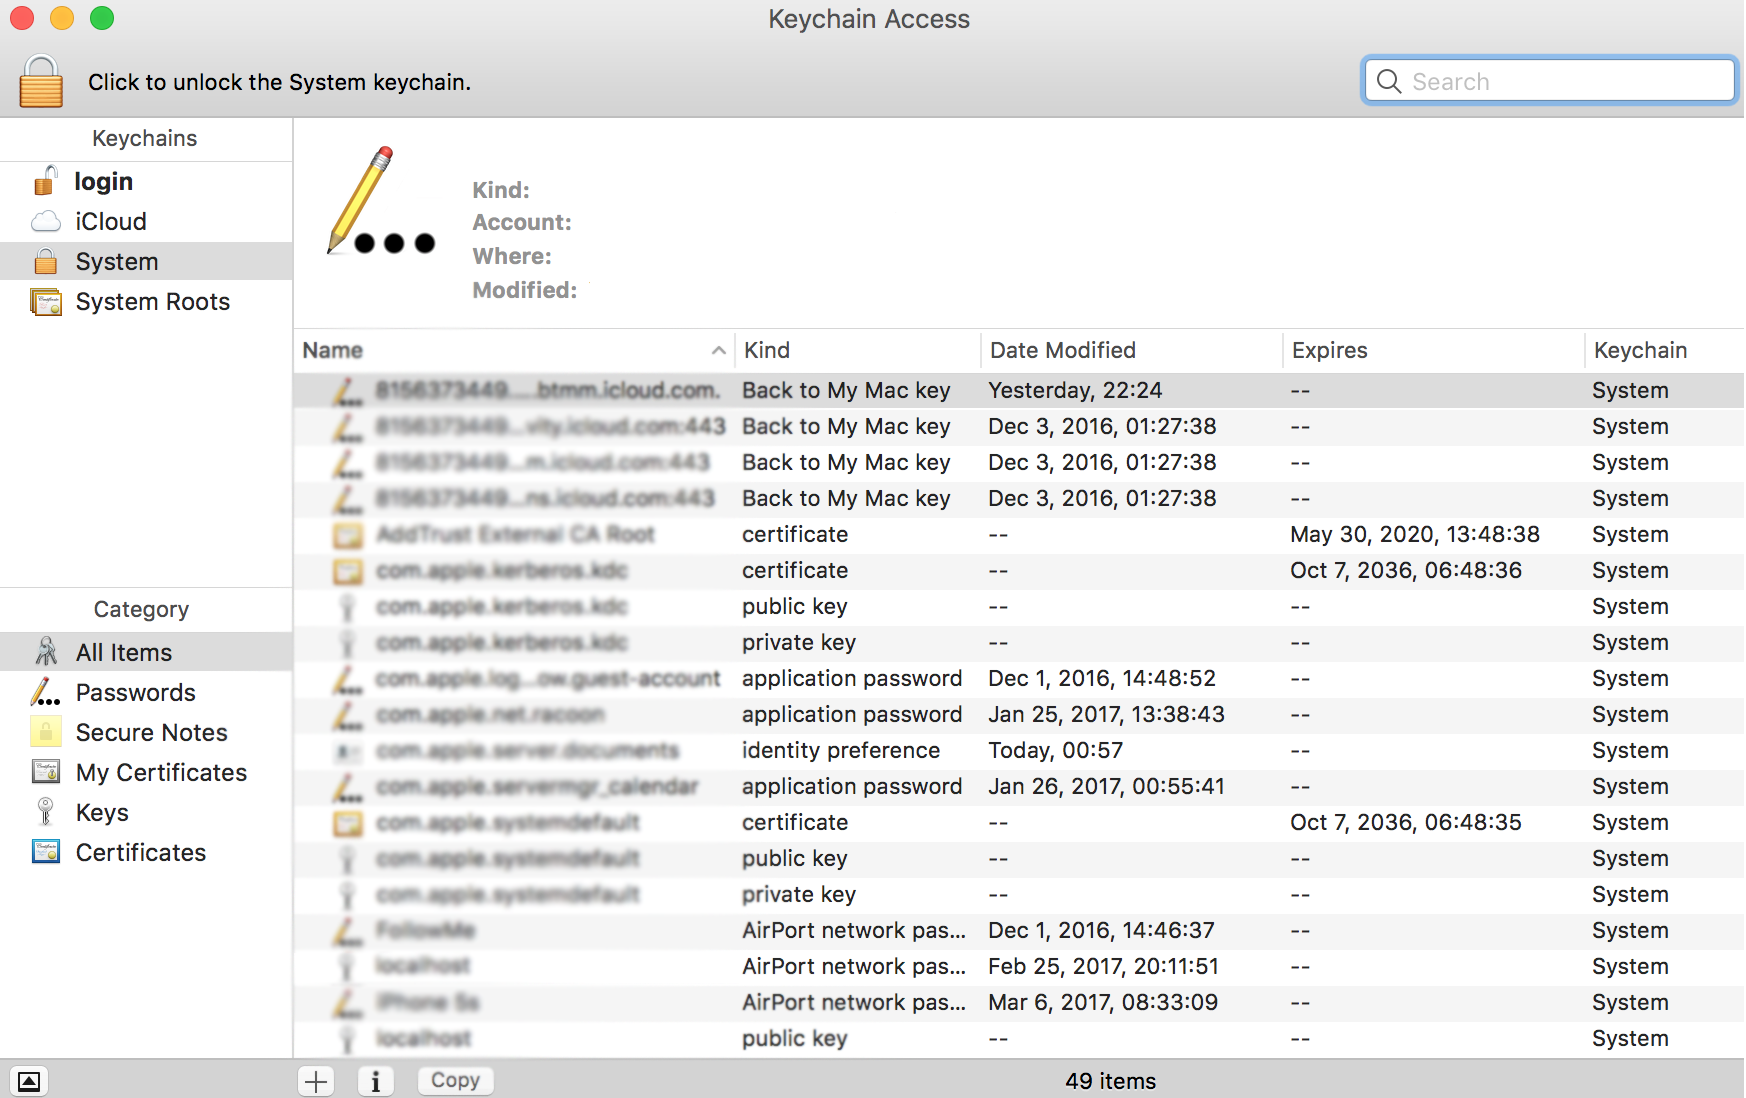
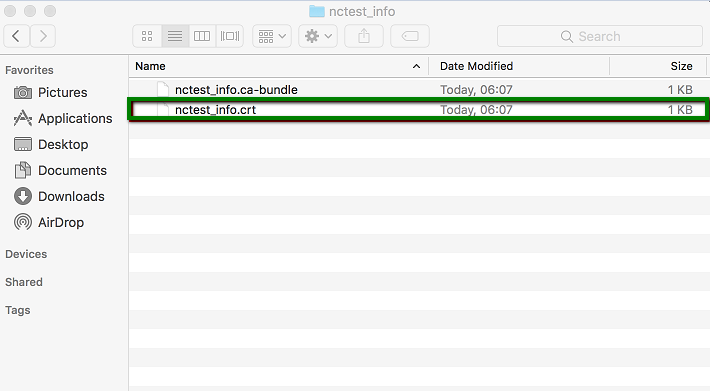
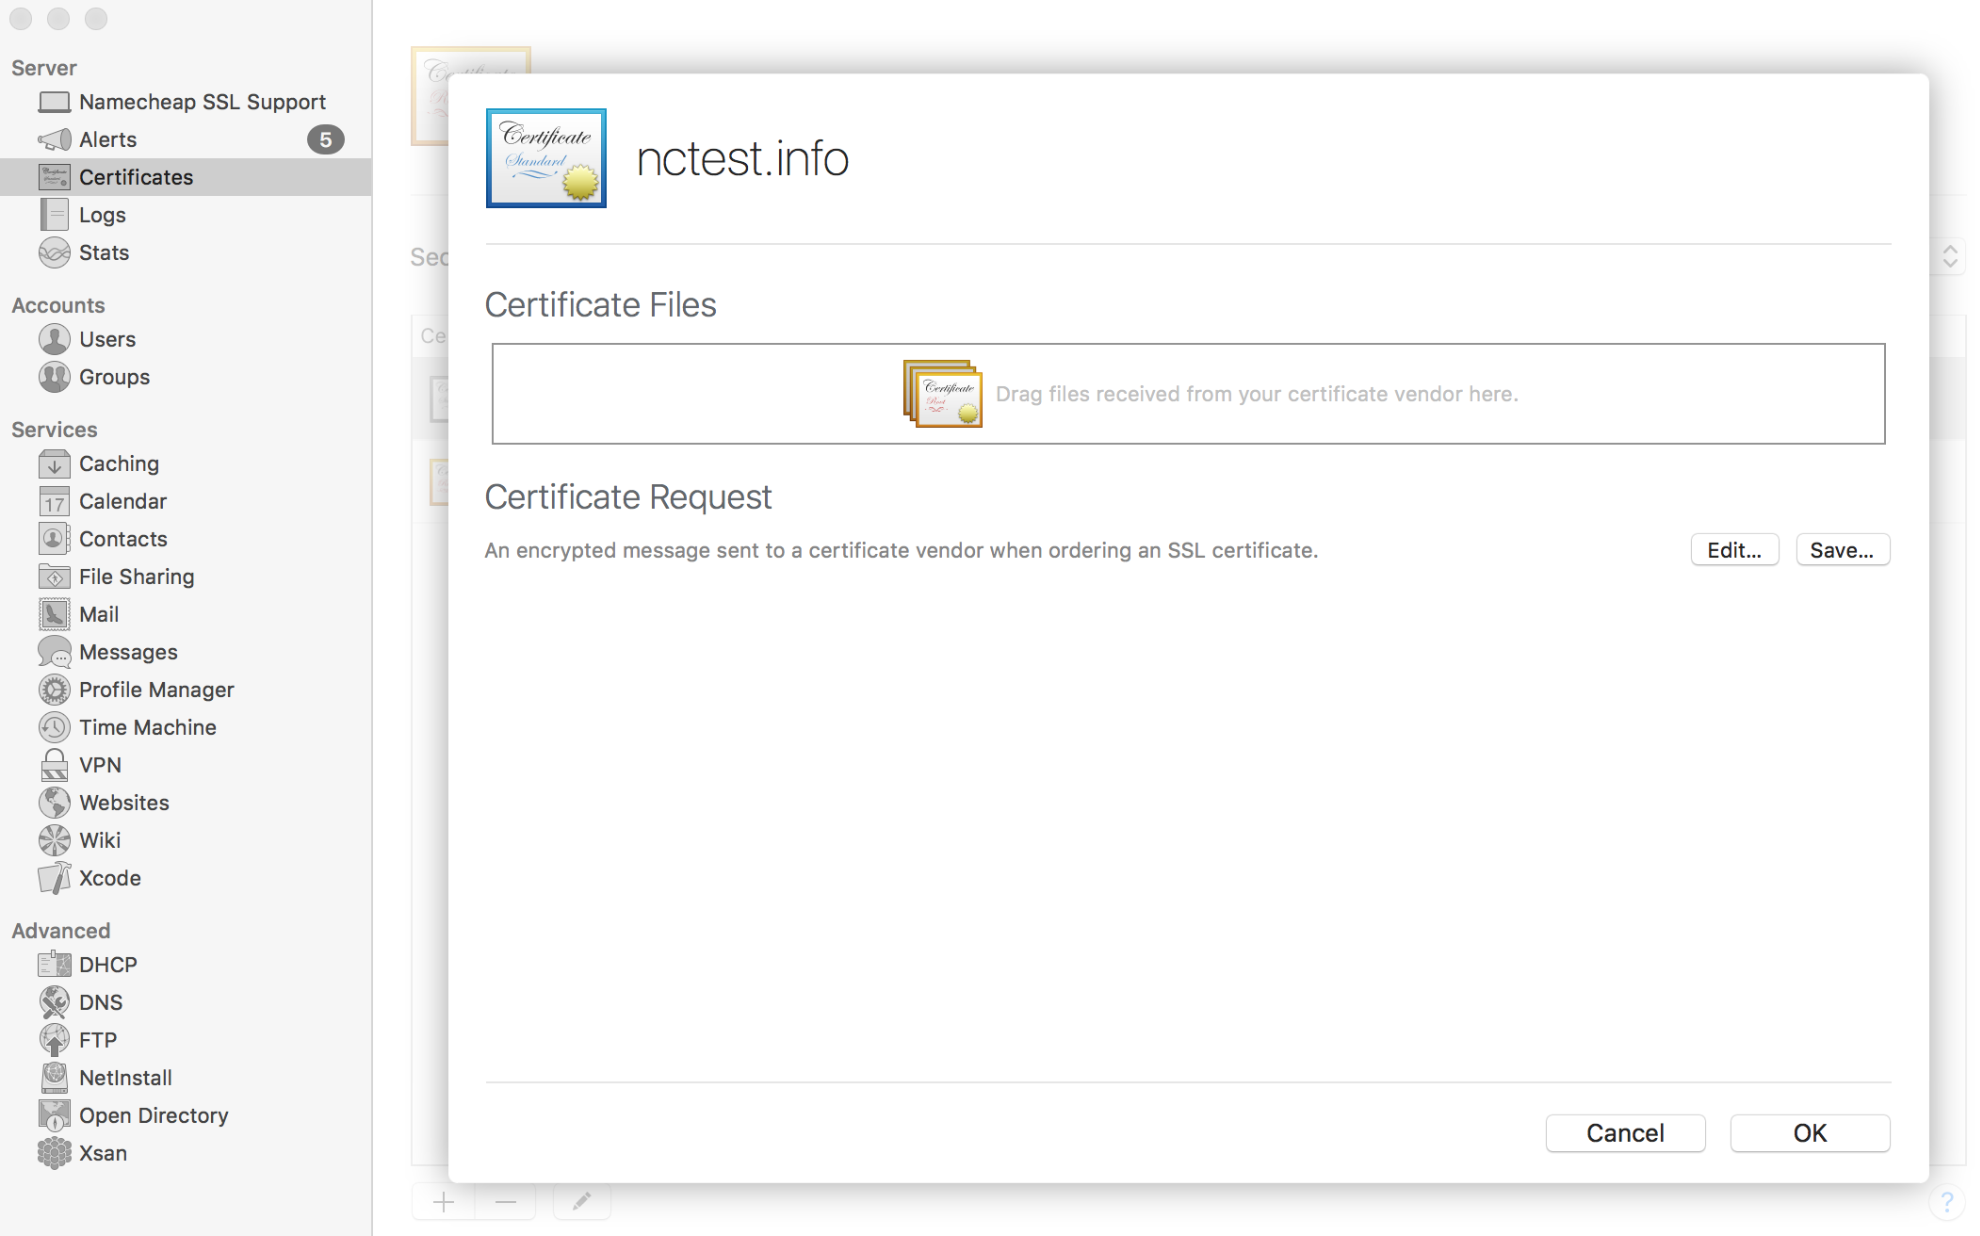
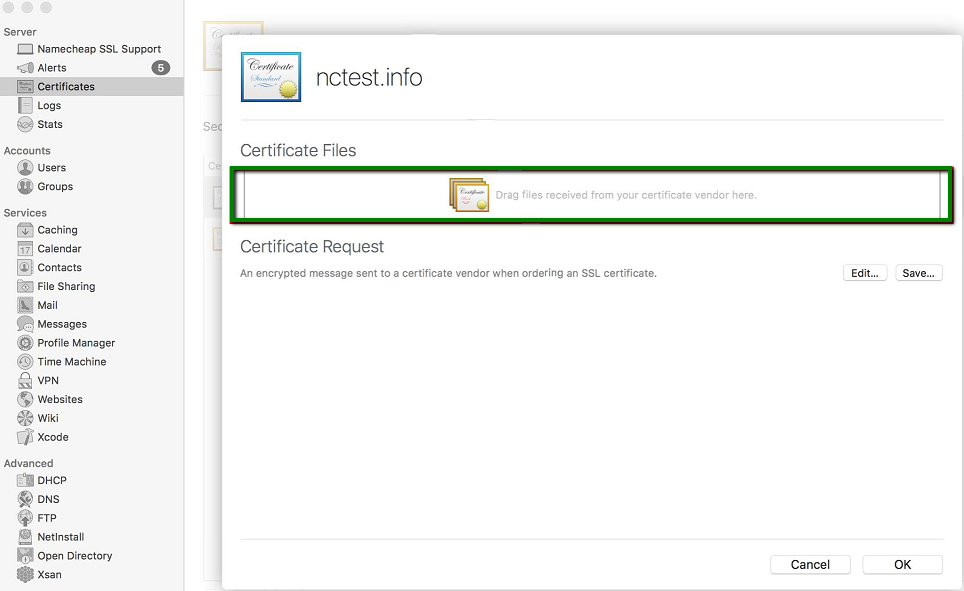
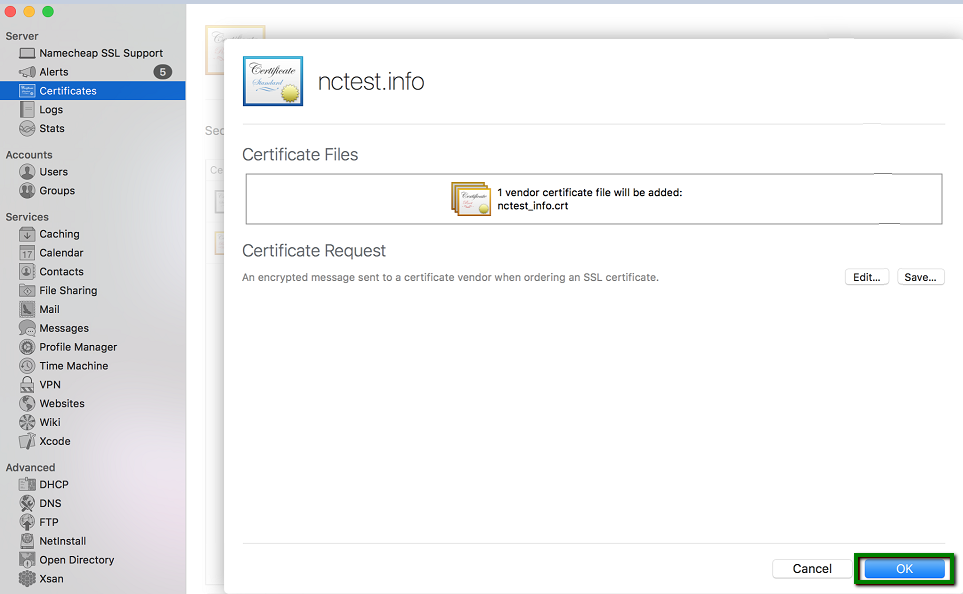
Once the CA bundle is added to the Keychain of the system, you can proceed with the certificate installation:
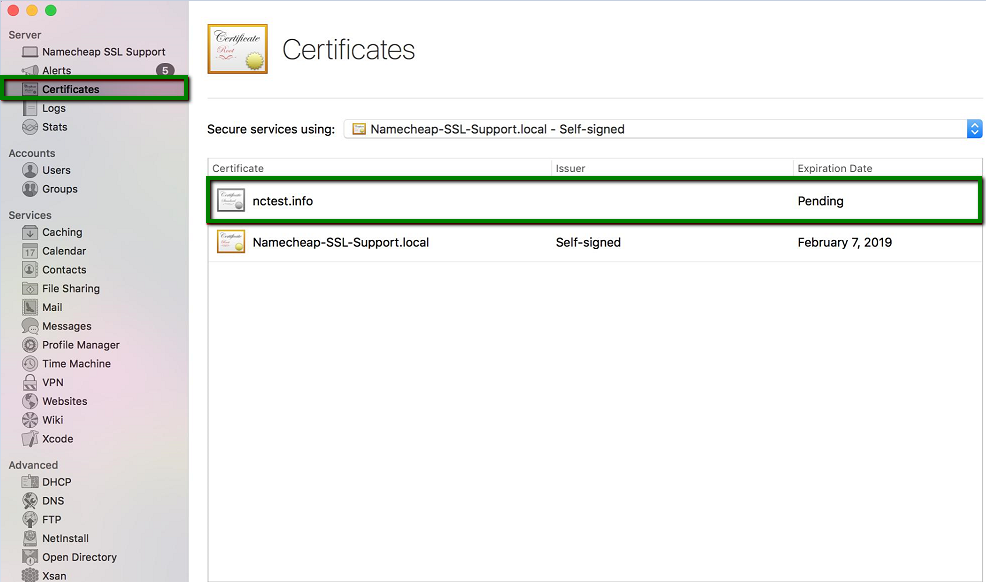
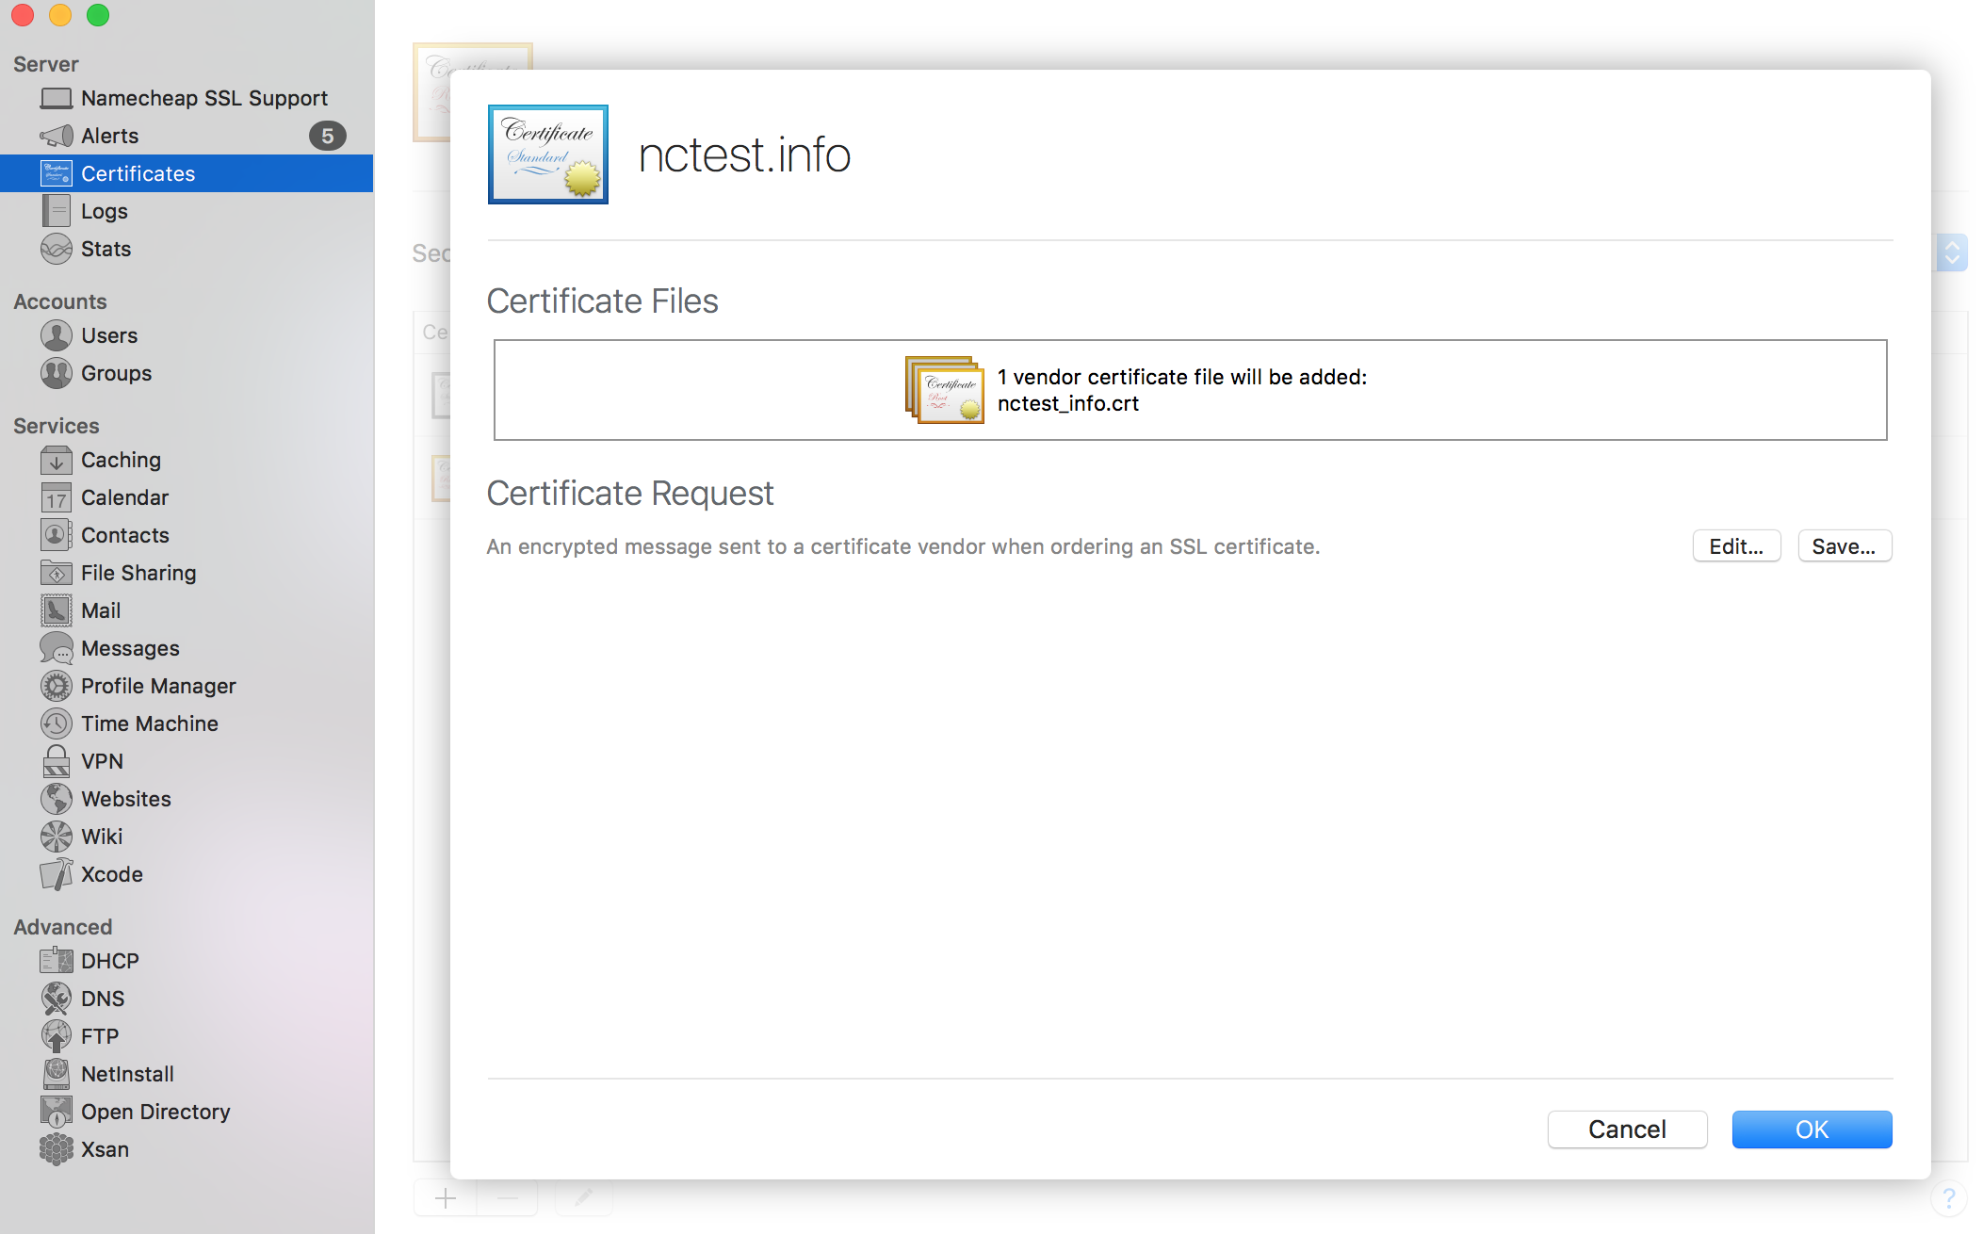
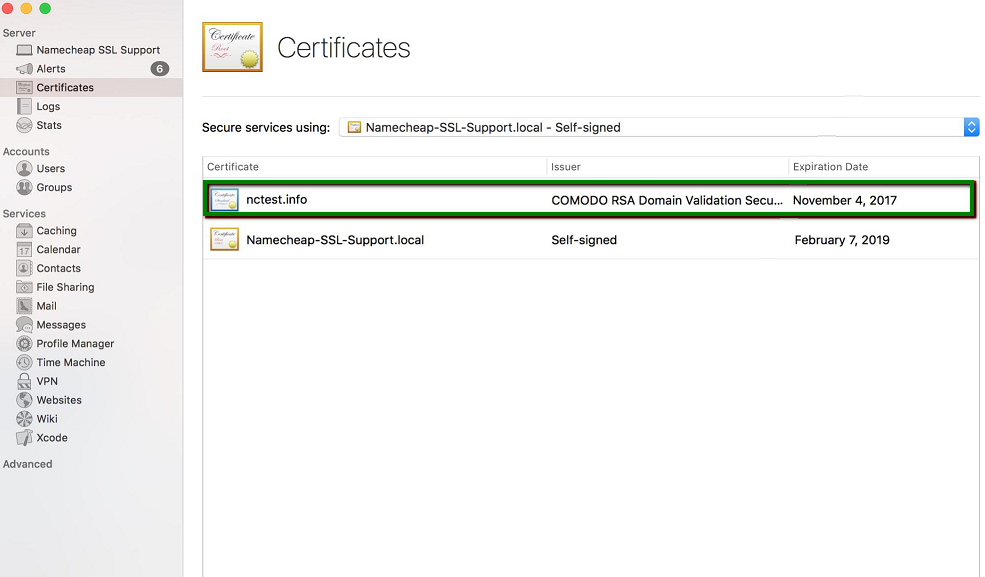
Once done, the certificate should be shown in this field:
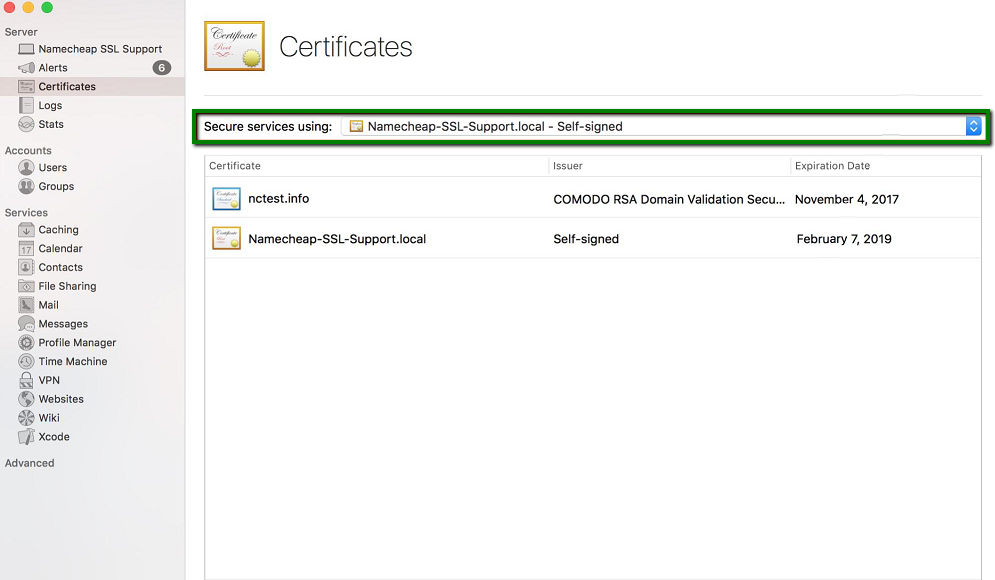
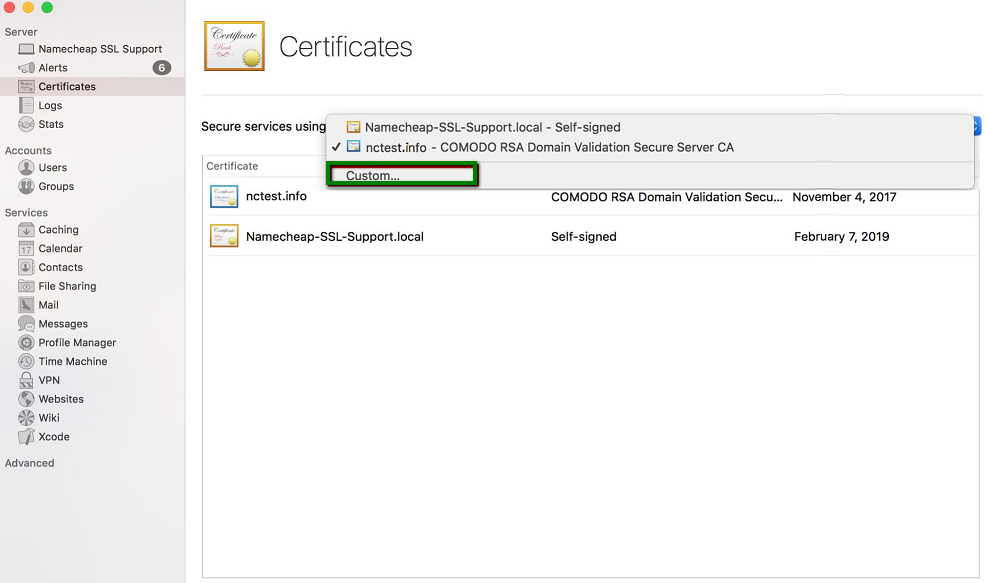
Now we can assign the certificate to the services we would like to use it for:
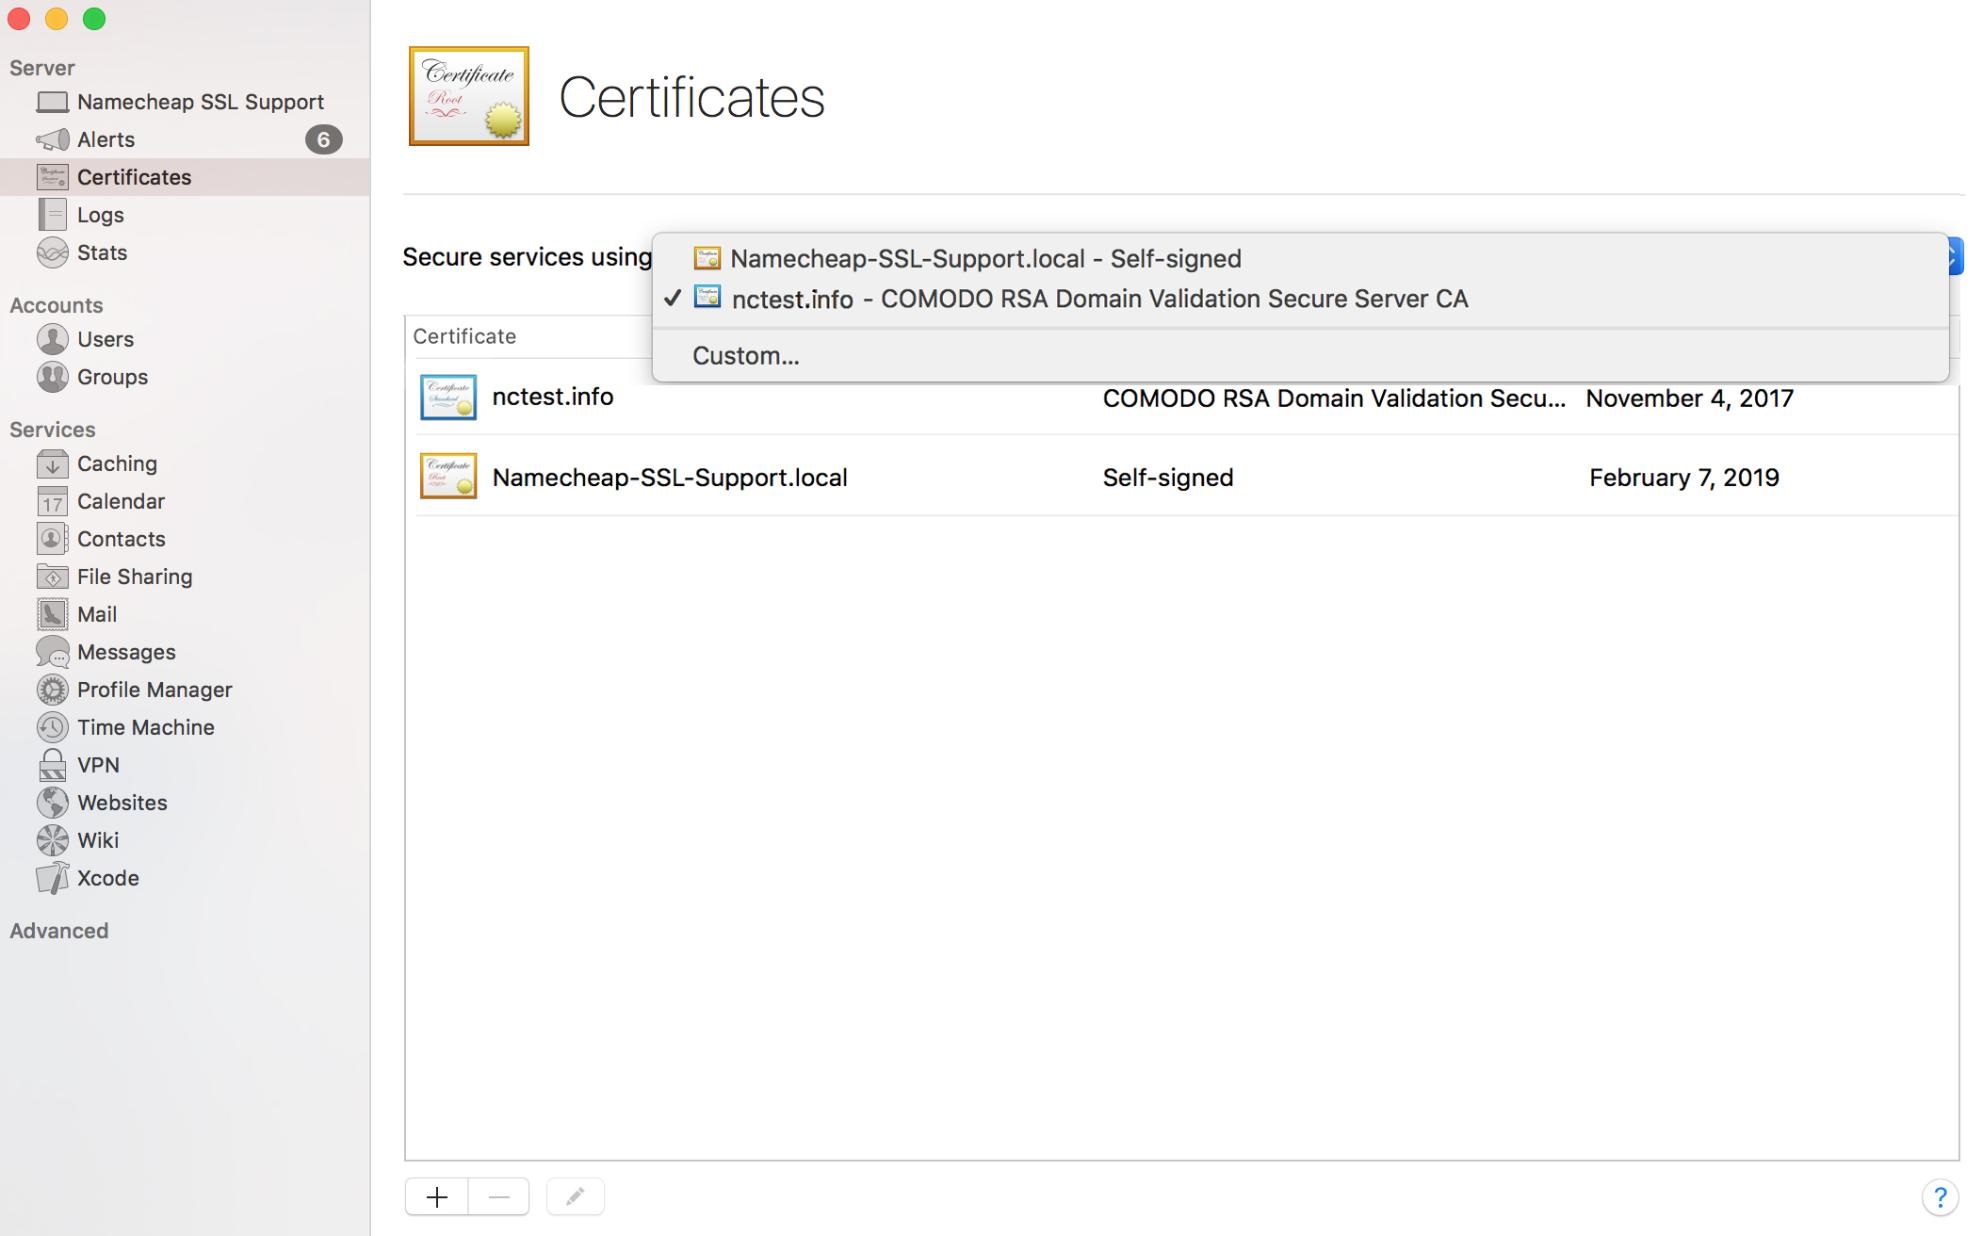
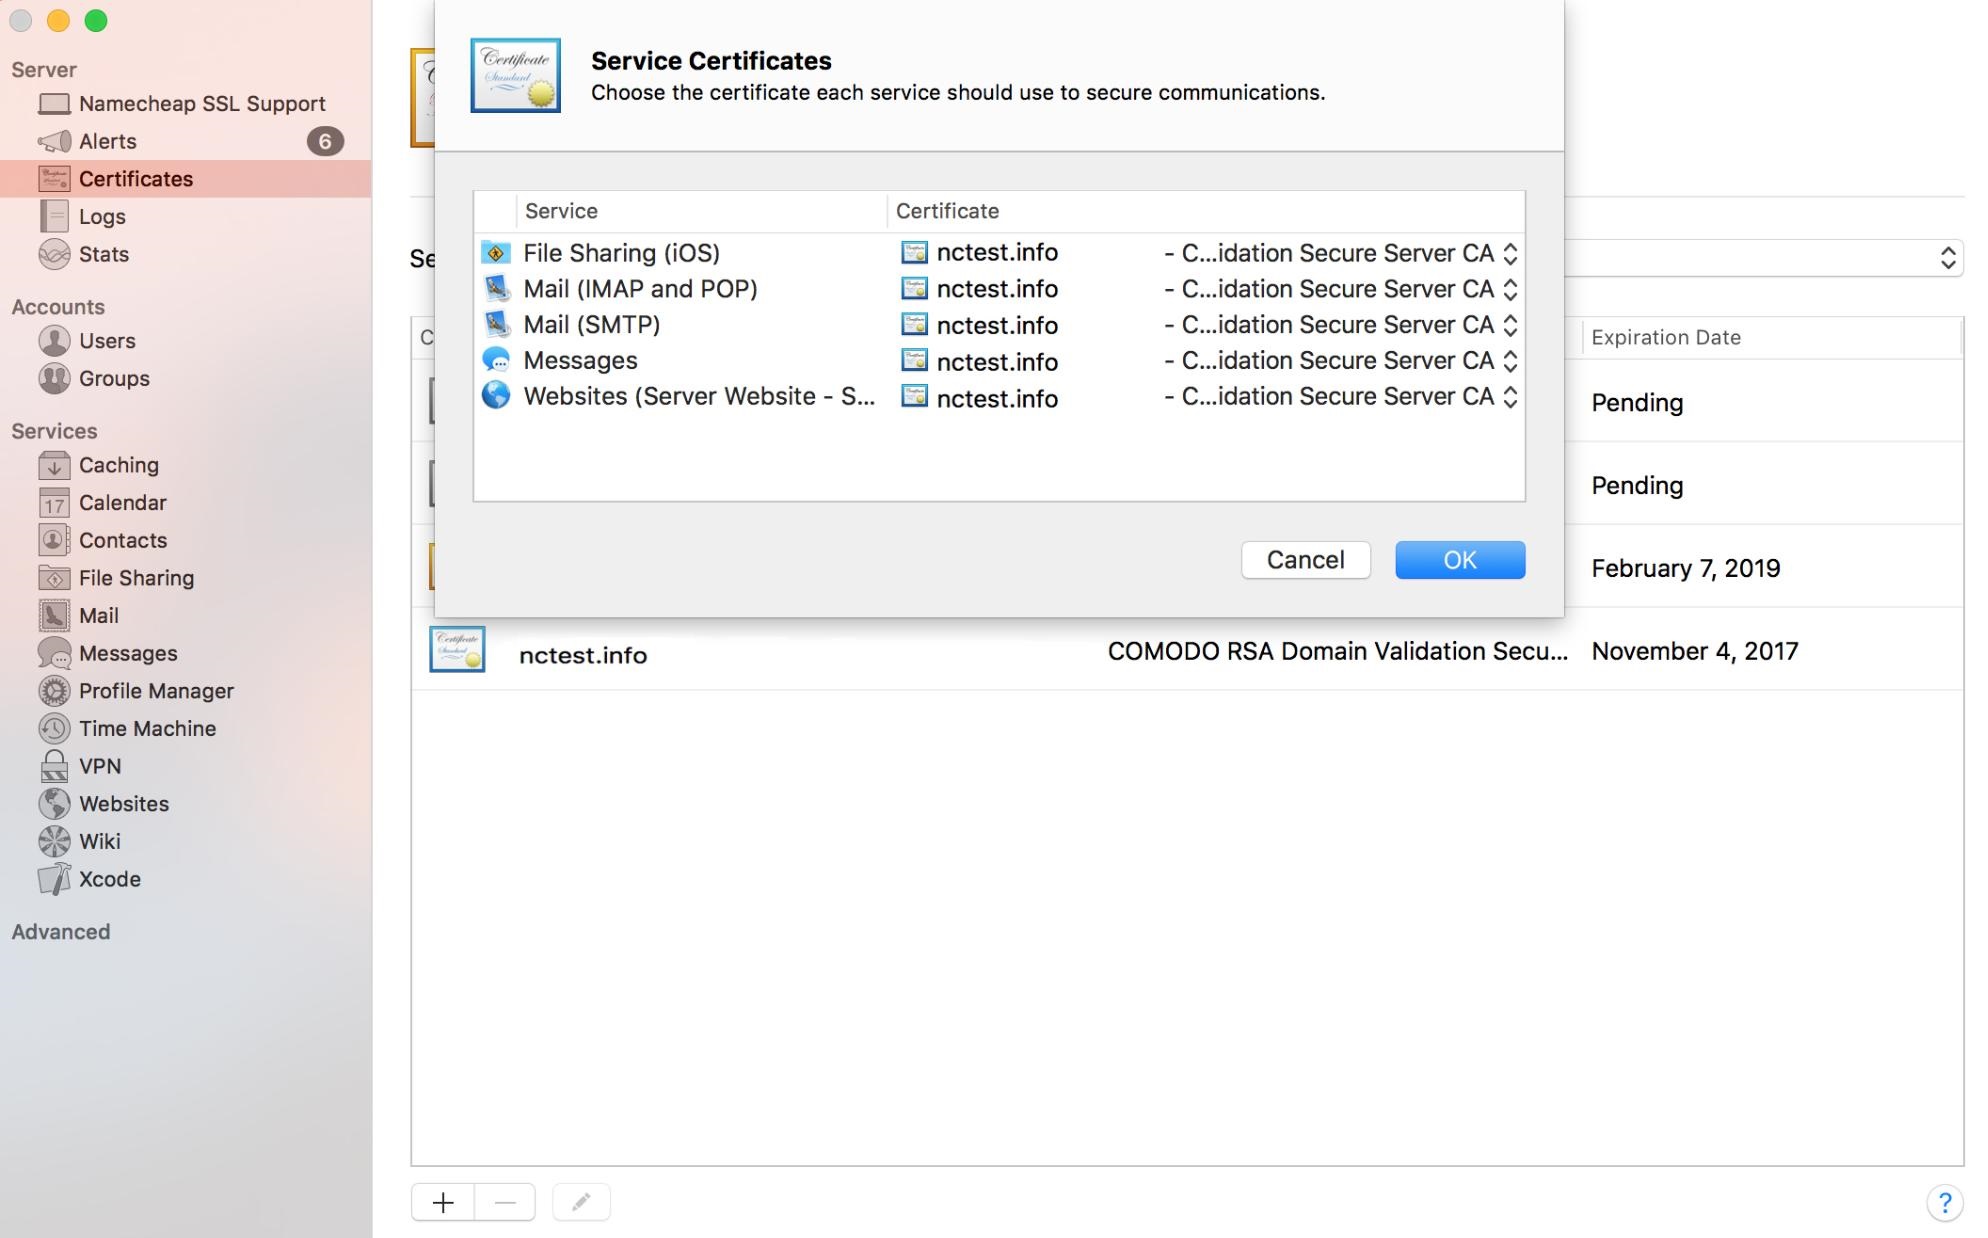
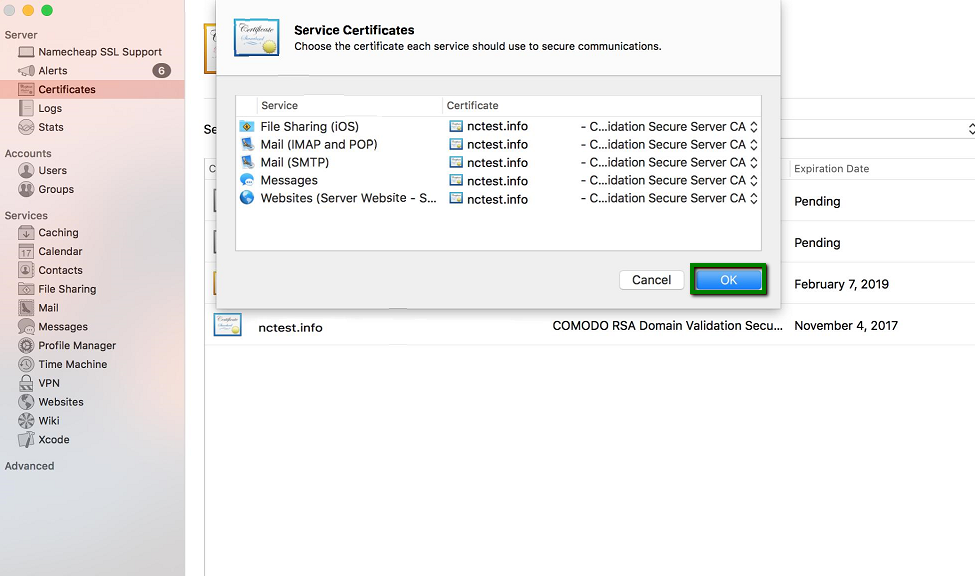
If you want to assign your certificate to custom services (like Mail services, file sharing, etc.), click the corresponding button:
If you face any difficulties during the process or need any assistance, please do not hesitate to contact our Support team. We are available 24/7 for you.
Need help? We're always here for you.