$ U.S. Dollar€ Euro£ British PoundC$ Canadian DollarsA$ Australian DollarsRs Indian Rupees¥ China Yuan RMBMore Info
Generating a CSR on Mac OS using Keychain
This article will walk you through the CSR generation process on the following Mac operating systems: macOS Catalina; macOS High Sierra; and macOS Mojave.
The generated CSR code will be used during the activation of your SSL certificate.
Important Note: If you are using the MacOS Server application you will need to follow the steps described in this article.
When using Keychain for CSR generation, locality, state and organization cannot be specified. If you would like to specify these details, you will need to generate a CSR using an online tool or the Terminal application as shown here instead.
Follow these steps to generate your CSR:
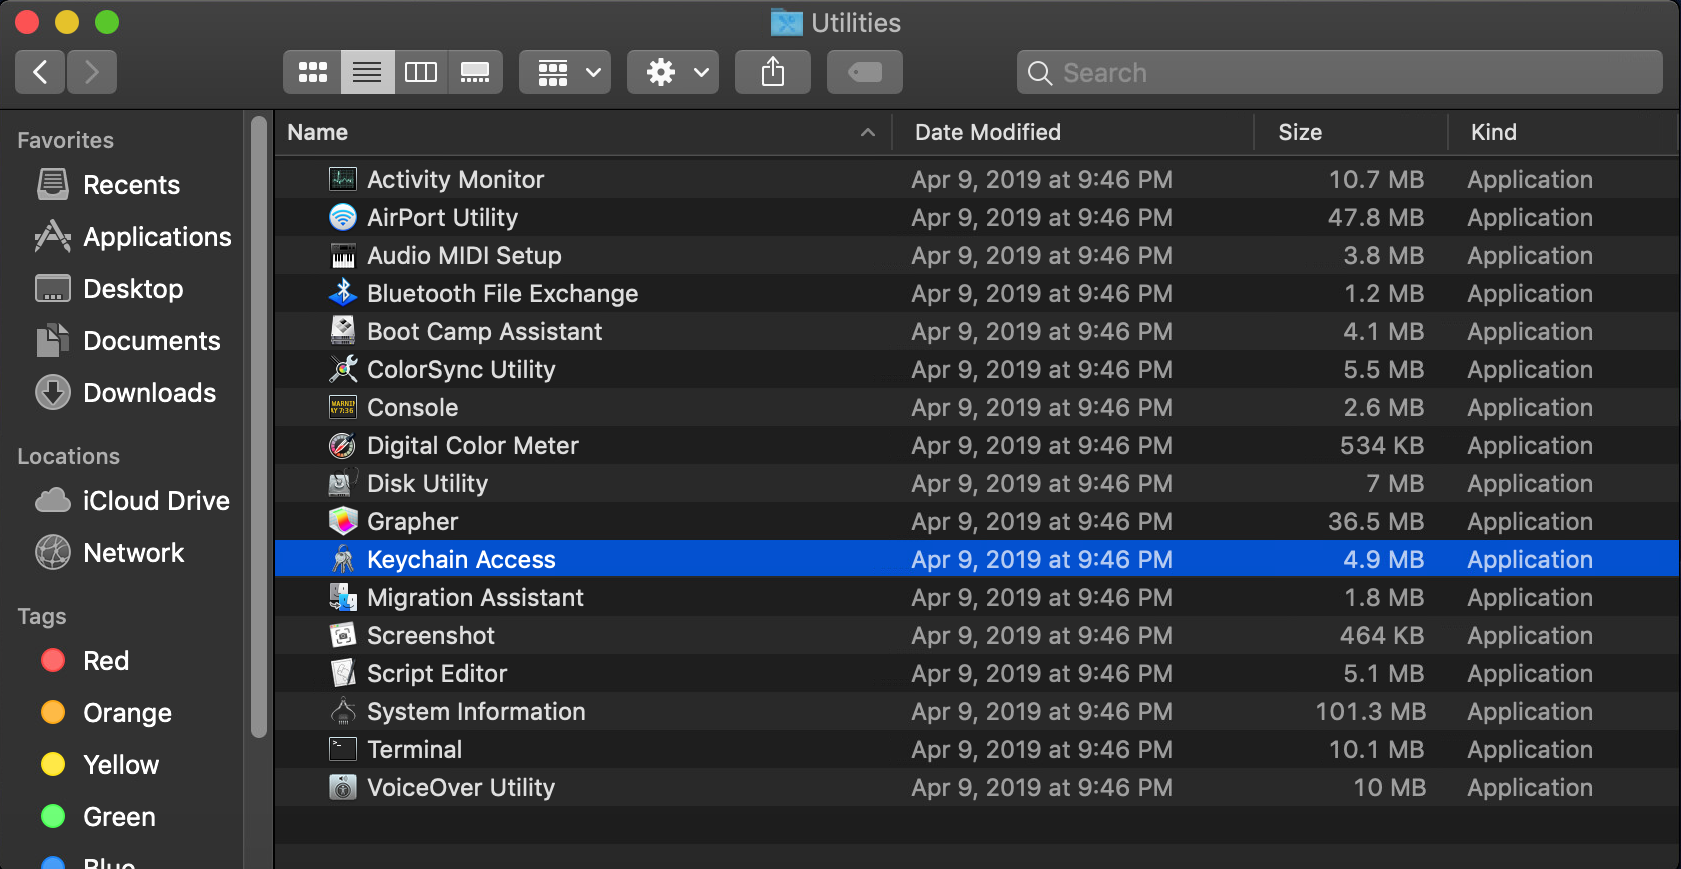
Go to the /Application/Utilities menu and locate and open the Keychain Access.app. from the list.
Click through the following options in the app menu: Keychain Access >> Certificate Assistant >> Request a Certificate From a Certificate Authority….
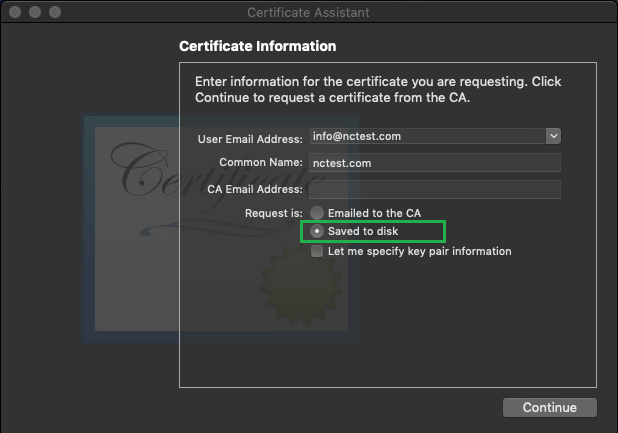
In the following window, you will need to fill out the details for your future certificate. Please enter the following information:
User Email Address - enter the address of your mailbox to this field.
Common Name - enter the domain name you would like the certificate to be issued for in this field
Note: The domain may differ depending on the type of SSL, for example, a domain name for wildcard type SSL needs to be entered with an asterisk; for example, *.example.com.
CA Email Address - make sure to leave this blank
Make sure to mark the Saved to disk checkbox.
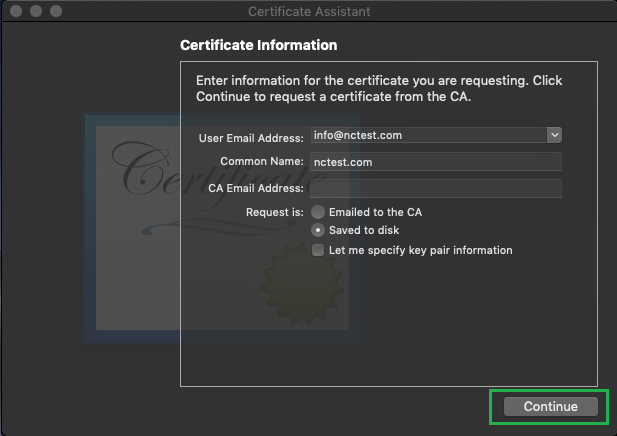
If you want to specify a certain key size for the CSR, make sure to tick the corresponding checkbox as shown in the image below:
If you choose this option, the window to enter the key information will appear a bit later. The description of the process is outlined in step 8.
Click the Continue button to proceed to the next step.
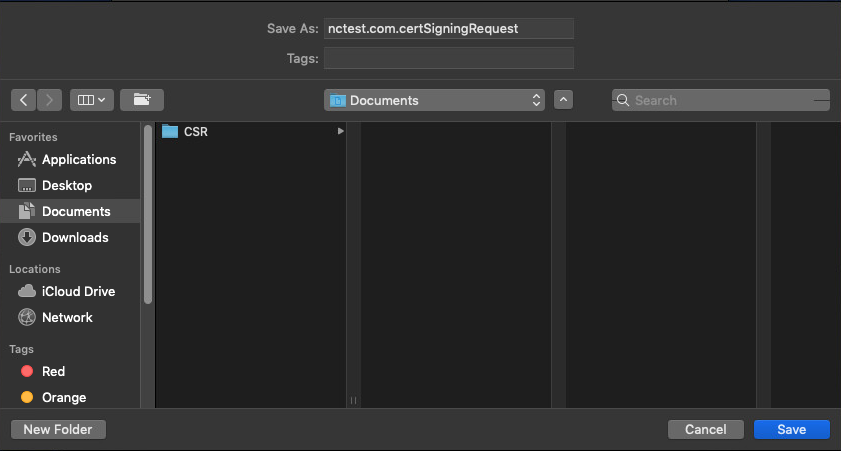
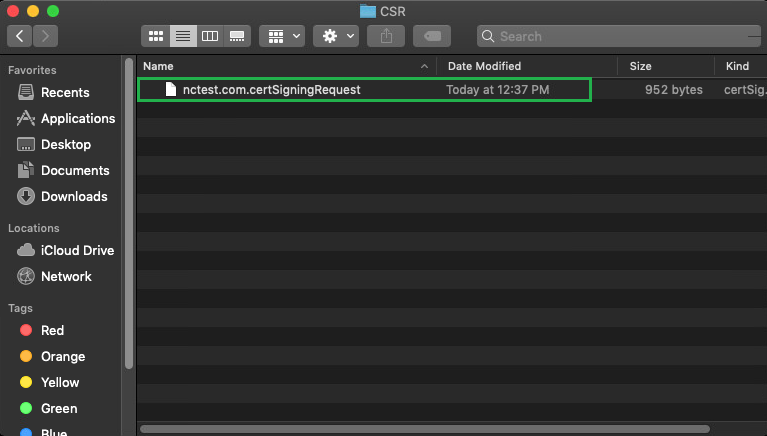
In the dialog box that follows, specify the name for your CSR file.
Note: Whatever the file name is, it should end with .certSigningRequest extension.
Choose a location to save the file to and click the Save button.
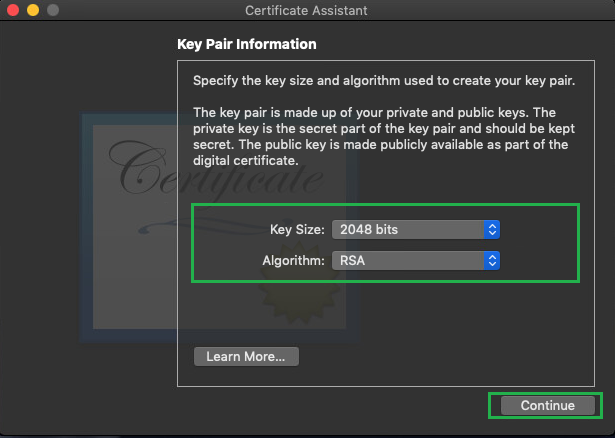
If you checked the Let me specify key pair information option earlier, you will be prompted to choose the Key Size and Algorithm for your keys now.
Note: Key pair is the matching CSR and Private key codes which are generated simultaneously and used for the same certificate setup.
The default values are 2048 bits and RSA algorithm. Select the new key size and click Continue.
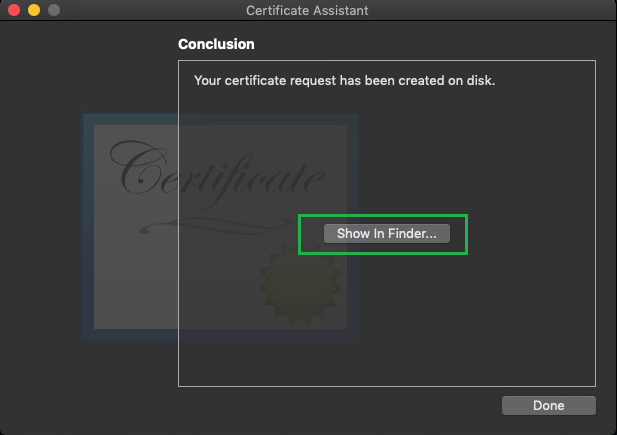
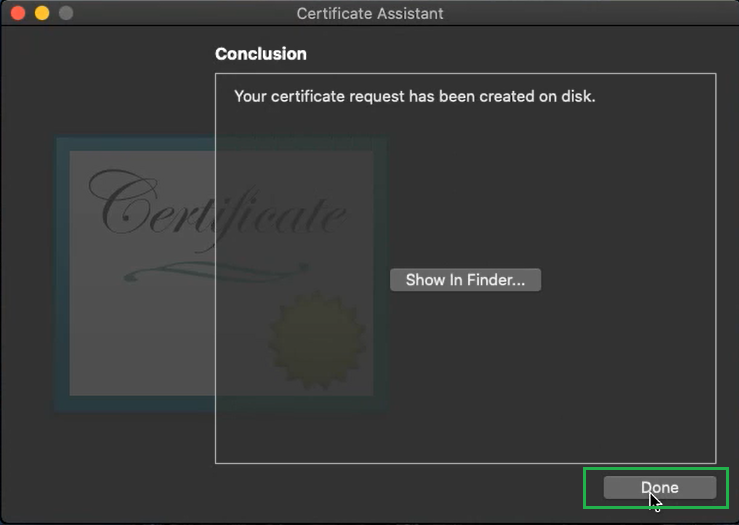
The generated CSR code will be saved to disk in the specified location. Click the Show In Finder button to open the file in its location.
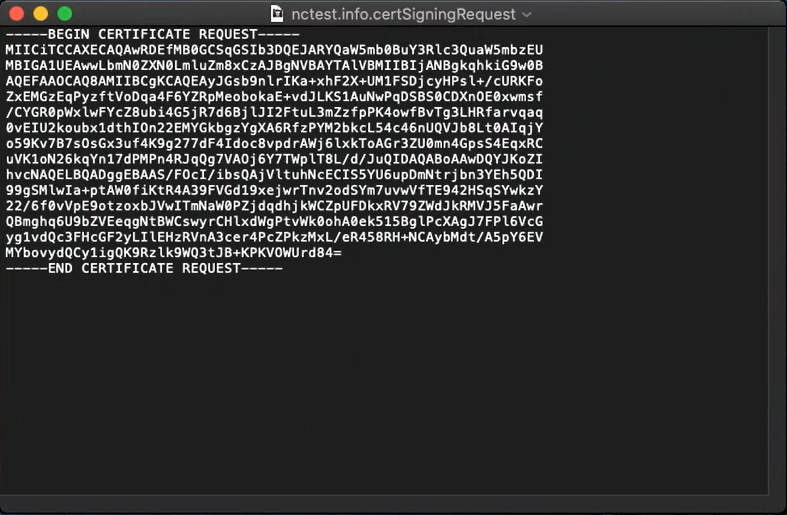
Open the CSR file in the Text Edit app to view its contents. The content of this file should be used to activate the SSL certificate.
Click Done to finish the process and close the window.
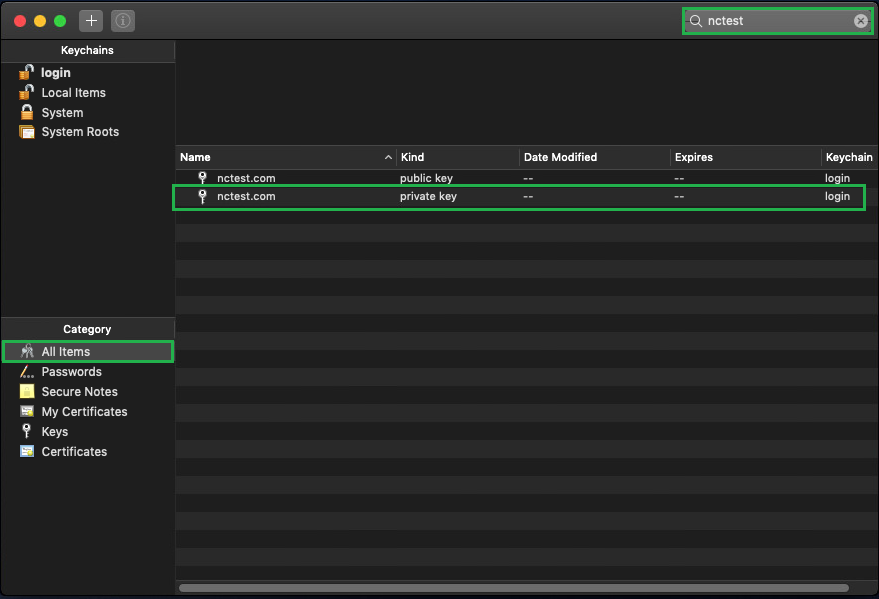
To locate the Private key generated together with the CSR code, navigate to the Keychain Access.app >> select All Items from the Category menu to the left.
Enter the domain name of the CSR into the search field in the upper-right section of the menu. The generated key pair will appear on the list.
Copy the CSR code inside the .certSigningRequest file opened earlier and proceed with the SSL activation process described here.
After your SSL has been validated and issued, you can proceed with the installation by referring to this guide.