How to register a domain name


Domain search process

When you look for a domain using our Domain Name Search, you’ll find the information regarding its availability with a list of similar domain names you may be interested in. Our Beast Mode tool allows to check options for a number of names and set various filters:


You can enter fully-qualified domain names (Top-Level Domains or TLDs like .com, .net, etc.) or select TLDs from the list:


PLEASE NOTE: It’s possible to register up to 50 domain names at a time.

You can take advantages of different available options of our Beast Mode, namely:

  • Choose the wanted Price Range
  • Use the Show Domain Hacks option. Domain hacks are domain names that combine domain levels to spell out the full title or name of the domain name. These type of domains spells out a word by using a combination of periods and less popular country-based extensions. Domain hacks offer the possibility to produce very short domain names (e.g., inter.net, domain.name)
  • Hide Unavailable domain names
  • Show Premiums indicates whether you want to see premium domains in the output or not
  • Drop Last Vowel removes the last vowel in the search results (e.g., ocean.name will be shown as ocen.name)
  • Pluralize Nouns creates a plural form of a noun (e.g, space.net will be shown as spaces.net)
  • Append Prefix/Suffix includes results that add text to the beginning or the end of your keywords
For example, let’s assume that you wish to register yourdomain.com. You go to Domain Name Search, enter yourdomain.com into the Search field and click on Search.

On the next page, you will see the Explore more button, which allows you to filter the results by the following options: Professional, $1 or less, Personal, and other categories:


There are several different statuses that a domain can have:

  • V (or blank): The domain name is available for registration. You will see the Add to Cart button next to these types of domain names.
  • Special: The domain name is available and can be registered at a promotional price at that particular moment.
  • Taken: The domain name is either registered by someone else or reserved by the Registry. You may also see the Make Offer button next to these particular domain names. By clicking on it, you allow our partners - DomainAgents - to enter into negotiations on your behalf to purchase the domain name for you.
  • Premium: The label either indicates it is a premium domain name that is on sale by its current owner, or a high-valued premium domain name that is already released for registration and/or currently reserved by the Registry.
  • Handshake: The Handshake Naming System (HNS) is a new approach to the Internet that uses a decentralized system with blockchain technology to offer a freer and more secure option for web users. Instead of working within the traditional naming conventions of the Domain Name System, which consists of familiar options like .com, .org, and .gov, Handshake allows for millions of new, unique domains. These names are available on the Handshake blockchain — which is free from oversight from organizations like ICANN — to give owners more control over their websites.

Please keep in mind that some domain names have special requirements, or additional details should be provided upon registration. In these instances, you will see the "i" icon next to them:


PLEASE NOTE: Namecheap supports IDN domain names registrations as well. An IDN can be registered with the symbols of one language only. It is required to select the language during the domain registration process. You can find the full list of supported TLDs and languages in the related article.

When you add a domain name to your Shopping Cart, you will receive the following options to select from: add a Web Hosting package, add a 1-year PositiveSSL certificate, add a 2-month Email Hosting trial, add an EasyWP subscription, add a 1-month VPN subscription, add a Business Cards application:


Click on the "+ Cart" icon or “>” button to select the additional products you’d like. Once all the necessary products are in your Shopping Cart, click on the View items button in the pop-up window, which will appear in the right upper corner:


Review the items added to your Shopping Cart and click on the Checkout button to proceed further.

Here you can add the amount of years for specific products and/or change their billing cycle. You can also check the Improve Your Site section that allows you to add an EasyWP hosting package, a 1-month VPN subscription or a free trial Email Hosting plan:


Click on the Toggle button to enable or disable the auto-renewal option as well as other services like Domain Privacy and PremiumDNS. The Save for Later icon saves any item and the "x" button removes the unnecessary one.

Once you are ready to order the products, click on the Confirm Order button to proceed with the checkout:


PLEASE NOTE: The "pinned" items will be added to the Saved For Later menu in your Shopping Cart:


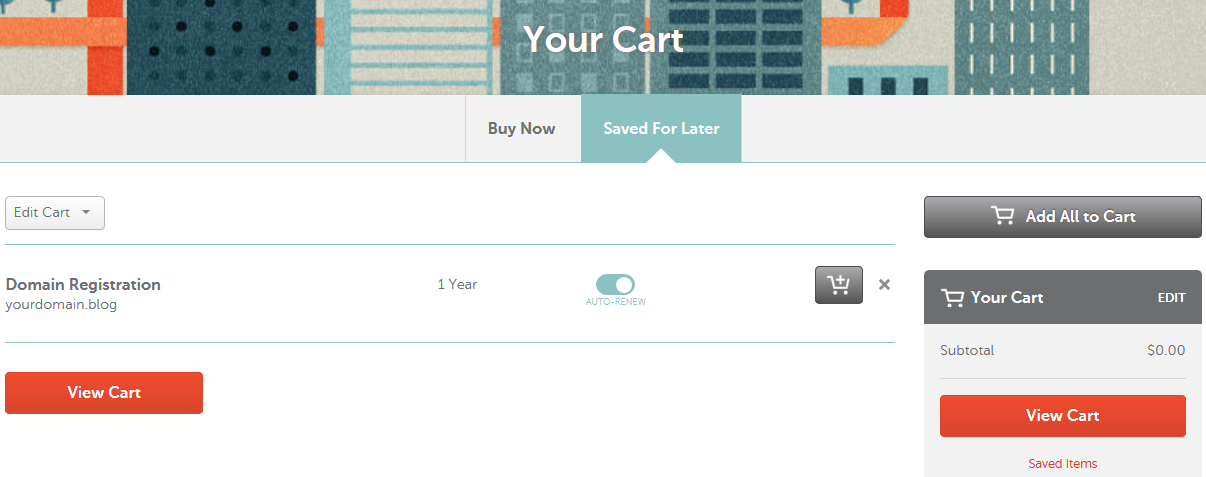
Domain configuration

If you are not logged in, you will be prompted to enter your Namecheap account username and password on the next page. If you do not have a Namecheap account, you will be able to create one on the same page.

If you register a domain name for the first time, and you have not provided your contact information (the postal address, phone, etc.), you will be prompted to do it before proceeding to the Billing stage. To do this, click on the I’m registering on behalf of a company option to fill in your respective Company Name and Job Title:


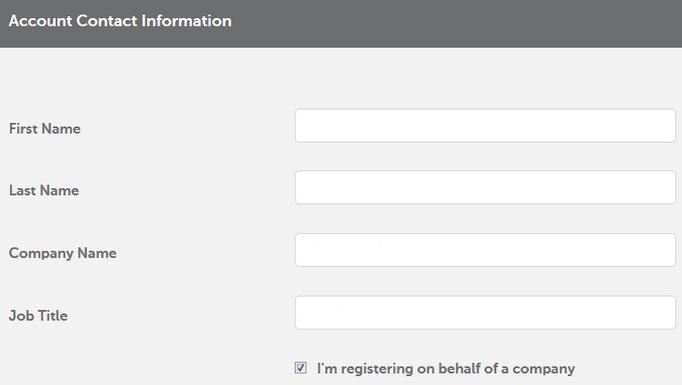
PLEASE NOTE: By default, the contact details you provide will be used for all your future orders.
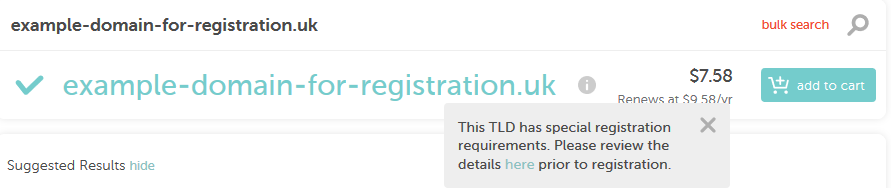
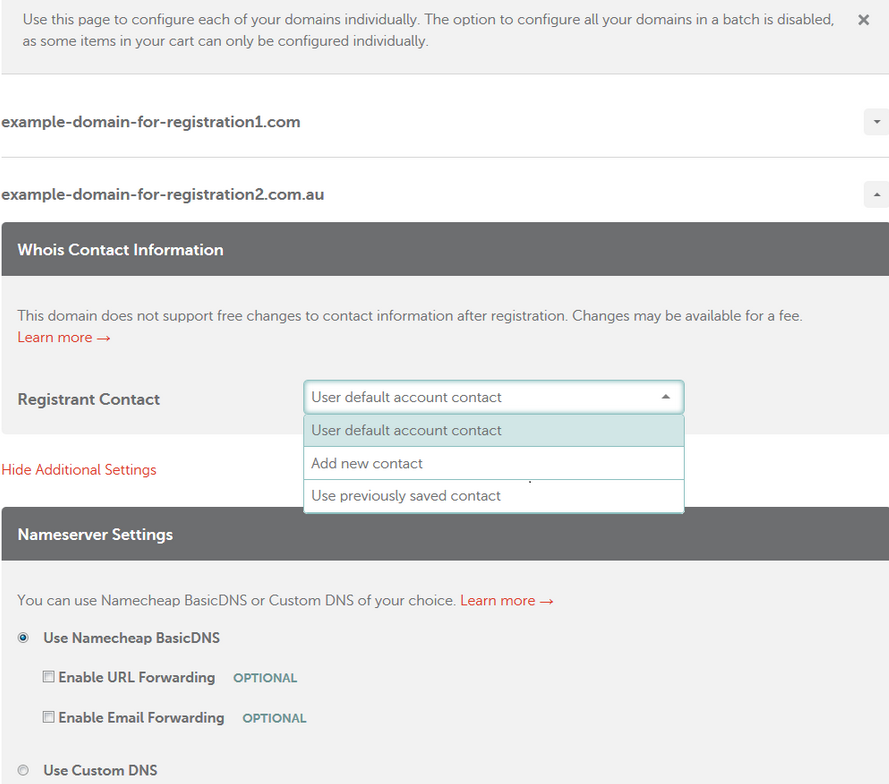
If some 
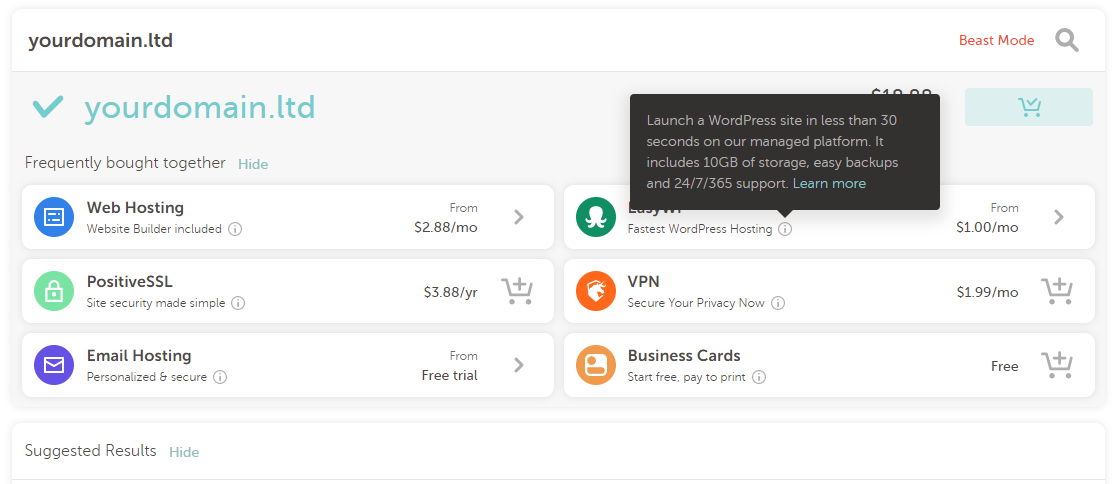
Extended Attributes for domain names with special requirements are to be provided, you will be redirected to the Setup page. Here you can configure the Whois contact information, privacy protection and nameserver settings for each domain name separately:


Payment settings

If the Whois contact information should be provided without the Extended Attributes for a number of domain names, you will be suggested that you change the settings for all the domains in a batch, although it’s possible to set them up individually:


You will be able to switch back to the batch setup at any moment:


The majority of domain names should have the Registrant, Administrative, Technical and Billing contacts, while other can have the Registrant and Administrative contacts (.CA domains) or even the Registrant contact only (.EU and .UK domains).

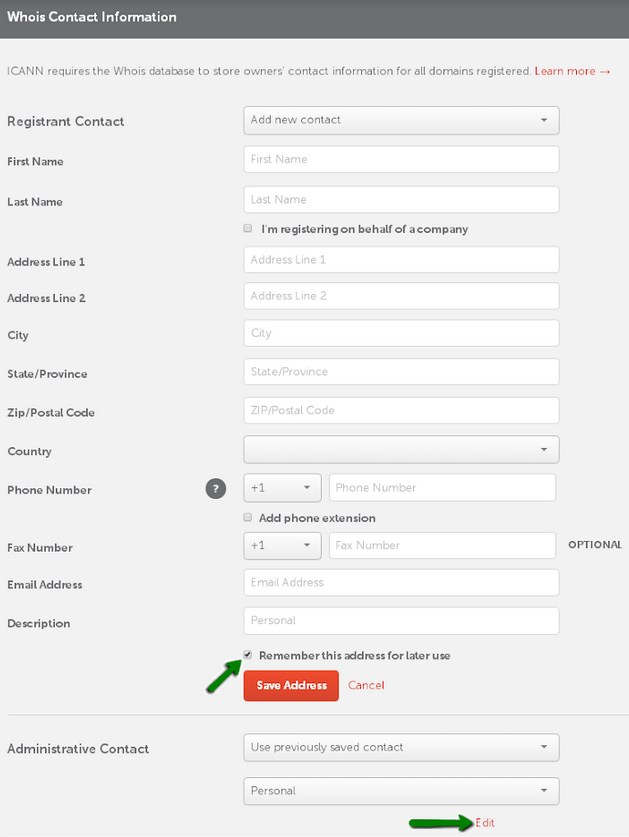
You may choose to Use default account contact, Add new contact or Use previously saved contact. For new and previously saved contacts, there will be an option to edit and save them in your Namecheap account:


By default, Domain Privacy protection is enabled for the supported TLDs at the time of purchase. However, it’s possible to disable it in the corresponding section:


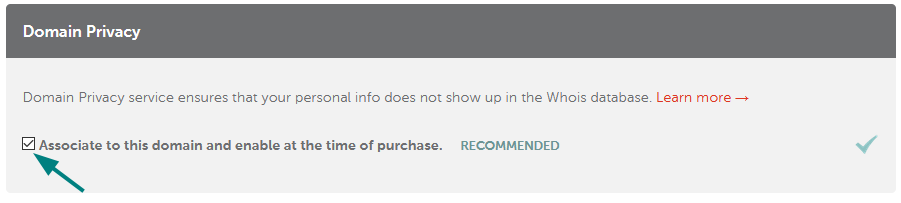
PLEASE NOTE: Due to restrictions of certain Registries, privacy protection tools cannot be used with a number of specific domain names. You may check additional information on the Domain Privacy page.

To change nameservers, you can click on the Show Additional Settings link. After the setup is complete, click on the Continue button to proceed:


PLEASE NOTE: You may skip this step if the settings were saved during the previous order or specified at the Domain Contacts Presets and the DNS and Redirect Presets menus in advance.

If the Whois and DNS settings are fine, and it’s the first time you pay for the order, you need to specify the 
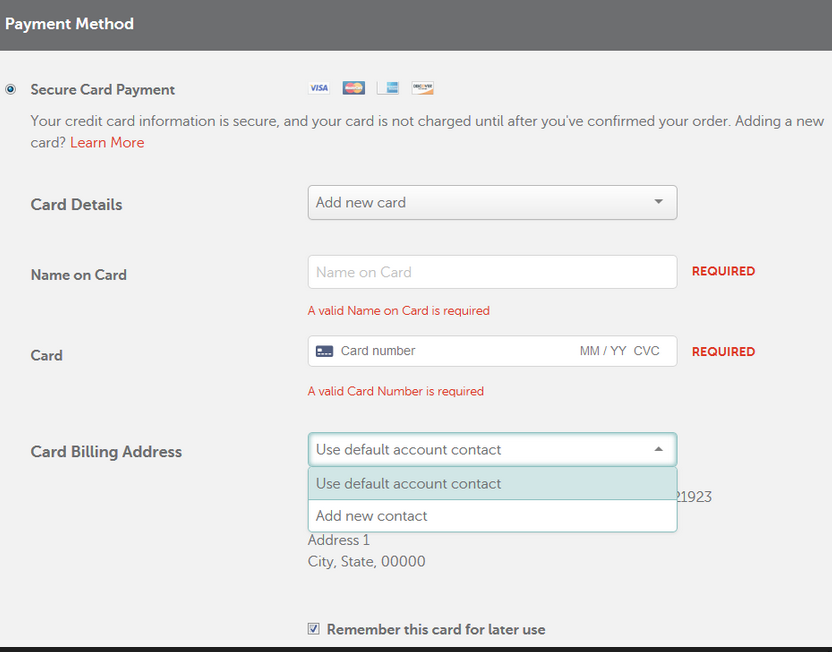
payment method. At the Billing stage, you may choose between a Secure Card Payment, PayPal, or Account Funds.

Secure Card Payments can be made with Visa, MasterCard, American Express and Discover. You can use a saved card, or add and save a new one, providing the card holder’s name, the 16 digits of the credit card number, the 4 digits of its expiration date (MM/YY), the 3 digits of the CVC code and the card’s billing address:


PLEASE NOTE: Unlike secure card payments, PayPal account details cannot be saved and must be provided each time you place an order.

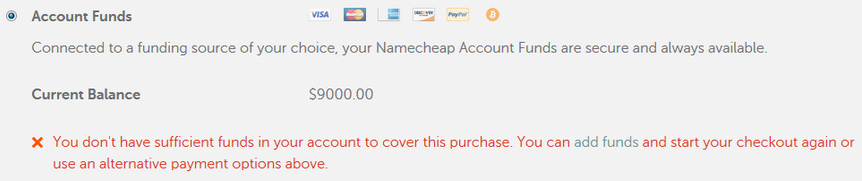
As for the Account funds option, it can be used when the balance covers the total sum of the order. Funds become available after deposits from credit cards, PayPal or Bitcoin.

If the balance is insufficient, you will receive the following message:

 
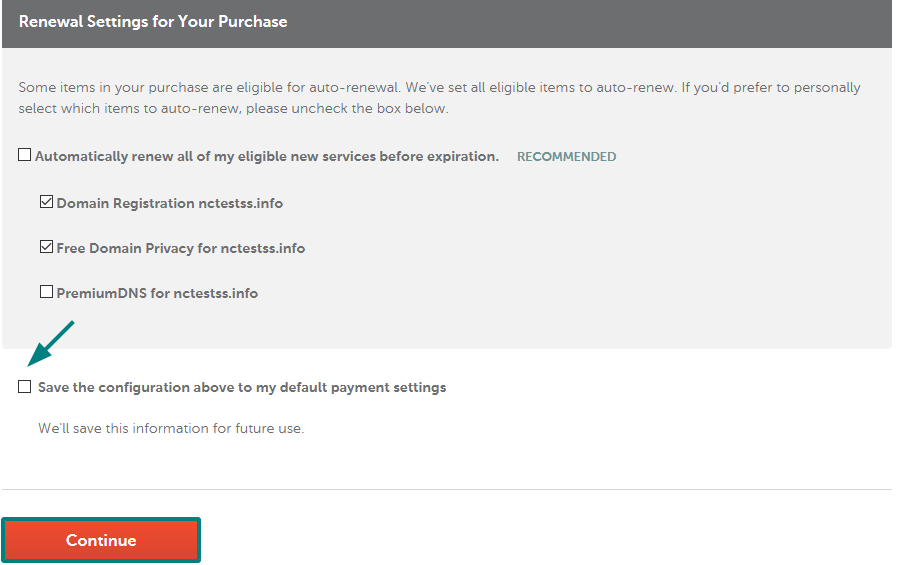
Below you can also review the auto-renewal settings, the billing contact information related to the order, and save them as default for all future orders. After the setup is complete, click on the Continue button to proceed:


PLEASE NOTE: You may skip this step if you have the payment information saved in the previous order or specified in the Profile >> Billing >> Payment section. You can also add a credit card or funds to your account in advance.

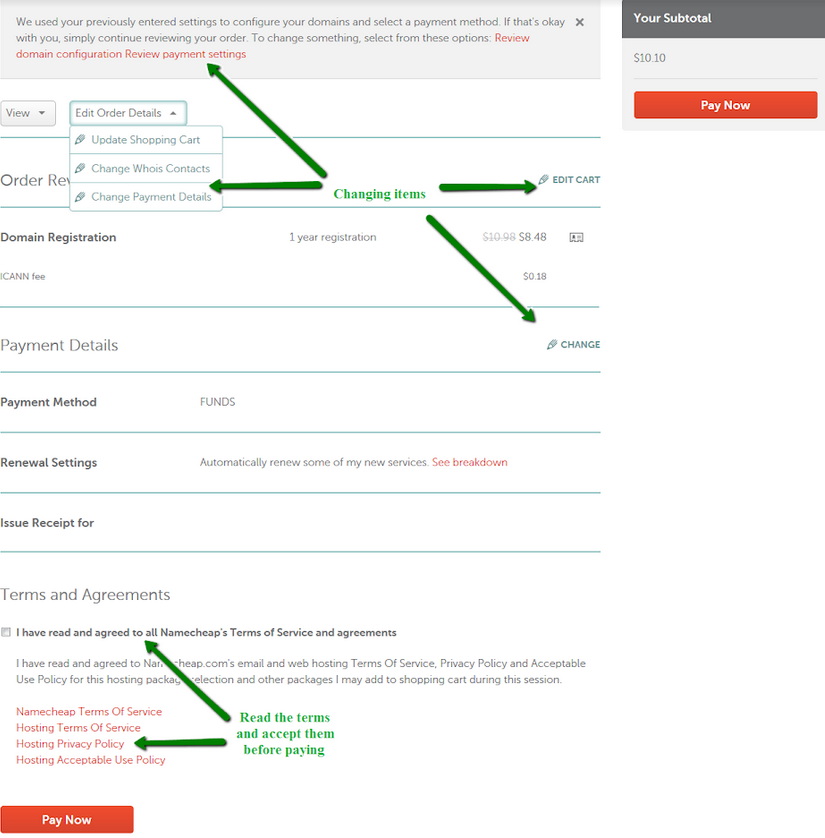
On the next page, you will be able to review your order once again, check the terms of service, and pay for the products.

If you need to change your settings or payment details, click on the Review domain configuration or Review payment settings links located at the top of the page.

When you are ready to place your order, click on the Pay Now button (Checkout with PayPal if PayPal was chosen as a payment method):

 
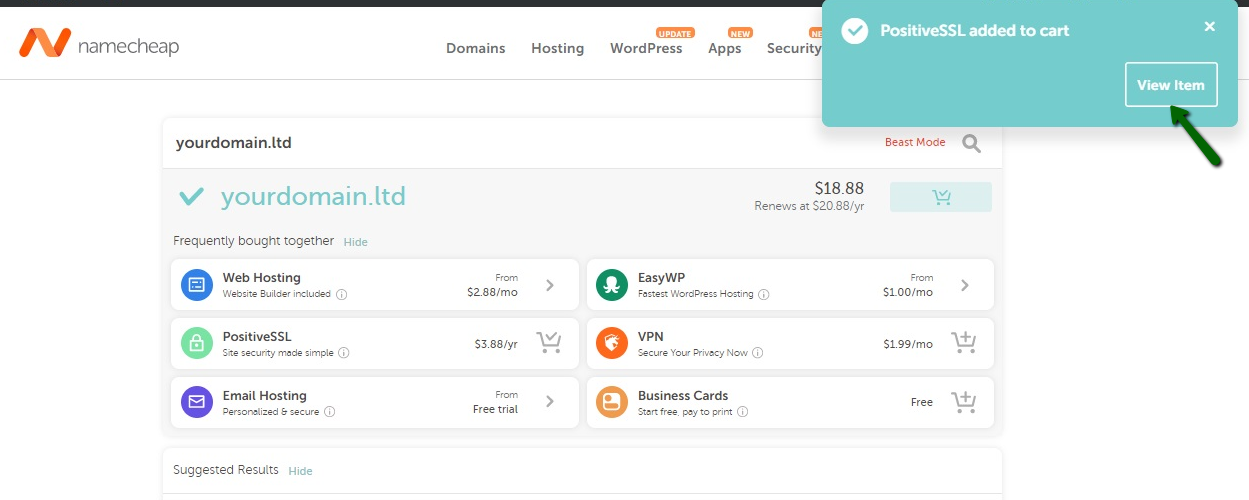
The selected items are processed one by one, and when your order is complete, the order summary will be printed on the screen as well as sent to your primary email address.

You may check it, resend or download as a PDF file in the Order History section.

Now your domain and website are well on the way, it's a great time to start looking at how best to protect them. Domain Vault is our most advanced domain protection yet. It restricts changes to crucial domain settings and comes with unlimited advanced domain support. Start your free trial today.


That’s it!


If you have any additional questions, feel free to contact our 24/7 Customer Support Team.
Updated
Viewed
37647 times

Need help? We're always here for you.

notmyip