This article is valid for Private Email subscriptions purchased before June 2, 2026.
To change the name of your Private Email mailbox:
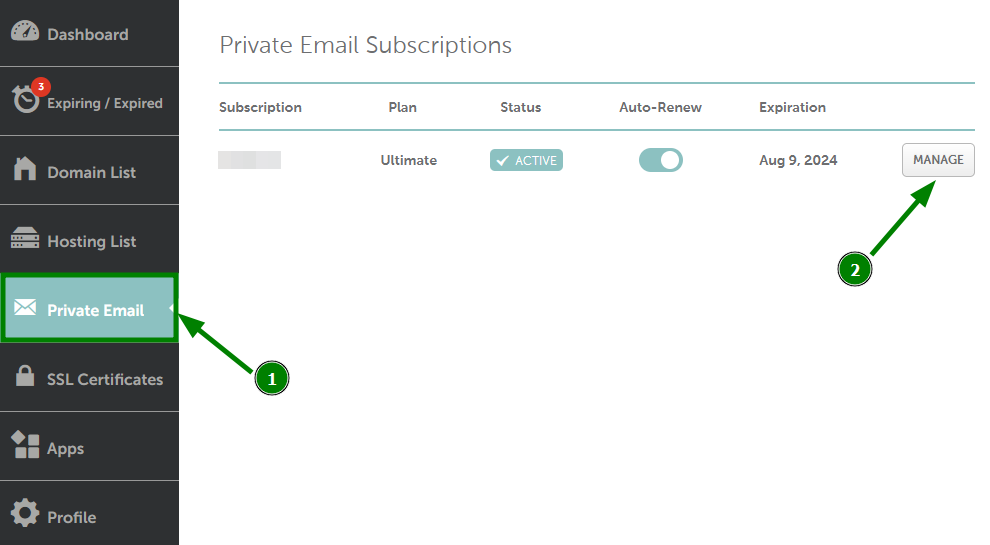
1. Sign in to your Namecheap account.
2. Go to the Private Email menu on your left, and then click Manage next to the needed subscription:
NOTE: Once the old mailbox is deleted, emails, contacts, and calendars associated with it, will be deleted from the server with no way to restore them. If you wish to keep the emails, firstly, it is required to back them up so you can restore them in the new mailbox later.
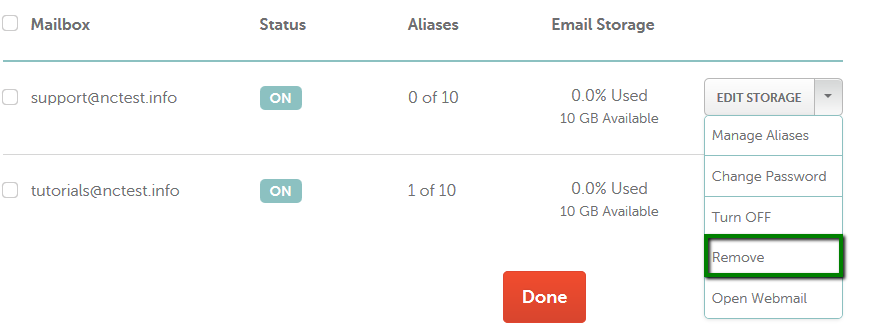
3. Scroll down to the mailbox management section, and select Remove from the drop-down menu next to your mailbox:
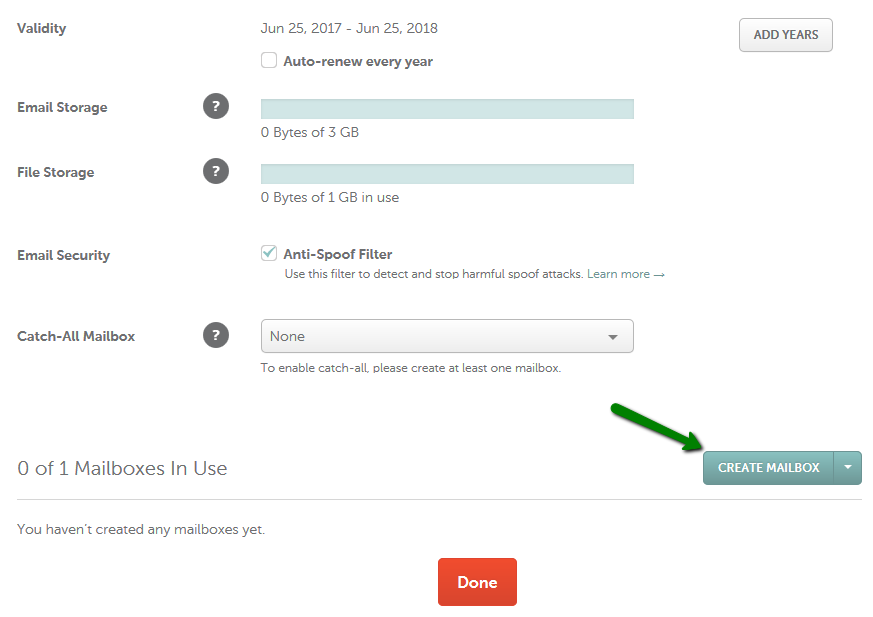
4. Now, you have a free slot to create a new mailbox with a new name. Click on the Create Mailbox button:
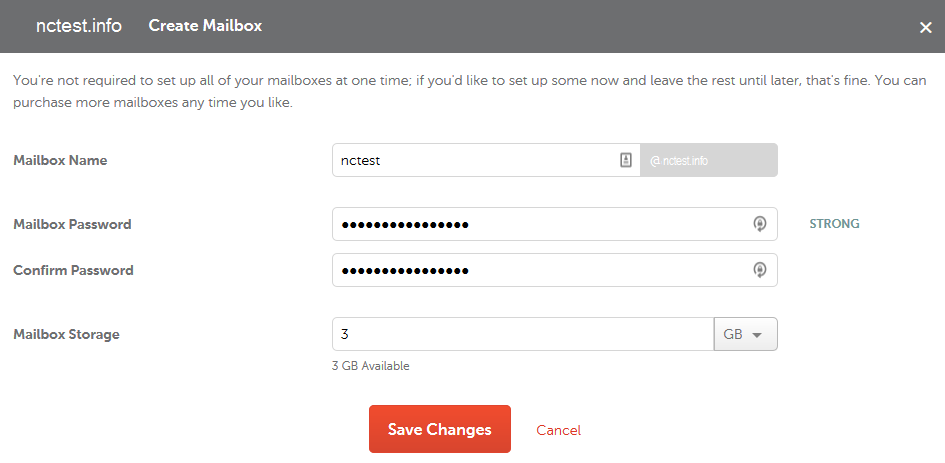
5. Insert the mailbox name you wish to have, its password, and mailbox storage, then click Save Changes:
NOTE: If there is only one mailbox in your subscription and it is deleted, the existing DKIM record will also be removed by the system and it will not be valid anymore.
However, the DKIM record is set up automatically after the recreation of the mailbox.
That’s it!
Need any help? Contact our HelpDesk
