There are five common ways to disable WordPress plugins – via admin dashboard, Softaculous WordPress Manager, cPanel File manager, website database, and Terminal. In this guide we will cover each option:
NOTE: Before proceeding with any changes, make sure that you generate a full backup of your website. If you've created your site using Softaculous script installer, feel free to refer to this guide as well (step #4 – Backup software).
Disable plugins via WordPress dashboard
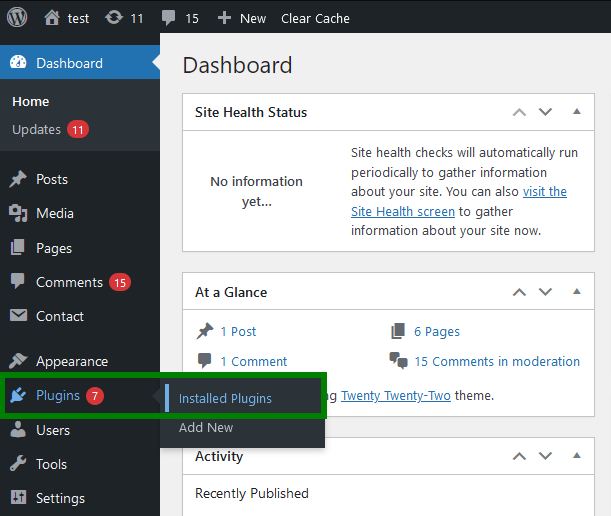
1. Log into your WordPress dashboard and navigate to Plugins menu >> Installed Plugins:
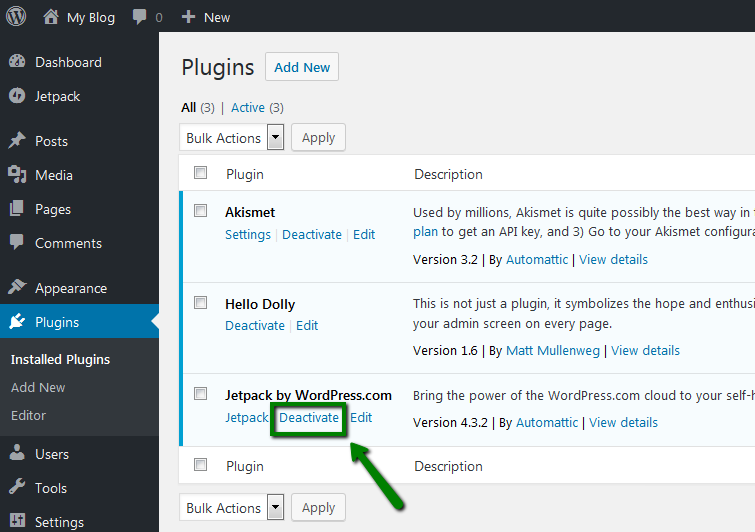
2. You will be redirected to the list of the plugins. Here you can check the number of the installed plugins and their statuses.
Each active plugin has Deactivate button beneath. Click on it and the plugin will be turned off:
If due to some reason you are unable to access the WordPress admin dashboard, you can deactivate the plugins in the alternative ways.
Disable plugins via Softaculous WordPress Manager
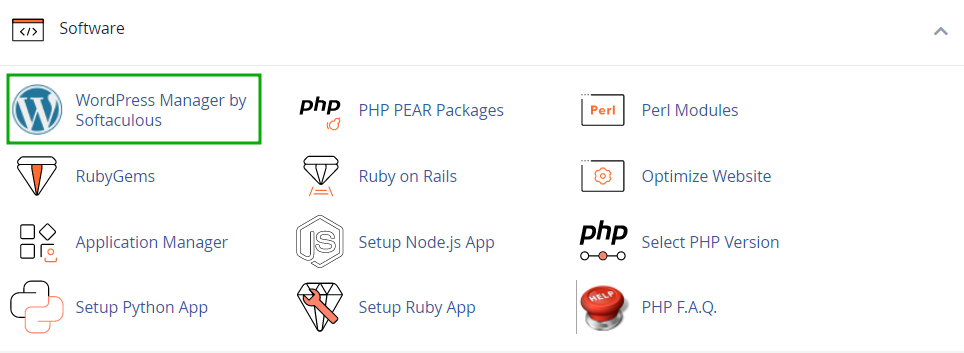
1. Access your cPanel account, navigate to the Software section and click WordPress Manager by Softaculous:
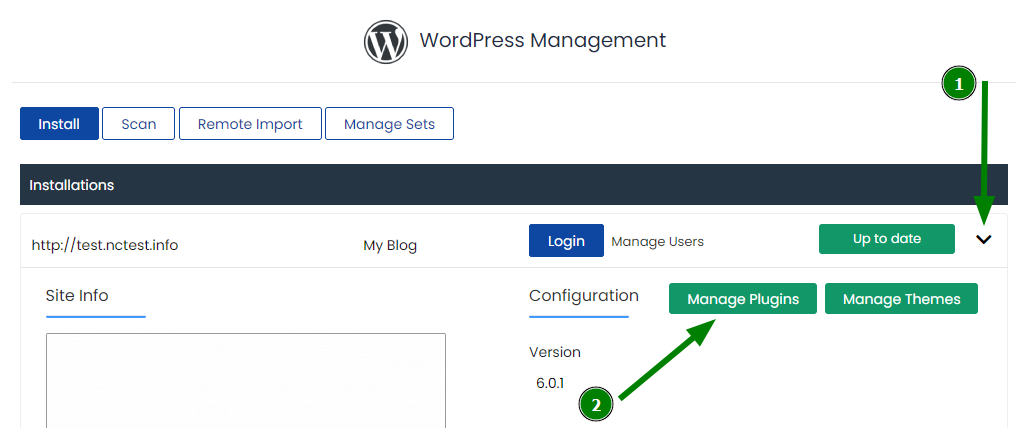
2. Click the arrow-down button (1) to open your installation details, and click Manage Plugins (2):
3. In the Installed tab, turn off the toggle in the Status column next to the plugins you want to disable:

Once done, you'll see the message Plugin deactivated successfully.
Disable plugins via File Manager
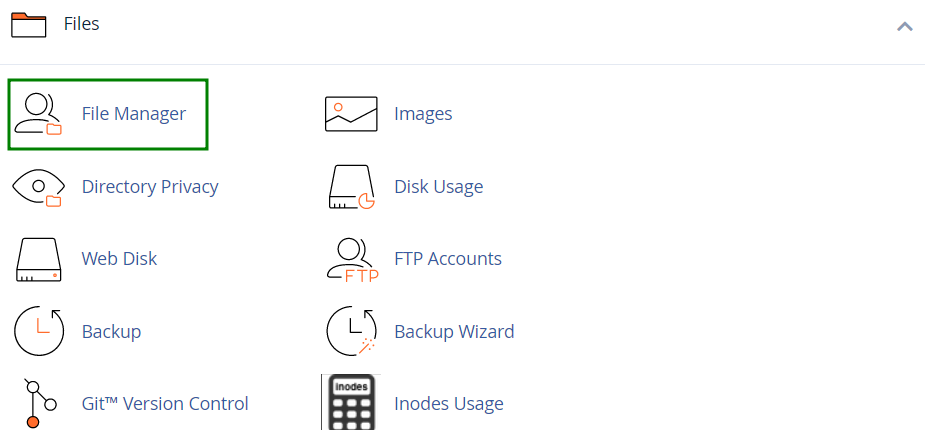
1. Log into your cPanel, navigate to Files section and click on File Manager:
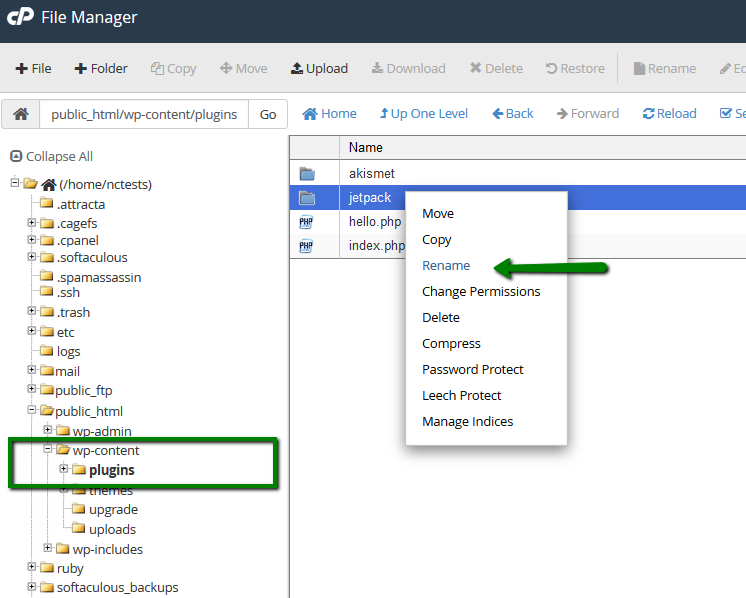
2. Once inside, go to your WordPress website directory root. Navigate to /wp-content/plugins folder and find the plugin you need to disable.
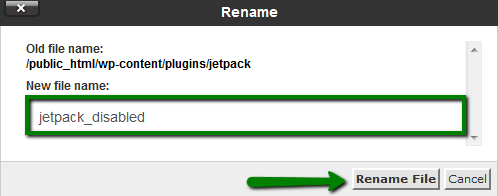
You can simply rename the plugin folder and save the changes:
Make sure that you remember the initial name of the plugin folder in case you need it back on at some point:
NOTE: Some plugins, e.g., caching ones, are hard-coded, and the folder renaming will not disable them. In such cases, you will need to disable the plugin in the database.
Disable plugins via website database
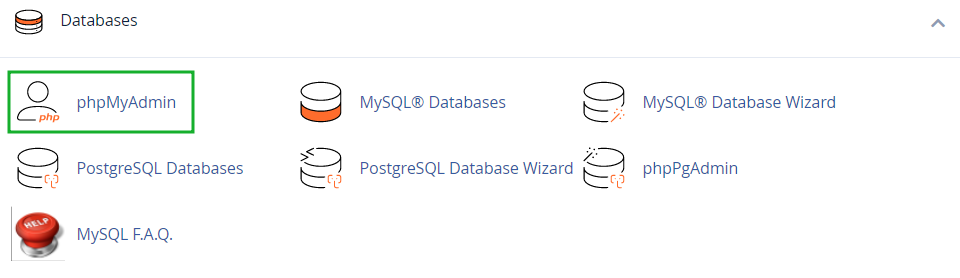
1. Log into your cPanel, navigate to Databases section and click on phpMyAdmin:
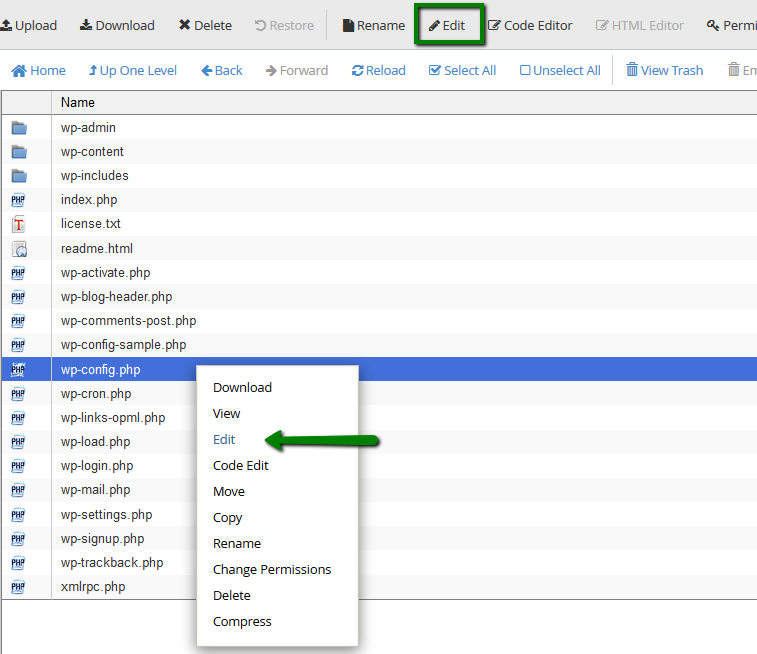
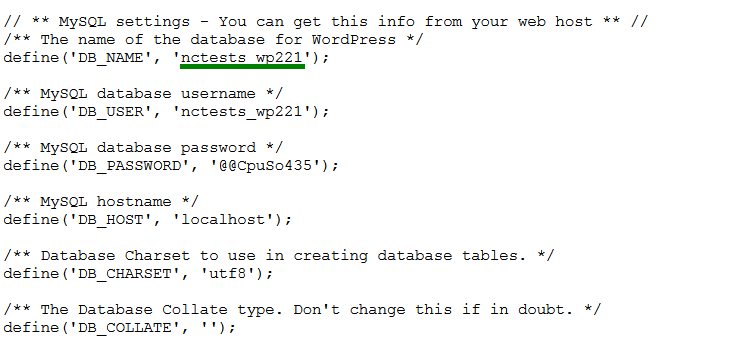
2. To check what database is in use by your WordPress website, check wp-config.php file located in the website root:
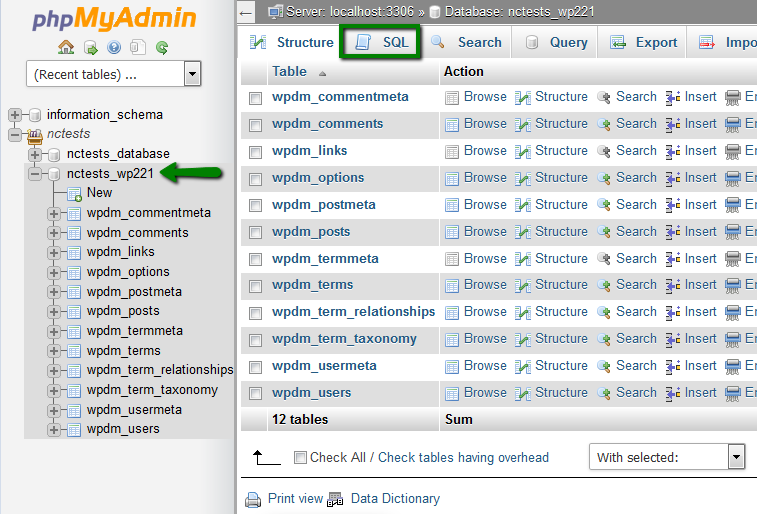
3. Expand the list of your databases and click on the one assigned to your WordPress installation.
Navigate to the upper menu bar and click on SQL:
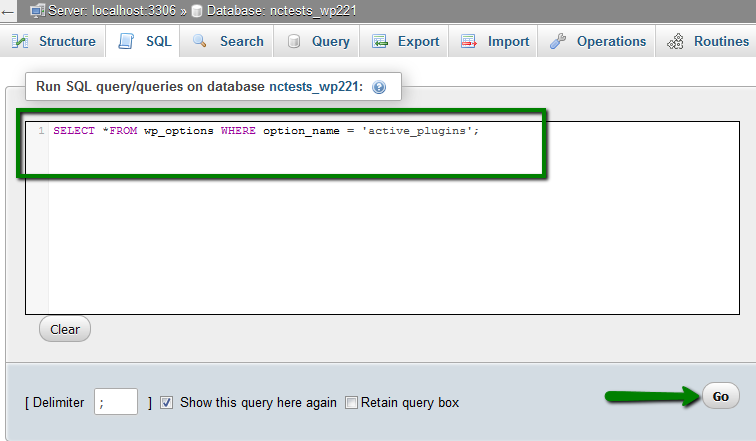
4. Insert the following query and click Go:
SELECT *FROM wp_options WHERE option_name = 'active_plugins';
This command is adjusted to the default WordPress 'wp' database prefix. However, in some case the prefix may differ, so you will receive the following error:
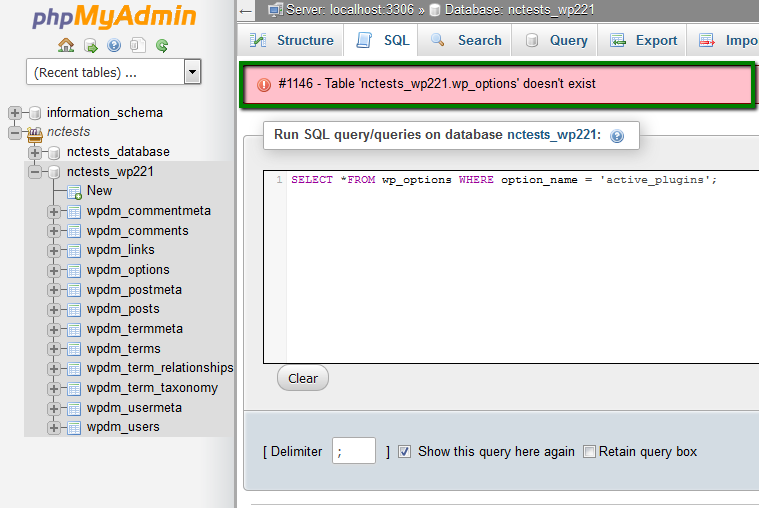
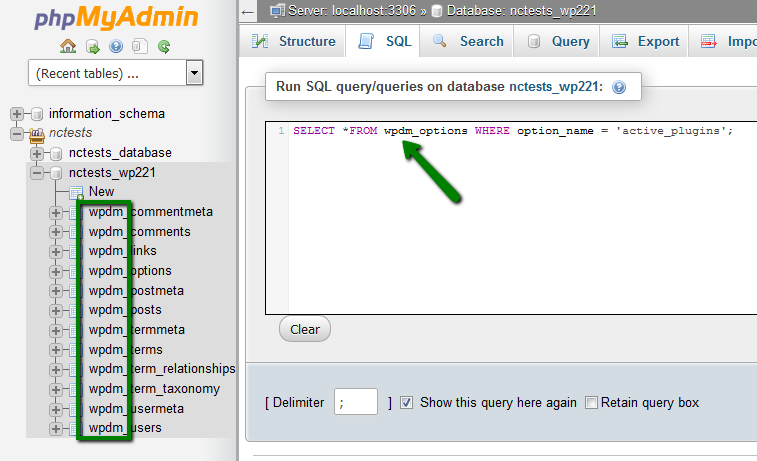
Thus, you may need to adjust the command according to your database prefix:
5. Once the query is executed, click on Edit:
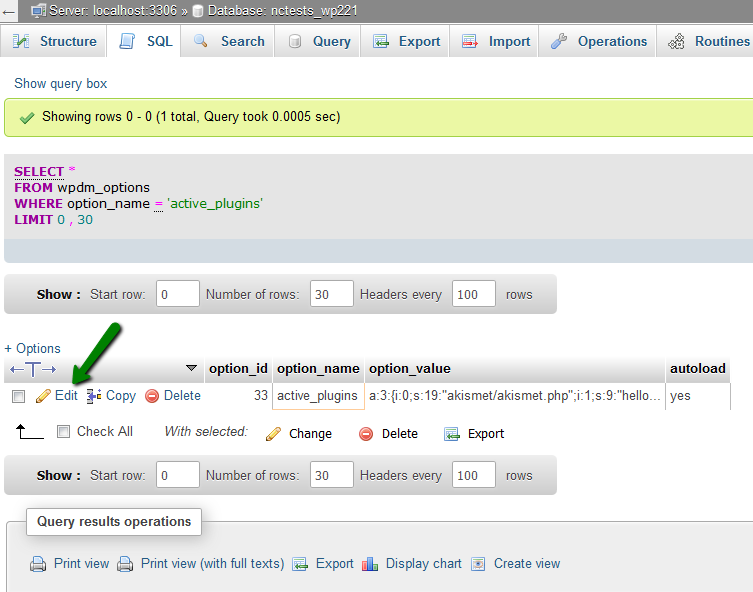
You will see the following output like this one:
a:4:
{
i:0;s:19:"akismet/akismet.php";
i:1;s:36:"contact-form-plugin/contact_form.php";
i:2;s:45:"limit-login-attempts/limit-login-attempts.php";
i:3;s:29:"use-any-font/use-any-font.php";
}
Number 4 in the beginning shows the total amount of active plugins. They are numbered from i:0 to i:n-1, where n is 4 in our case.
To deactivate the plugin, simply remove the corresponding line and save the changes. Make sure that the numbering and n-value of the plugins are corrected. For example, if you need to turn off Akismet, the output to save will look like:
a:3:
{
i:0;s:36:"contact-form-plugin/contact_form.php";
i:1;s:45:"limit-login-attempts/limit-login-attempts.php";
i:2;s:29:"use-any-font/use-any-font.php";
}
NOTE: To deactivate all the plugins, simply erase the code from the box.
5. Click on Go. Your plugin is disabled now.
NOTE: The final output is displayed in a single row and should be saved in the same way. We have divided it into several ones for your convenience only. Thus, we advise to copy the code into any TXT editor, edit it, and then copy-paste it back in one line.
Before proceeding with these changes, make sure that SSH access is enabled for your account. You may do it using this guide.
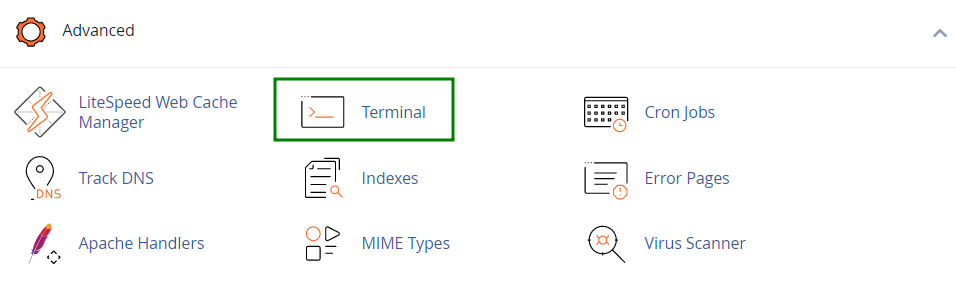
- Log into your cPanel, navigate to Advanced section and click on the Terminal menu:
- All commands should be executed from a domain`s root folder. It is needed to run the command cd folder. The part folder should be replaced with the necessary domain`s root folder:

- Now you can run the following commands:
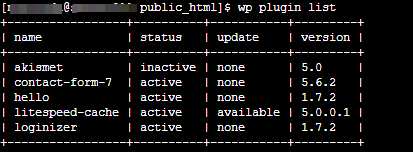
wp plugin list - displays a list of plugin names along with their status, version, and an indication of an available update.
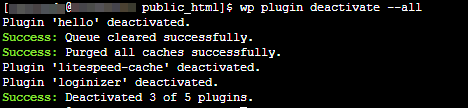
wp plugin deactivate ${name} - deactivates a plugin, ${name} should be replaced with the actual name.

wp plugin deactivate --all - deactivates all plugins at once.
That's it!
Need any help? Contact us via HelpDesk