In this article you can find the guidelines on creating and restoring backups in cPanel:
How to create a full cPanel backup
The Backups menu in the section Files allows you to generate/restore backups of:
- a full cPanel account
- a MySQL database
- mail filters
- mail forwarders
A full cPanel backup includes all account files, databases, email accounts and settings.
We recommend creating a full cPanel backup before any major data modification/migration.
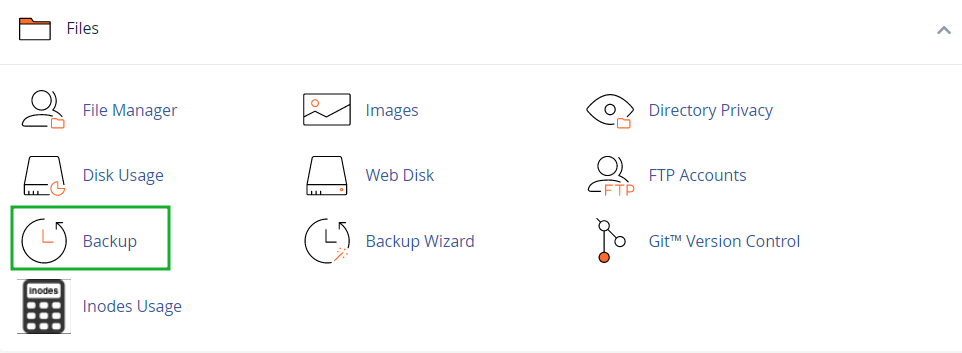
1. Go to cPanel > Files section > Backup menu:
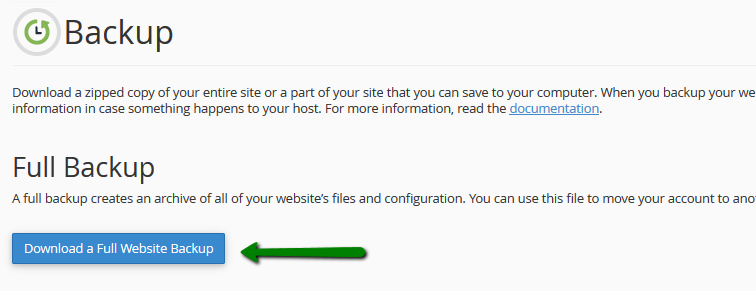
2. Click on Download a Full Website Backup:
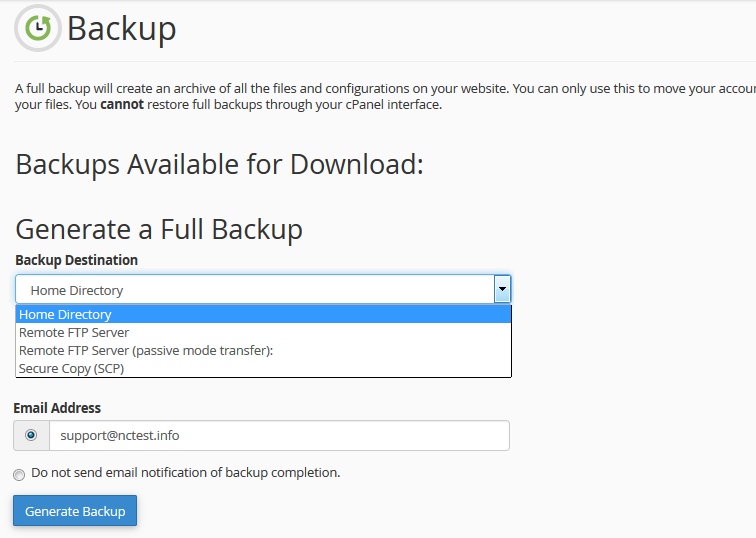
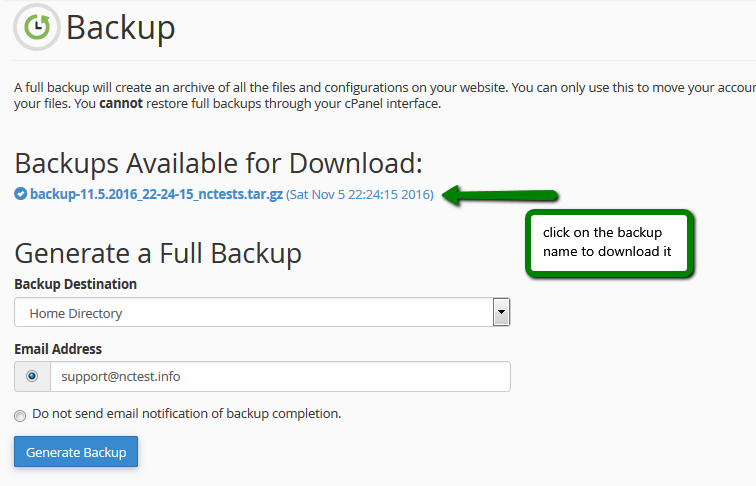
3. By default, a full cPanel backup will be saved into your account home directory.
Go ahead and change Backup Destination if you would like to choose another target location for the backup.
Click on Generate Backup to proceed:
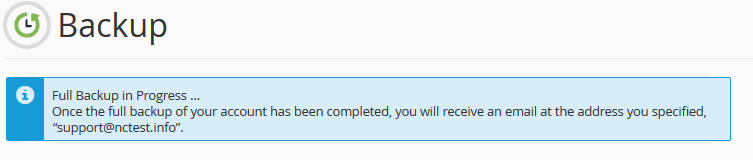
4. You will see the following message notifying about the start of the backup generation process:
5. Click on Go Back to monitor the status of the generation process real time.
The green checkmark next to the backup name will indicate that backup generation has been completed.
You can now either download it or navigate to the remote server to see if the backup is there:
For VPS/Dedicated Server HostingIf you have a VPS or Dedicated server with root access, you can restore the full cPanel backup yourself in
WHM >
Transfer or Restore a cPanel Account.
PLEASE NOTE: This will overwrite all the existing files, so before proceeding make sure there is nothing important left.

PLEASE NOTE: If you have a Stellar or Reseller package with us, you cannot automatically restore full cPanel backup, including cPanel settings through your cPanel interface. To have it restored, please email us to
support@namecheaphosting.com.
You can fully restore a cPanel backup on your side only with our Stellar Plus and Stellar Business plans via the
AutoBackup menu in cPanel.
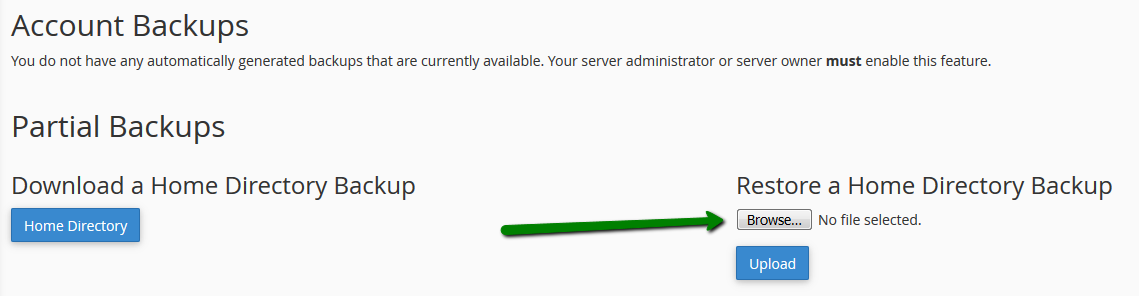
In case you wish to restore the files in your Home Directory, you may use
Backup >>
Restore a Home Directory Backup cPanel option.
After locating this menu, select the backup file that you wish to restore and click
Upload:
NOTE: You should use only backups generated via the Download a Home Directory Backup option; since a full cPanel backup has a slightly different structure, restoring it may create unnecessary files/folders that will take up disk space within your account.
You will be redirected to the next page and within a minute you may see the Restoring files tab:
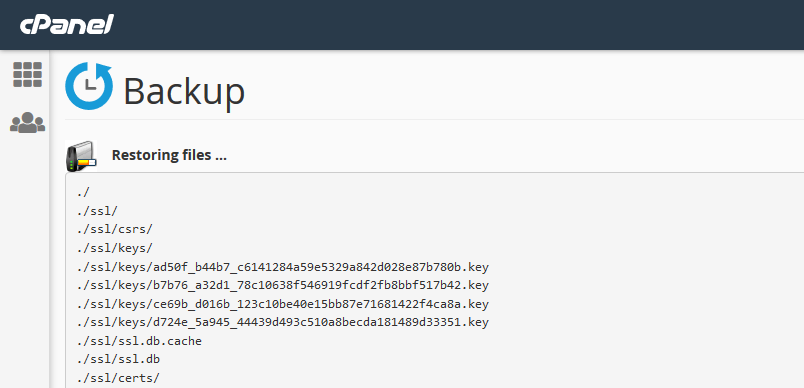
This means that the backup file was uploaded and restored.
PLEASE NOTE: The following way of the backup restoration does not guarantee the correct work of the websites afterward. If you face any issues, please contact our Hosting department via support@namecheaphosting.com.
That's it!
Need any help? Contact our HelpDesk
