
Need a hand installing your SSL? We can do it for you.
This guide provides an overview of SSL Certificate installation on Apache web server, one of the most popular web servers.
Since there are two versions of Apache webserver (“httpd” for RHEL-based Linux distributions and “apache2” for Debian-based Linux distros), we cover SSL certificate installation for both.
For SSL installation on both, the following files are needed:
If you have an RHEL-based Linux distro (CentOS, RedHat, etc.), go here: SSL Certificate installation on httpd.
If you are not sure which Linux distro you have or which version of Apache is being used, run one of the following commands:
httpd -S or apachectl -S
(httpd is an Apache package for RHEL-based Linux Distros, whereas apachectl is for Debian-based systems).
If the “Command not found” message is shown, try another option. The command that gives you an output with the server setup details will determine your distro and Apache type. Once you figure out which type you have, head to the corresponding installation guide.
Before starting the installation, the certificate files should be uploaded to the server. There are a number of ways to upload SSL files to the server. In this guide, we will mention the two most popular methods: FTP and manual upload via SSH.
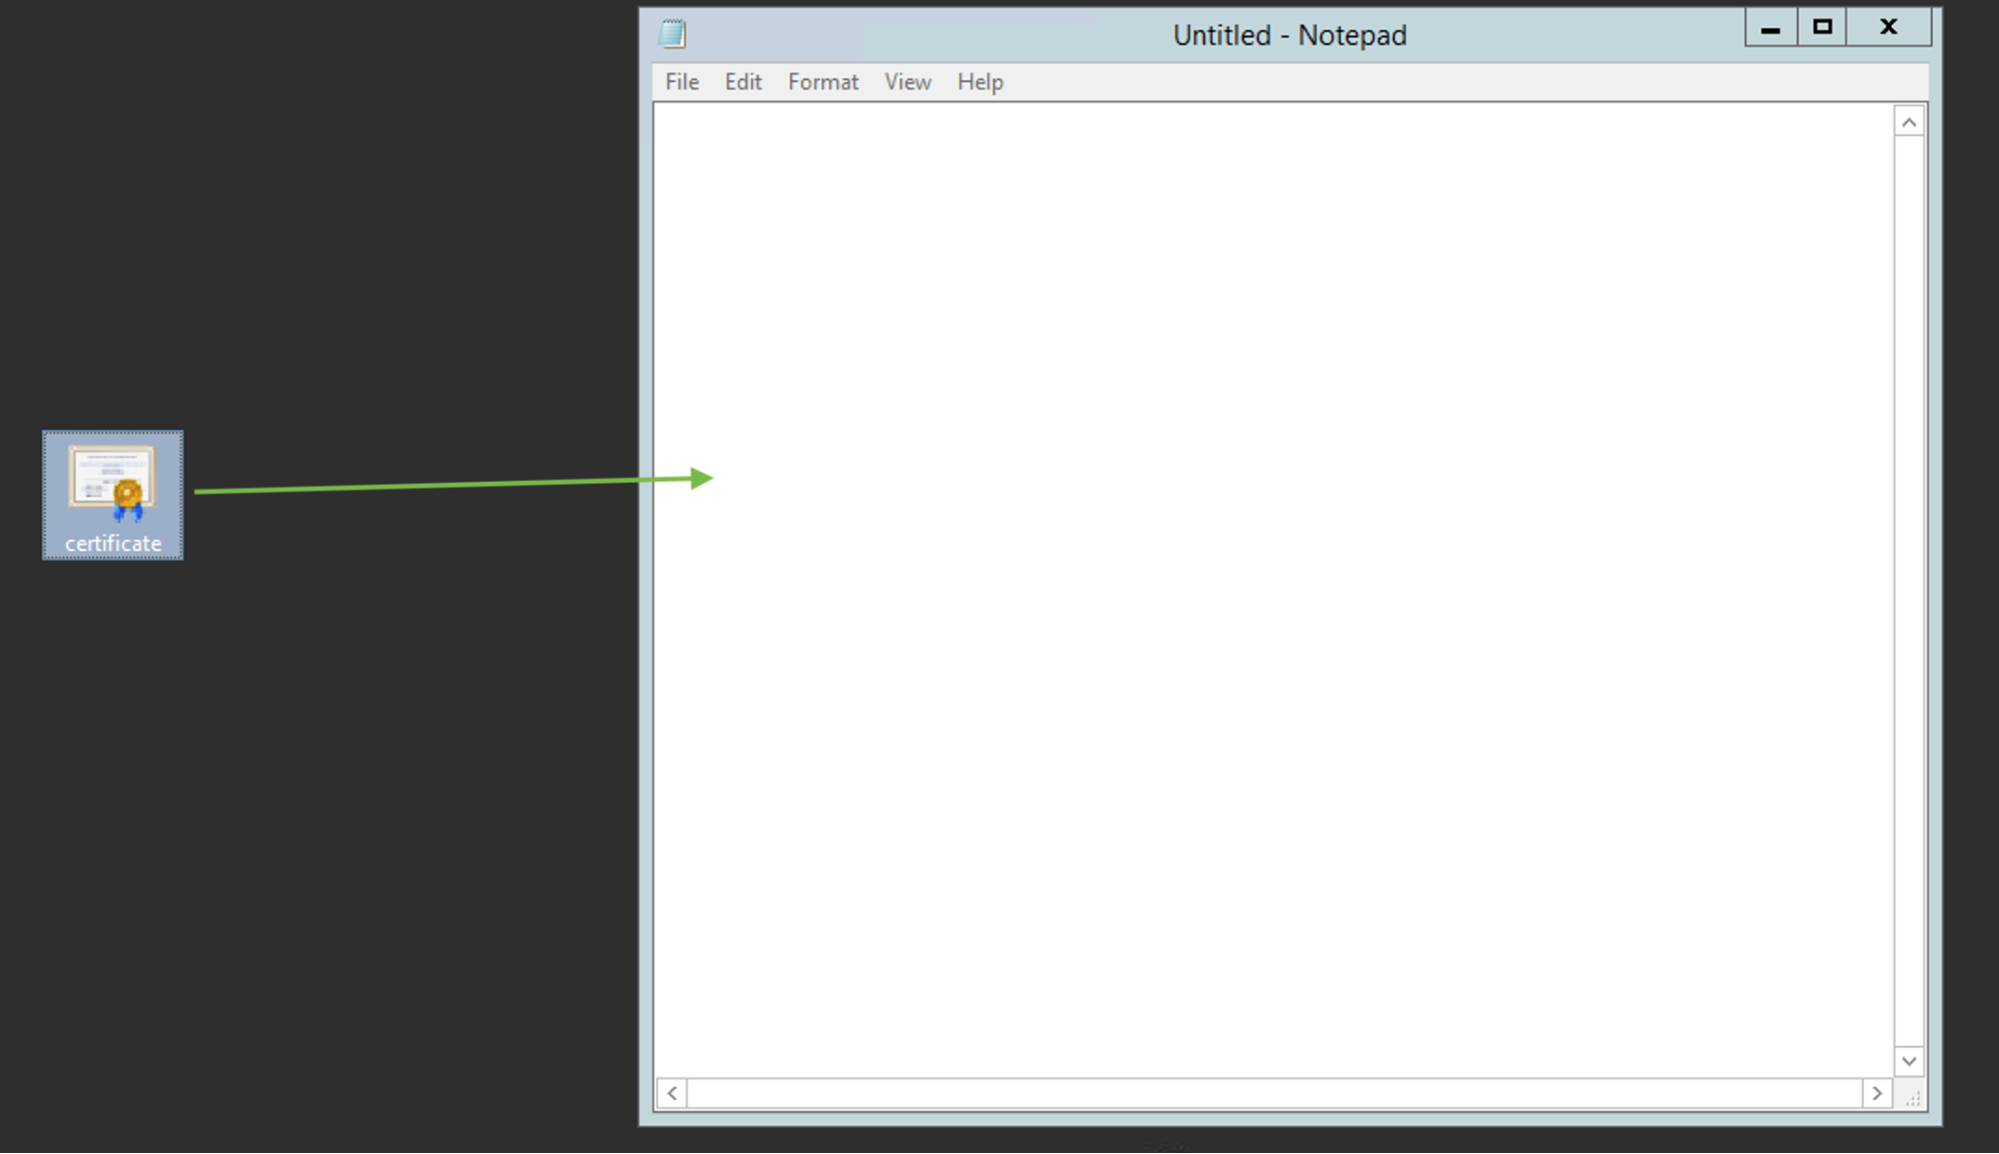
/etc/ssl/etc/sslcat yourfilename, touch yourfilename, nano yourfilename or vim yourfilename can be used for this purpose.To check the contents of the SSL files on your PC or Mac, you can drag and drop them to Notepad (if on Windows) or open them using TextEdit (if on macOS).
Windows:
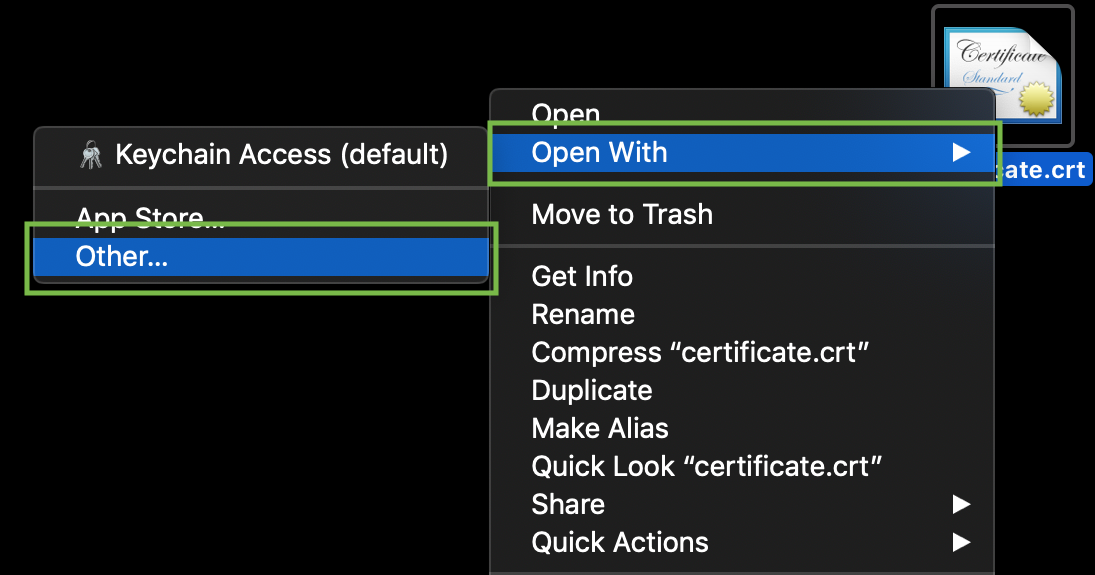
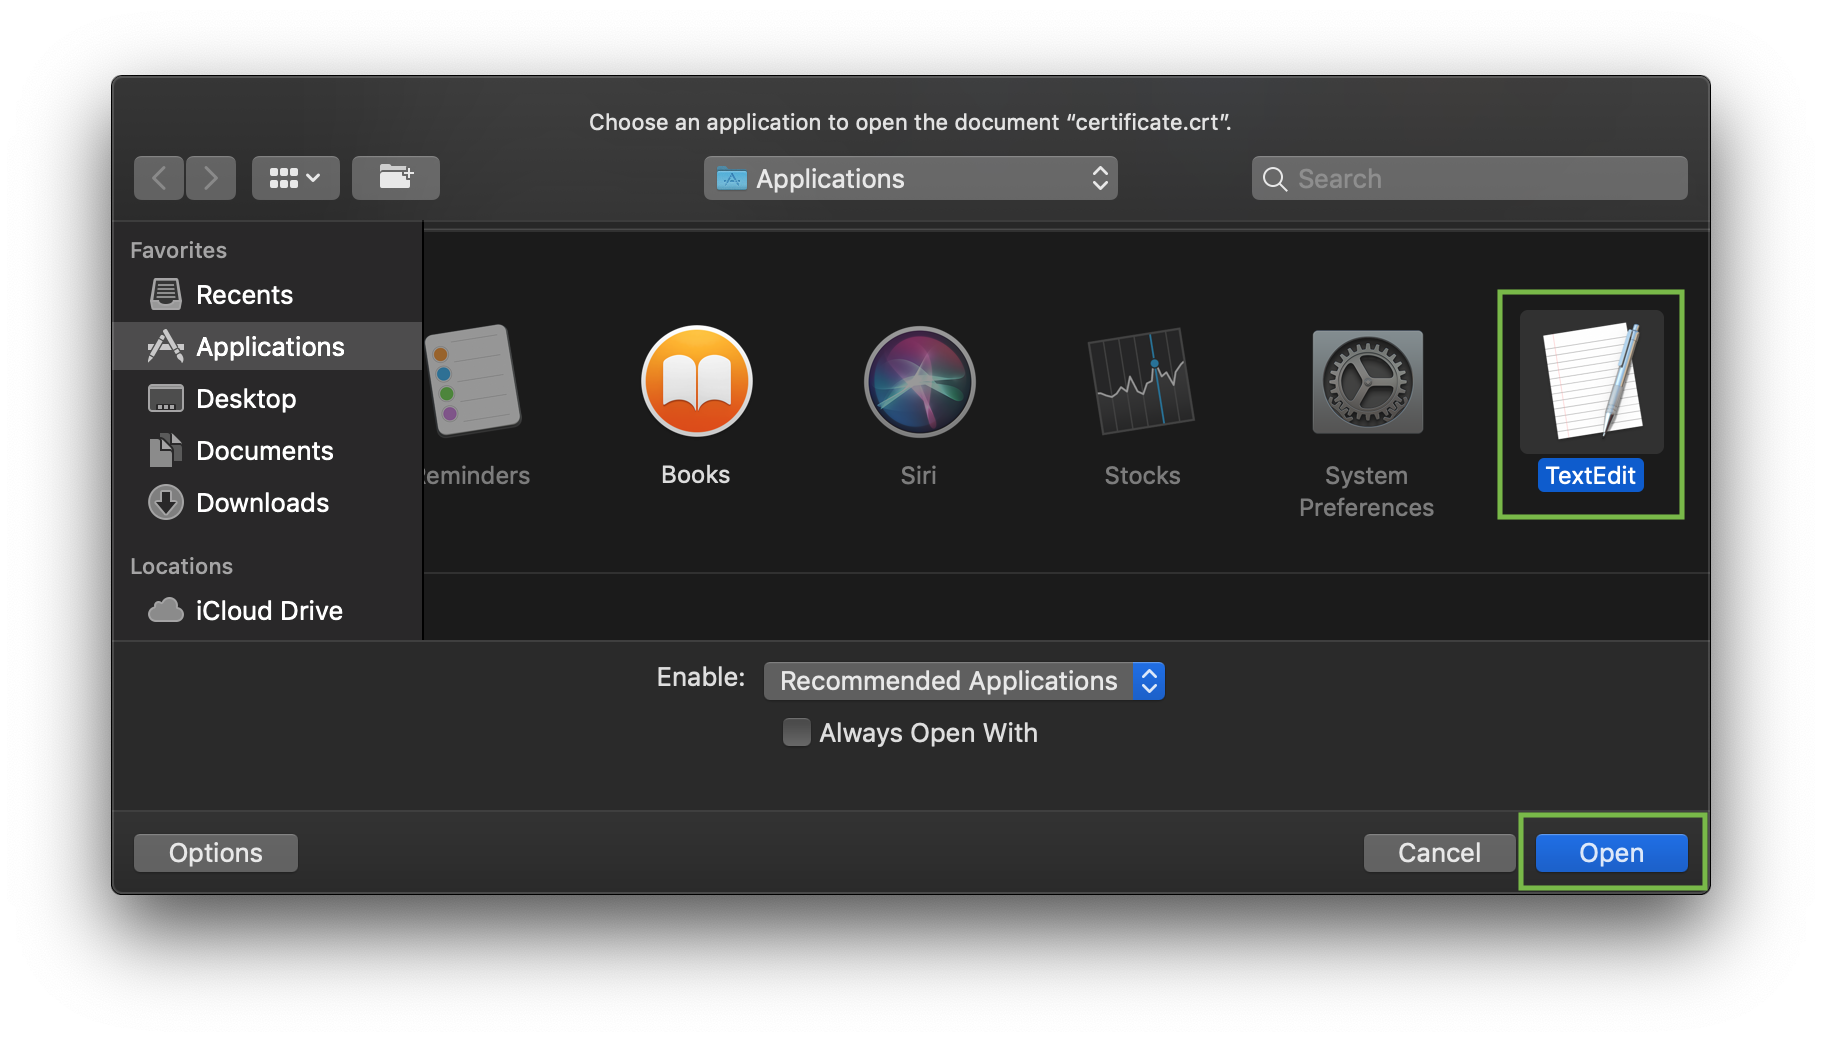
macOS:
Press “Control” key click on the file:
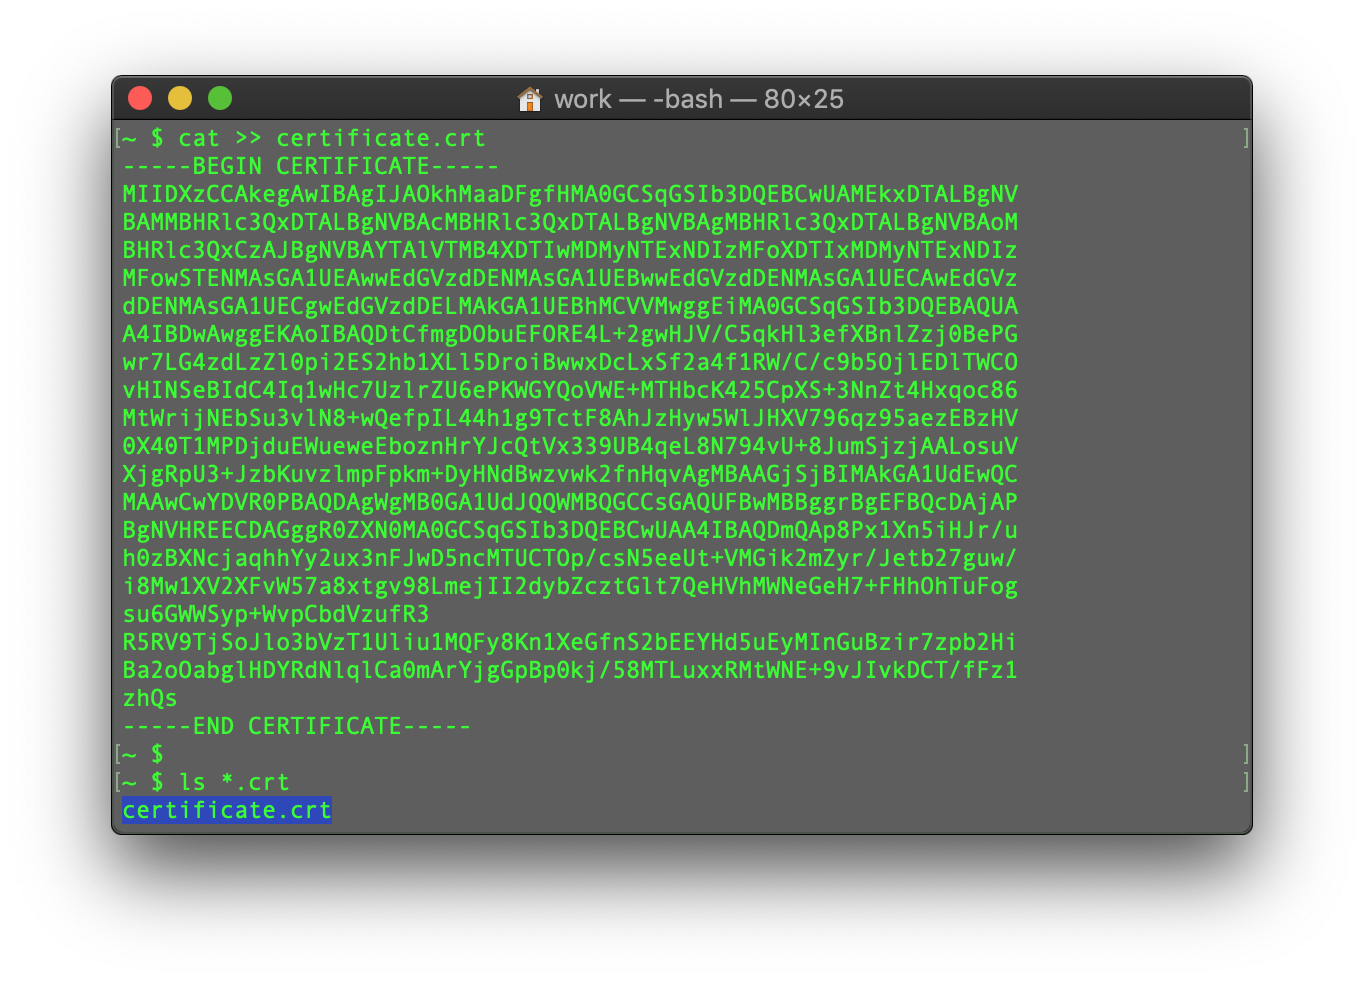
As an example, let’s take a look at creating a file via command cat. You can create files on the server and paste in contents by entering the following command:
cat >> filename
For example, let’s create our certificate file on the server:
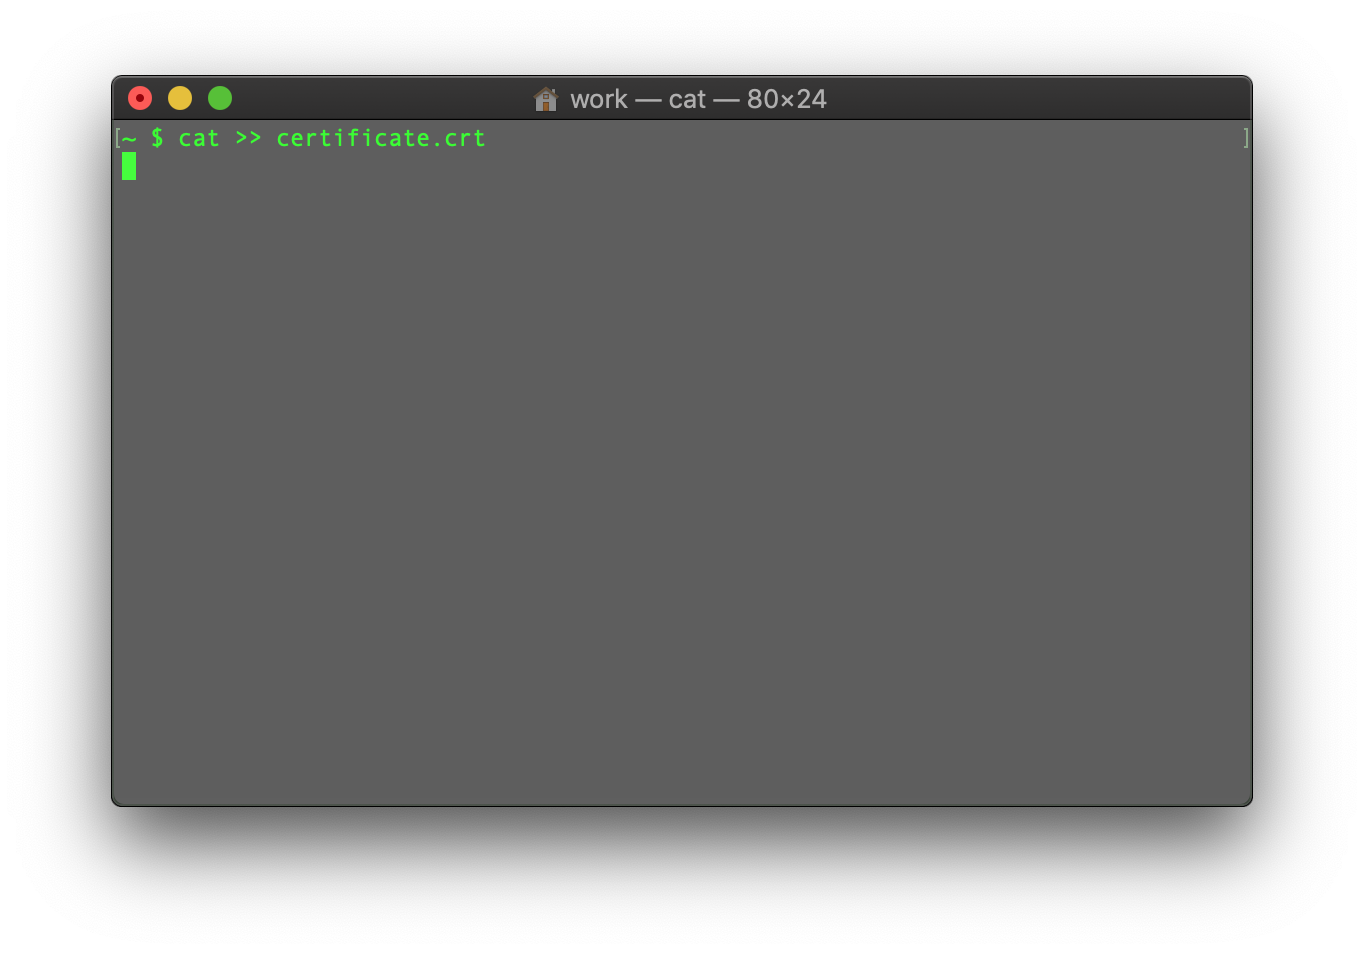
When the command is entered, paste the certificate code into the terminal/SSH client.
Ensure there’s no empty line at the end and press CTRL+D to save the file.
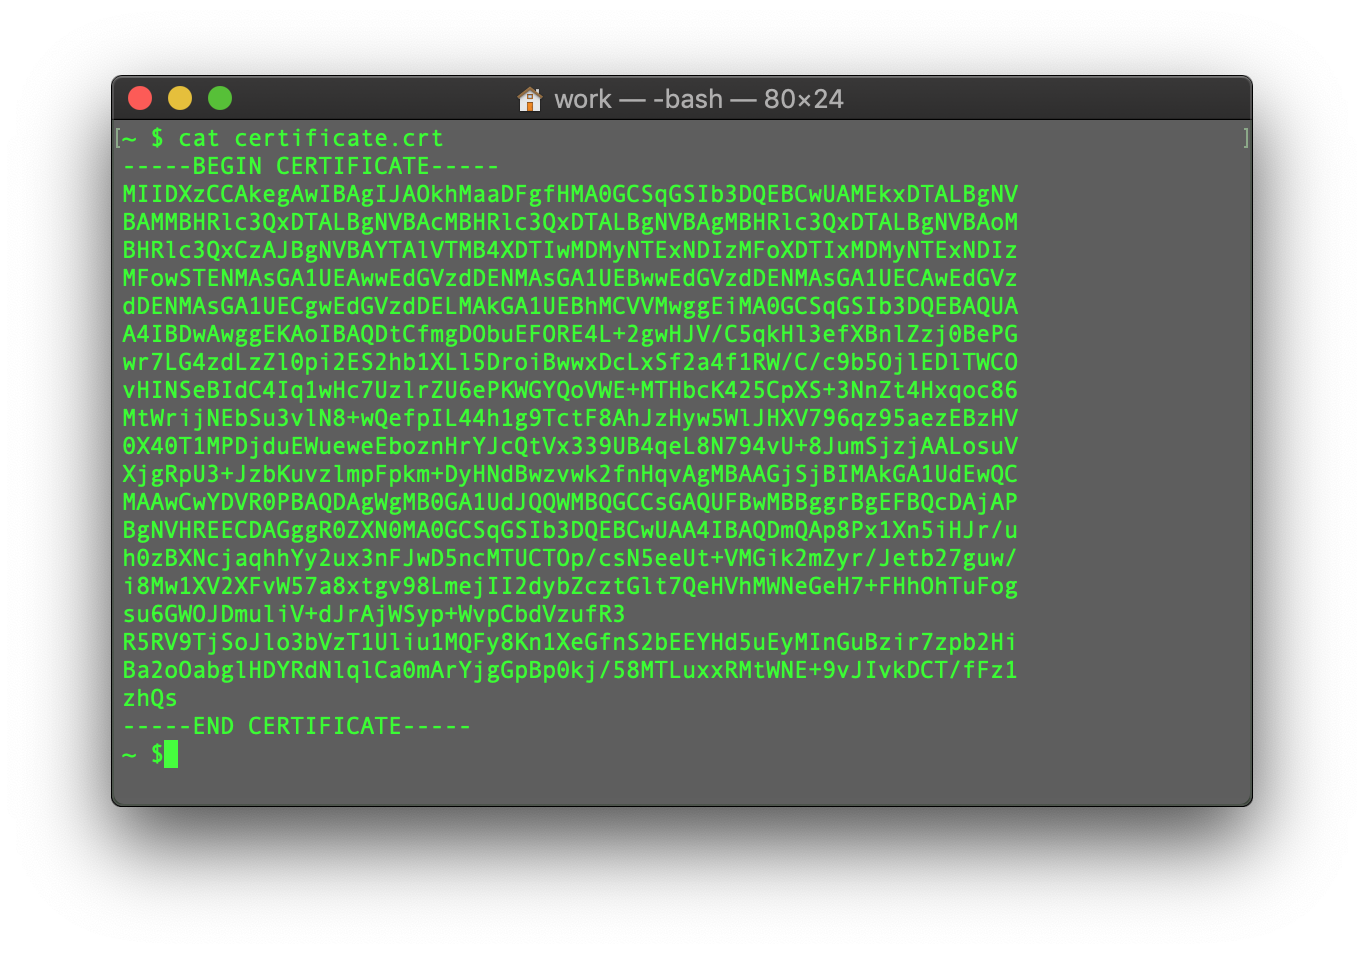
You can check the contents of the newly created command by typing the next command:
cat filename
You may repeat the process with the CA Bundle file and the Private key file (if the CSR code and Private key were generated in another place, not on this server, and you need to move the Private key to the server manually).
Find more useful tips about file creation and saving via SSH here:
Select the guidelines on your further SSL installation steps depending on exact server type:
Need help? We're always here for you.