WordPress is one of the most widespread and easily customizable CMSs. However, it's pretty slow in the default configuration, especially, if the site has a lot of visitors and heavy content, or uses a complex theme. Moreover, since 2010 Google has used page load times as a factor in its search ranking algorithms.
Luckily, the flexibility of this CMS allows many methods to speed it up and lower the loading time of a website. You can check your website using online tools such as the ones below to track the website speed results after each step:
All these tools will provide insight on how your website loads and which parts of the website take more time to load than others (i.e. which need to be optimized). The Google Page Speed and GTmetrix tools are better for beginners since they show helpful tips on how the website can be optimized while Pingdom and WebPagetest have a more technical approach and will need more website development experience to understand.
Below we will look at some ways you can optimize a
WordPress website. We recommend following these tips when building your website.
NOTE: Make sure to create a backup of your website before making any changes. If the website was installed using the Softaculous script installer, feel free to refer to this guide as well (step #4 – Backup software).
Tips for speeding up a website:
Tips for optimizing a website:
Choosing a theme
A theme plays a key role in a website load speed. If you plan to create a busy blog, we recommend doing the research and testing to find the lightest and the most optimized theme.
The main and the most important rule about choosing a theme for the WordPress website is that WordPress theme should correspond to the content of your website. You should define the topic of your website and the content first, and only then choose a theme which will suit your needs.
Many WordPress themes are customizable and allow WordPress users to tweak multiple theme options to create the desired look for their websites. However, these options, if they are coded improperly, can create issues with changing the theme to another one.
Some WordPress themes which are quite attractive at first glance can actually make your website load more slowly than it should. Below are several useful tips to help you select the best theme for your WordPress website:
1. The simpler, the better.
2. Choose a theme with a responsive design.
3. Try to choose only highly-rated plugins compatible with your version of WordPress
4. Pay attention to the presence of page builders which come with the theme.
5. Consider SEO friendliness of the theme.
Specialized threads on WordPress forums are the best places to check for that. Here are two examples:
WordPress › Support » Fast theme needed?
WordPress › Support » Fast loading / low bandwidth theme: Appropedia's 13
Also, most theme developers provide sample websites that show how the theme works and displays. Make sure to test these websites by using tools like
Google Page Speed and
GTmetrix when possible.
Optimizing images
A number of plugins for reducing image size exists on the web, for example, EWWW Image Optimizer, WP Smush.it, and so on. They all have different features and allow you to find the configuration you need. We recommend using the EWWW Image Optimizer plugin.
NOTE: It requires exec() function, follow the instructions here to get it activated.
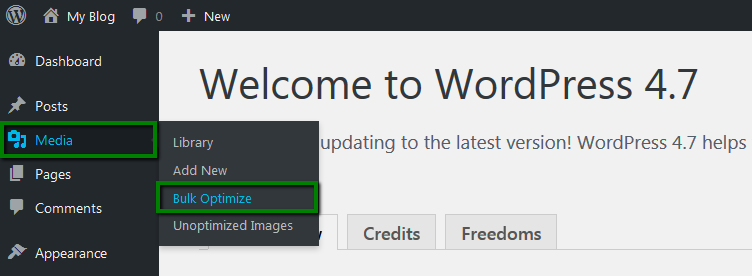
Once the plugin is installed and activated, you need to go to Media >> Bulk Optimize to optimize your images:
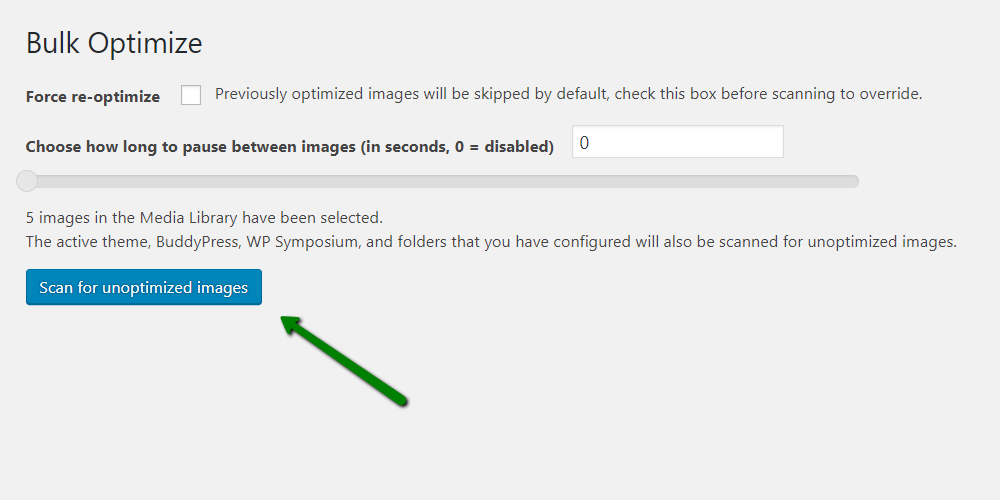
You will have an option to scan and optimize all images in Media library in bulk using the Scan for unoptimized images option:
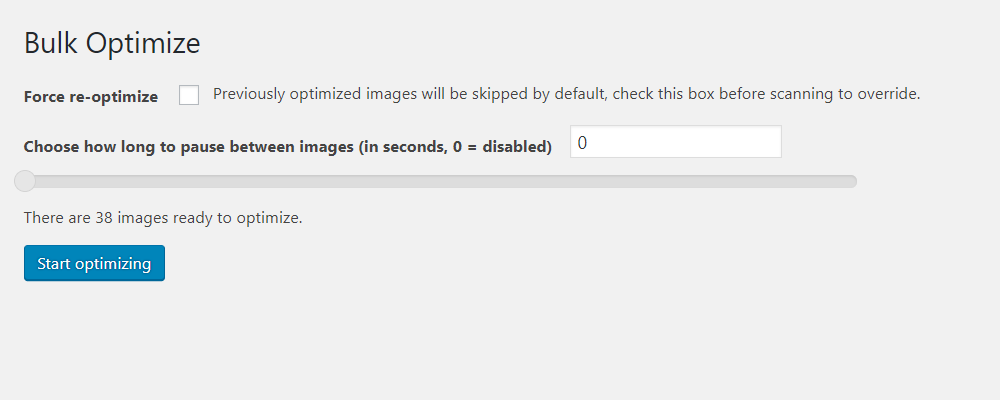
Select Start optimizing after the scan is completed:
NOTE 1: The optimization procedure requires considerable resources, so it’s possible that it will hit the CPU resource limit temporarily.
NOTE 2: The plugin allows you to determine the degree of image compression you want to use. For example, if you own a photo blog, note that well-compressed pictures will lose quality.
You can also set the plugin to conduct scheduled optimization in Advanced Settings. Scheduled optimization does not include Media Library images because they are either already optimized or will be optimized on upload.
Using a plugin to optimize the images would be the fastest solution but, sadly, plugins do not provide the best image compression. For the best results, we would like to advise you to use third-party tools such as compressor.io or tinypng.com. This method would require some time to compress images manually but it will provide the best results.
Compressing files
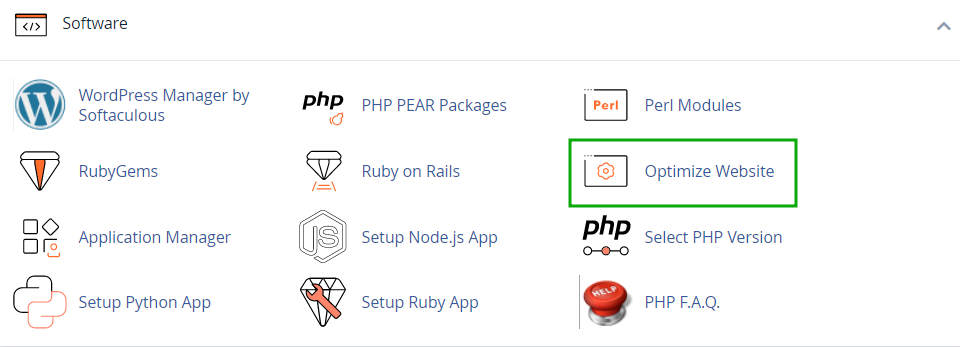
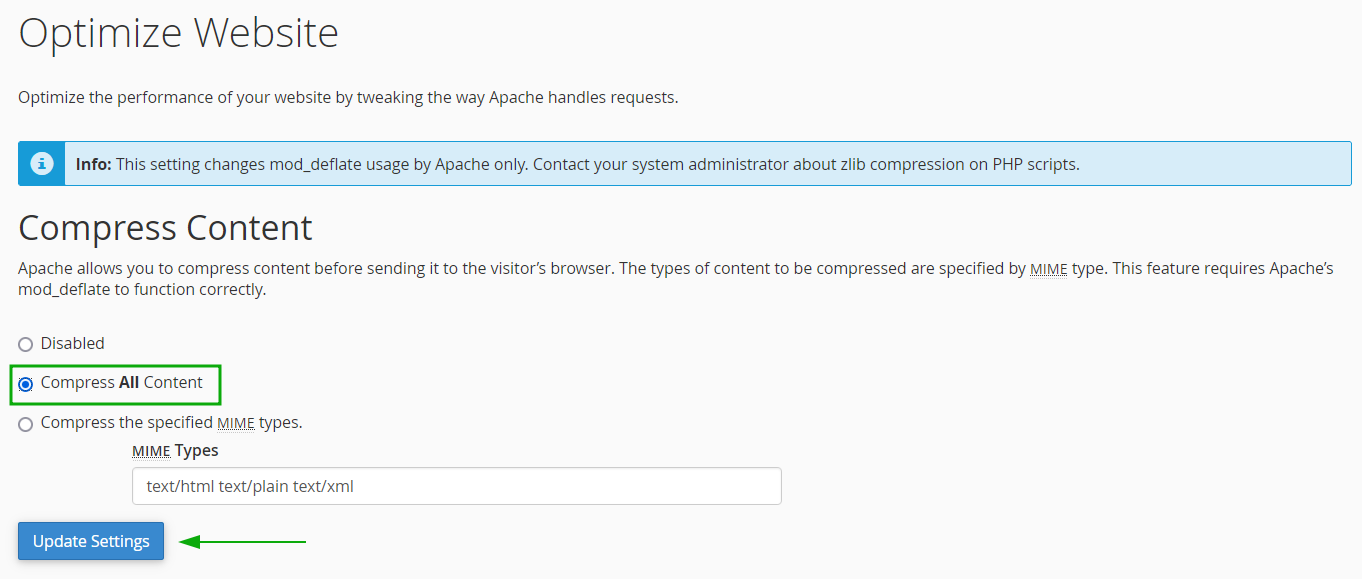
cPanel includes the Optimize Website function. It uses Apache's mod_deflate to compress content before sending it to the visitor's browser.
Gzip is the most popular and effective compression method today. If gzip compression is enabled for website content, it generally reduces the response size by about 70%. To gzip your website components, log in to your cPanel >> go to the Software section >> the Optimize Website menu.
Here you need to select Compress All Content and click on Update Settings.
Using caching plugins
A number of WP plugins are in use, and the vast majority of them drastically improve the page load time.
W3TC utilizes multiple techniques to improve performance, including:
- page caching
- HTML, CSS, and javascript minification
- gzip compression
- CDN (Content Distribution Network) support
- browser caching via ETags
Below are the guidelines for its initial setup and tweaking.
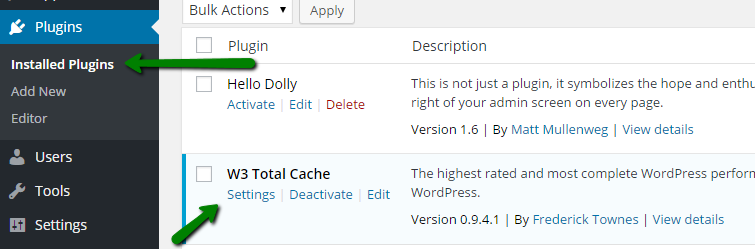
To configure the plugin, go to Plugins >> Installed Plugins >> find W3 Total Cache >> Settings:
NOTE: If you are a Shared hosting account user, remember that all available caches should not be enabled at the same time – avoid choosing Toggle all caching types on or off (at once). The reason for this is that if Object caching and Database caching are on, they will trigger resource usage spikes without any improvement of the page speed. These caches can be enabled only if your WordPress website is hosted on a VPS or Dedicated server.
Scroll down the page and check Enable next to the following options:
1. Page Cache
2. Minify
3. Browser Cache (more details on browser cache setup in W3 Total Cache can be found in the next paragraph)
Then click on the Save All Settings button.
If you wish to get familiar with all configuration options of W3 Total Cache plugin, you may find them listed in this article.
WP OPcache resets all cache after upgrading. It
reduces website load by storing the compiled PHP code in the memory.
OPCache is bundled with PHP starting from 5.5 and supports both memory
and file caching. The plugin improves PHP performance by storing script
bytecode in shared memory.
To flush OPcache, click on the Flush PHP OPcache button. The notification about flushed cache will appear:
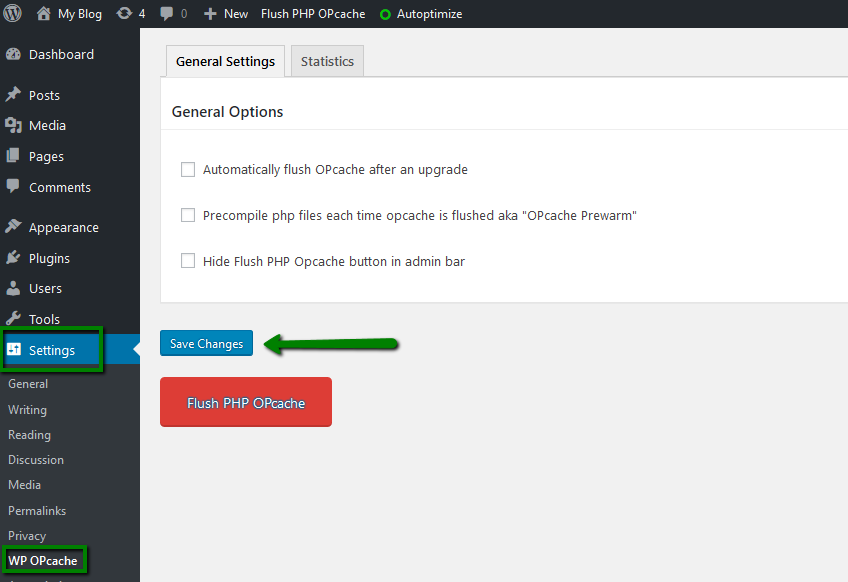
Navigate to the Settings >> WP OPcache to check additional options the plugin provides, such as General Settings and Statistics.
In the Statistics menu, you can check memory status, scrips, and configuration.
General Settings provides you with the option to flush cache automatically, precompile PHP files or remove the OPcache button from the top navigation menu bar.
You can flush PHP cache from this menu as well.
After choosing a needed option, click on the Save Changes button to apply the changes:
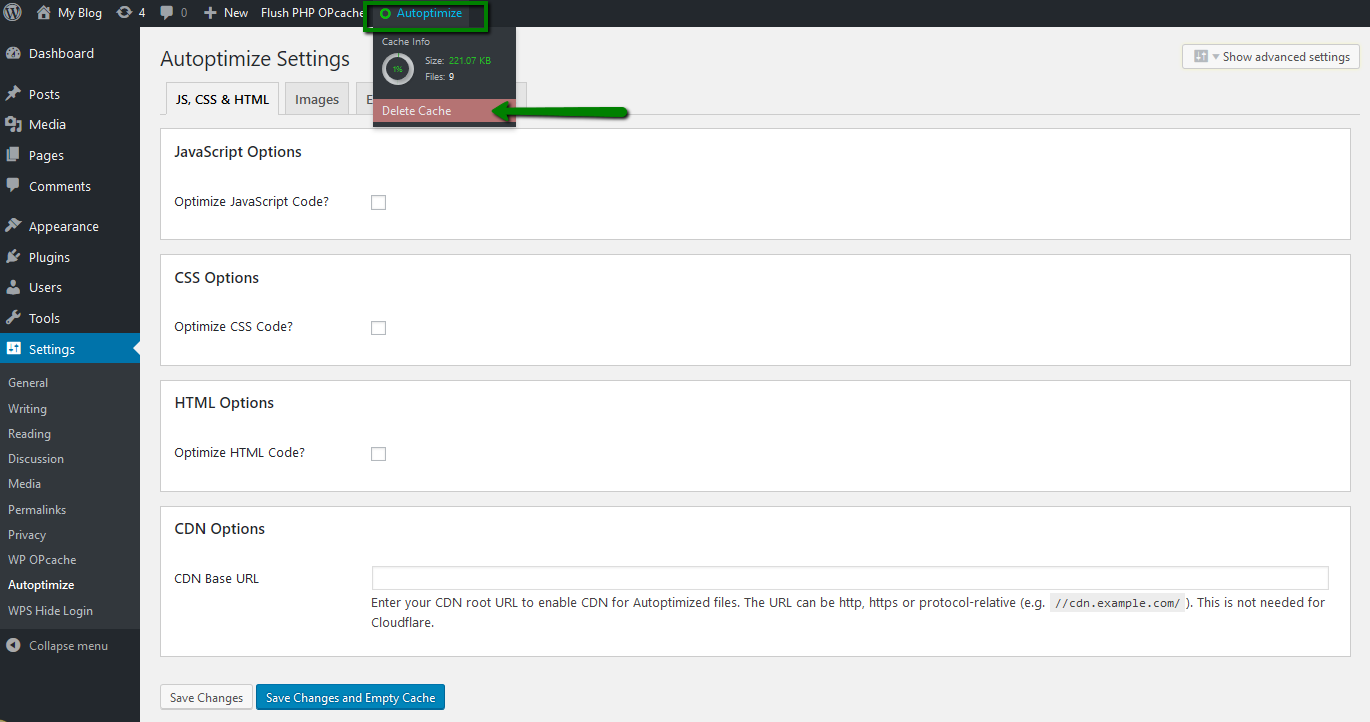
Autoptimize plugin concatenates all scripts and styles, minifies and compresses them, adds expires headers, caches them, and moves styles to the page head, and scripts (optionally) to the footer.
In order to clear cache, mouse over the Autoptimize option on the top menu and click on the Delete Cache button:
Using browser cache
The Expires header is a way to specify a period of storing/keeping/caching the static content of the website (CSS, Javascript, images, etc.) in the visitors' browsers. This will significantly cut down the website load time for your regular visitors.
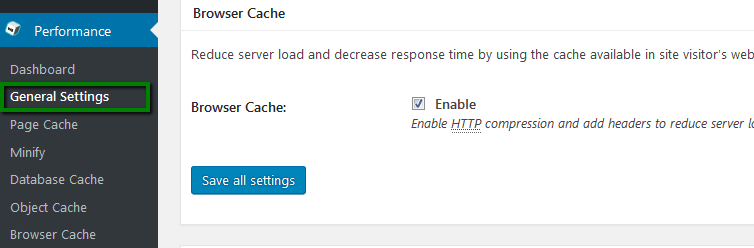
A convenient way to enable browser caching is to install WordPress Total Cache plugin and enable browser cache inside WordPress admin dashboard >> Performance menu >> General Settings:
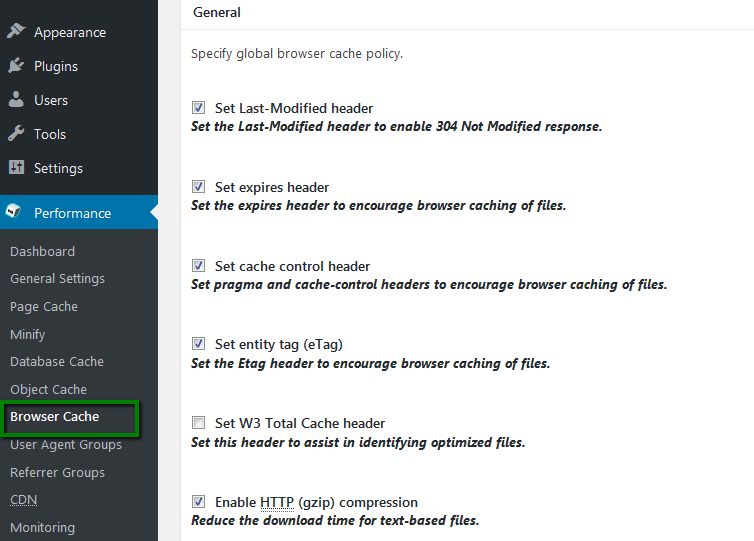
Then you will be able to perform fine-tuning of browser cache for the static content of your website in the WordPress admin dashboard >> Performance menu >> Browser Cache section:
If you do not have W3 Total Cache installed on your website, you can enable browser cache with the help of the Browser Caching with .htaccess plugin.
Alternatively, you can just copy and paste the following code in your root .htaccess file:
ExpiresActive on
ExpiresByType image/jpg "access plus 60 days"
ExpiresByType image/png "access plus 60 days"
ExpiresByType image/gif "access plus 60 days"
ExpiresByType image/jpeg "access plus 60 days"
ExpiresByType text/css "access plus 2 weeks"
ExpiresByType image/x-icon "access plus 2 weeks"
ExpiresByType application/pdf "access plus 1 month"
ExpiresByType audio/x-wav "access plus 1 month"
ExpiresByType audio/mpeg "access plus 1 month"
ExpiresByType video/mpeg "access plus 1 month"
ExpiresByType video/mp4 "access plus 1 month"
ExpiresByType video/quicktime "access plus 1 month"
ExpiresByType video/x-ms-wmv "access plus 1 month"
ExpiresByType application/x-shockwave-flash "access 1 month"
ExpiresByType text/javascript "access plus 2 weeks"
ExpiresByType application/x-javascript "access plus 2 weeks"
ExpiresByType application/javascript "access plus 2 weeks"
The values can be changed according to your specific requirements.
Homepage optimization
The first thing people see on the website is the home page. It is very important to pay attention to its proper optimization.
The fewer HTTP requests are performed by the browser to load your website content, the faster your pages load for the visitors. In other words, the media content of the page, WordPress theme, and plugins should be fetched by visitors’ browser using as few requests as possible.
The
WP Asset Clean Up plugin for WordPress can help you reduce the number of HTTP requests for your website, making your website pages load smoothly and quickly. The WP Asset Clean Up plugin prevents unnecessary styles and scripts from loading on your pages. It forces assets to load only on the pages where they are actually required. It also minimizes the HTML code of the actual page.
The JavaScript to Footer plugin can also be used to move JavaScript code to the page footer, so scripts don’t increase the initial load time of the page.
General recommendations:
1. Do not overload the page with widgets such as sharing buttons. They are needed only in blog posts.
2. It is better to display excerpts on the homepage, not full posts.
3. The homepage should not show too many posts. Consider limiting it to five posts.
While checking websites using
Google Page Speed, you may encounter one or more notifications with a red exclamation mark saying "
Eliminate render-blocking Javascript and CSS in above-the-fold content". This means that none of the above-the-fold content on the page could be rendered without waiting for the resources to load.
This can be resolved by enabling additional
Minify settings of the
W3 Total Cache plugin.
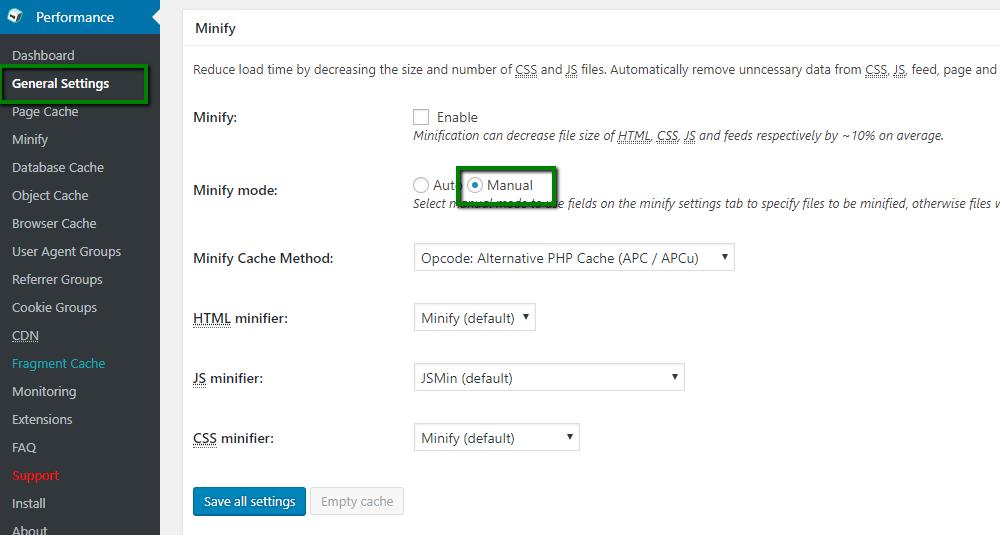
To do so, you will need to access the
General Settings tab of the plugin and set the
Minify mode to
Manual, like so:
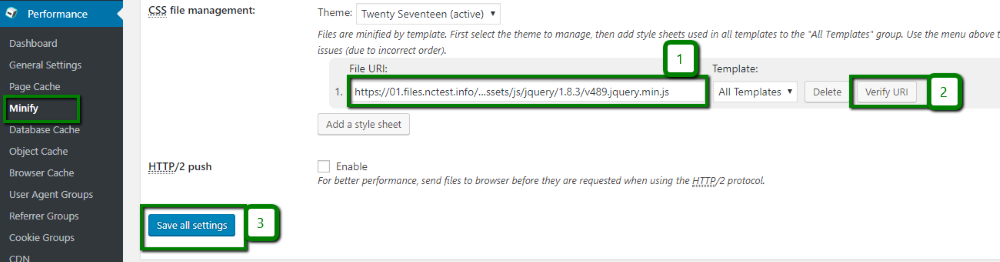
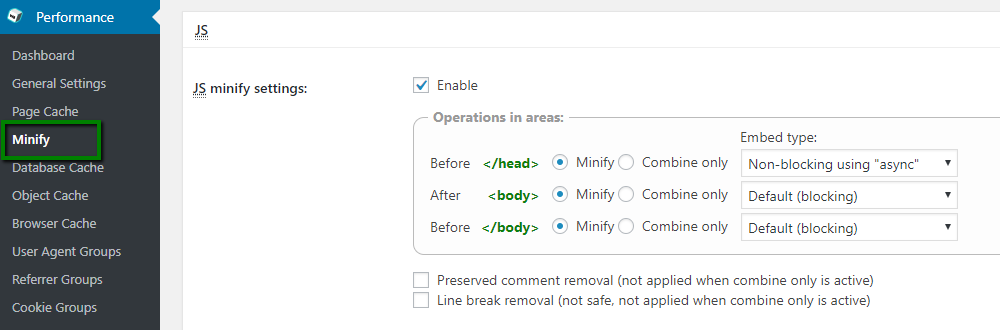
Before you continue, make sure that the JS minify settings fields in the Minify menu are set to use the following settings:
Once done, you will need to add the corresponding JavaScript URLs provided by Google PageSpeed in the JS file management field, like so:
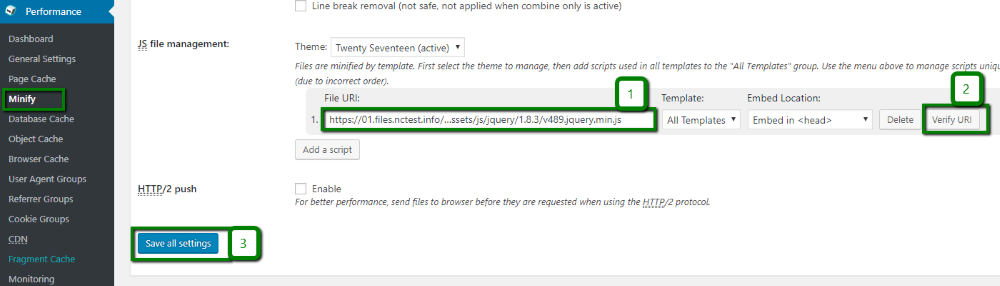
Perform the same steps for the CSS file management field filling in the CSS URLs on the same page:
That should be it! The notice "Eliminate render-blocking Javascript and CSS in above-the-fold content" shouldn’t appear if the steps above were completed in order.
Autoptimize plugin minifies the HTML code itself, making your page lightweight.
The plugin is used for JS/CSS optimization. Also, there are advanced options available that allow you to tailor Autoptimize to your website’s specific needs.
Autoptimize is compatible with
WP Super Cache which provides a more developed rewrite functionality. Go to the
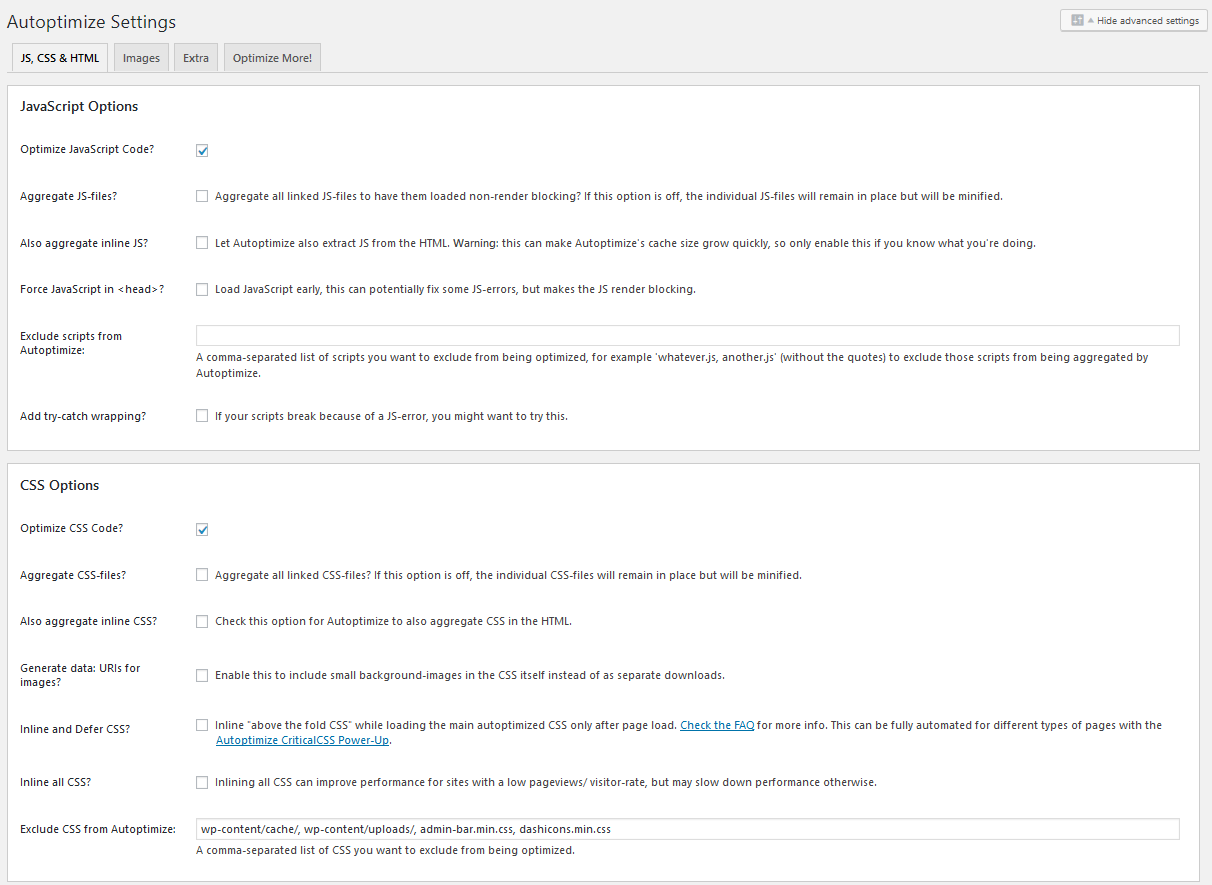
Autoptimize Settings to find the option for website optimization:
- JavaScript Options can be used for combining JavaScript files for your WordPress website to one file.
- CSS Options allow you to encode small images into your CSS files, put some CSS in the HTML file, etc.
- HTML Options let you manage HTML and opt to keep comments in place.
- CDN Options is useful if you are using CDN for some files. Add them to the CDN Base URL in this case.
Using
Images tab, you can optimize images by compressing them.
Extra and
Optimize More provide you with the additional settings and services that can be used for website optimization.
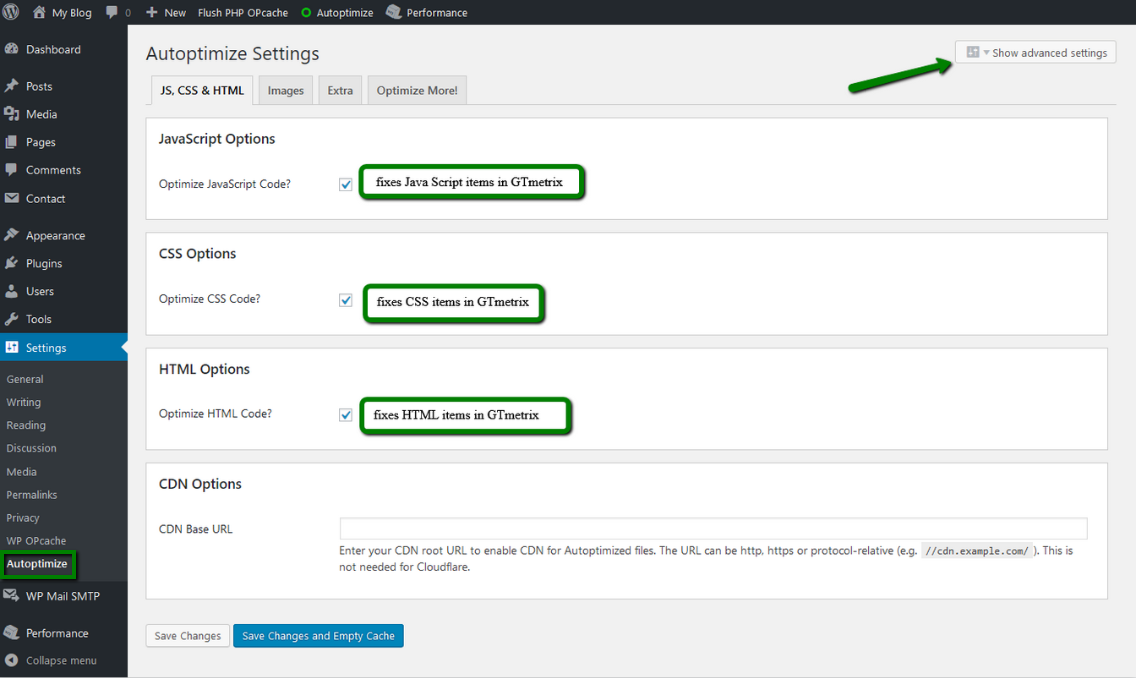
In order to check advanced options, click on Show advanced settings button:
In the appeared menu, you will see the more detailed options for website optimization:
After choosing the options needed, scroll down to the bottom of the page and press the Save Changes and Empty Cache button to save the modifications:

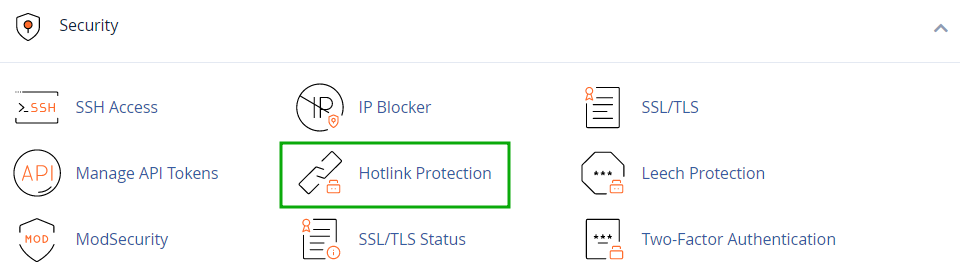
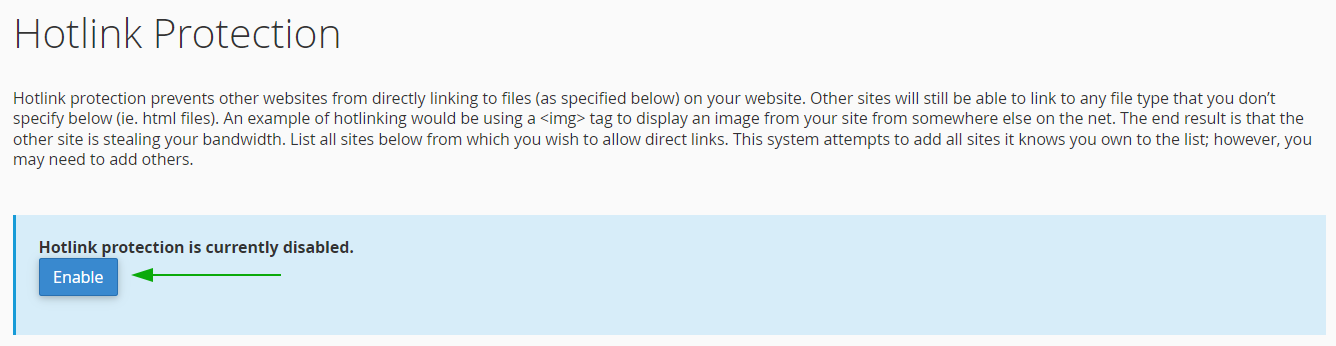
Enabling hotlink protection
If a direct link to an image hosted by you is placed on another website, it will consume your website resources, as requests to fetch the image will go to your server.
Blocking such direct links is the solution. The best option is to use cPanel >> Hotlink Protection function:
Optimizing the database
Optimizing the database may also be useful for a WordPress blog. Currently, WordPress has 11 core tables. Most WordPress websites have even more tables because plugins and some themes save additional settings and other data in the WordPress database.
To optimize your WordPress database, follow our database optimization guide. These steps will not allow unnecessary database queries to slow down your website. You can also use specialized WordPress plugins such as:
WP-Optimize
Optimize Database after Deleting Revisions
WP-Sweep
WP-DB Manager
WP-Sweep uses proper WordPress delete functions as much as possible instead of running direct delete MySQL queries, whereas the WP-Optimize plugin uses direct delete SQL queries which can leave orphaned data left behind.
We would also like to remind you to back up the database and/or the whole website before making any major adjustments, especially to third-party plugins.
Estimating your WordPress website performance
Plugins allow you to add functionality to your WordPress website functionality and include a variety of custom options for you and your website visitors. The side effect is that some plugins may slow down your website by consuming the CPU and I/O resources allotted for your website.
To optimize your website efficiently, you need to investigate how many resources your plugins use. To check your plugins and themes at the PHP level, you can use Code Profiler plugin for WordPress. When scanning your website with this plugin, you’ll see an extremely detailed and easy to read analysis in the form of charts and tables that shows not only which plugin or theme, but also which PHP script, class, method and function is slowing down your website.
There is another useful plugin for WordPress – Plugin Organizer. It allows you to disable plugins selectively and rearrange the order your plugins are loaded. It can also improve your website performance.
Finally, once all these measures are implemented, you may check the optimization level of your WordPress website with GTmetrix plugin for WordPress and enjoy the scores you earned!
That's it!
Need any help? Contact our HelpDesk