This guide will show you how you can change URL for your WordPress-based website. You may find it helpful when moving your WordPress installation from a subfolder or changing the main domain for your cPanel account.
NOTE: Before proceeding with any changes, make sure that you generate a full backup of your website. If you've created your site using Softaculous script installer, feel free to refer to this guide as well (step #4 – Backup software).
There are three ways to change WordPress website URL: through admin dashboard, via SSH and via the database.
To change the website URL in your WordPress admin dashboard following these steps:
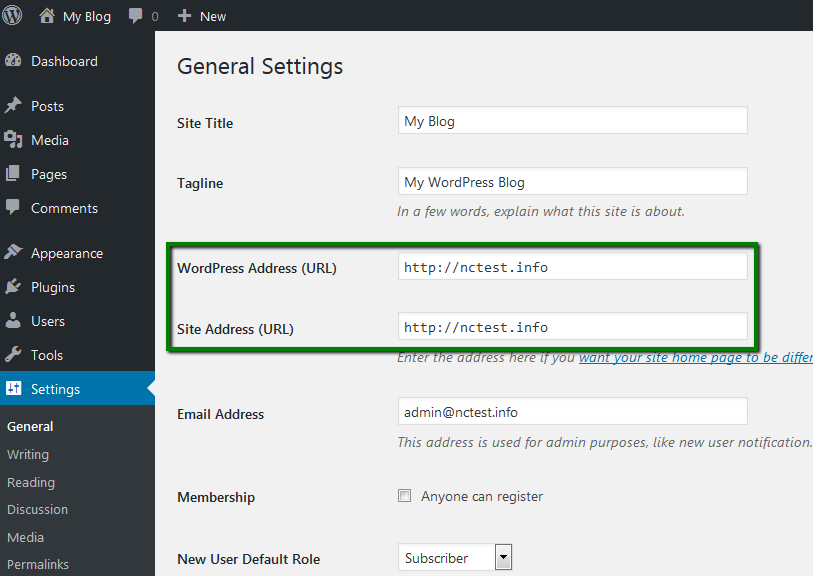
1. Log in to your WordPress admin dashboard > Settings > General.
2. Update WordPress Address (URL) line and Site Address (URL) lines and save the changes:
In order to change website links
via SSH, follow these steps:
1. Enable SSH access in your cPanel using
this guide.
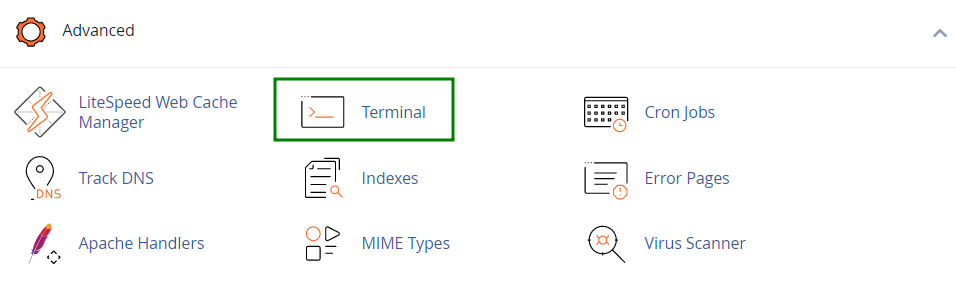
2. Go to cPanel > Advanced > Terminal:
3. Access the directory of your website using the following command:
cd rootdirectory
Where
rootdirectory is the main folder of your installation (e.g., public_html for the main domain).
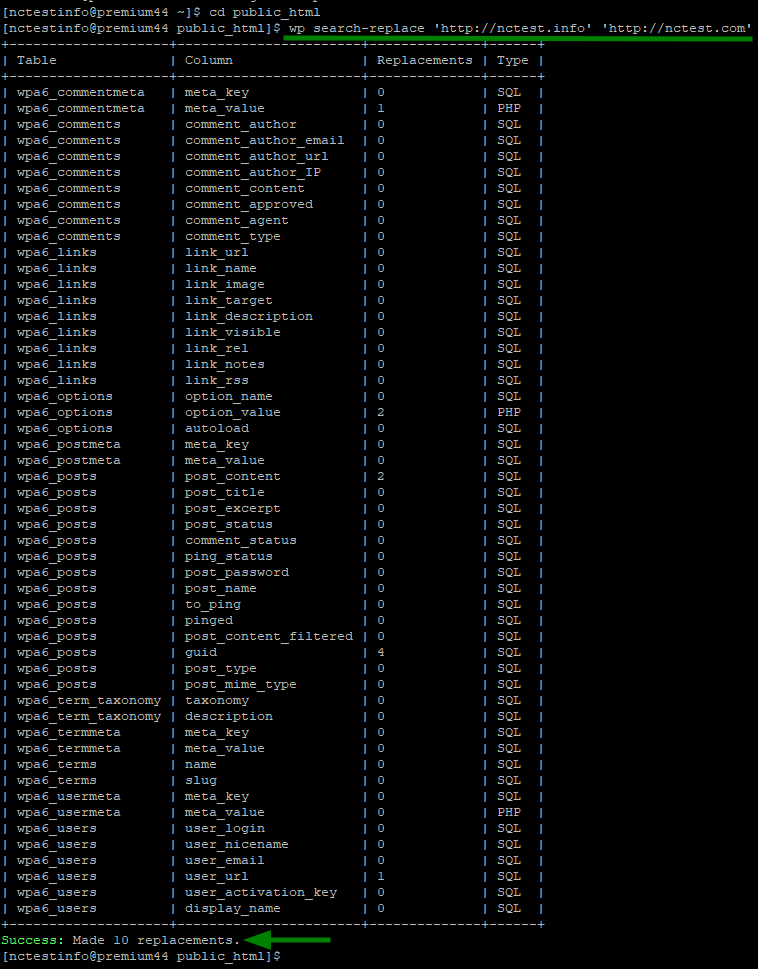
4. Next, run the command below:
wp search-replace 'http://olddomain.com' 'http://newdomain.com'
Replace
http://olddomain.com and
http://newdomain.com with your domains respectively.
You will see the following output after the replacement:
As a result, the links in your database will be changed to the new domain name.
In case you do not have access to the WordPress admin dashboard or Terminal, follow these steps to change the URLs
via the database.
1. Find the name of your database in wp-config.php file.
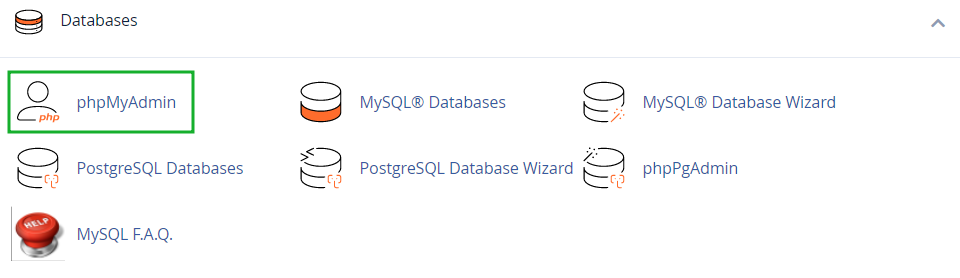
2. Go to cPanel > Databases section > phpMyAdmin menu:
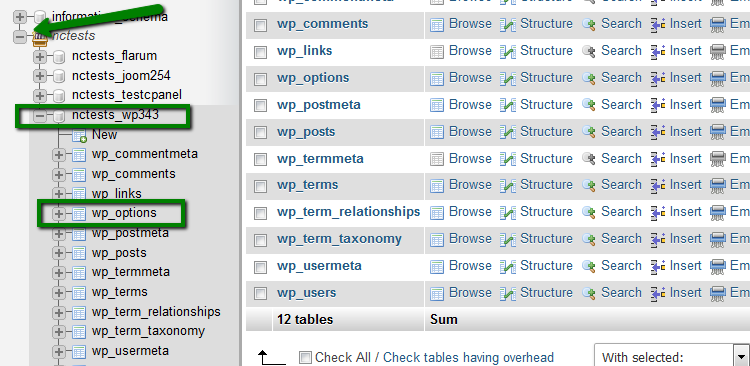
3. Click on '+' next to your cPanel username to expand the list of the databases, locate the database for the WordPress website and click on it. Then, select wp_options table (wp_ is the database prefix and it can be different for your installation):
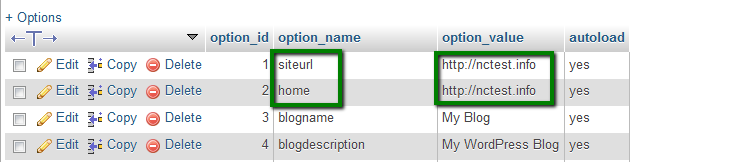
4. Find
siteurl and home rows and change both option_value fields to the new domain:
NOTE: if you cannot find siteurl or home rows, check the second page of the options table.
In some cases, changing siteurl and home is not enough. Some references in the database may not be reassigned to a new domain. This will most likely corrupt the working website and highly developed CMS.
Update all links
Following the steps below you will be able to update all links in your database to the new domain name.
NOTE: It is not possible to guarantee a fully positive result in case of such a change. If you have a complex website, you may need to adjust theme and plugins settings additionally after the URL change.
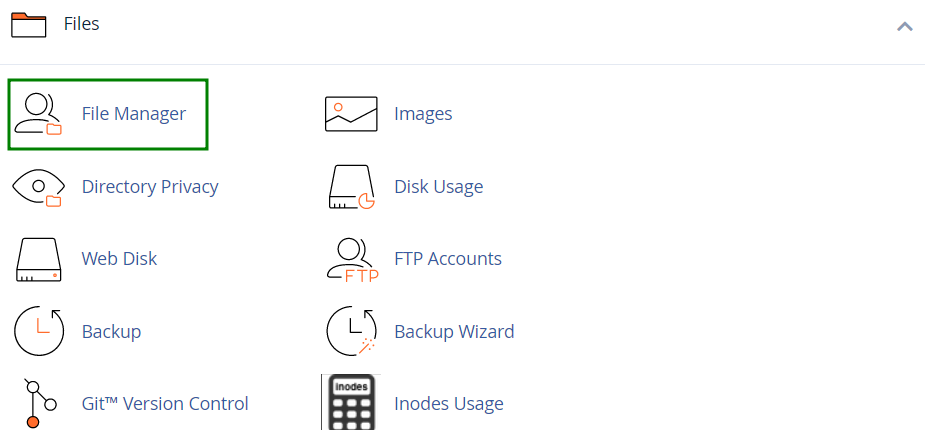
1. To begin with, you will need to locate the database associated with your website. You will find it the installation root folder in cPanel File Manager:
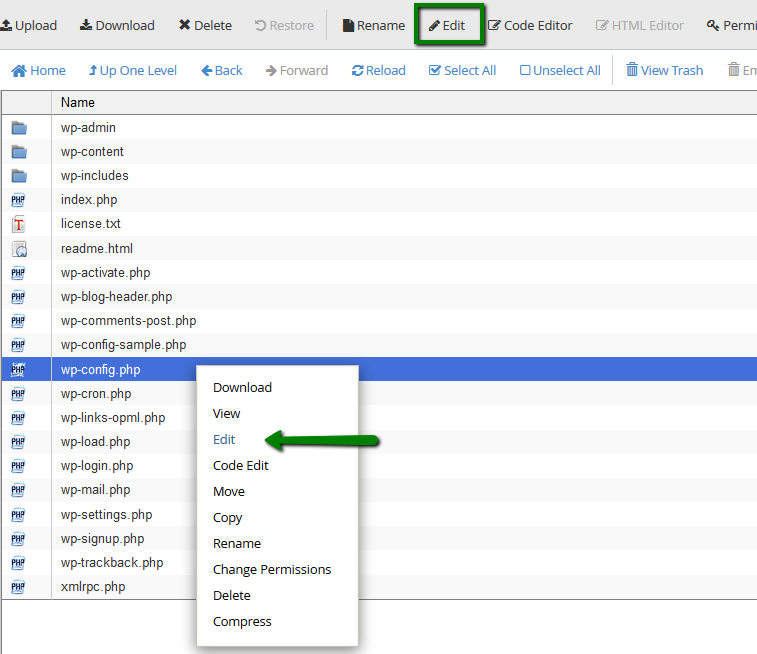
2. The file you need find is wp-config.php. Right-click on the file > View or Edit option:
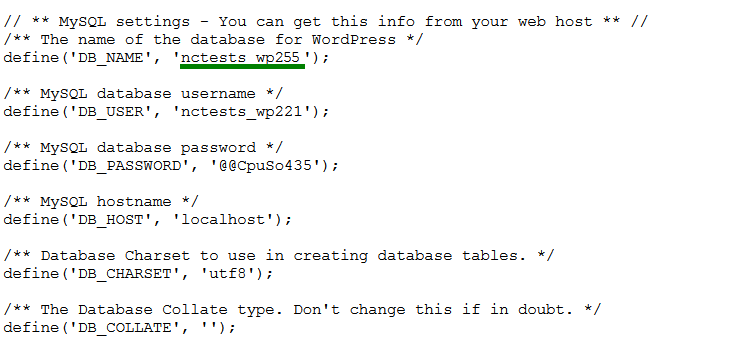
You will see the database name in this line:
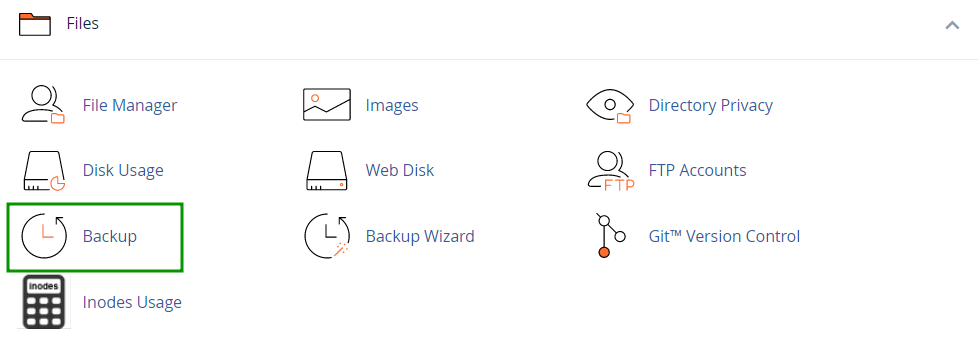
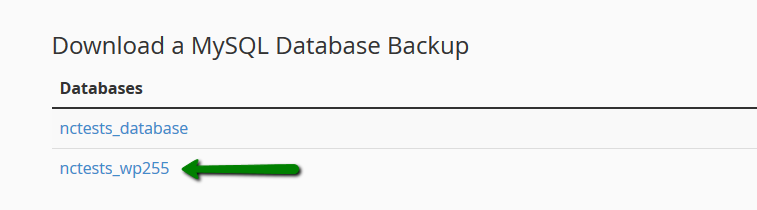
3. The next steps is to download the backup of the database. It can be done in your cPanel > Files section > Backup menu:
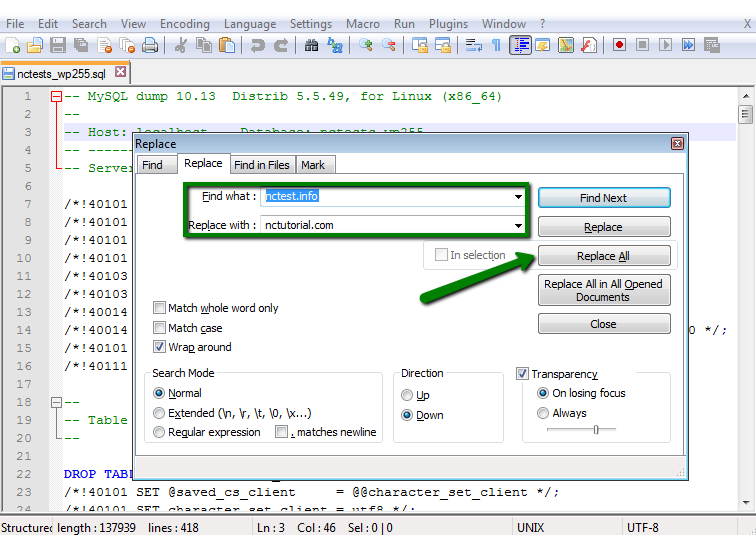
4. Unzip the downloaded file. Now you can open .sql file with some text editor and update all the URL references.
Hit Ctrl + F and select Replace option. Fill out the corresponding fields, Find – your old domain, Replace – your new domain) and hit Replace All:
5. Once done, you should get the output like this:
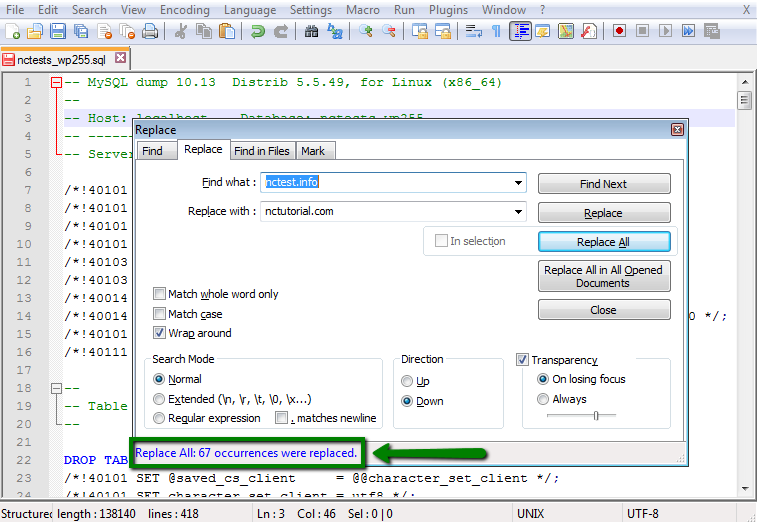
Make sure that you save the changes.
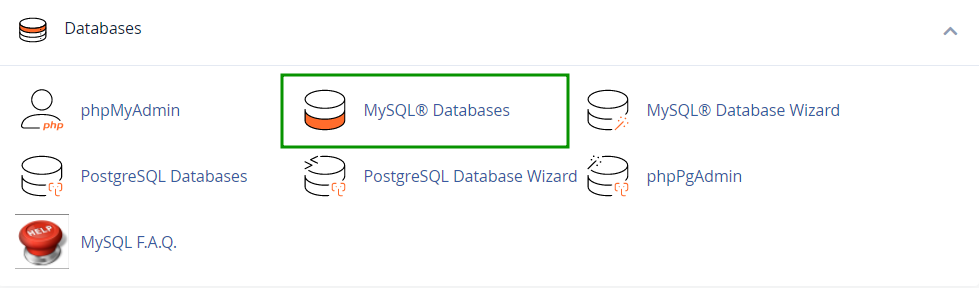
6. Now you can upload the updated database to your cPanel account. To be on the safe side, we suggest creating a new database (instead of dropping the existing one) and connect it to your WordPress site.
To do so, move to Databases section > MySQL Databases menu:
7. Follow the steps specified in this guide to create a new database, user for it, and assign them to each other.
Keep these details, you will need to use them a bit later.
8. After that you can upload the database using phpMyAdmin menu in Databases section:
9. Select the newly created database from the list on the left and use switch to Import tab. There you will need to use Browse option to pick up the database .sql file from your local device:

NOTE: If your database is more than 50Mb, import the database following the steps in this guide.
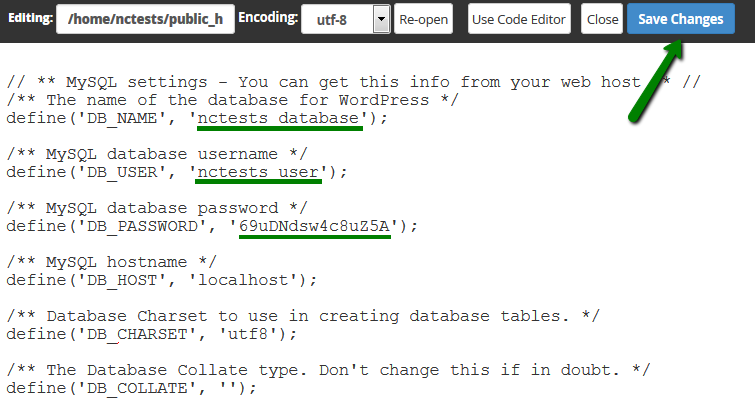
10. Once done, you will need to update wp-config.php file in your installation root folder:
The fields to be changed are:
- define 'DB_NAME' line – the name of the new database you've created in MySQL Databases menu.
- define 'DB_USER' line – the name of the new user you you've created in MySQL Databases menu.
- define 'DB_PASSWORD' line – the new password you've set for database user in MySQL Databases menu.
Save the changes and feel free to check your website.
If everything is working fine, you may delete the old database you used for the website.
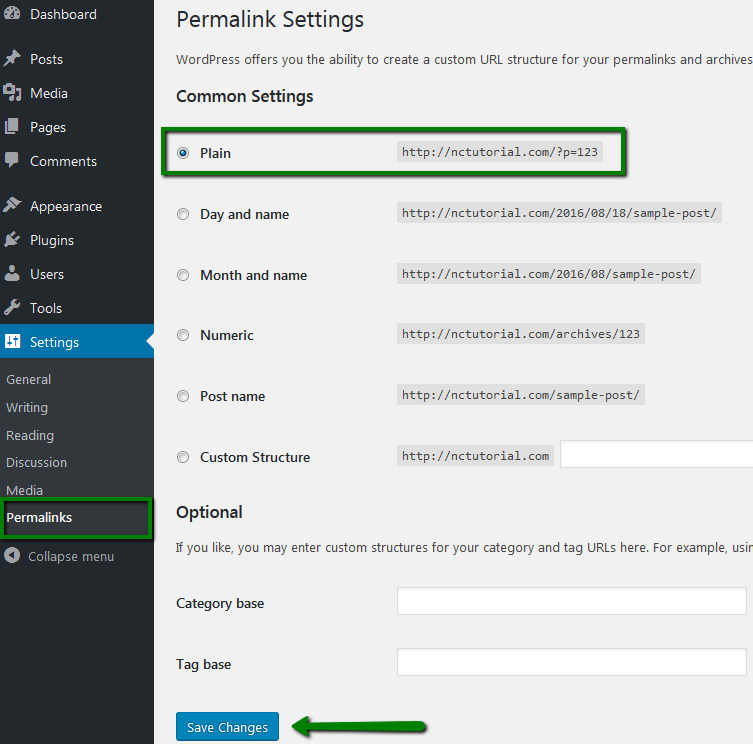
11. It is also advised to re-generate the permalinks to make sure they have the new URL. You can do it in your WordPress dashboard in Settings menu > Permalinks.
So if you had Post name, you need to switch it to Plain, for instance, save the changes and then revert everything back:
That's it!
Need any help? Contact our HelpDesk