Jellyfish is a user-friendly email filtering solution that protects your email account from spam.
For Private Email
For Shared hosting
For Private Email
If you have a Private Email subscription you can access the Jellyfish admin dashboard via the Namecheap account panel in the following way:
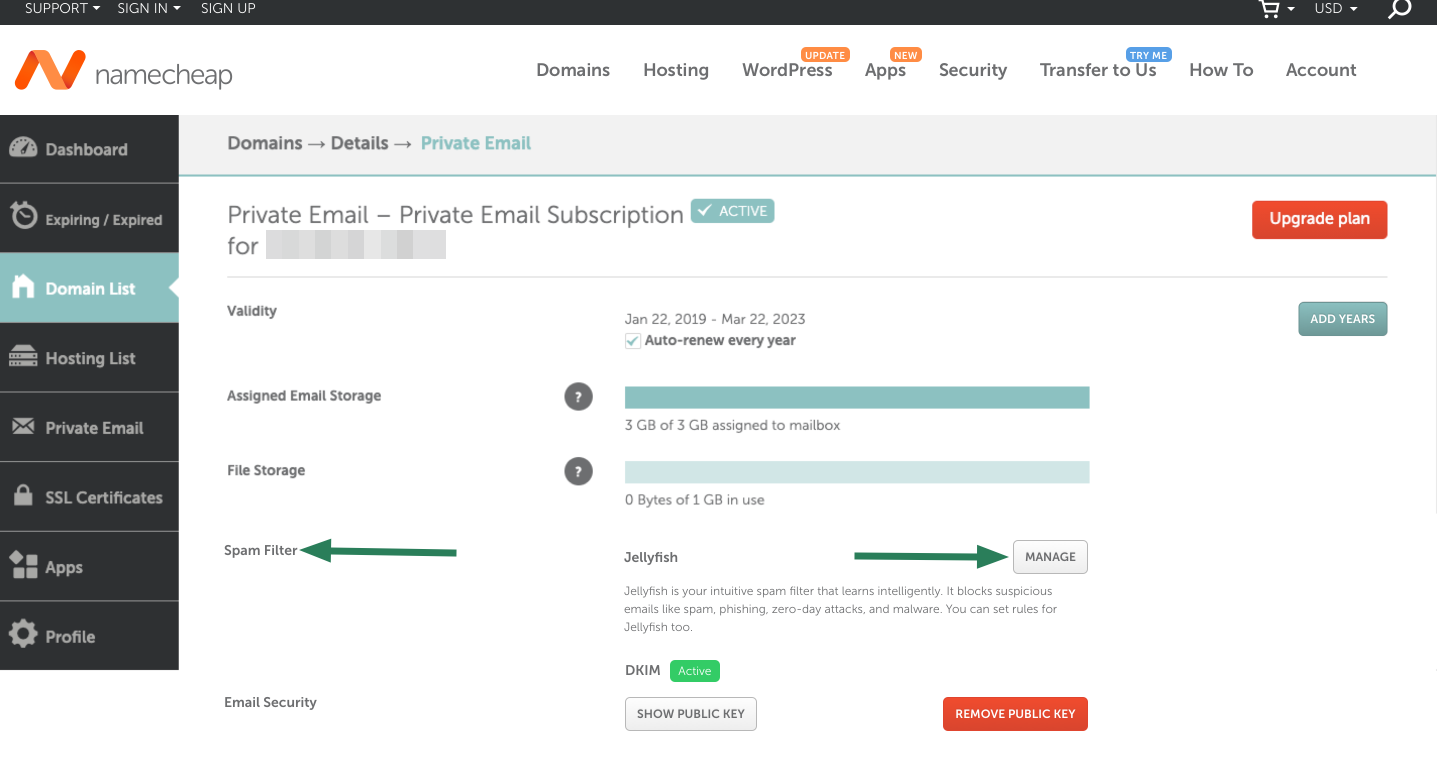
1. Locate Private Email from the left navigation menu and find a Private Email subscription for which you'd like to access the Jellyfish dashboard. Now click the Manage button:

2. You will be redirected to the Private Email management area. Within the Spam Filter section, click Manage located to the right:
Note: If the Jellyfish window does not open, it may be related to your browser blocking pop-up windows. Check such a setting in your browser (
Chrome,
Safari,
Mozilla Firefox).
3. Once you have done this, you will be taken to the Jellyfish dashboard:
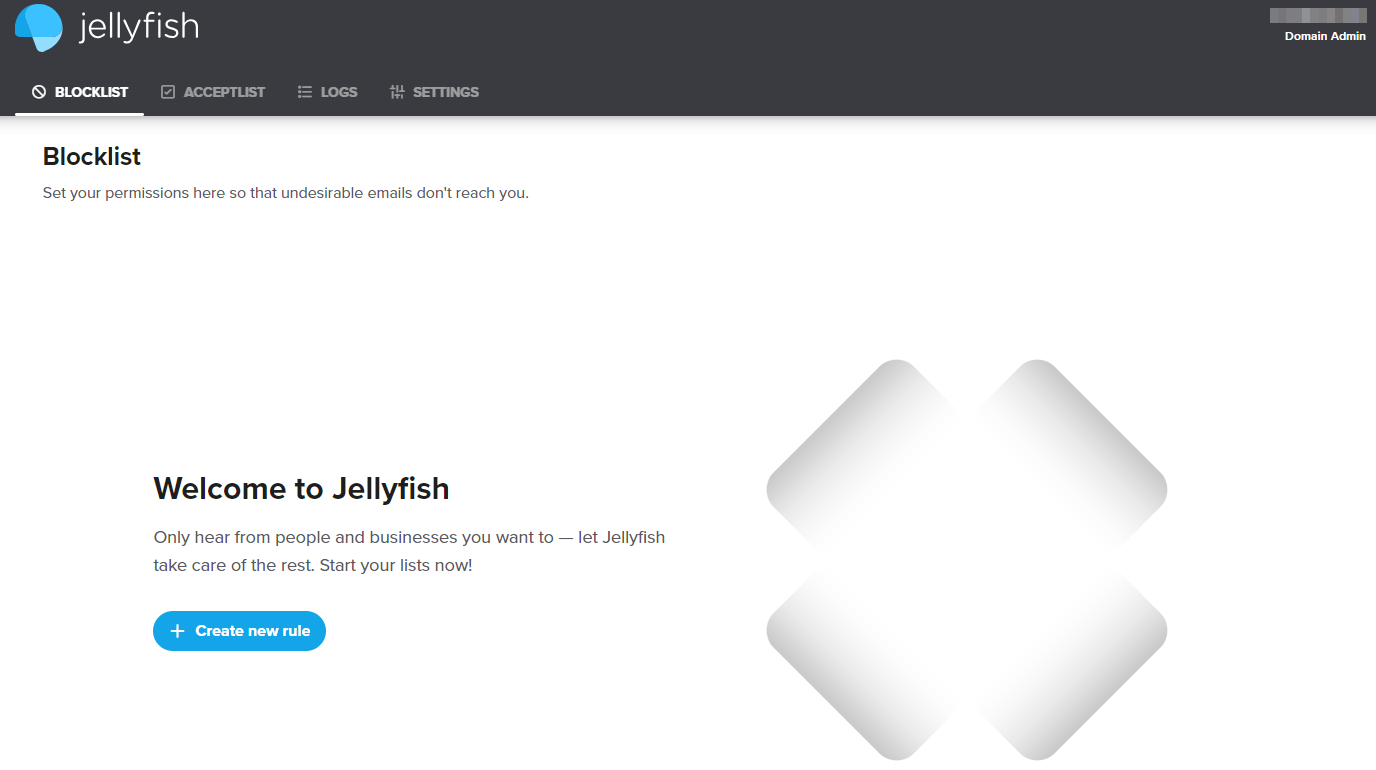
Feel free to create and manage your blocklist and acceptlist settings in this dashboard. Learn how
in this guide
For Shared Hosting
If you use the cPanel-based email service you can log into the Jellyfish admin dashboard via cPanel account in the following way:
1. Log into your cPanel and navigate to the Exclusive for Namecheap customers tab. Click Jellyfish Spam Protection:

2. Click Manage right to the domain name for which you'd like to access the Jellyfish dashboard:

3. Once done, you will be redirected to the Jellyfish dashboard:
We invite you to review our step-by-step guide on creating and managing blocklists, acceptlist and other filtering settings
here.
That's it!