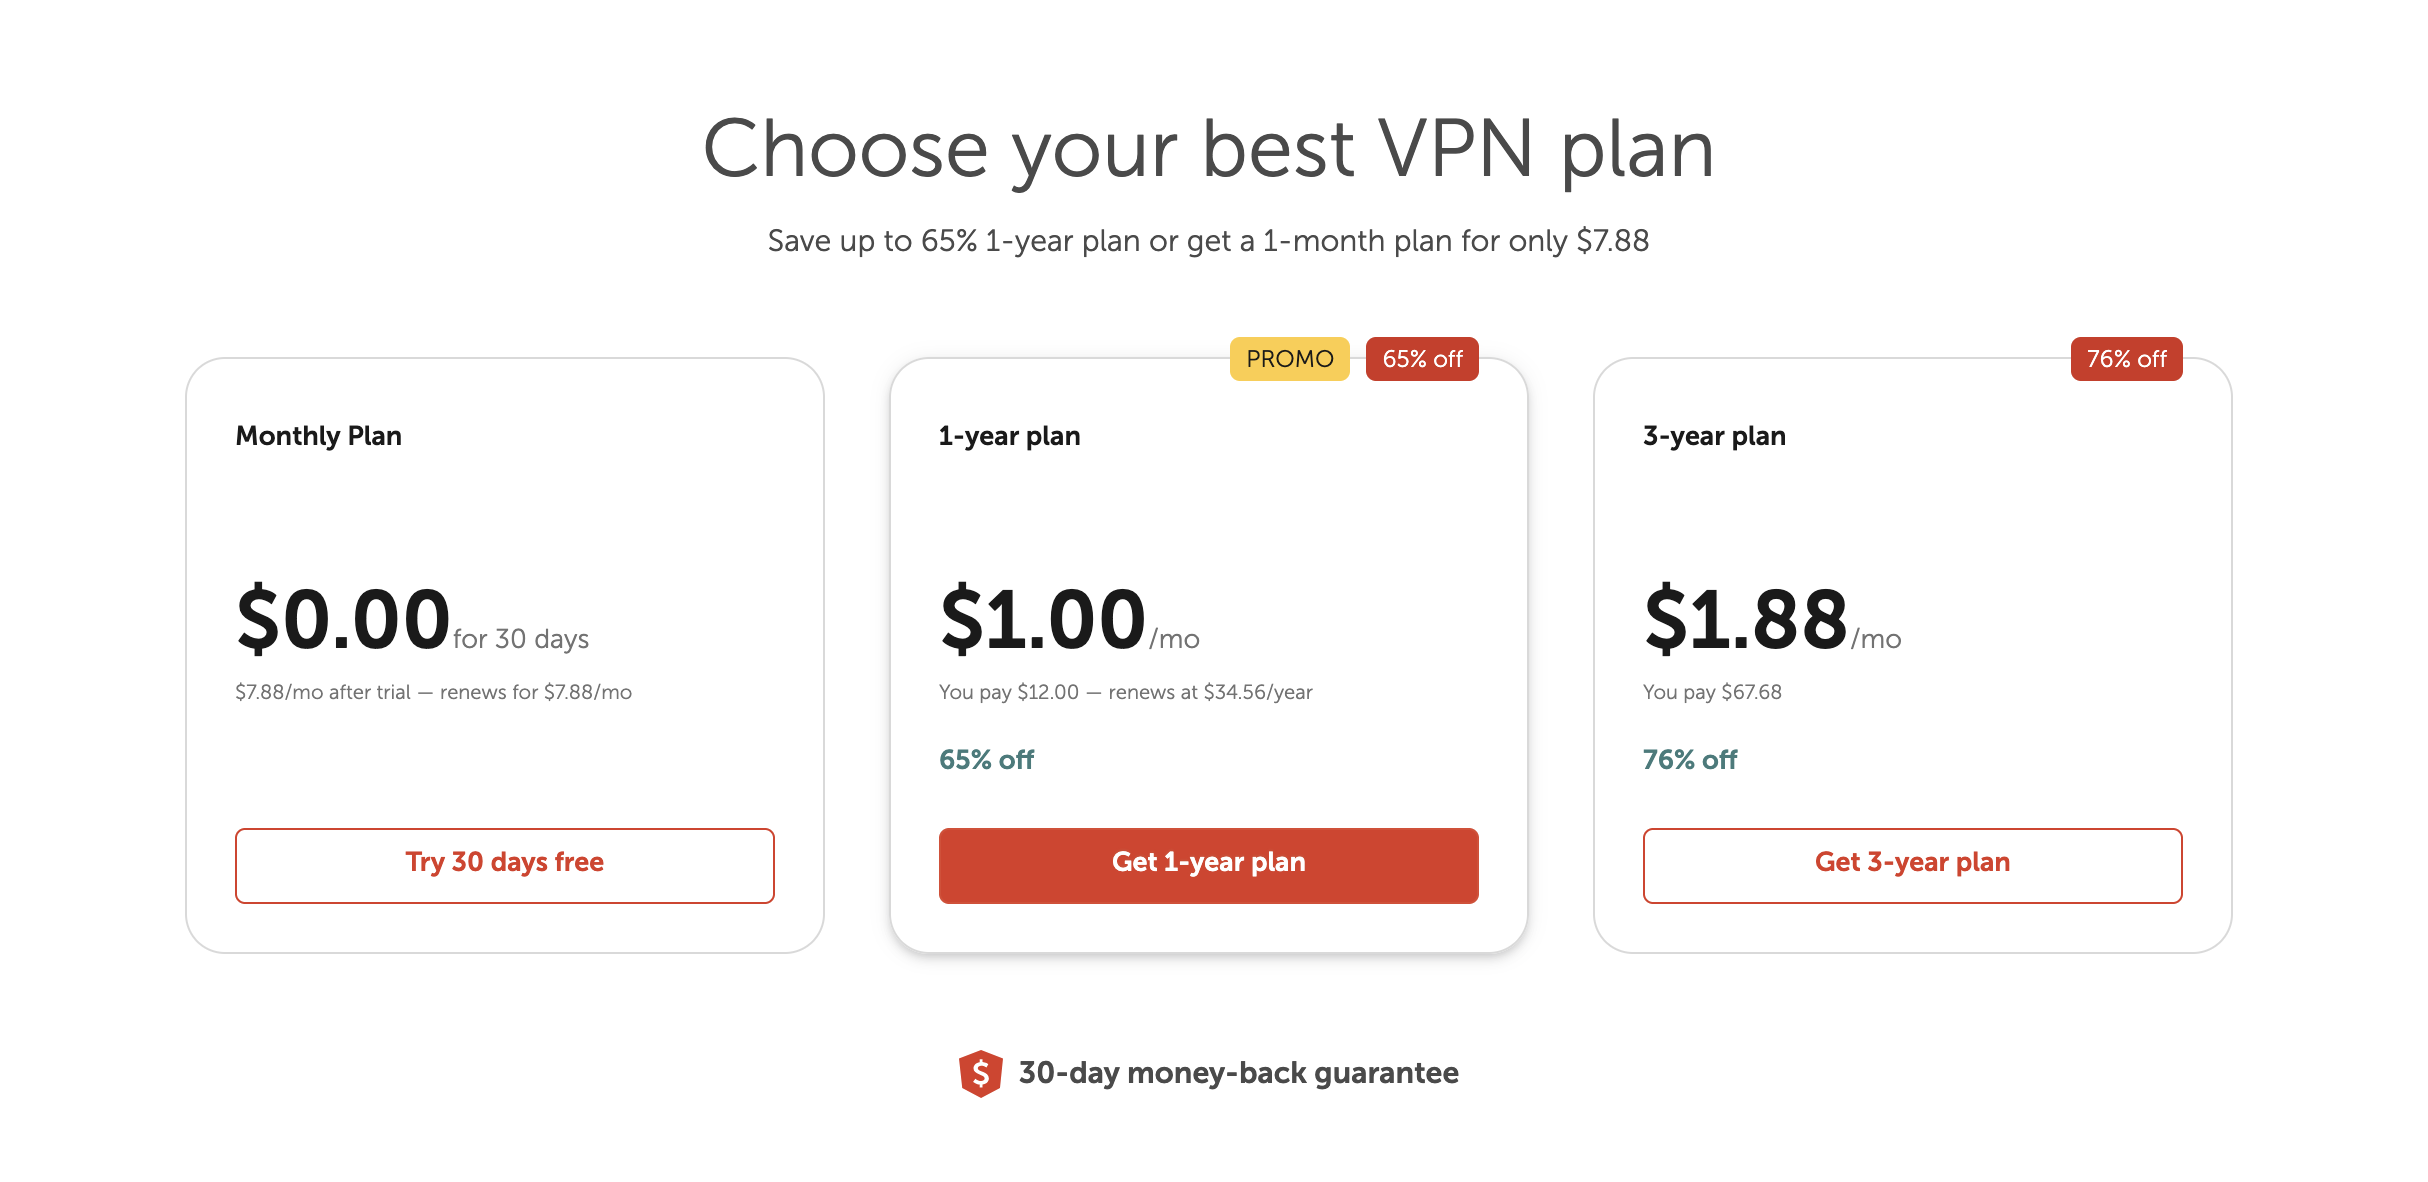
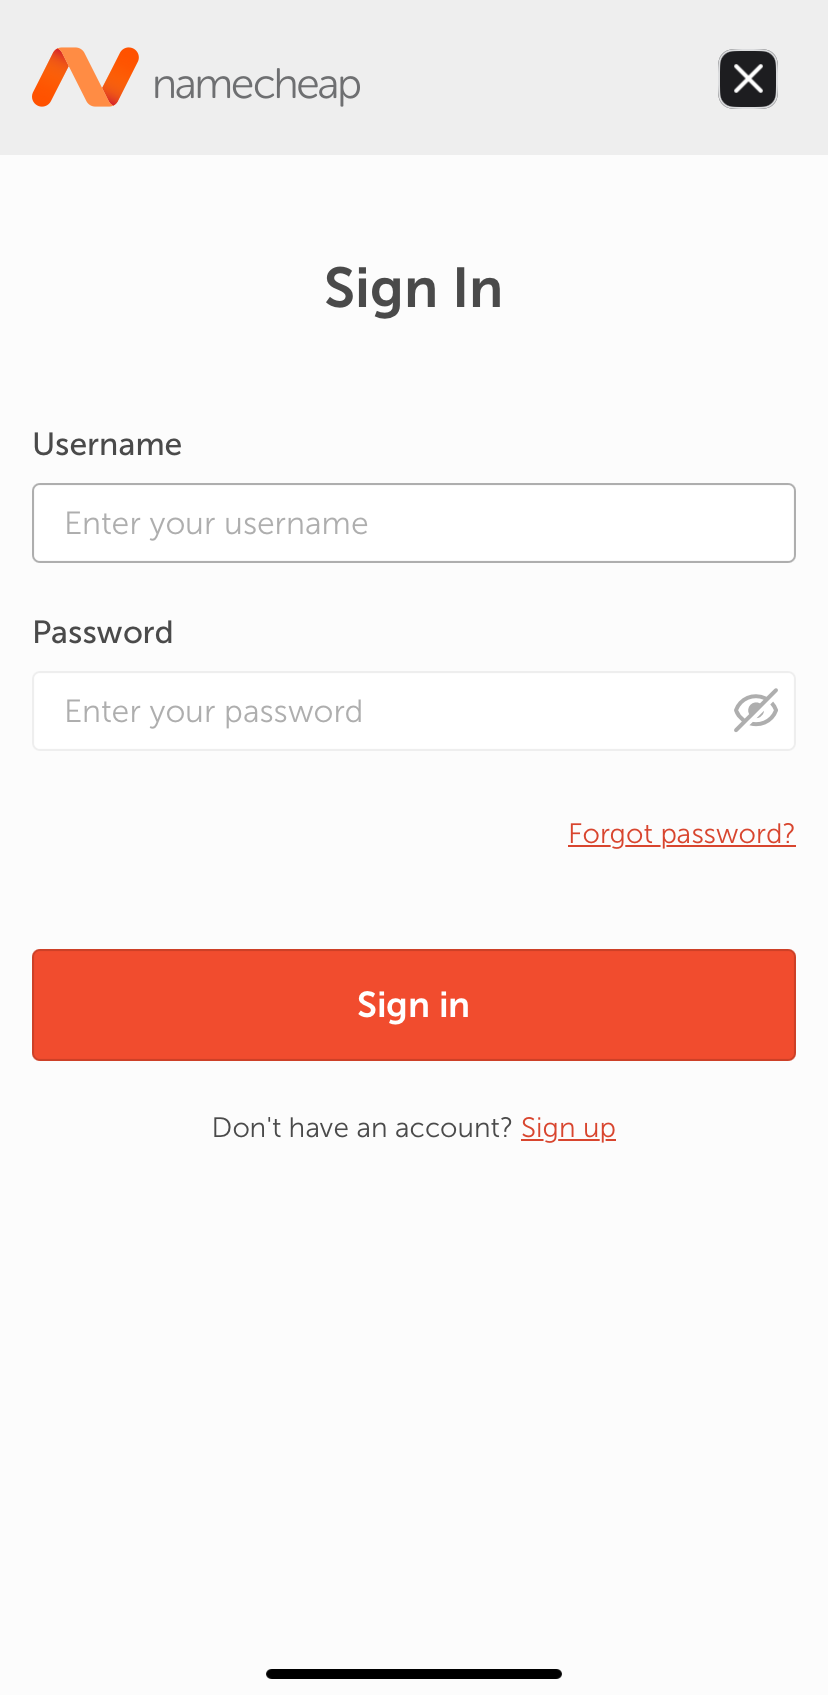
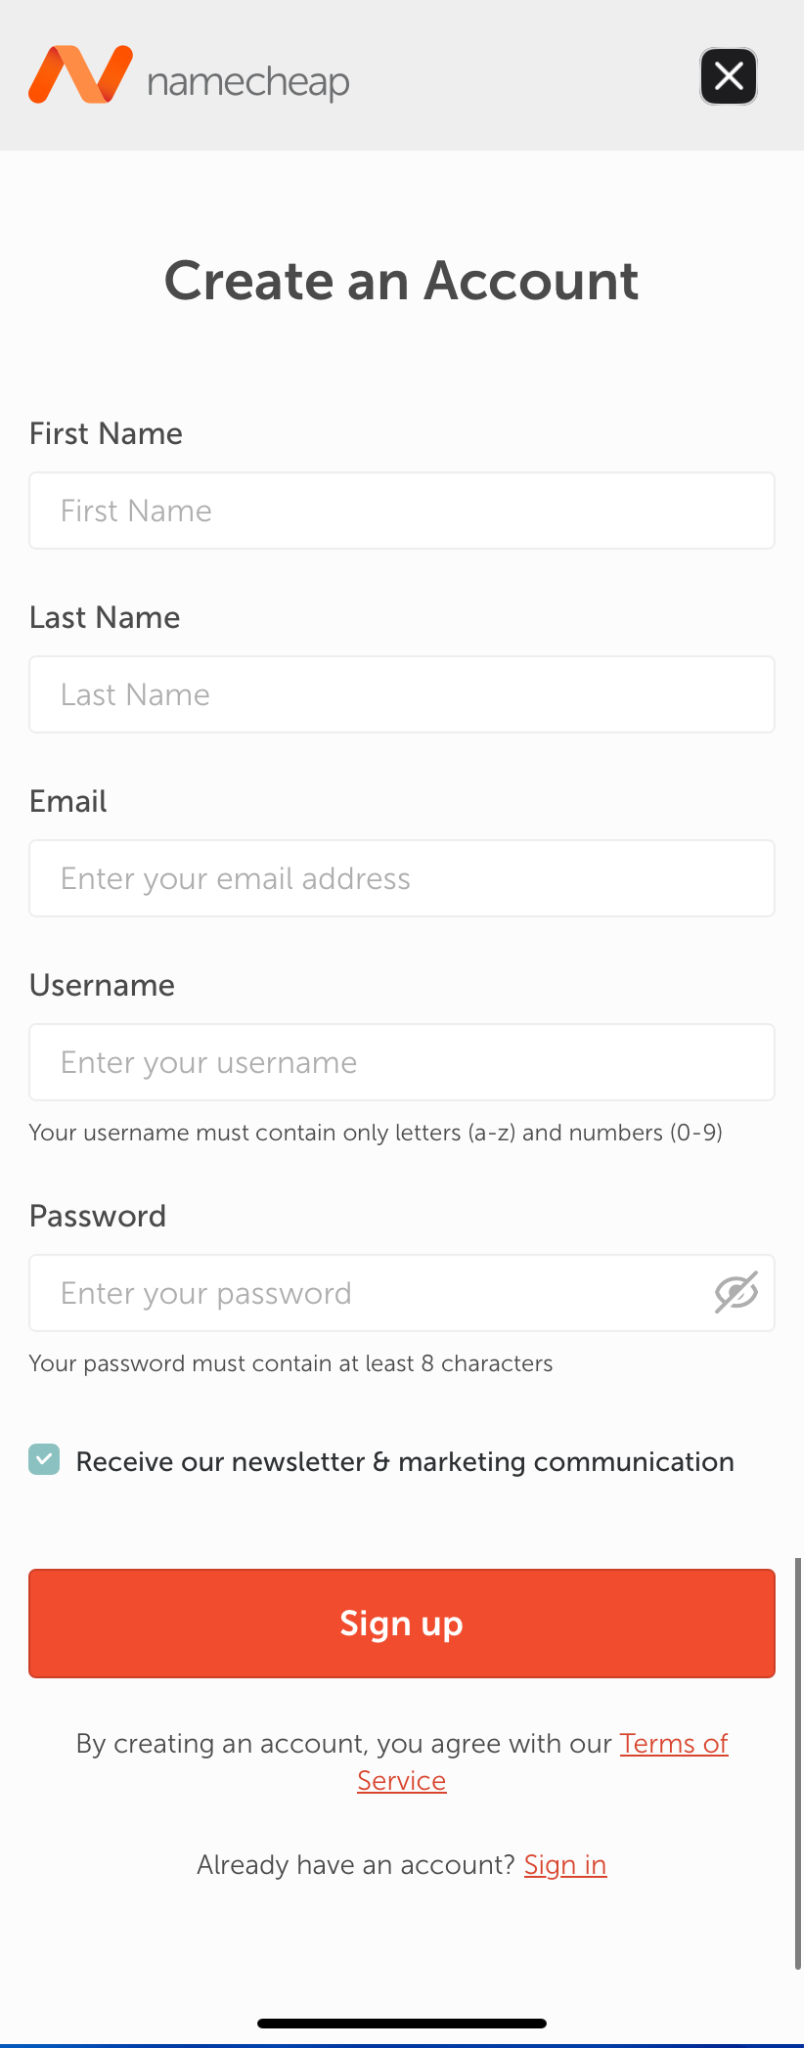
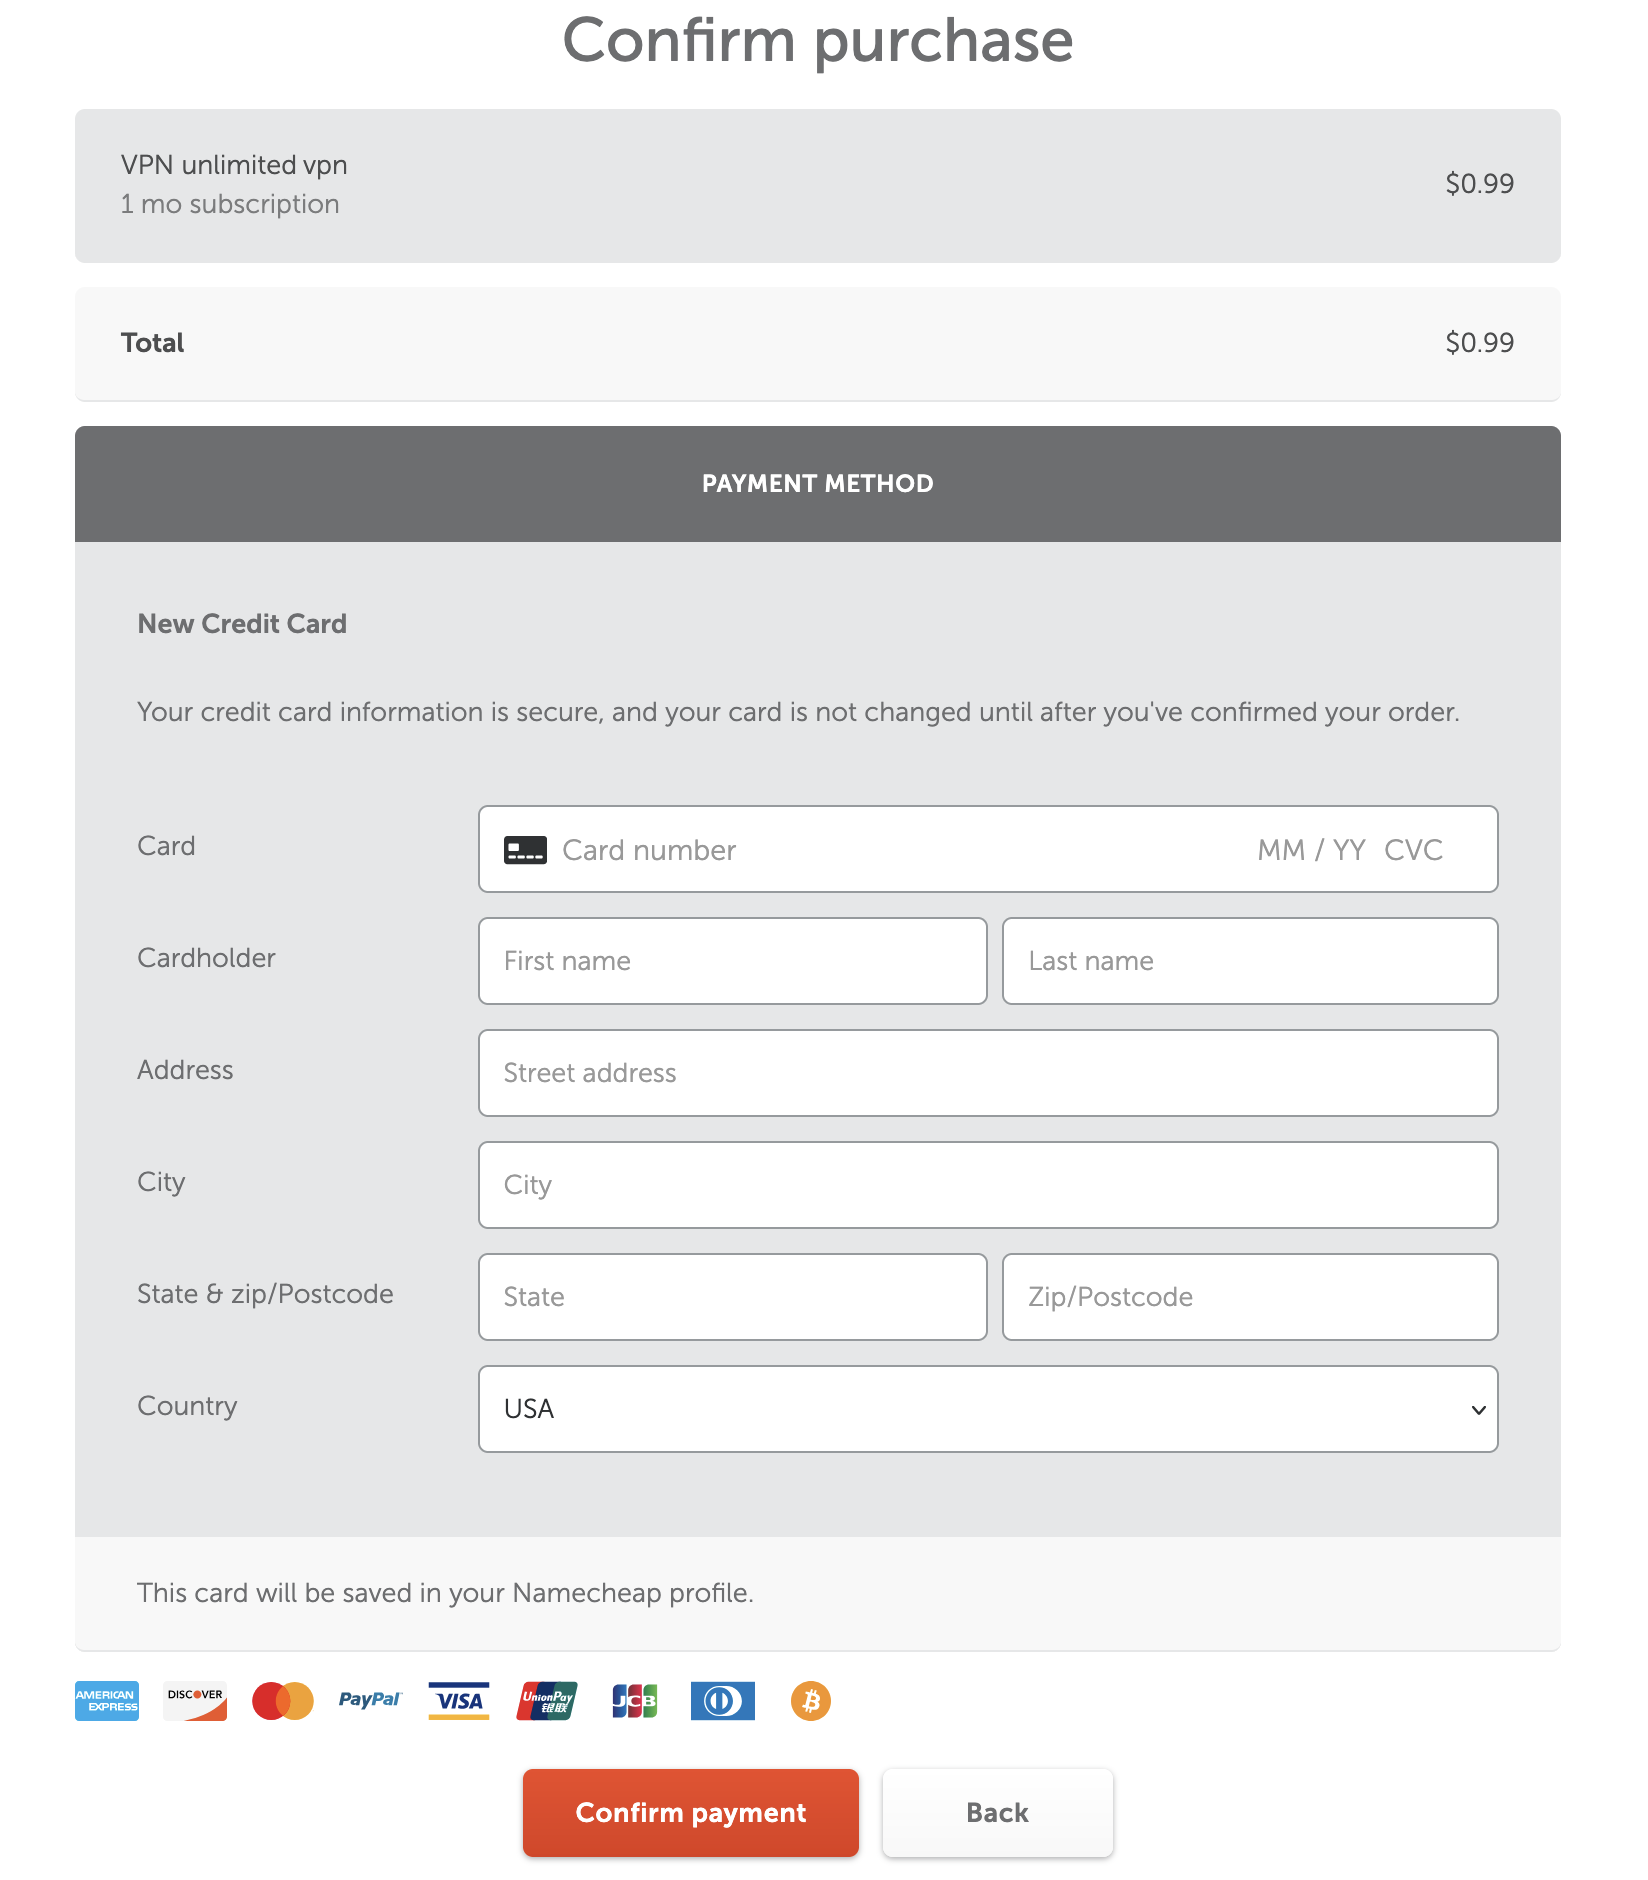
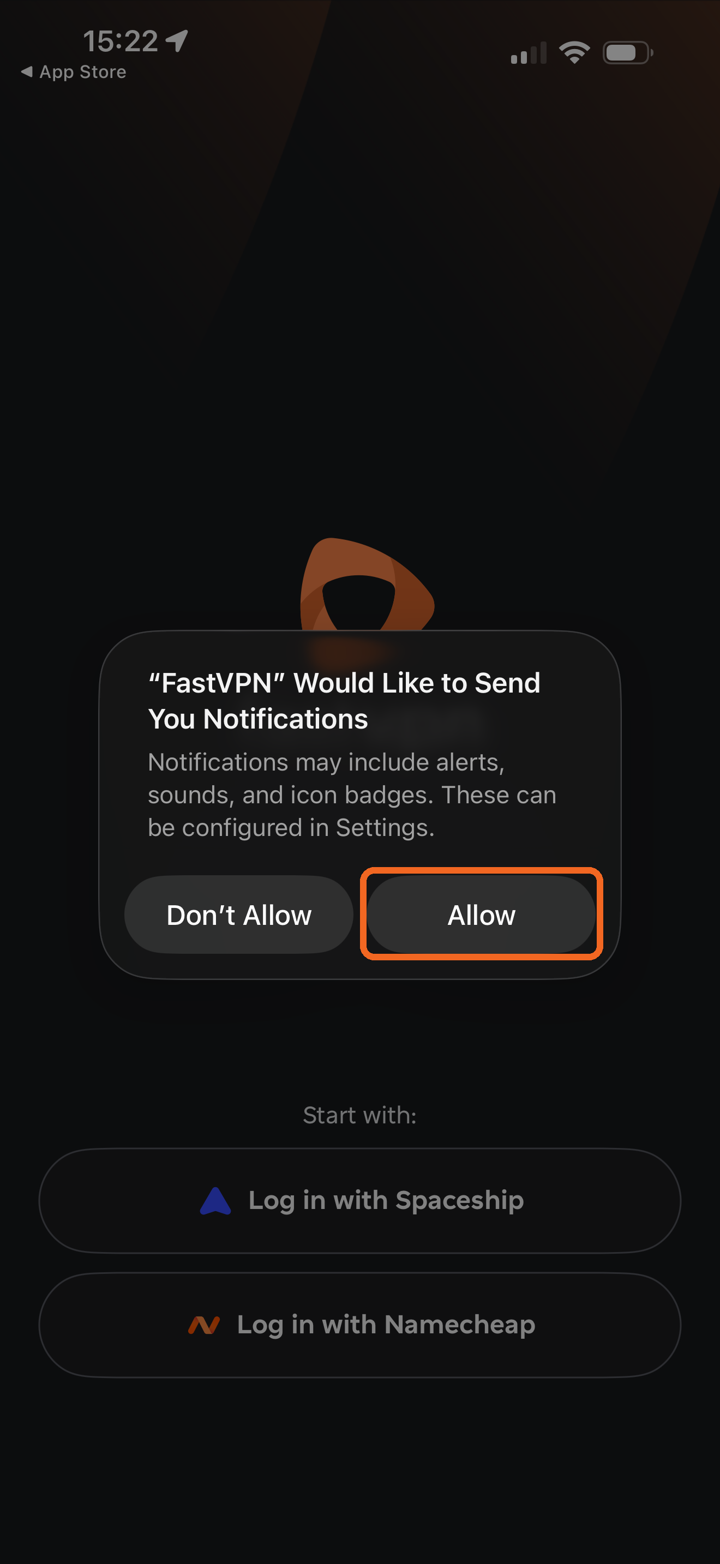
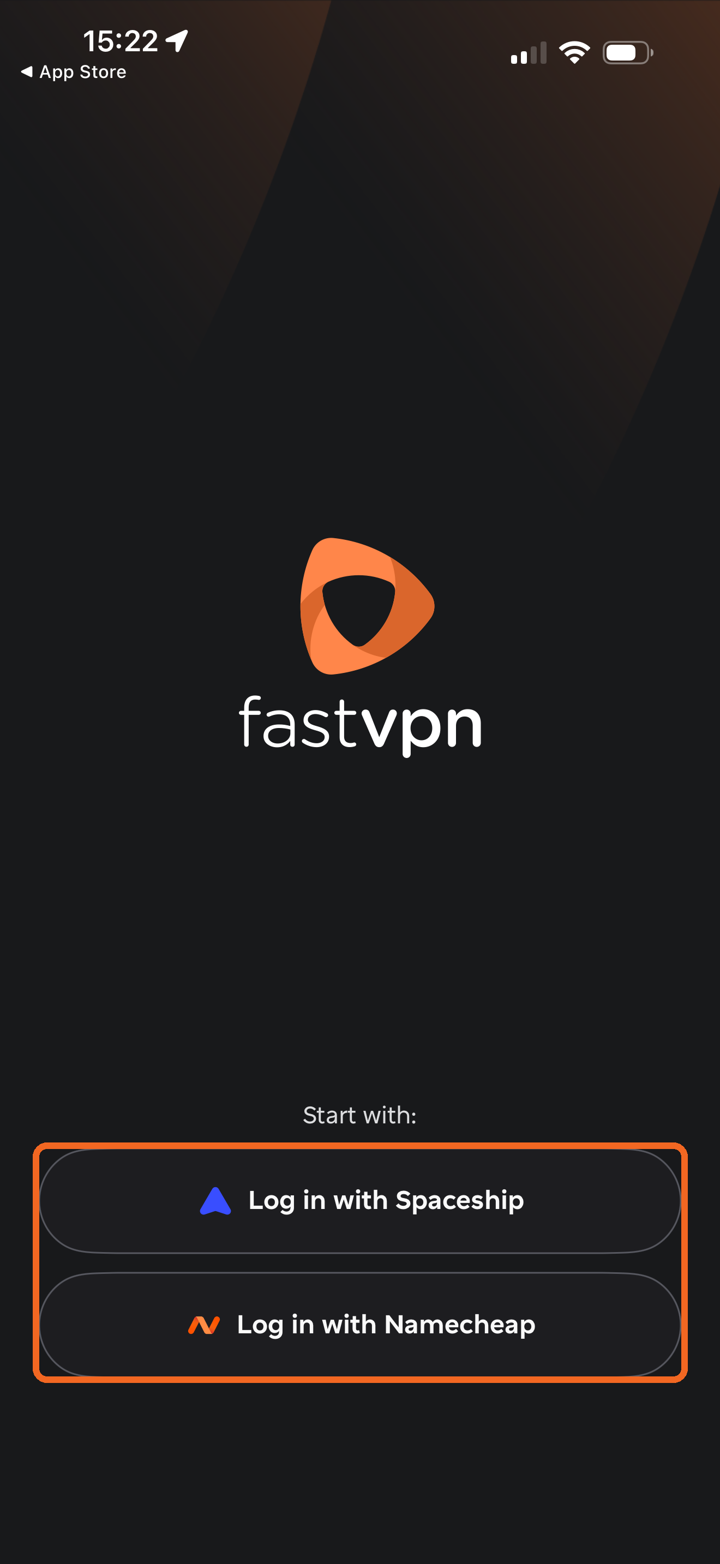
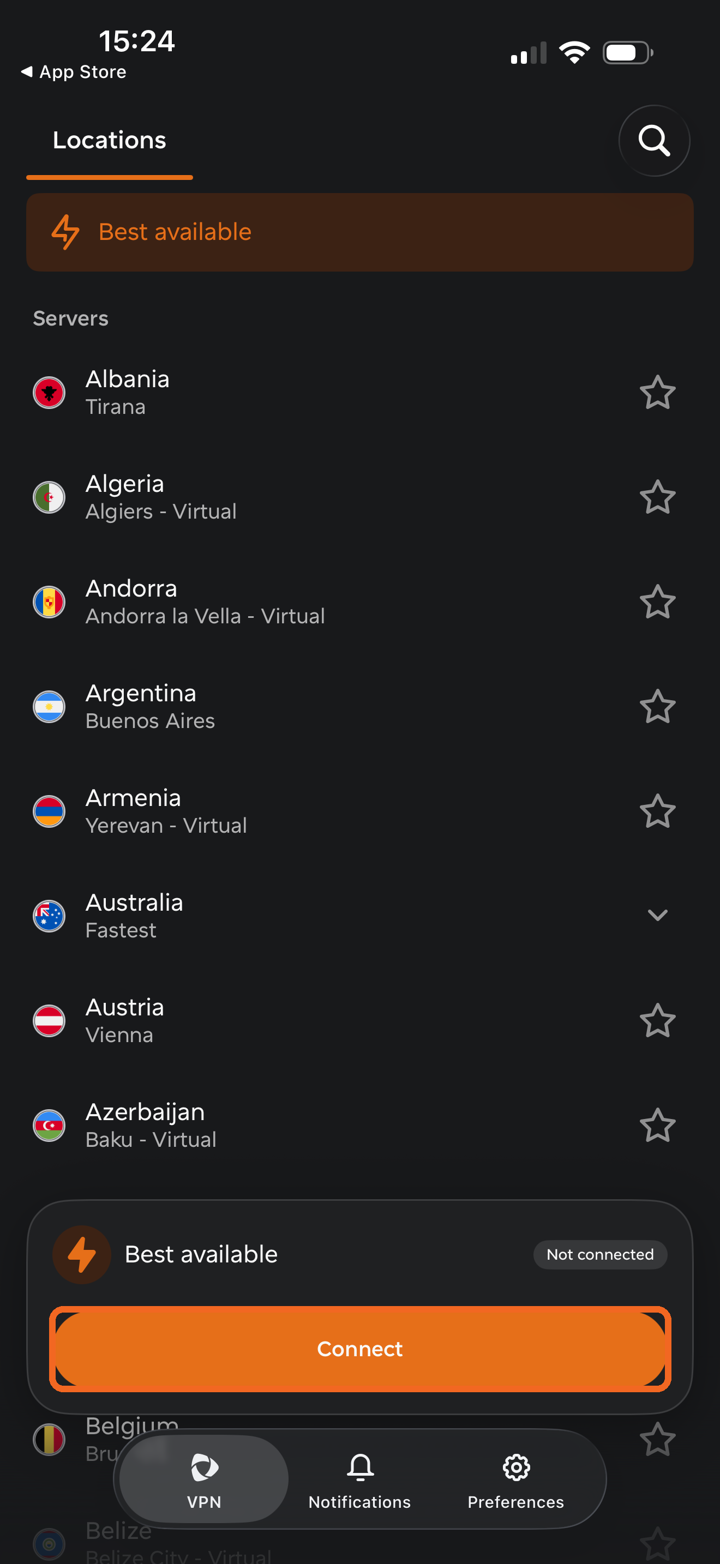
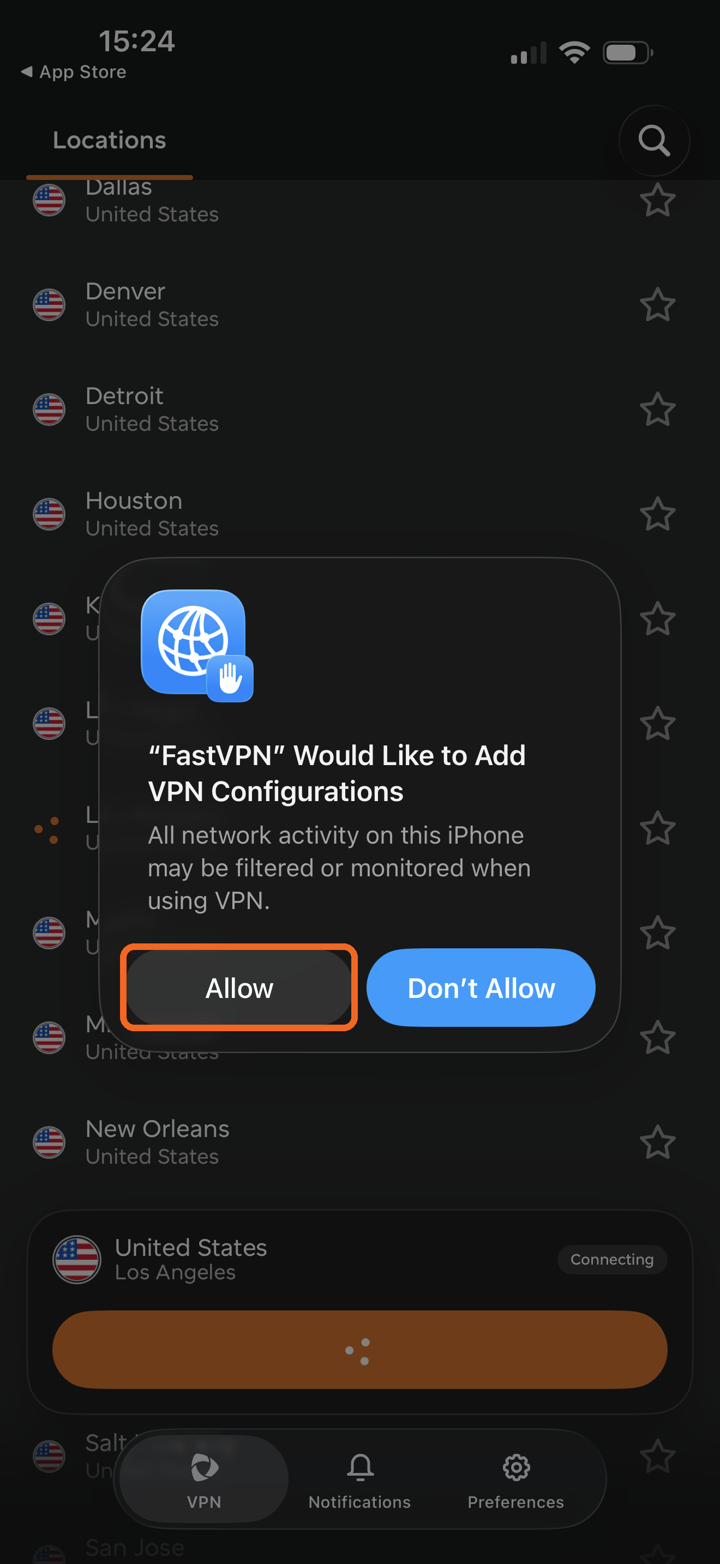
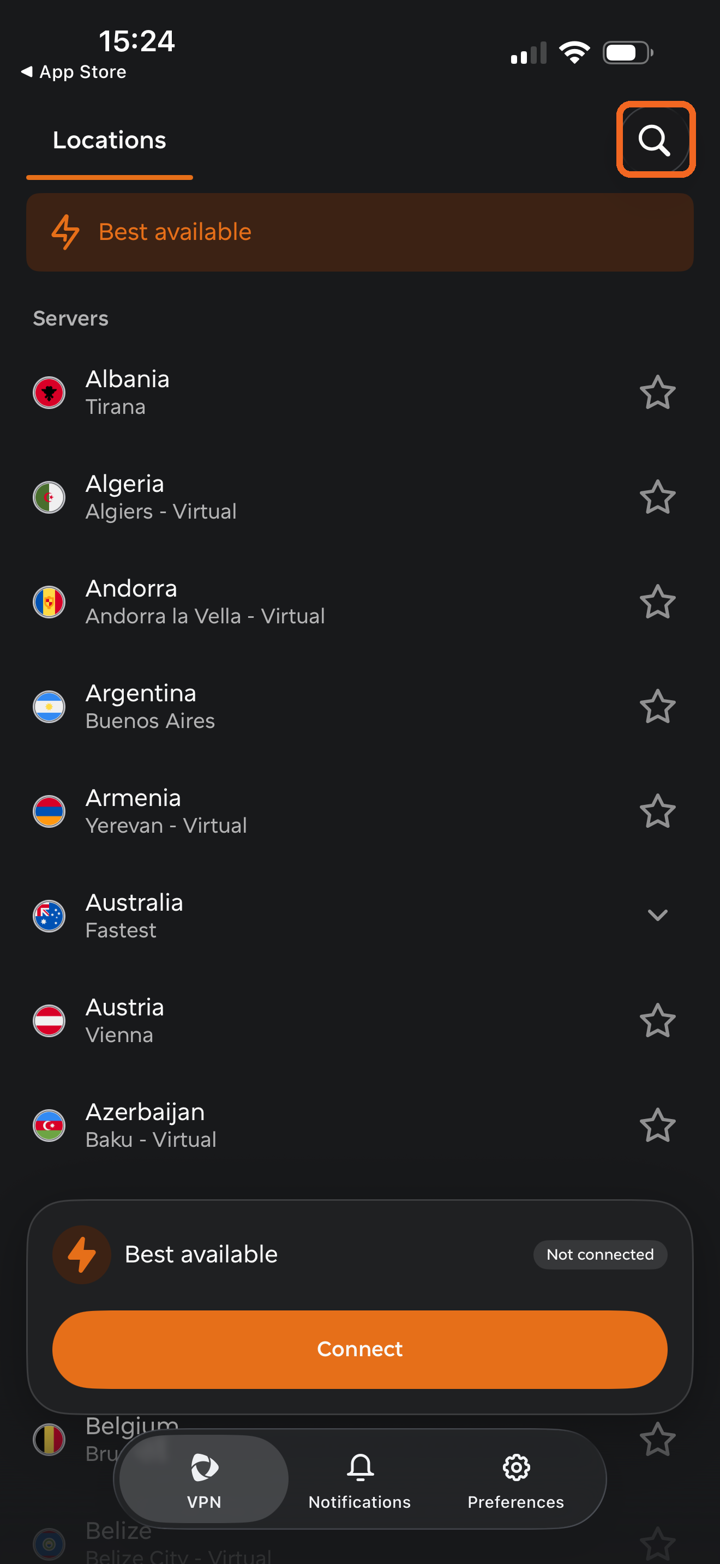
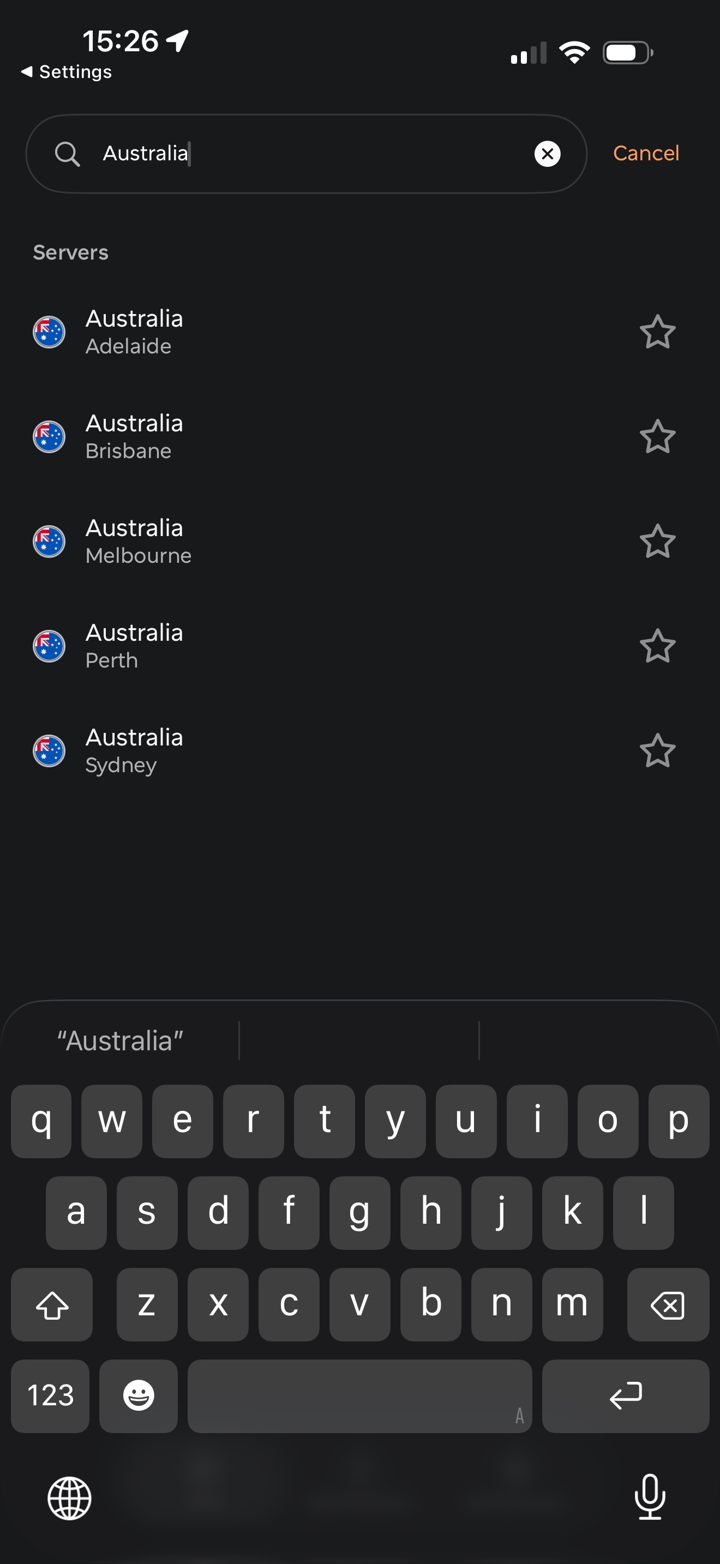
This guide walks you through purchasing FastVPN, installing the app on your iPhone or iPad, connecting to a VPN location, and using the app's main features.
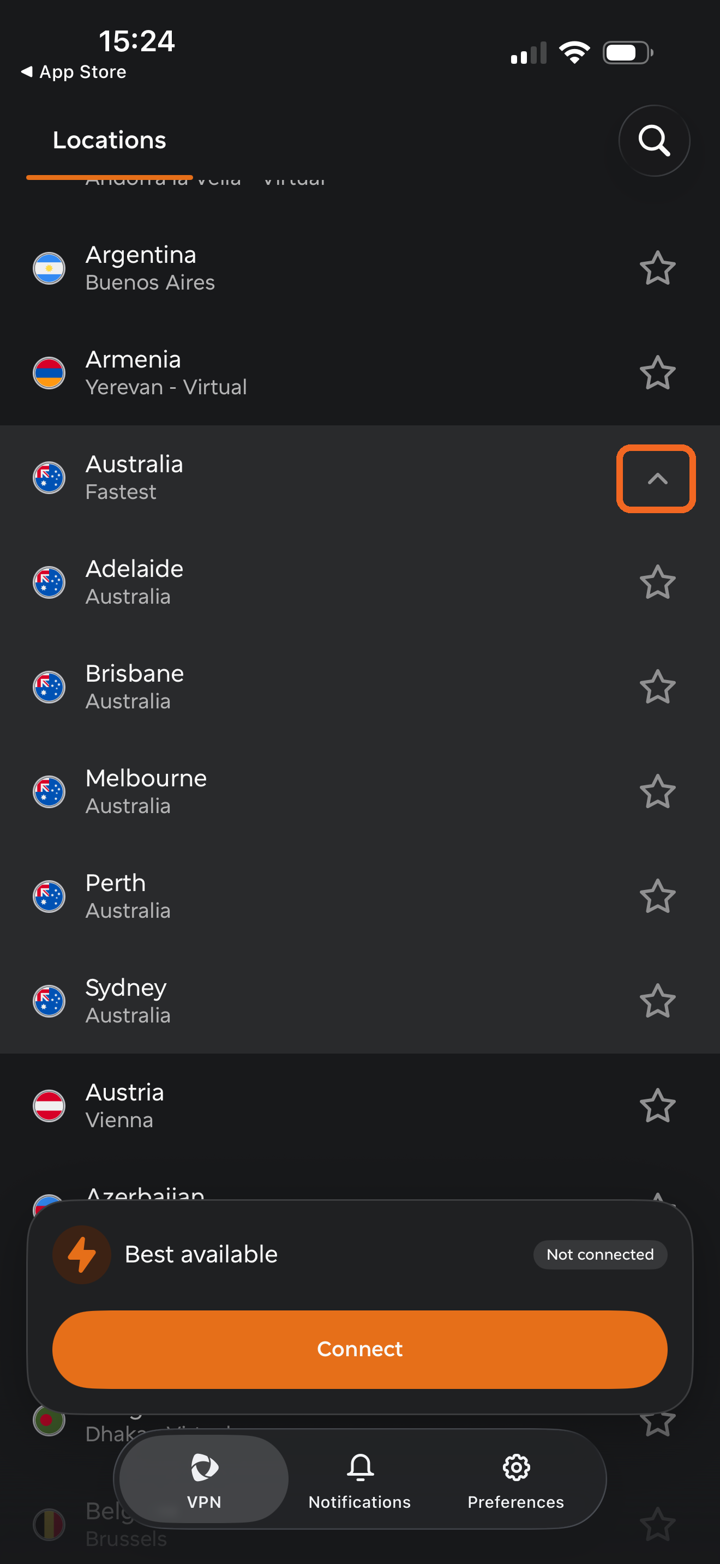
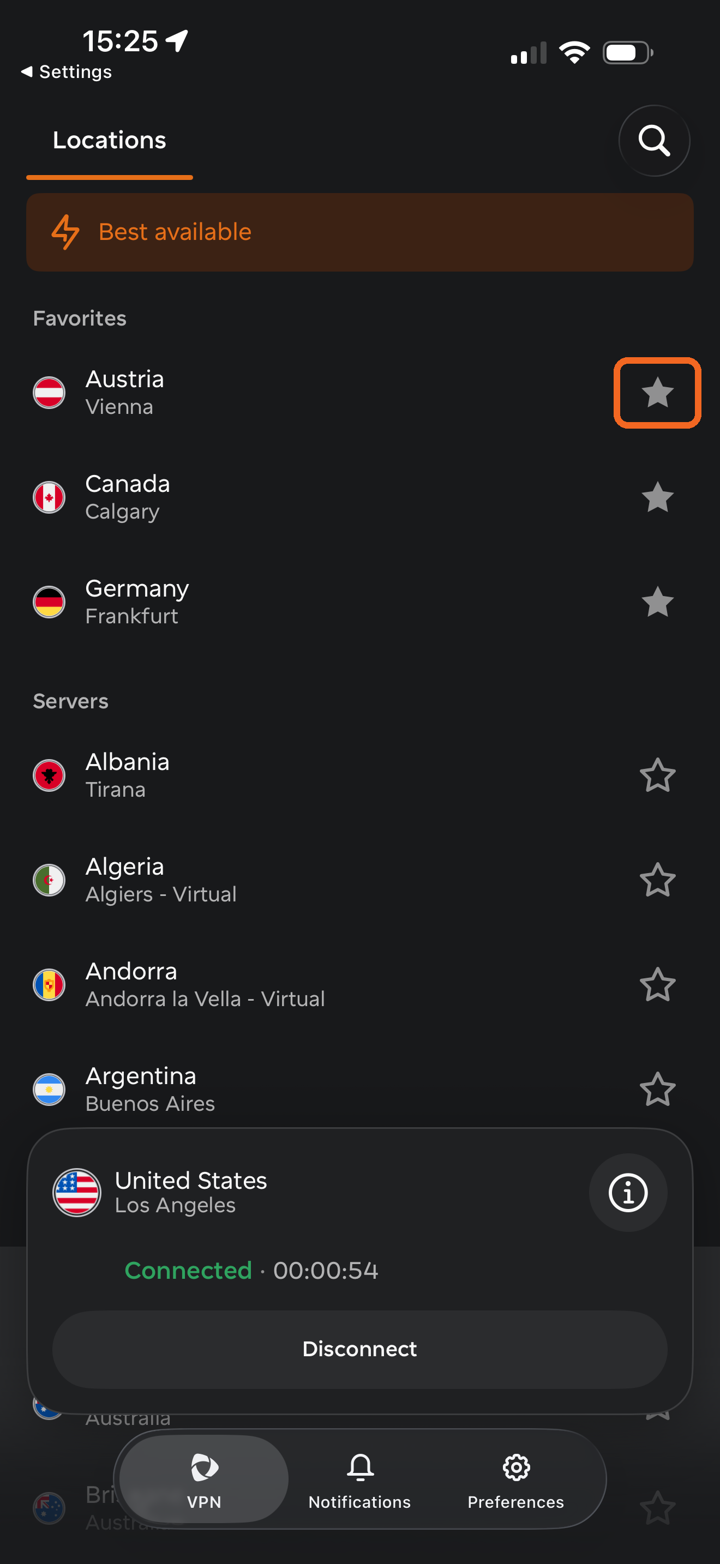
You can also add locations to
Favorites by tapping the
star icon next to them. Your favorite locations appear in a separate
Favorites section above the Servers list:
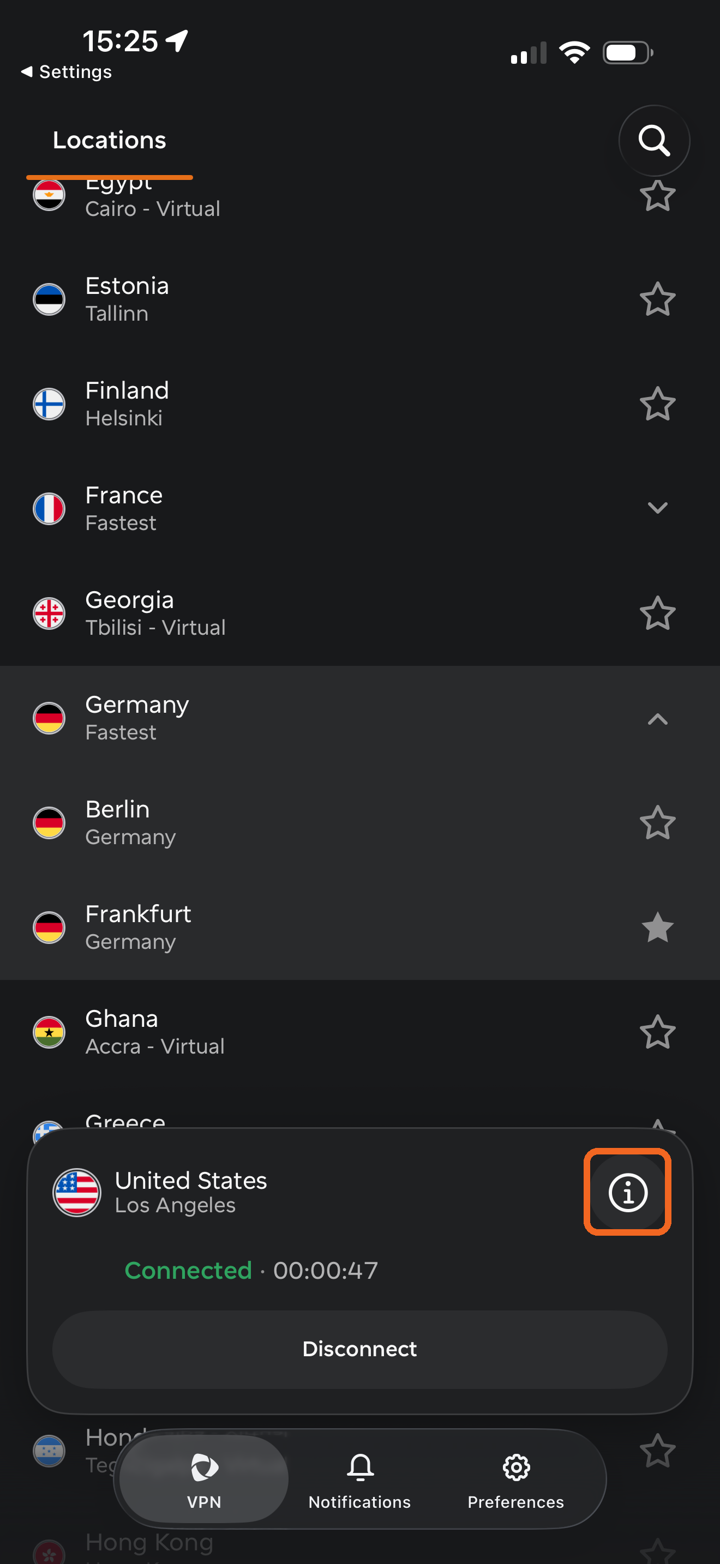
Step 5. View connection details and switch IP
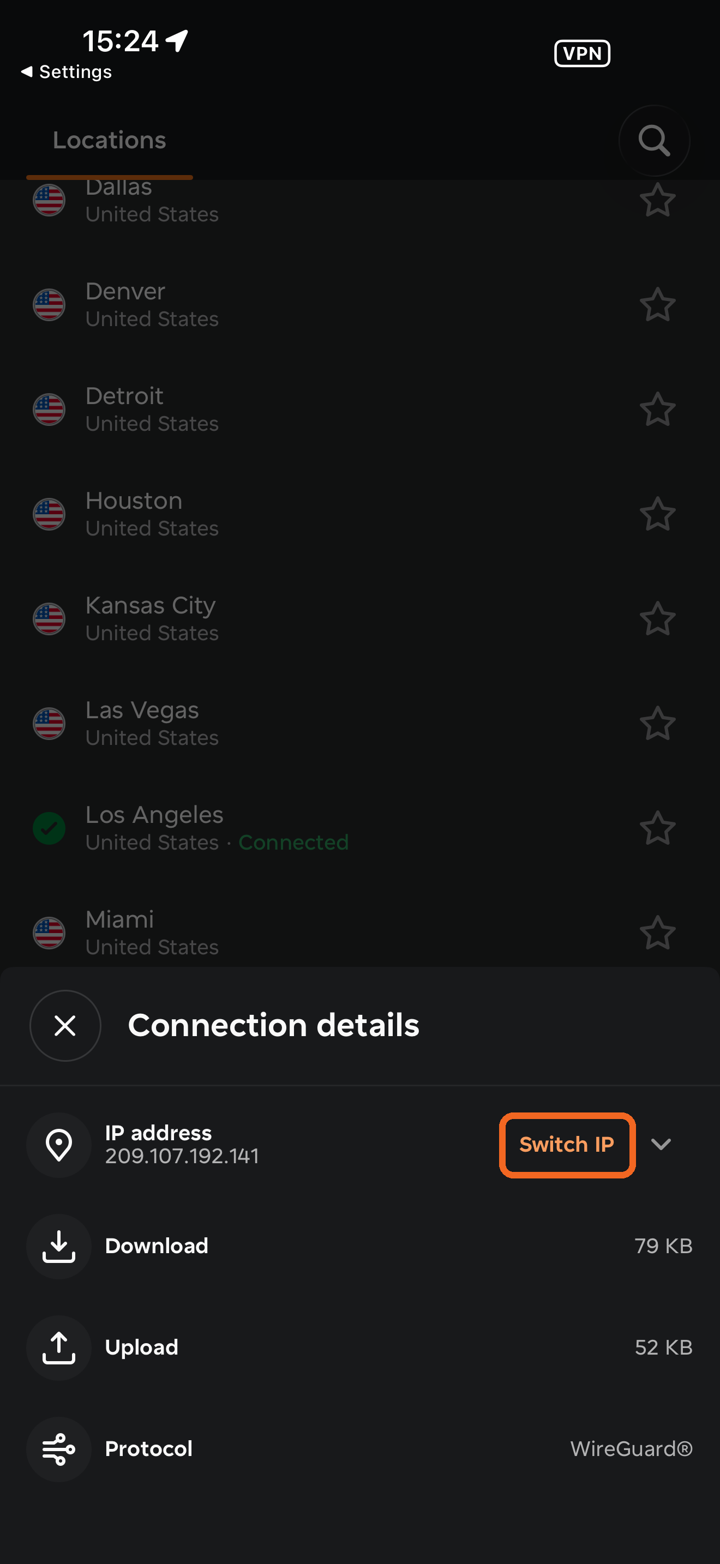
While connected, tap the
info (i) icon on the connection card to open
Connection details. Here you can see your current IP address, download and upload statistics, and the protocol in use.
To change your IP address, tap
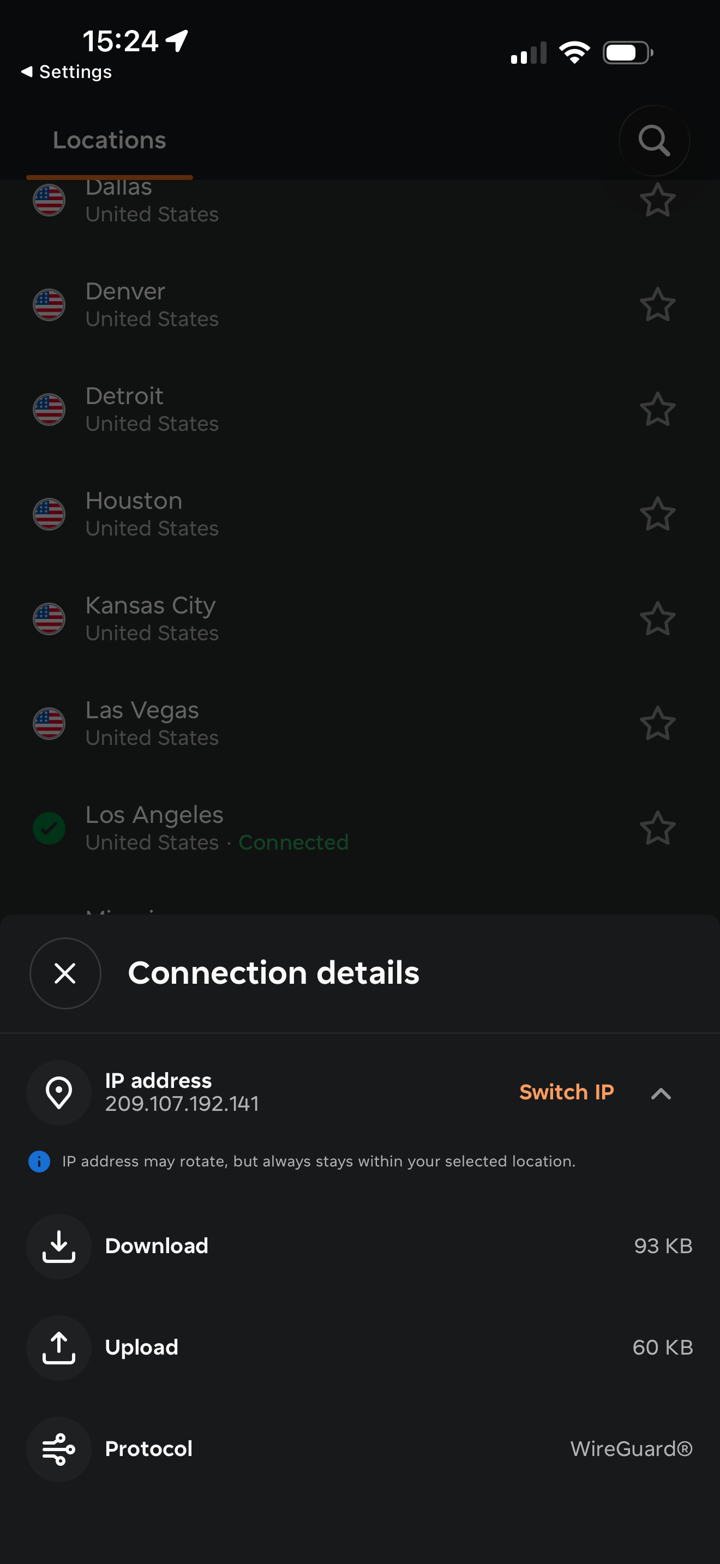
Switch IP. Switch IP gives you a new IP address without changing your selected location. It's useful if a site blocks your IP or you want a fresh connection.
When you tap
Switch IP, the VPN briefly disconnects, reconnects to another server in the same area, and gives you a new IP - usually in just a few seconds. This feature can help bypass IP blocks, fix slow speeds, or improve privacy without manually picking a new location.
NOTE: Your IP address may rotate, but it always stays within your selected location.
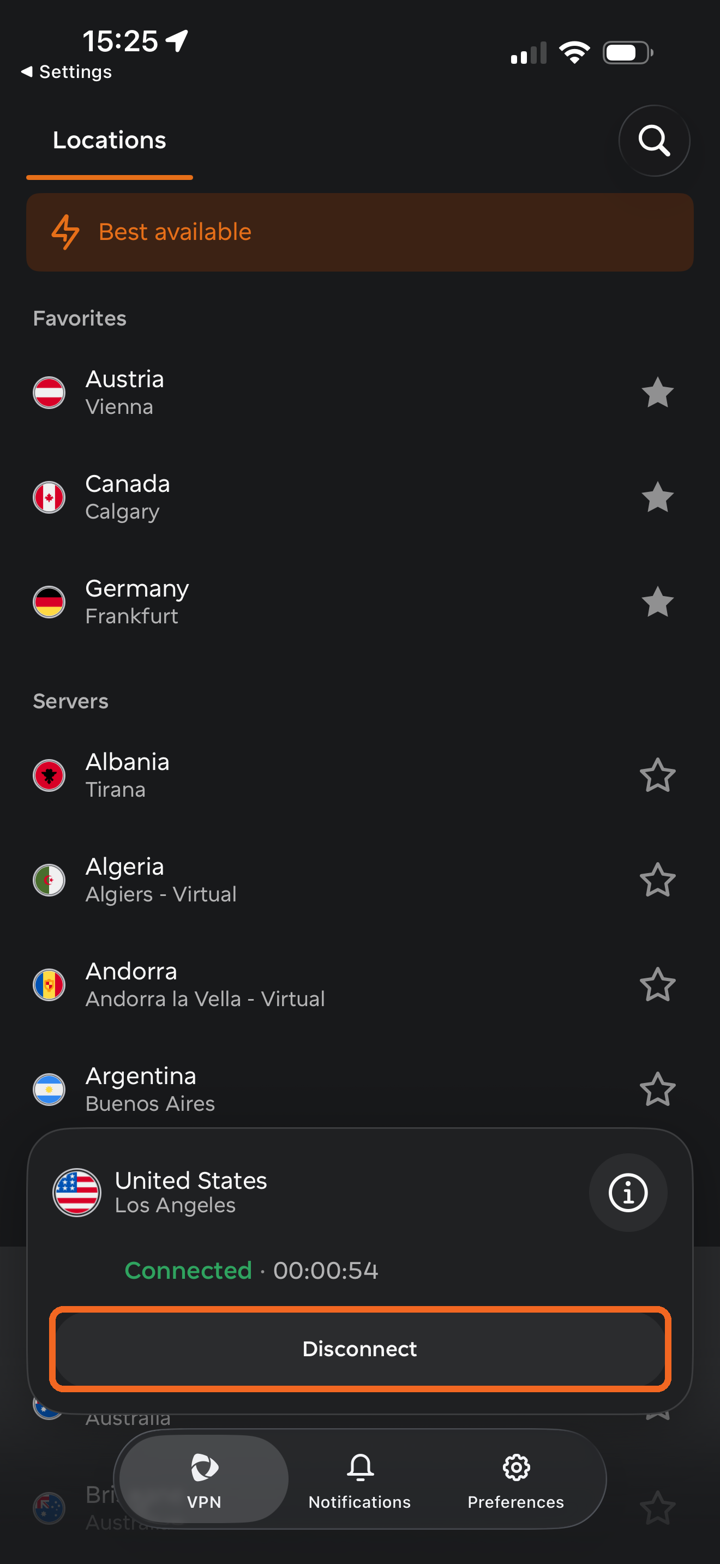
Step 6. Disconnect
To disconnect, tap
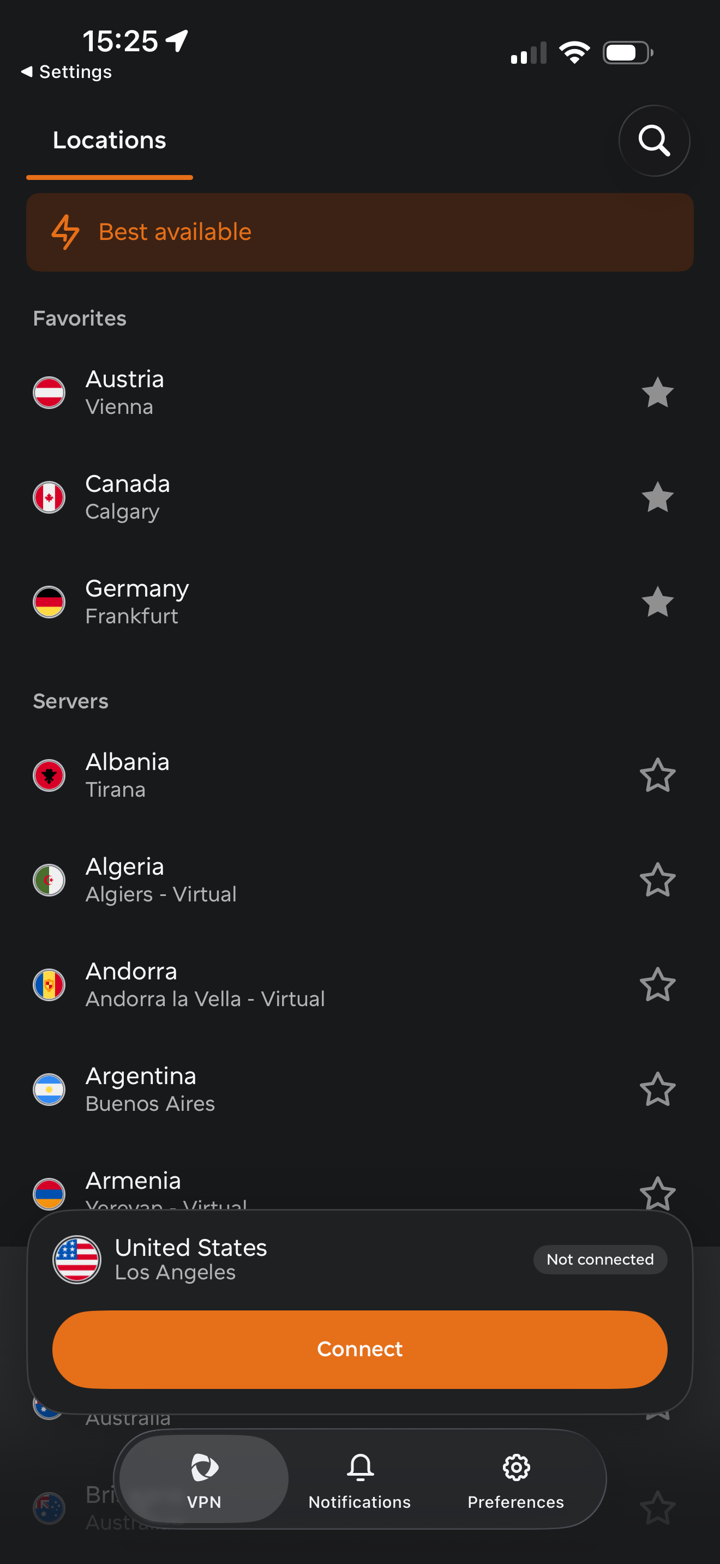
Disconnect on the connection card. The card then shows
Not connected and keeps your last location selected, so you can reconnect with a single tap on
Connect.
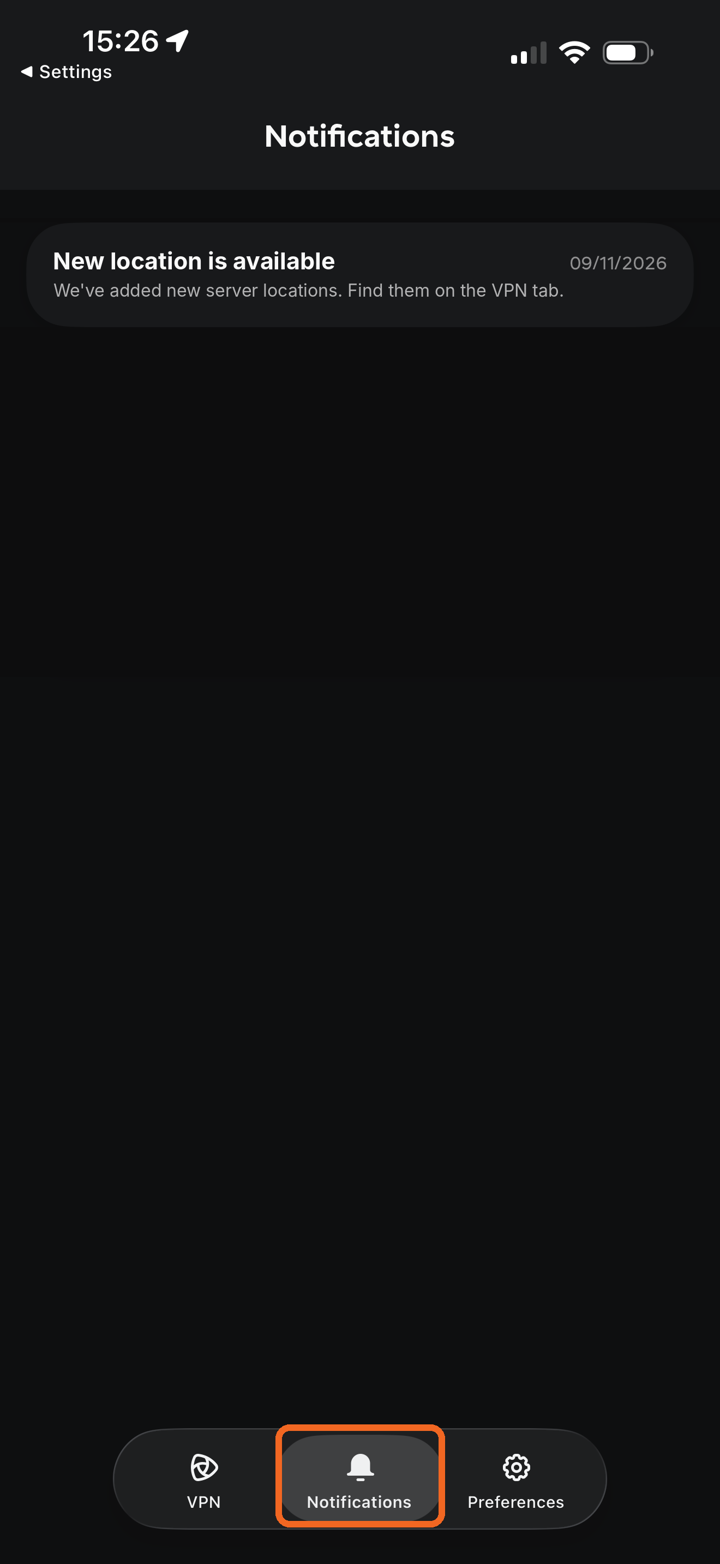
Notifications
Tap
Notifications in the bottom navigation bar to see important announcements and alerts from FastVPN, for example when new server locations become available:
Preferences
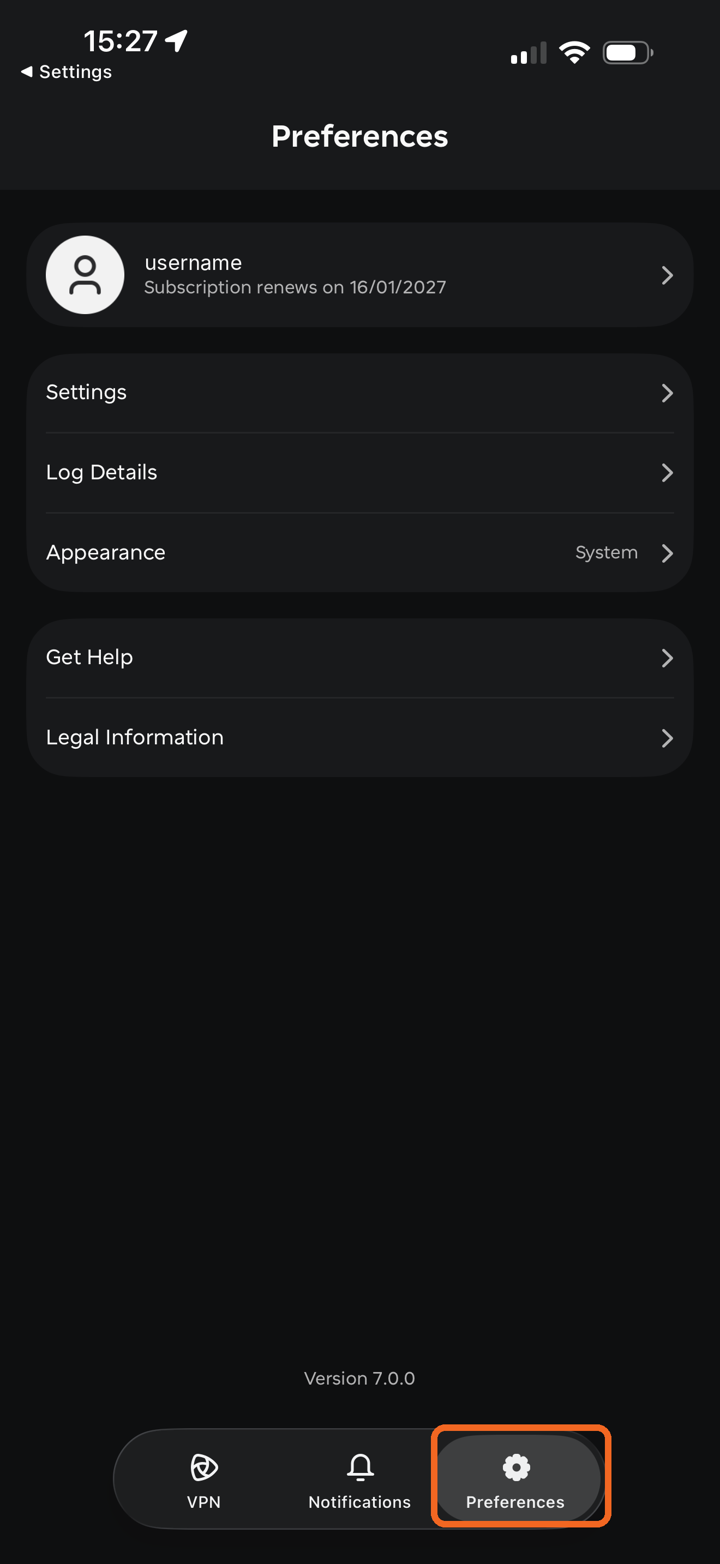
To open the app settings, tap
Preferences in the bottom navigation bar. At the top you will see your account username and the date your subscription renews. Below are the following sections:
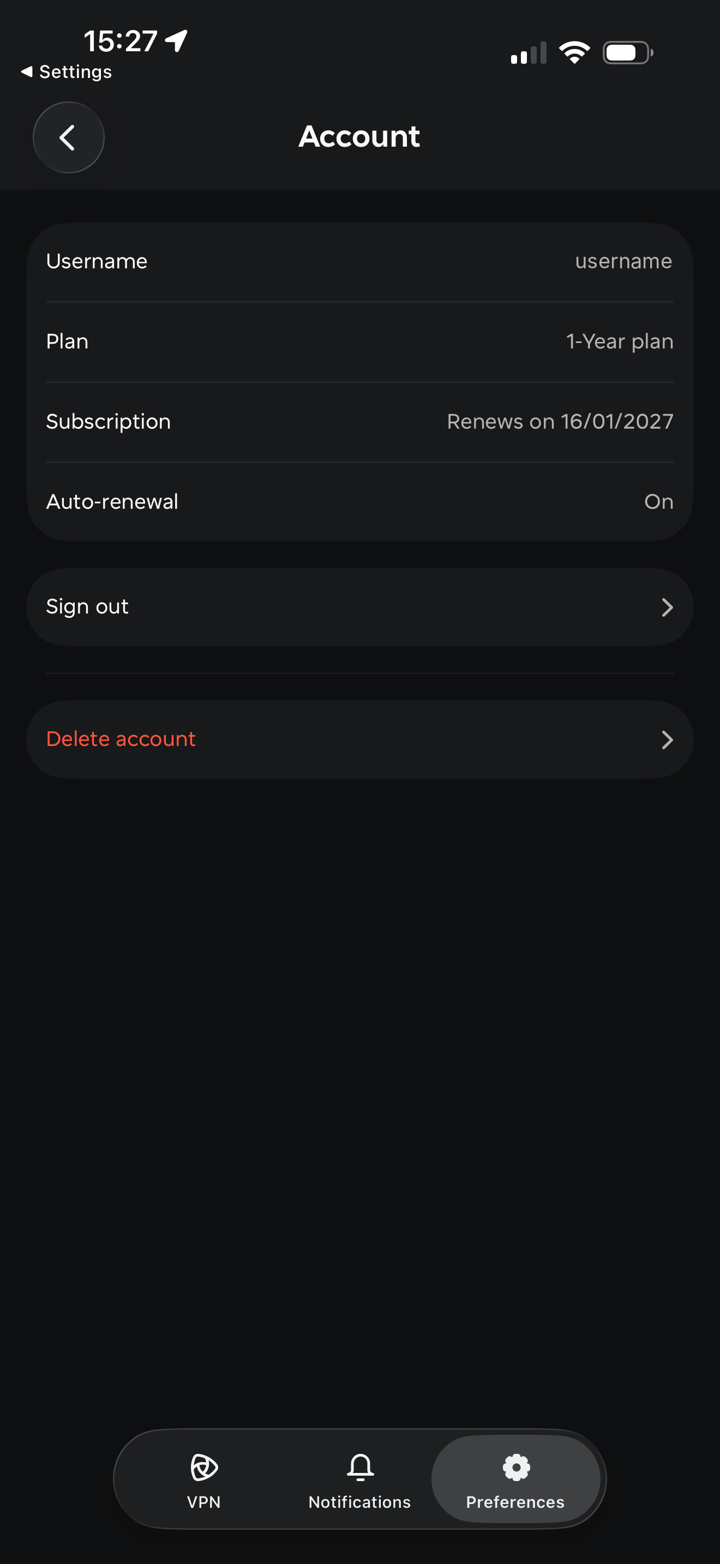
Account - tap your username to see your account details:
Username,
Plan,
Subscription renewal date and
Auto-renewal status. Here you can also
Sign out or
Delete account.
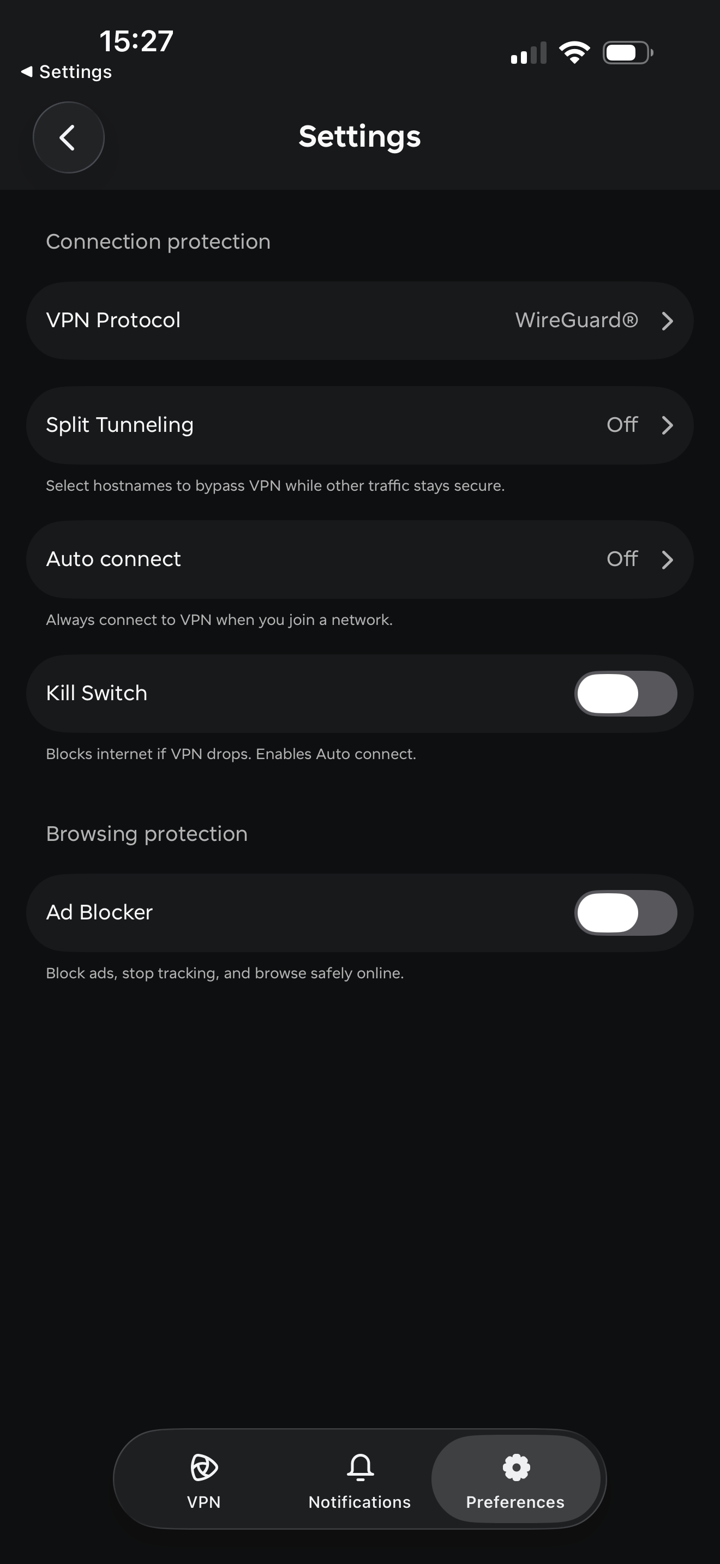
 Settings
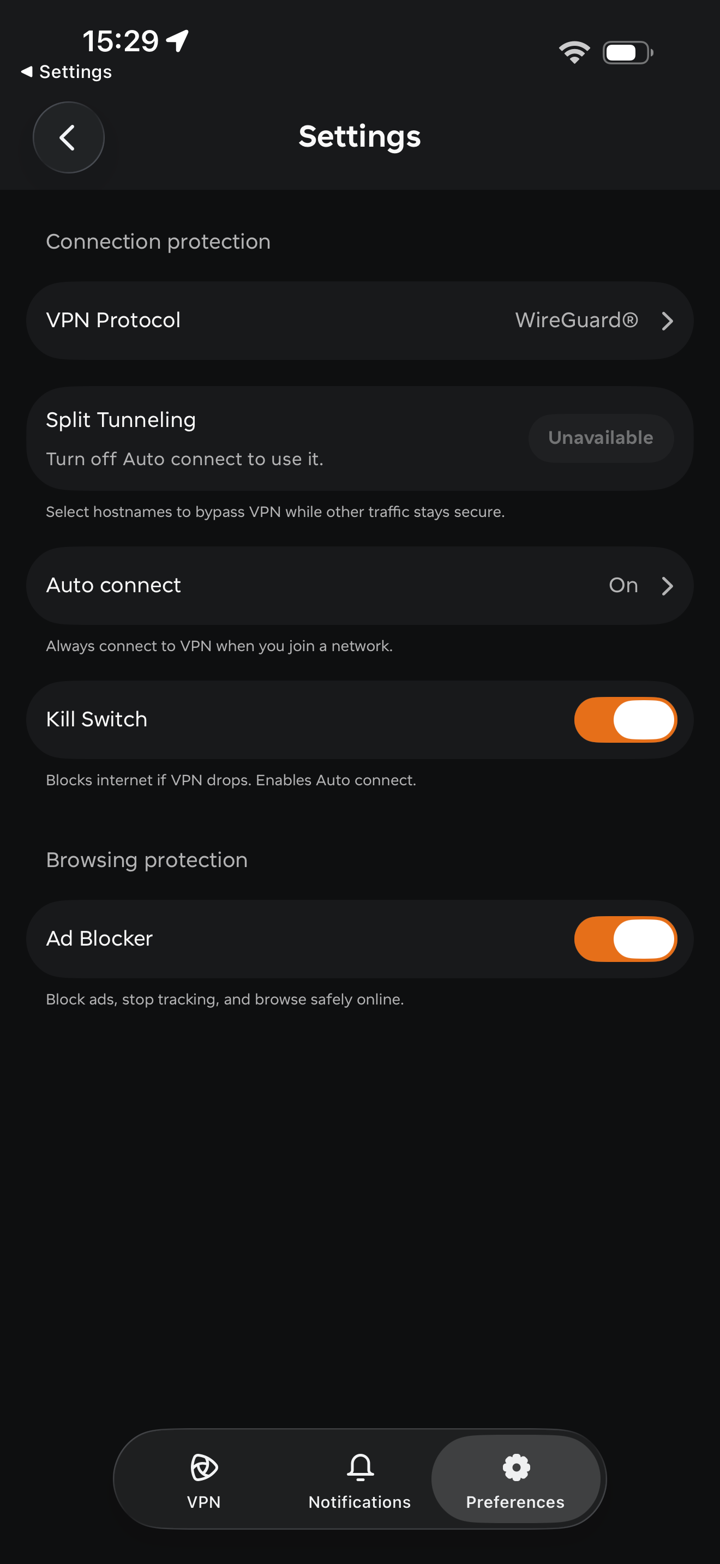
contain the connection and browsing protection options:
Under
Connection protection you will have:
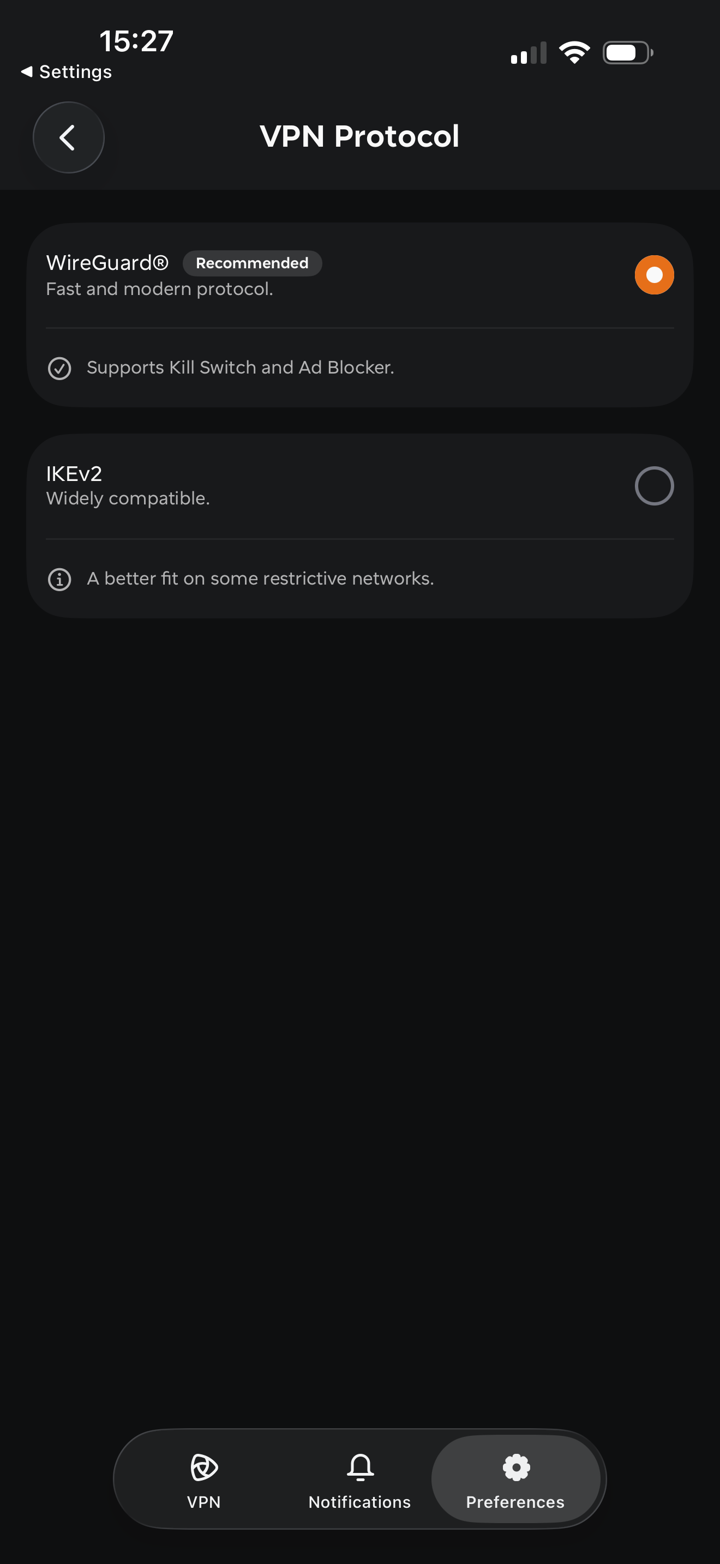
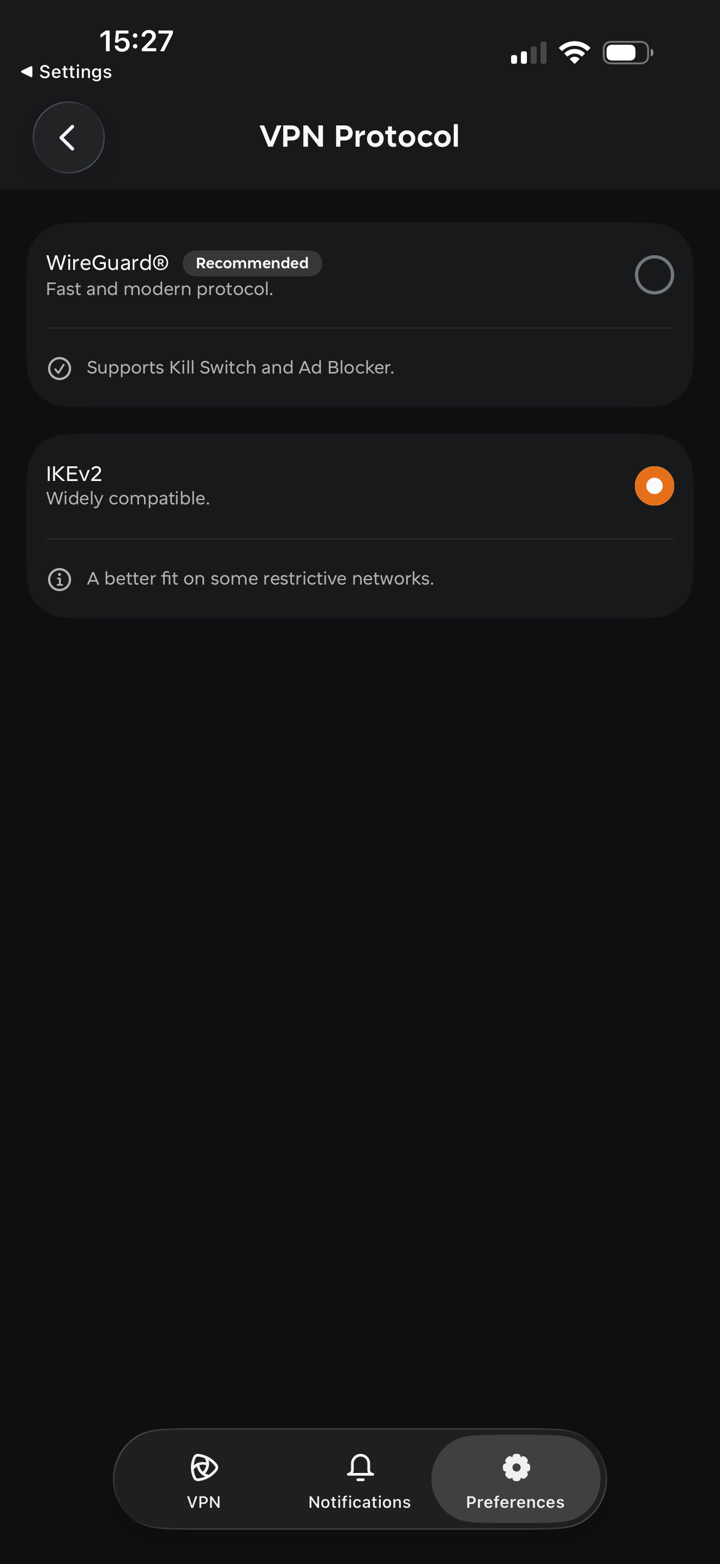
- VPN Protocol lets you choose the protocol used for your connection:
- WireGuard®* (Recommended) - a fast and modern protocol with strong encryption, perfect forward secrecy, and minimal attack surface. Supports Kill Switch and Ad Blocker.
- IKEv2 - a secure, stable and widely compatible protocol. A better fit on some restrictive networks.
*All Rights Reserved. "WireGuard" and the "WireGuard" logo are registered trademarks of Jason A. Donenfeld.
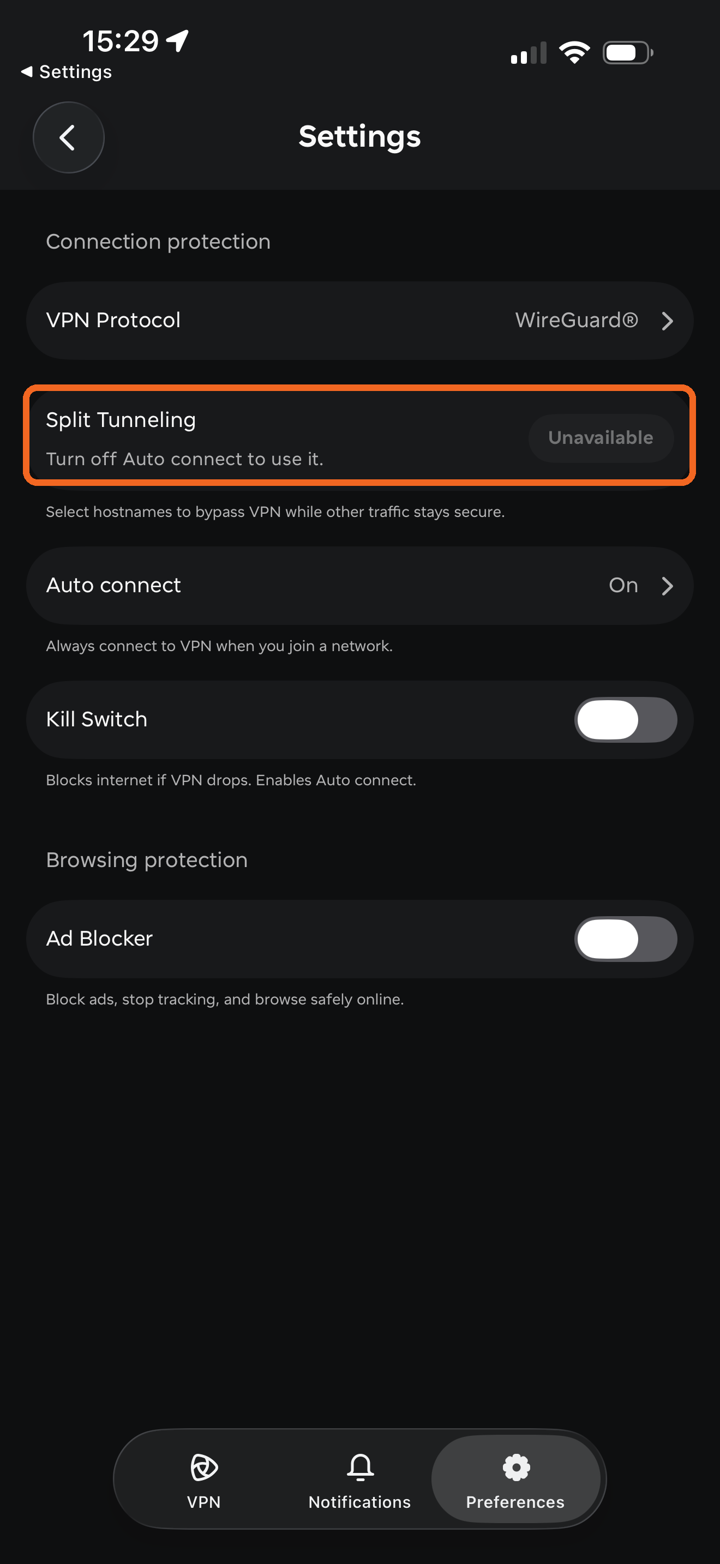
- Split Tunneling lets you select hostnames that bypass the VPN while all other traffic stays secure. Learn more
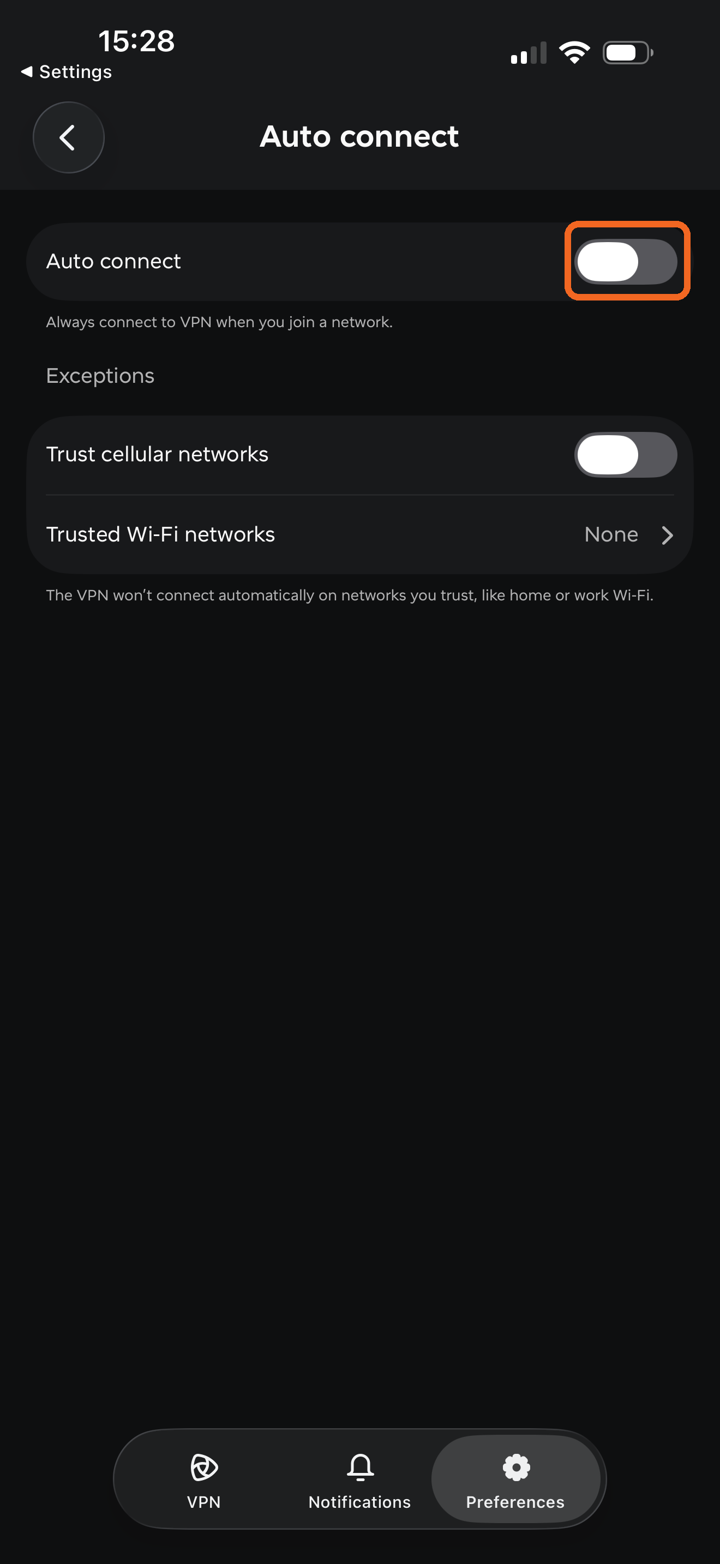
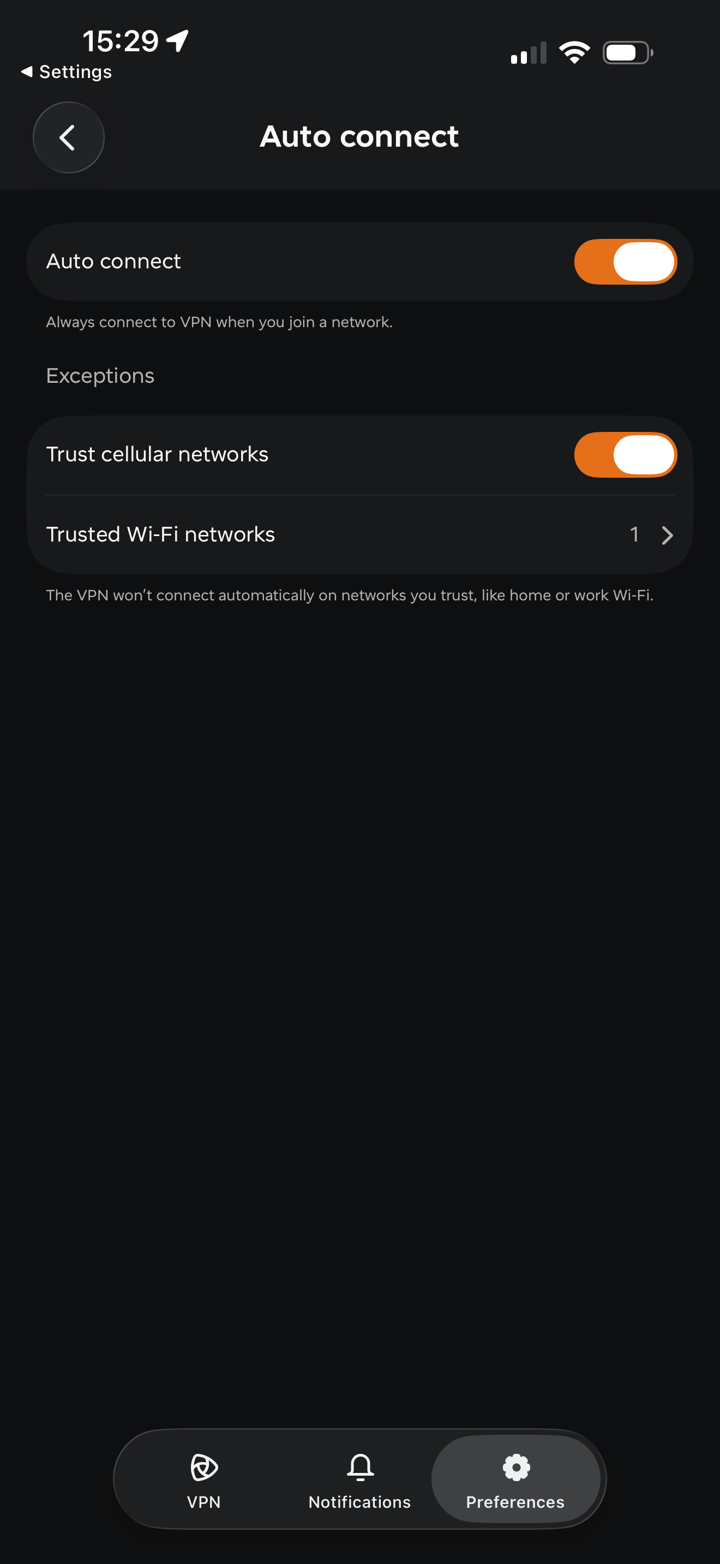
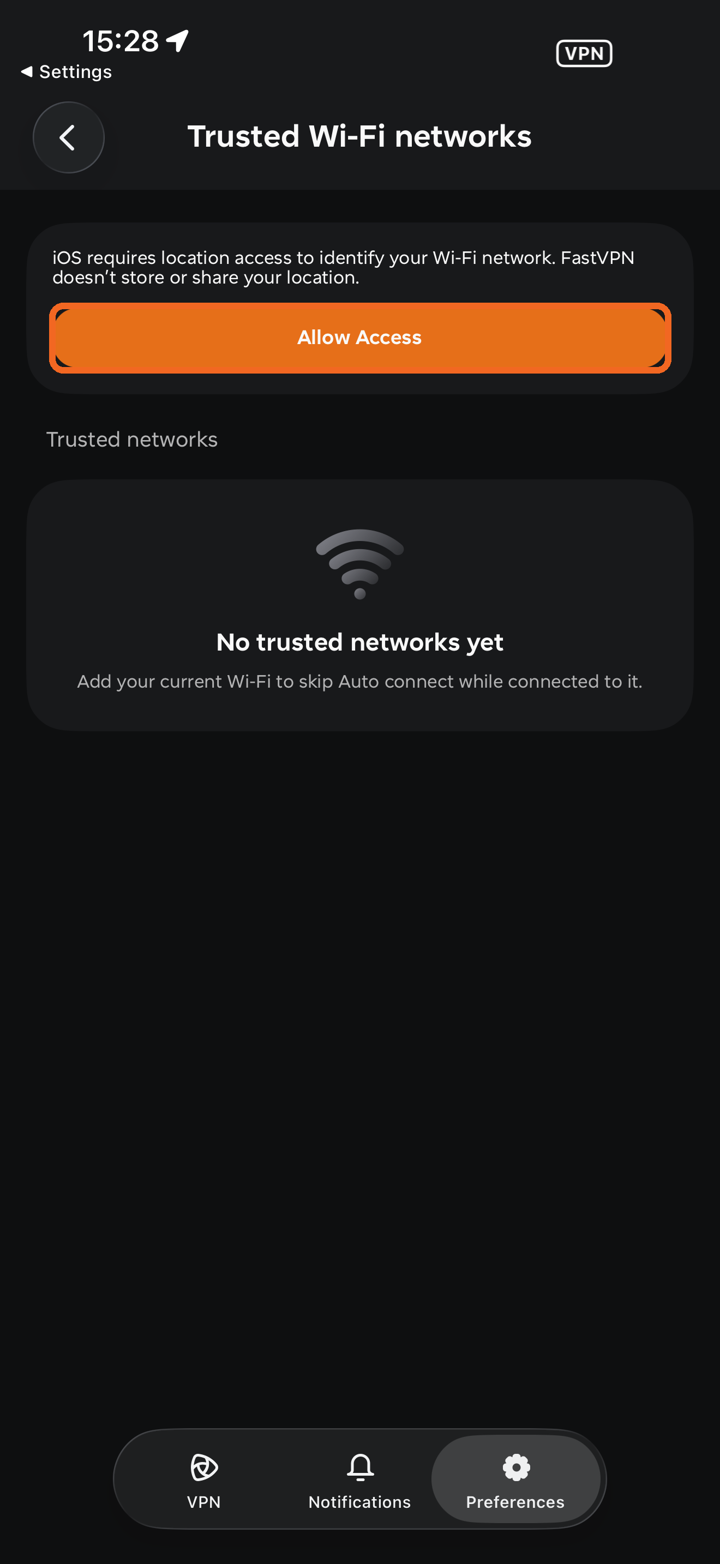
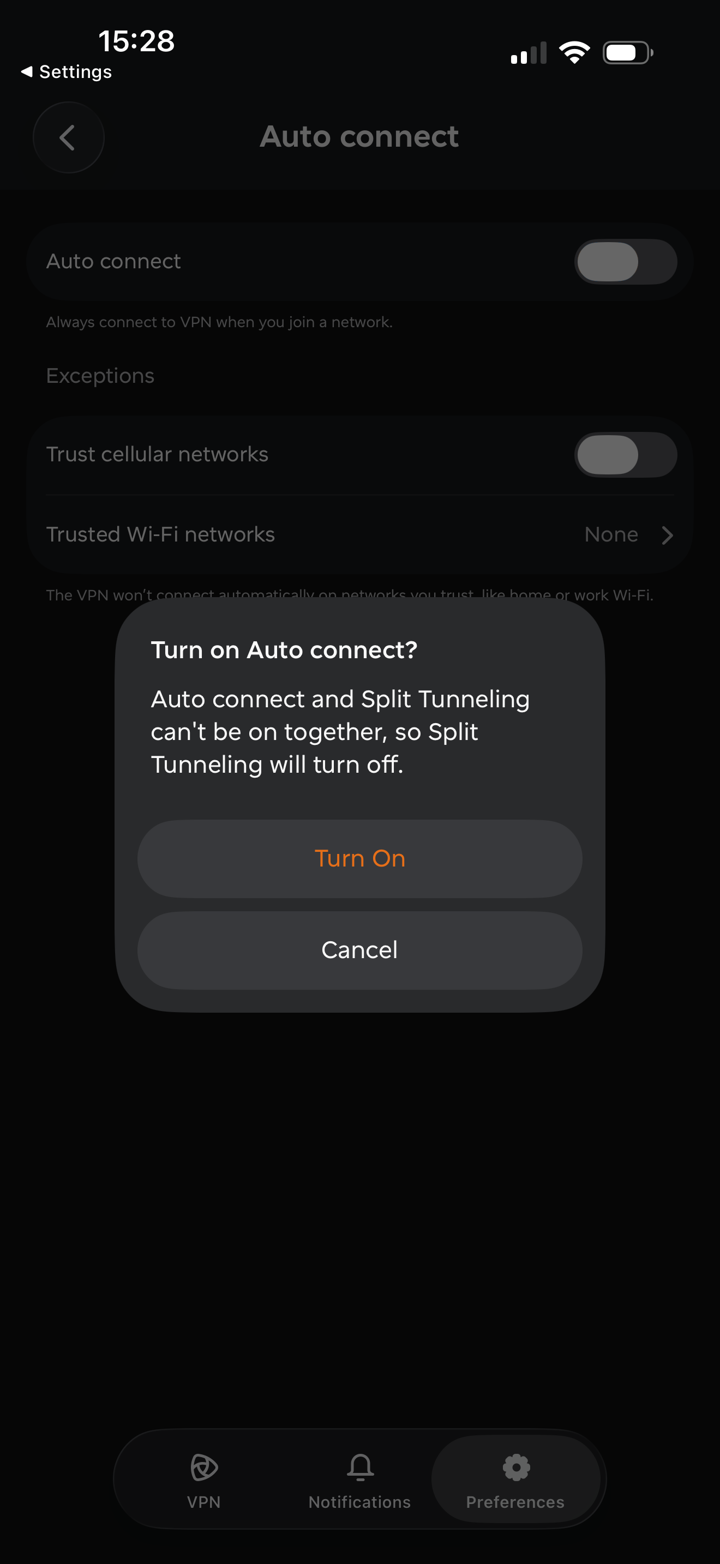
- Auto connect always connects you to the VPN when you join a network. Under Exceptions, you can turn on Trust cellular networks and add Trusted Wi-Fi networks, such as your home or work Wi-Fi, where the VPN won't connect automatically.
To add a trusted Wi-Fi network, tap
Trusted Wi-Fi networks and then
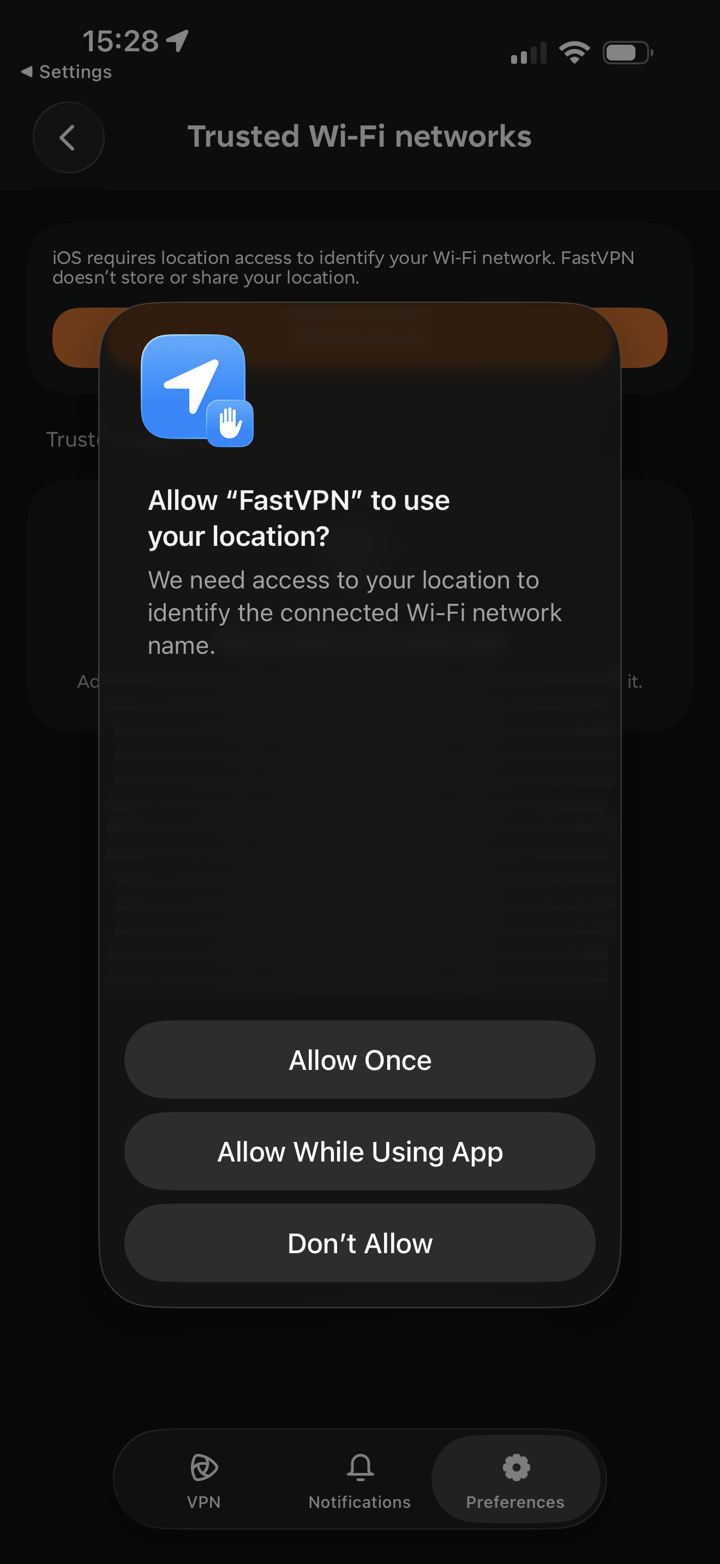
Allow Access. iOS requires location access to identify your Wi-Fi network; FastVPN doesn't store or share your location. Choose
Allow While Using App in the iOS prompt.
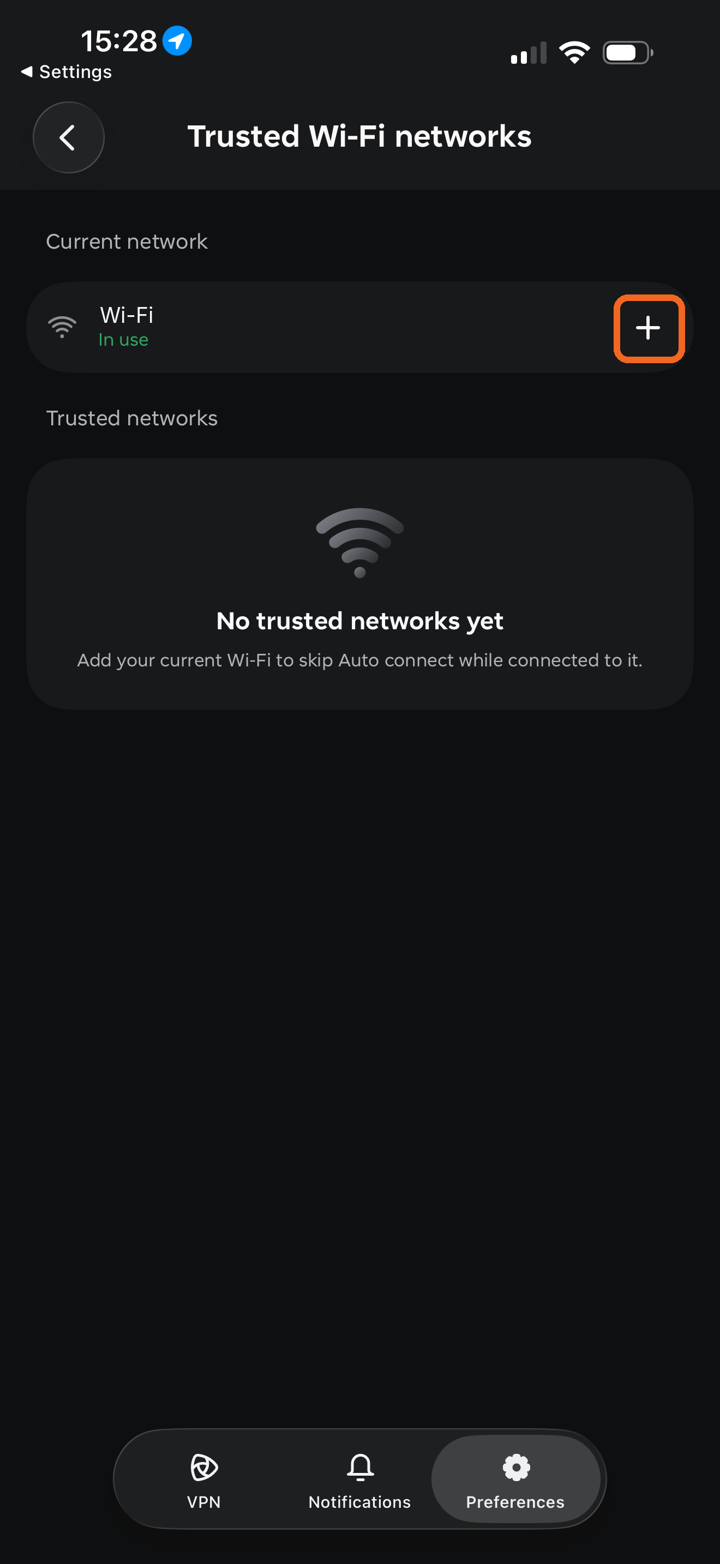
Your current Wi-Fi network appears under
Current network. Tap the
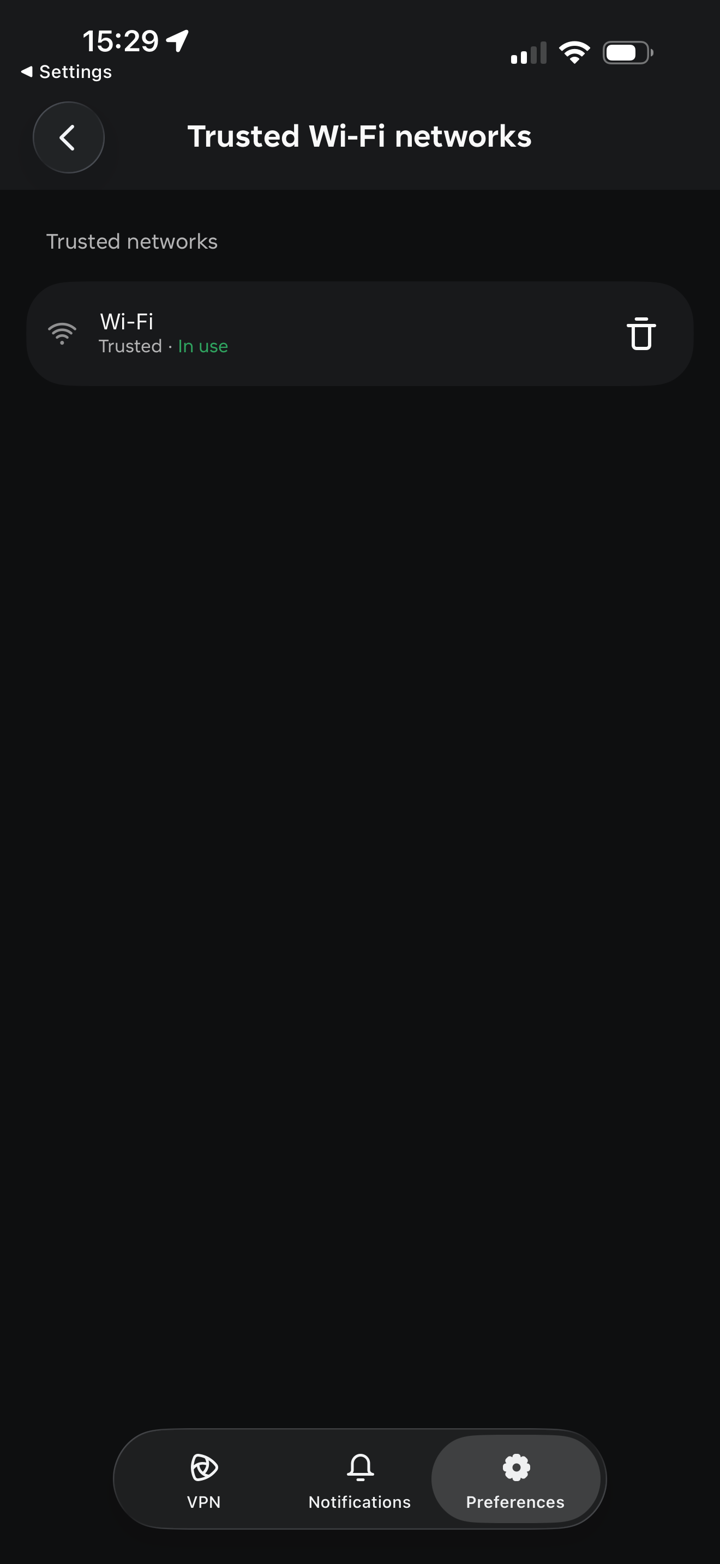
+ icon to add it to
Trusted networks. To remove a network, tap the
trash icon next to it.
NOTE: Auto connect and Split Tunneling can't be on together. When you turn on Auto connect, Split Tunneling turns off and shows
Unavailable until you turn Auto connect off again.
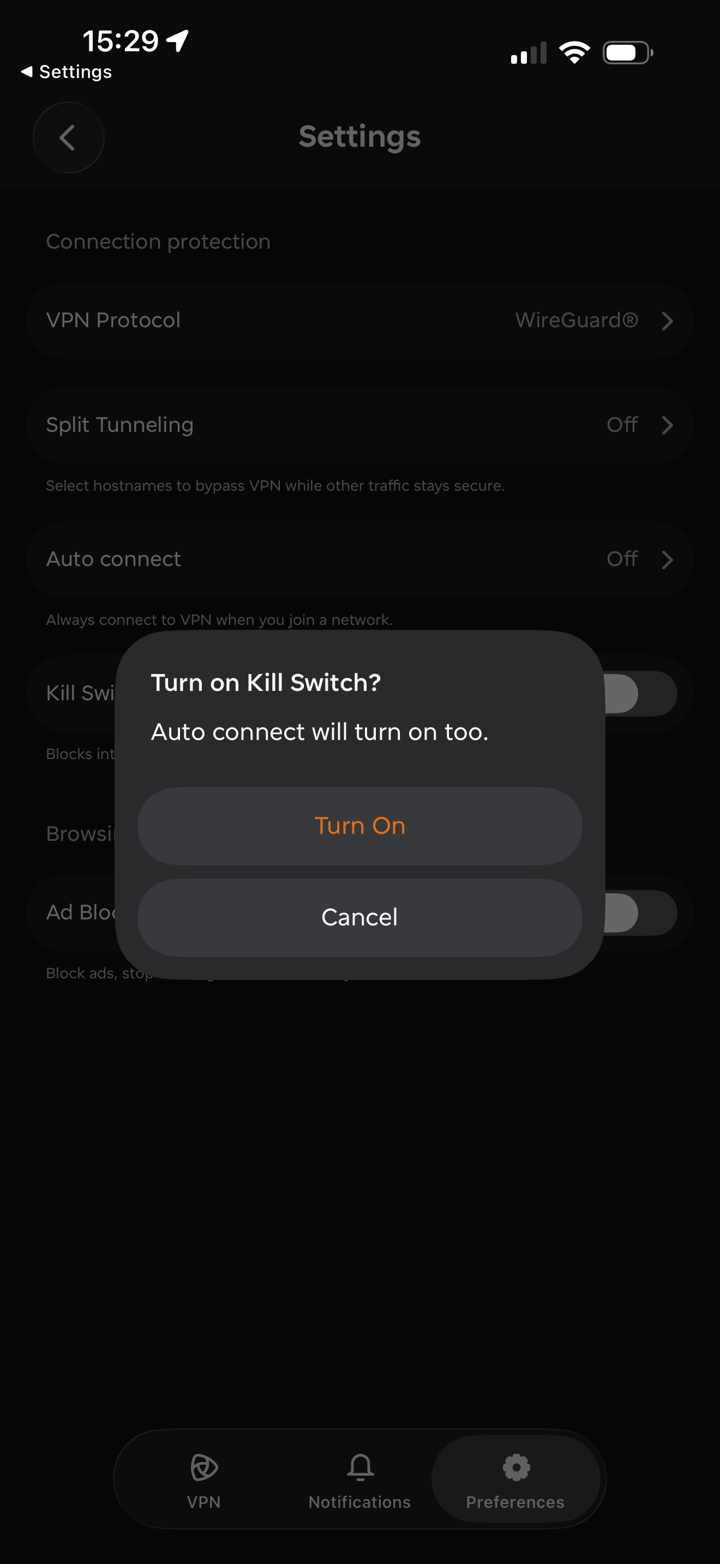
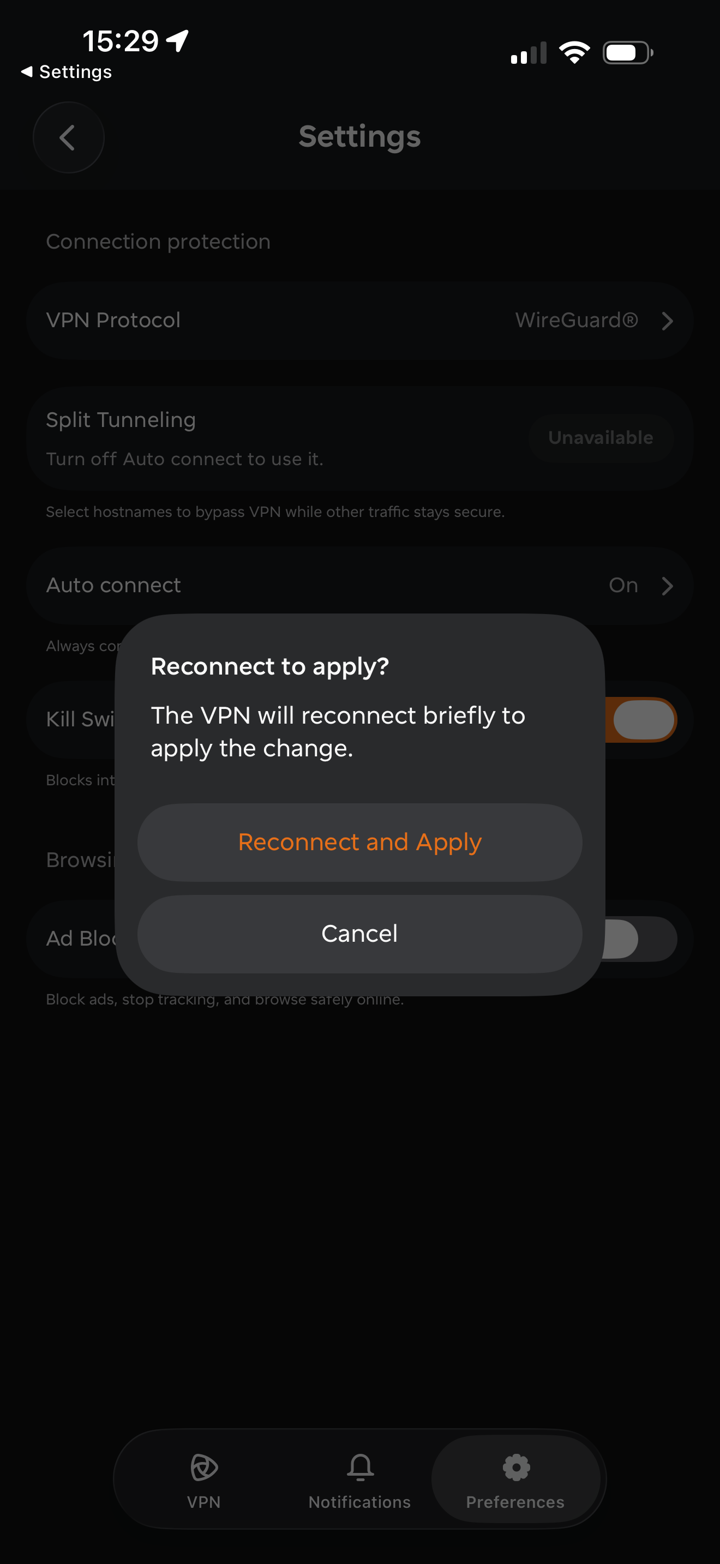
- Kill Switch blocks internet access if the VPN connection drops, ensuring your online security. Turning on Kill Switch also turns on Auto connect. Tap Turn On to confirm, then Reconnect and Apply if you are connected.
Under
Browsing protection you will have:
- Ad Blocker blocks ads, stops tracking, and helps you browse safely online by reducing access to malicious content.
 NOTE
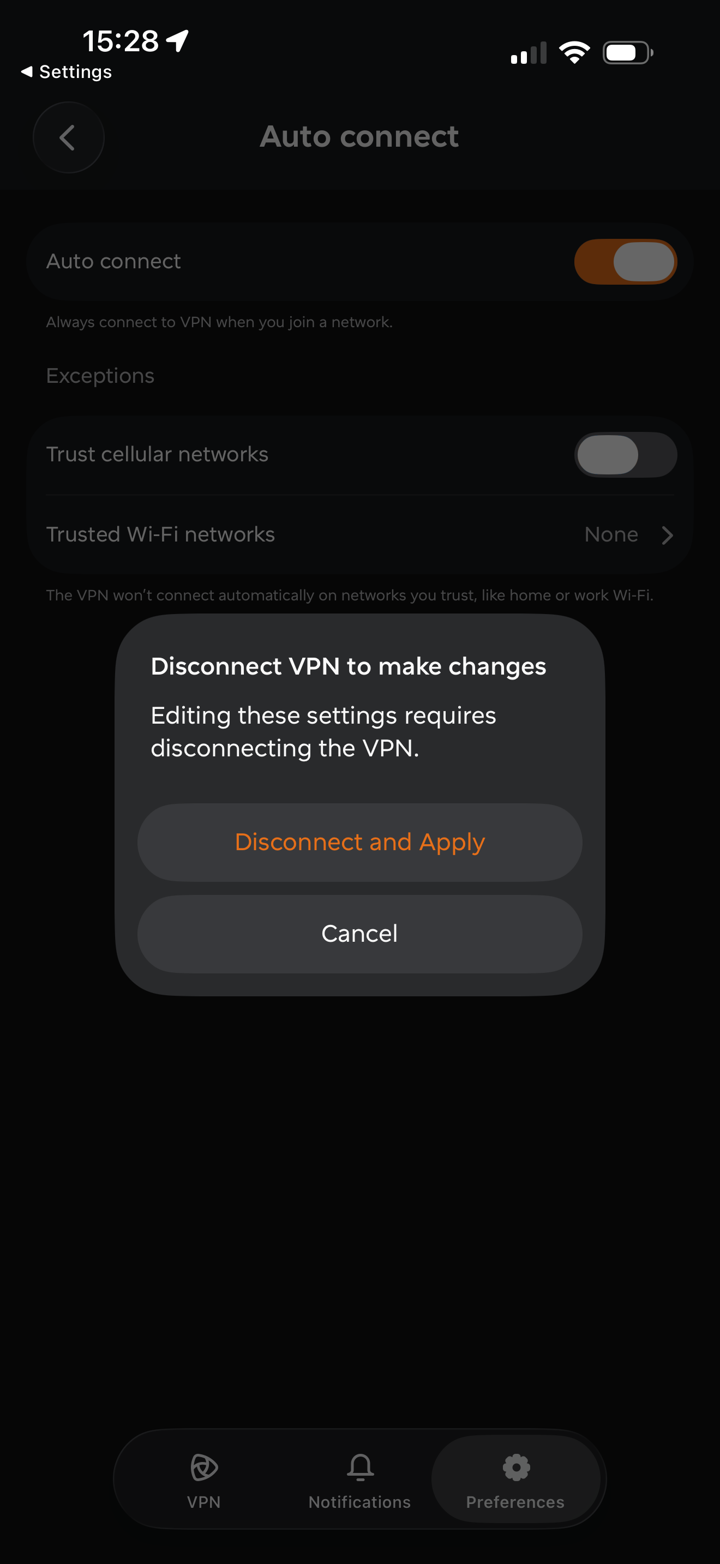
: Some settings can only be changed while the VPN is disconnected. If you change them while connected, the app will ask you to
Disconnect and Apply.
 Log Details
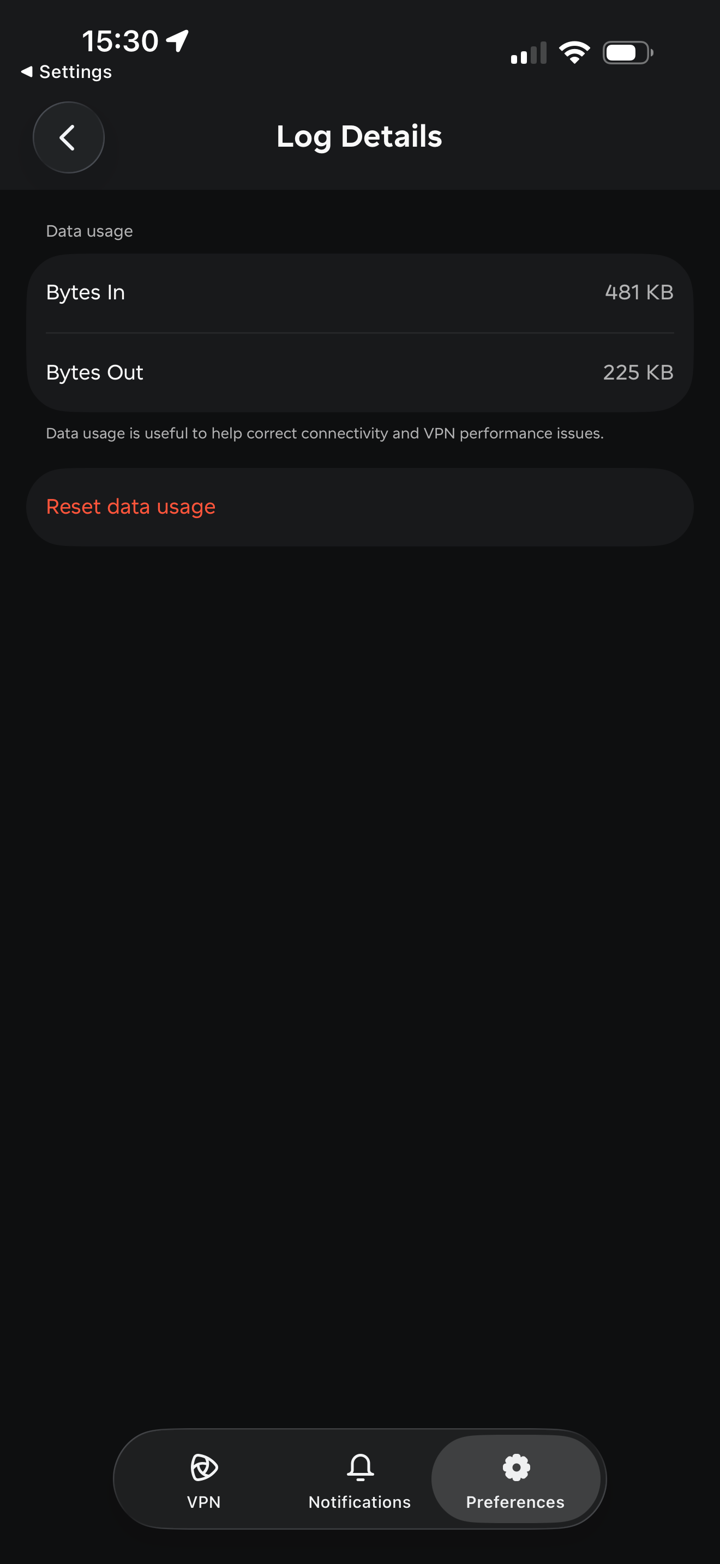
shows your data usage:
Bytes In and
Bytes Out. This information helps us correct connectivity and VPN performance issues. Tap
Reset data usage to clear the counters.
 Appearance
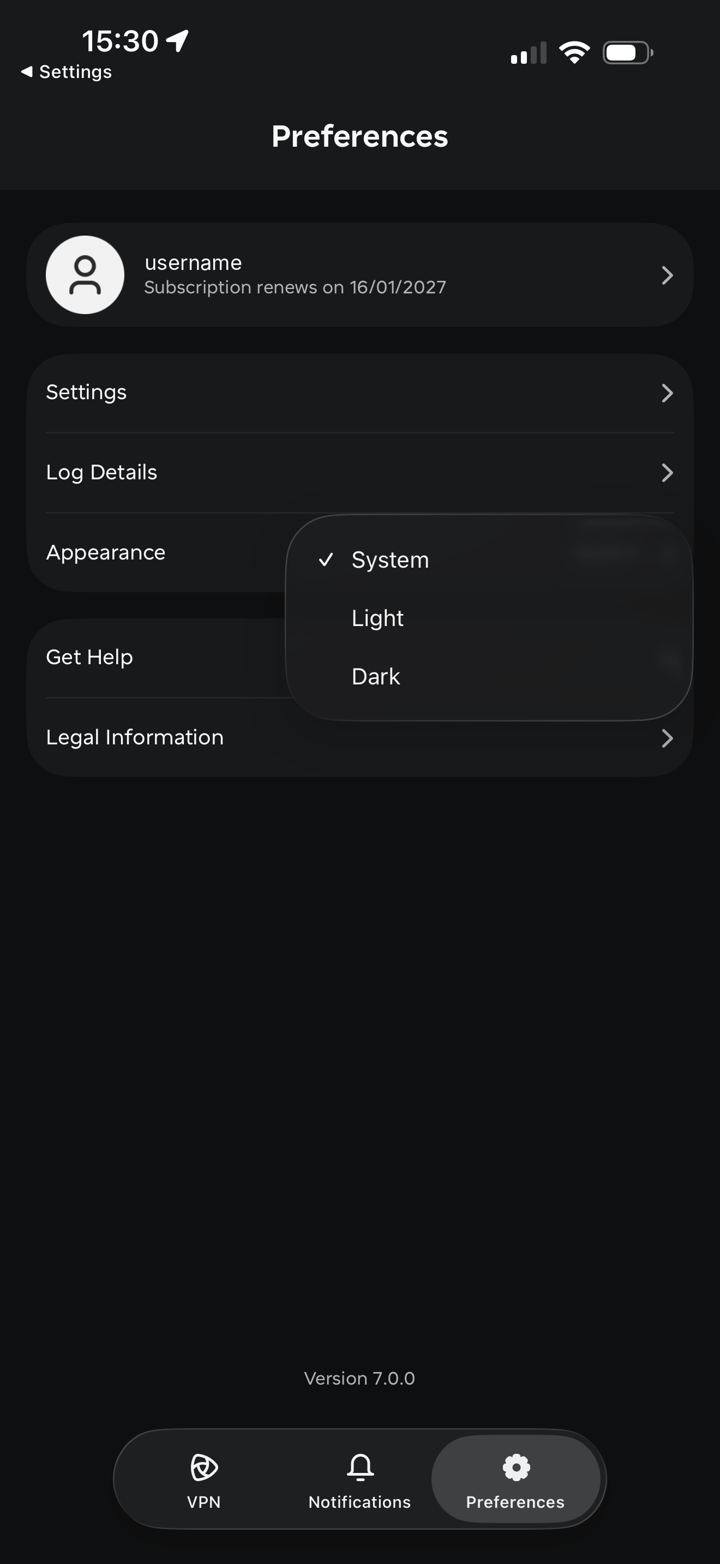
lets you choose a
Light or
Dark theme for the app, or select
System to follow your device's theme.
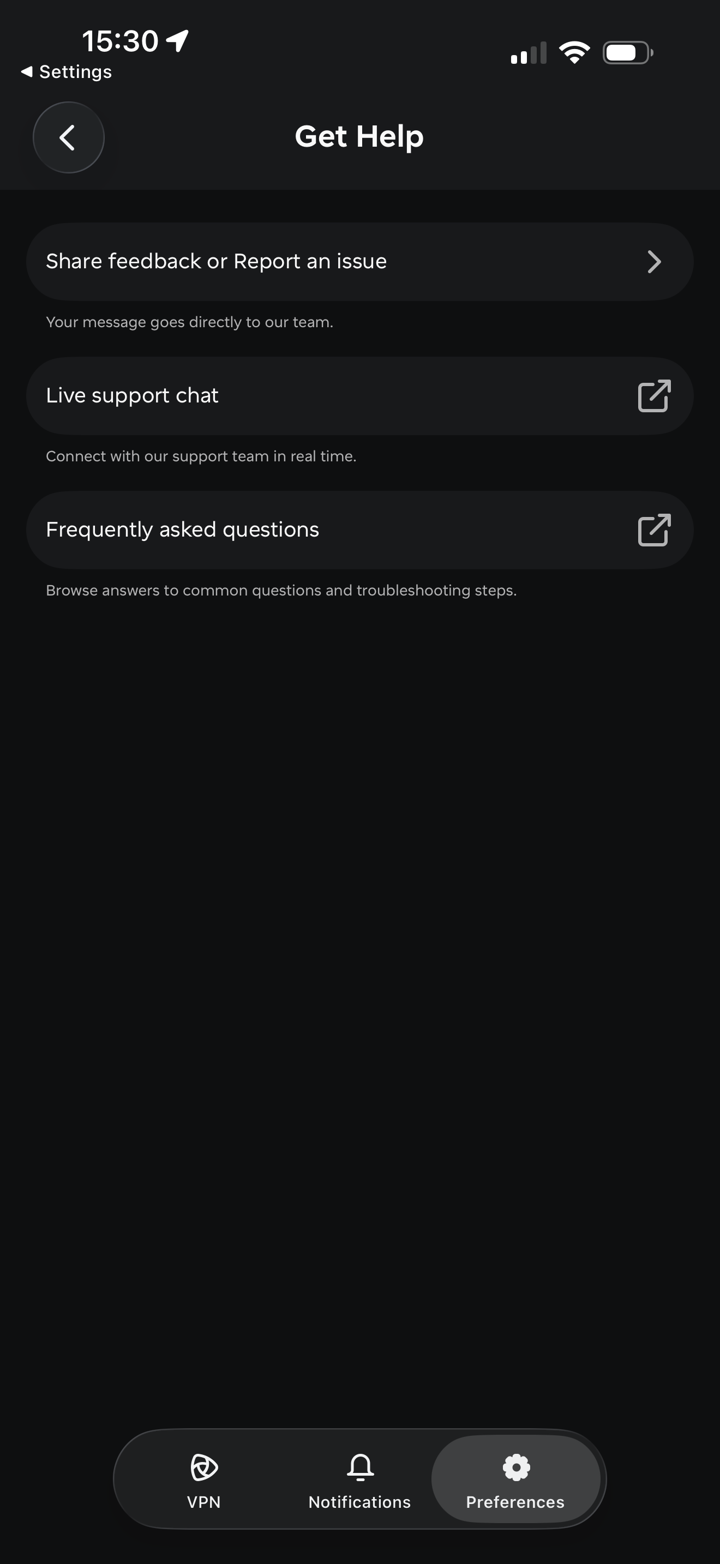
 Get Help
gives you the following options:
- Share feedback or Report an issue - send feedback or report a problem directly to our team from the app.
- Live support chat - connect with our support team in real time.
- Frequently asked questions - browse answers to common questions and troubleshooting steps in our Knowledge Base.
When you tap
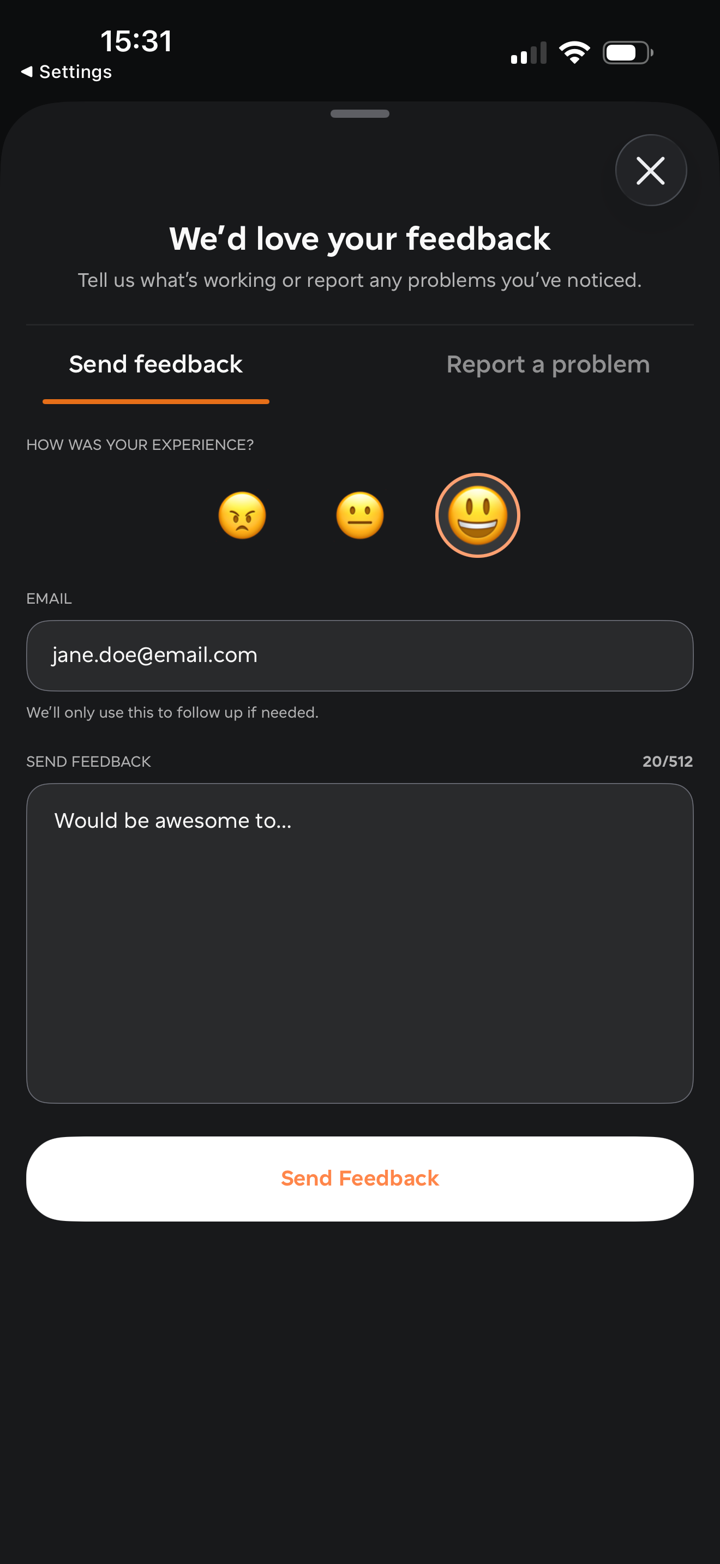
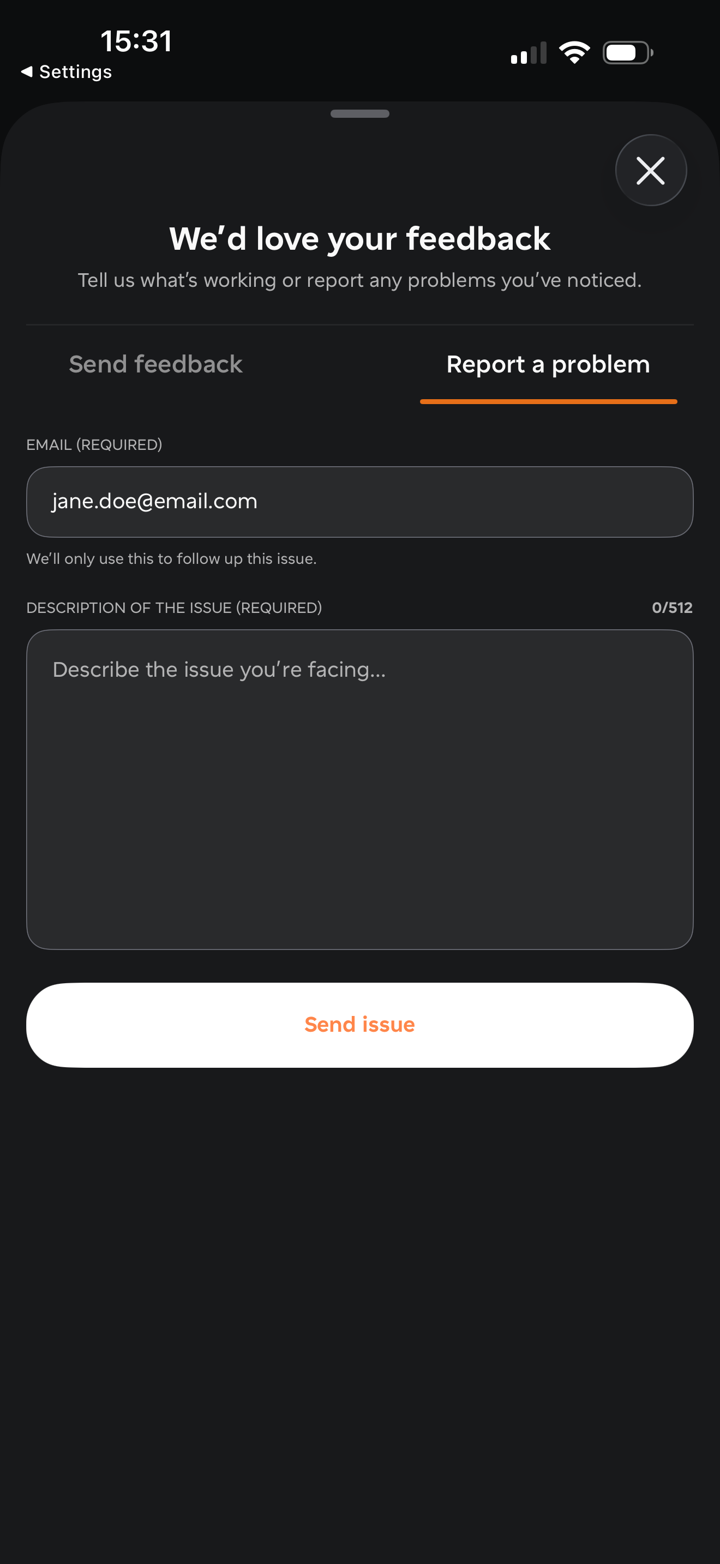
Share feedback or Report an issue, a form opens with two tabs:
- Send feedback - rate your experience, optionally add your email, write your message and tap Send Feedback.
- Report a problem - enter your email (required, used only to follow up on the issue) and a description of the issue (required), then tap Send issue.
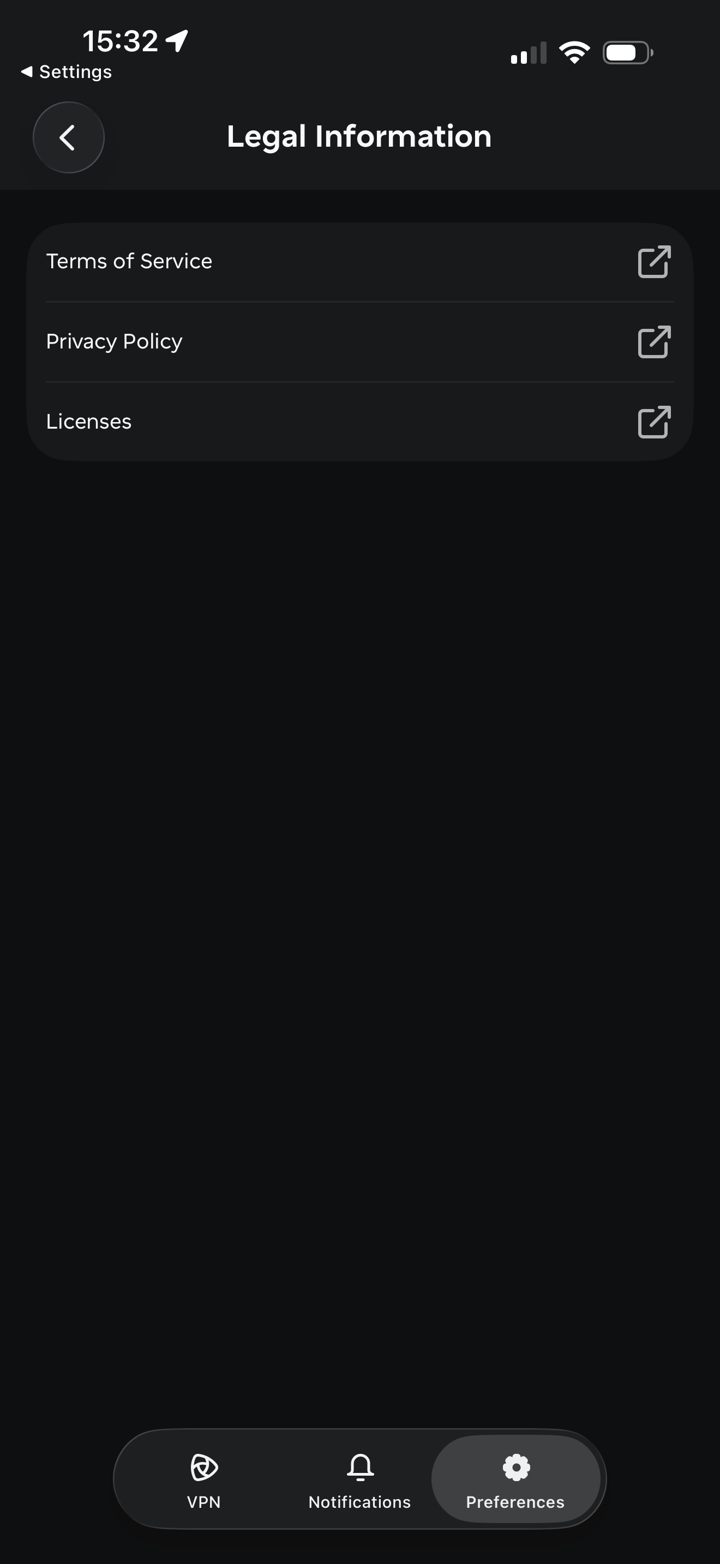
Legal Information gives you access to the
Terms of Service,
Privacy Policy and
Licenses.
If you need any further assistance, please contact our
Support Team.