Before you proceed with actually installing your SSL, please ensure that you generated its CSR, activated and validated the SSL. The issued certificate files can be downloaded from your Namecheap account.
This article describes the process of creating a backup SSL Certificate in MacOS 10.15 as well as the creation of a PFX(p12, PKCS12) formatted certificate. It also features instructions for importing such certificates on the server.
How to Import Your PFX SSL Certificates
In order to import your SSL certificate, it should be available in PFX format. A PFX file is a single, password-protected certificate store that contains the entire certificate chain plus the matching private key. If your certificate is in a different format, you will need to convert it. One option is to use this tool.
Note: The certificate can also be converted using the OpenSSL command, the process of which is described here.
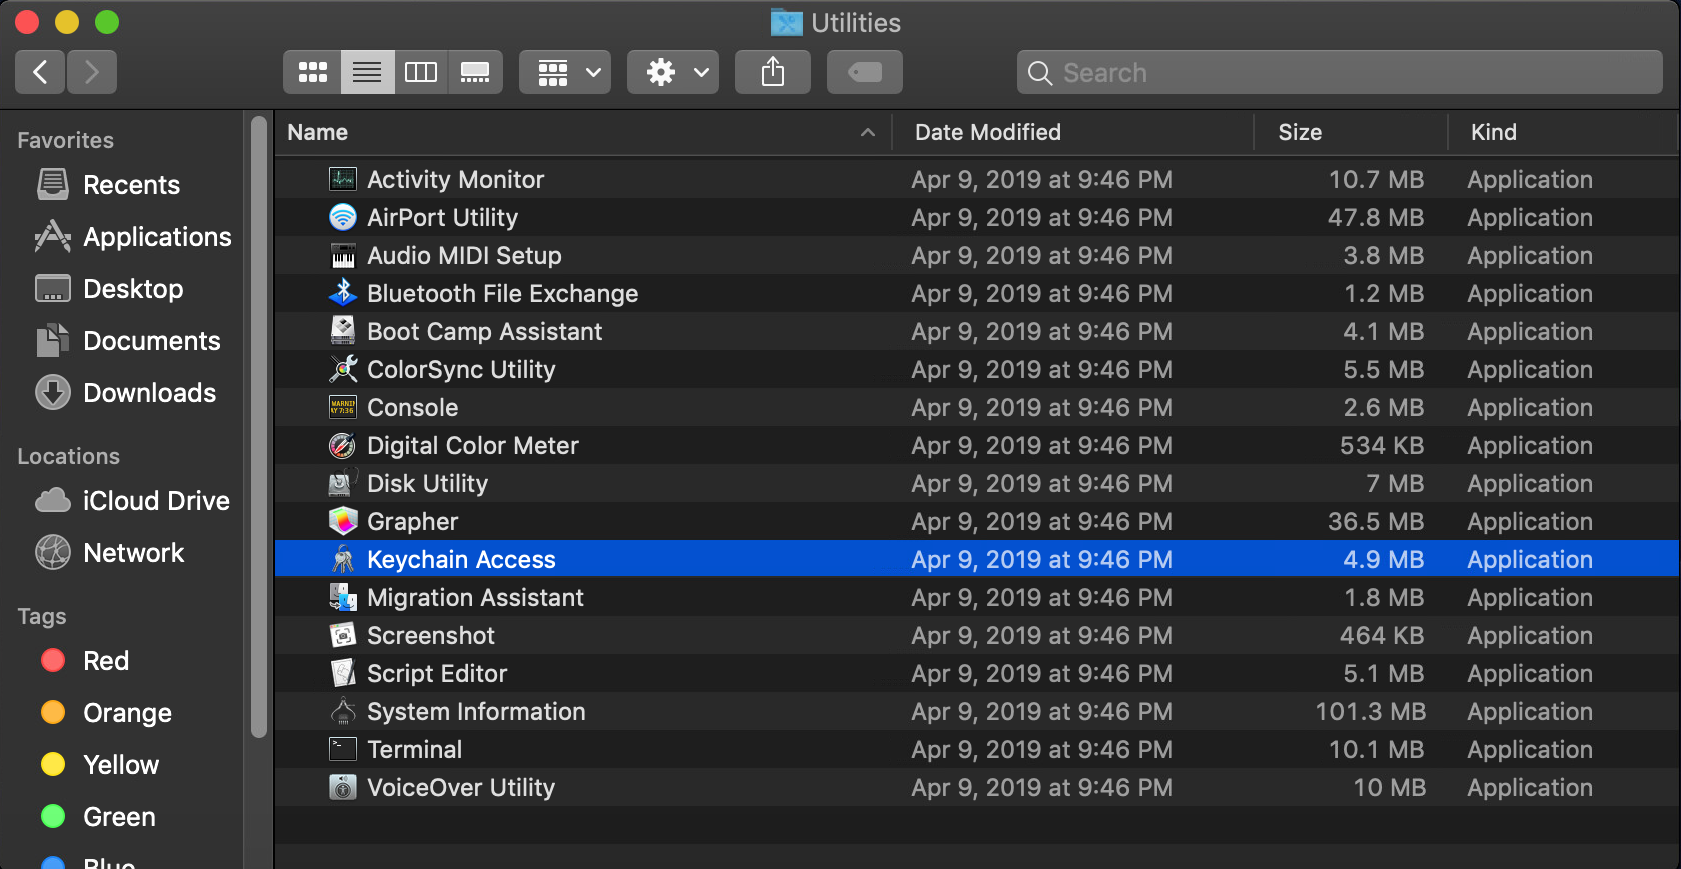
- Go to Finder >> Applications >> Utilities, then locate and open the Keychain Access application from the list.
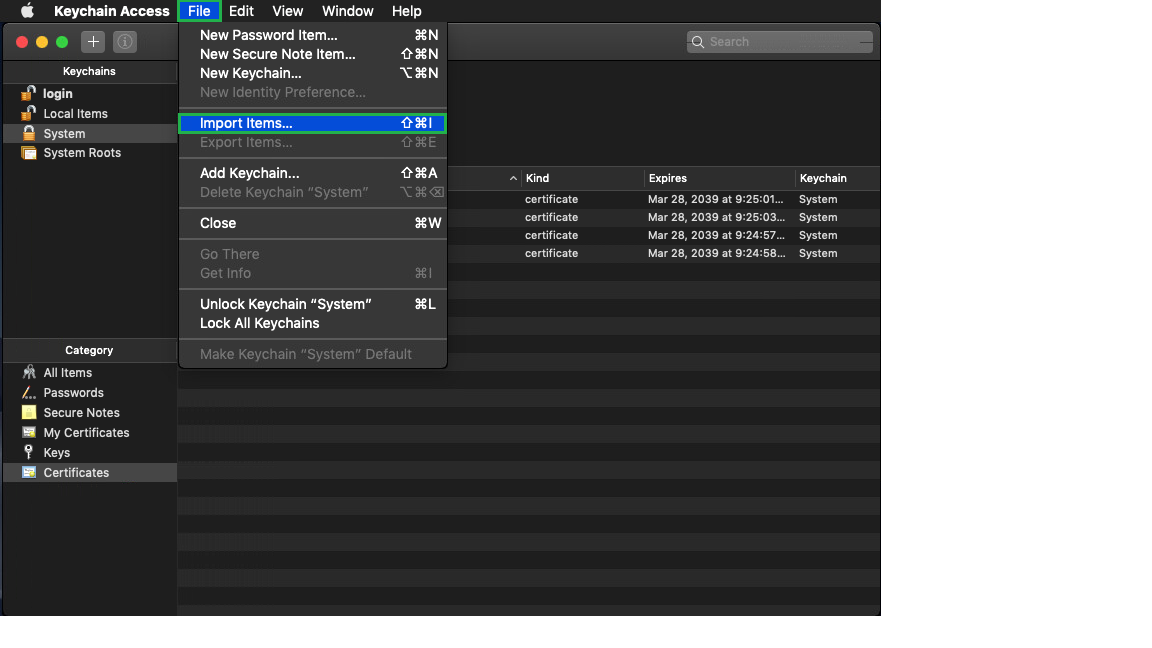
- In the Keychain Access toolbar, choose File >> Import Items.
- In the new window, find the location of your PFX-formatted certificate:
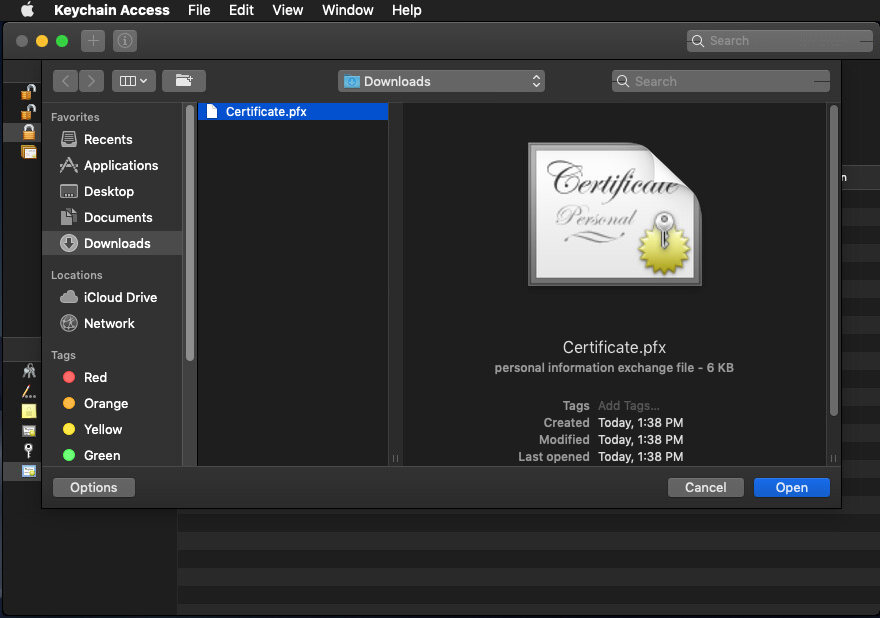
Click the Open button to proceed.
- Next, you will need to enter the password of your certificate file. The password was specified during the creation of the PFX file. If none was specified, feel free to leave the field blank.
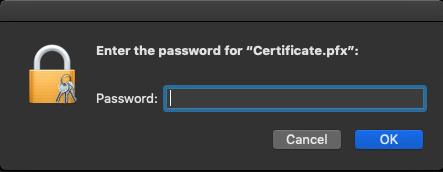
Click OK to complete the process.
In the Keychain Access window, located under the Keychains sidebar, click System and then under Category, click Certificates to view the imported certificate.
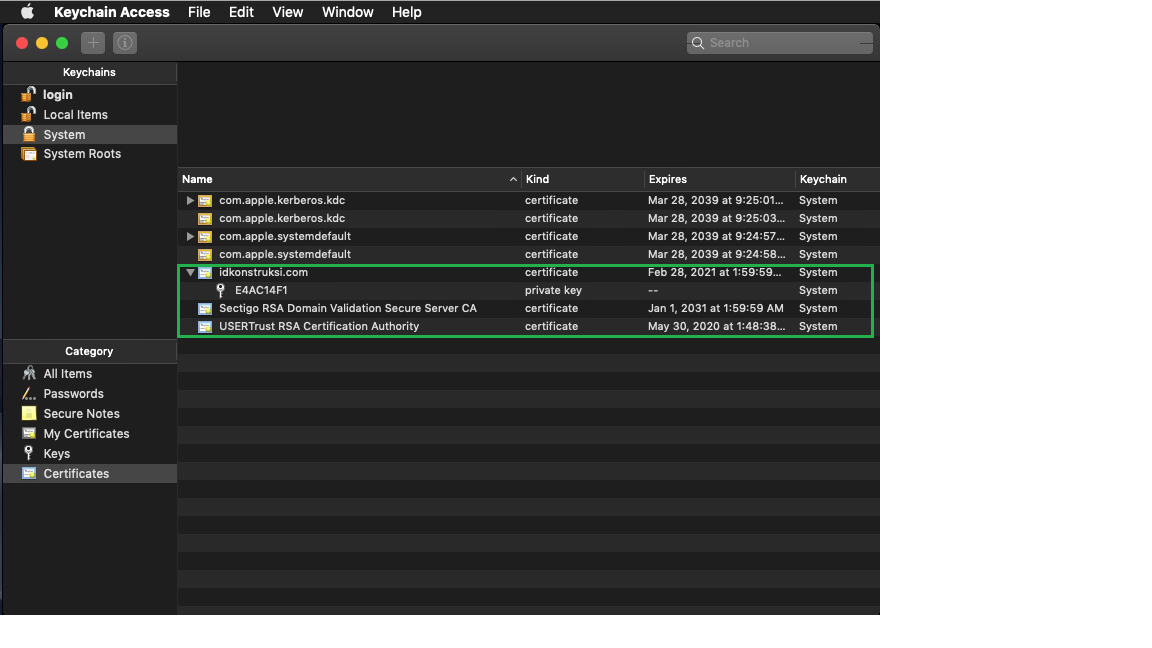
The imported Certificate, Private key and the Certificates from the CA bundle chain will be available on the list in PEM format.
How to Export Your SSL Certificates
You may need to export your certificate for backup purposes or installation on a separate server. The following is the instructions for this process.
- Open Keychain Access.
Go to Finder >> Applications >> Utilities, then locate and open the Keychain Access application from the list.
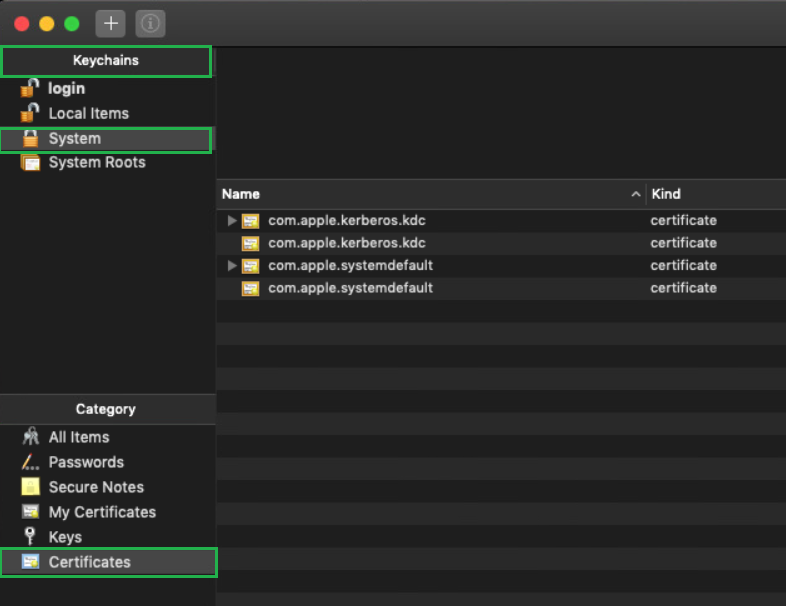
- In the Keychain Access window, under the Keychains sidebar, click System and then under Category, click Certificates.
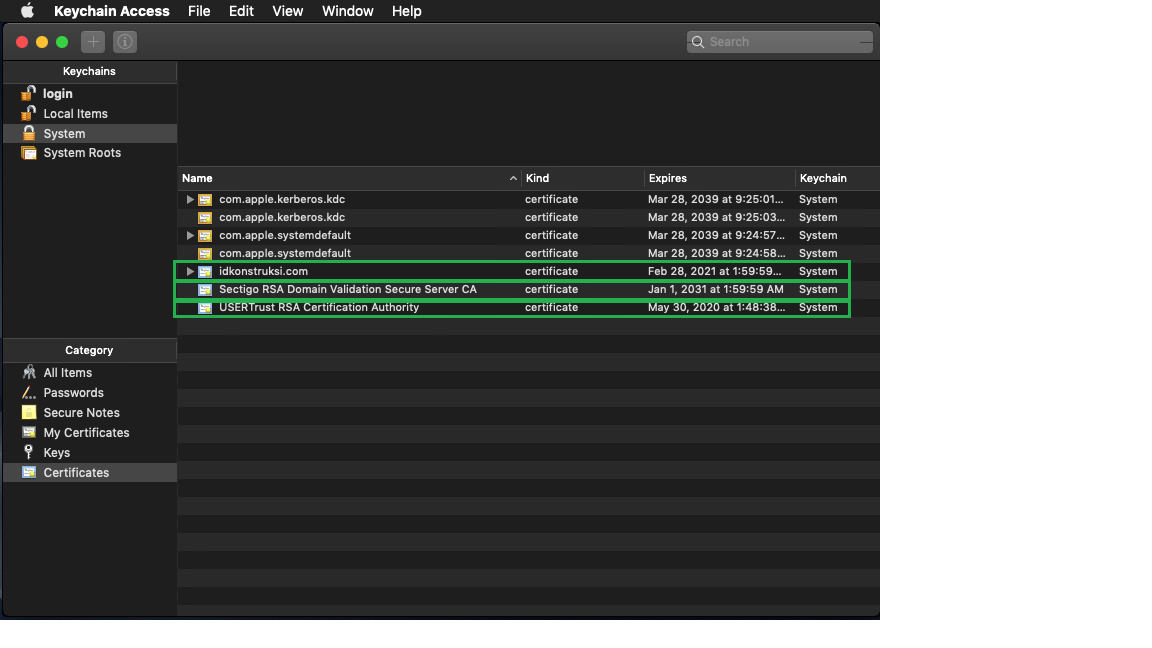
Hold down the commandkey and then select your SSL Certificate (e.g. yourdomain.com) and the corresponding Intermediate Certificates (e.g. Sectigo RSA Domain Validation Secure Server CA, USERTrust RSA Certification Authority).
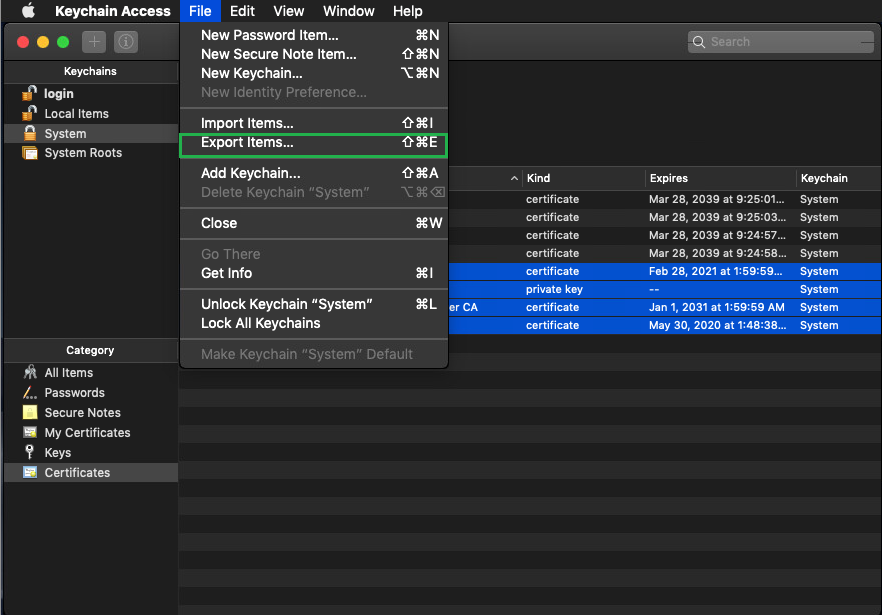
- In the Keychain Access toolbar, choose the File >> Export Items option.
- In the following export window, which opens next, specify the following information:
- In the Save As: field, write the name of the file ending with the .p12 extension, which is another format of a PFX certificate.
- Click the arrow next to the Where box to specify the location in which the file will be saved. Make sure to choose a location that you will remember so you are able to access the file afterwards.
- In the File Format: drop down, make sure to choose the Personal information Exchange (.p12) format.
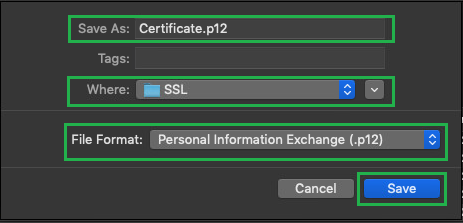
Click the Save button to proceed to the next step.
- You will be prompted to specify a password for your certificate. Feel free to leave the field empty if you wish:
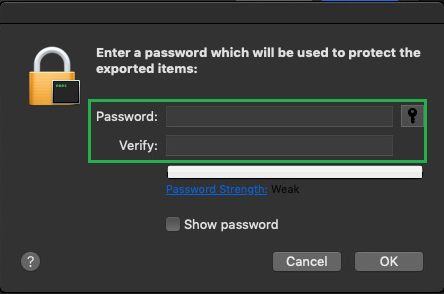
Note: When you specify the password for the exported certificate and click the "OK" button, you will be prompted to enter the admin username and password of the OS. Once the correct credentials have been entered, you can save the certificate by clicking the "Save" button.
Click the OK button to complete the process. Now your certificate will be available in the location you selected during step 4 of the process (saving the PFX file).
That’s it! If you have any questions, please contact our Support Team.
