
This guide provides instructions for setting up your Namecheap Private Email mailbox in Outlook on an iOS device.
NOTE: Before setting up your email account, please double-check that your domain name has the correct Private Email DNS records and the mailbox has been created.
1. Open the Outlook app on your device.
2. Select Add Account to add one of your existing Microsoft email accounts, or Create New Account if you want to create a new account.
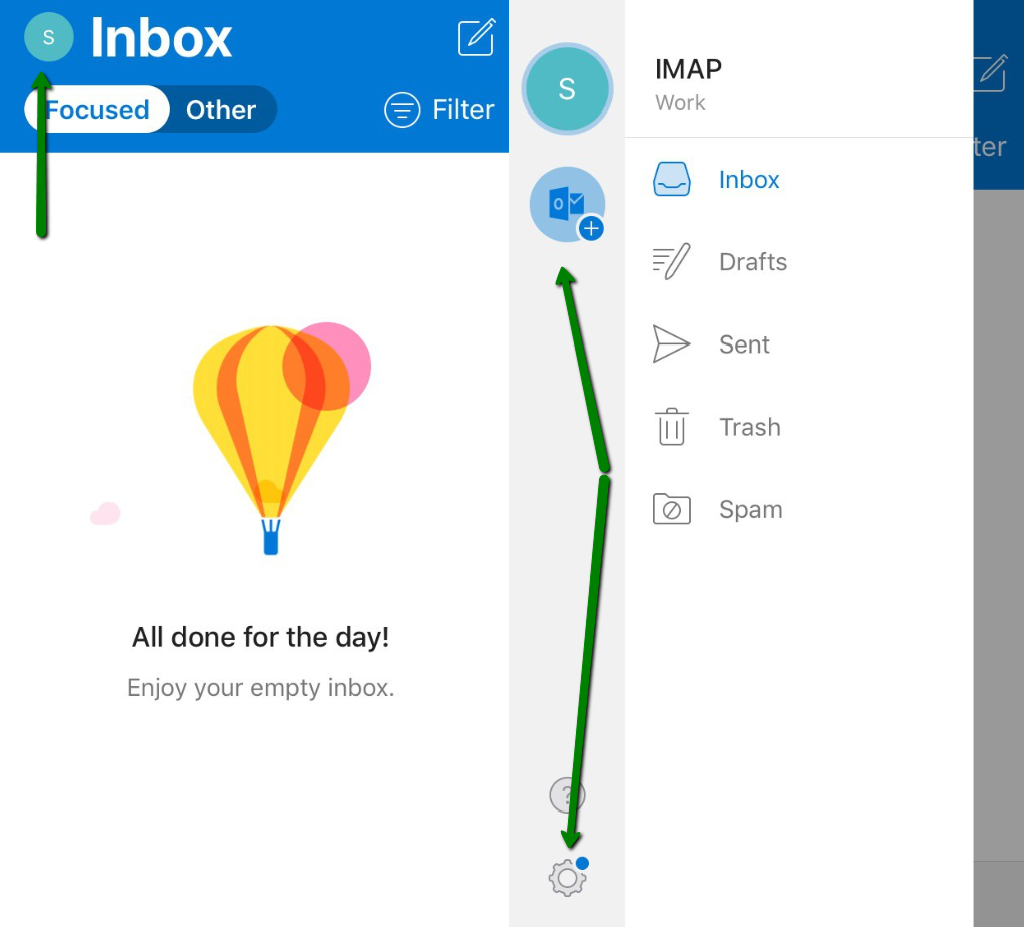
3. At the top of the app, tap the Outlook button next to Inbox, and then select Settings.
NOTE: If you’ve already added your email account to Outlook, click on the Admin sign in the upper left-hand corner and select the Add Account icon. Alternatively, you can go to Settings >> Accounts >> Add account >> Email account option:


4. Type the full email address of the email account you want to add (we’re using nctest@namecheap.com as an example) and press Add Account:

5. You will then be redirected to the new page. Click "Not Exchange" in the right corner:

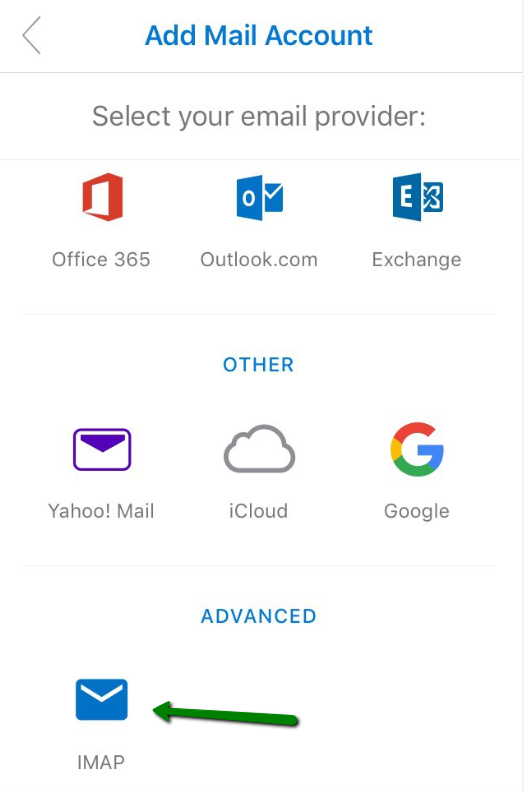
6. Click "Change Email Provider" and on the next page, please fill in the required details:
Now you’ll need to enter the IMAP settings:
IMAP Incoming Mail Server:

SMTP Outgoing Mail Server:

Double-check all the settings, then click Sign In.
7. Congrats, the setup is finished! You can now start managing your Private Email account in Outlook.
Need help? We're always here for you.