
Let the experts install your SSL with our new installation service.
Prior to certificate installation, please make sure that the CSR was generated, and the certificate was activated, validated, and issued.
The certificate needs to be downloaded from your account or email. You can then use the files provided there for installation.
For this particular installation process, you will need three files:
Once you have all the needed files and are sure that the certificate matches your private key (which can be checked using this tool), you can start the installation by following the steps below.
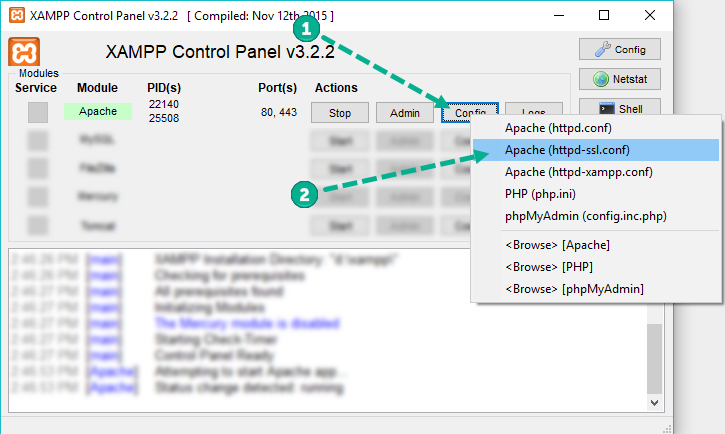
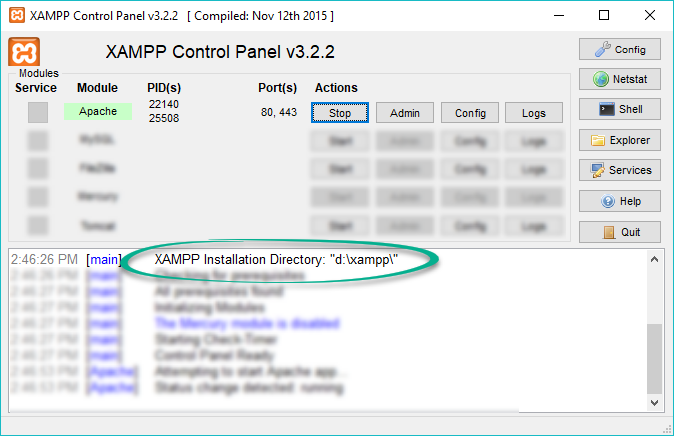
The directory specified should contain the Apache folder. From there, navigate to the conf folder >> extra folder >> httpd-ssl.conf file. You can open the file with any text editor.
The following command may be helpful to find all configuration files from which Apache reads Virtual Hosts:
"D:\xampp\apache\bin\httpd.exe" -S
Please make sure to use your own path to the XAMPP folder in the command.
<VirtualHost *:443>
DocumentRoot "/var/www"
ServerName yoursite.com
ServerAlias www.yoursite.com
SSLEngine on
SSLCertificateFile "D:/xampp/apache/ssl/yourdomain_com.crt"
SSLCertificateKeyFile "D:/xampp/apache/ssl/yourdomain_com.key"
SSLCACertificateFile "D:/xampp/apache/ssl/yourdomain_com.ca-bundle"
</VirtualHost>
Please make sure to use your own paths and filenames in the certificate directives.
Note: Usually, there is a self-signed certificate already installed on the server. In this situation, it is not necessary to add another Virtual Host. The existing one for port 443 should be edited with the paths to your new trusted certificate, bundle, and private key.
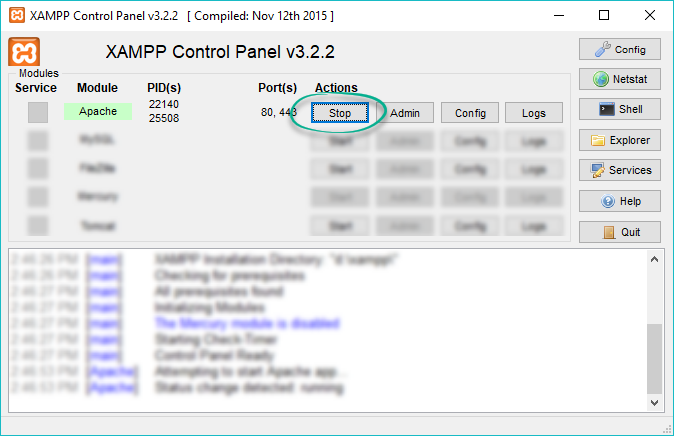
And then starting it again:
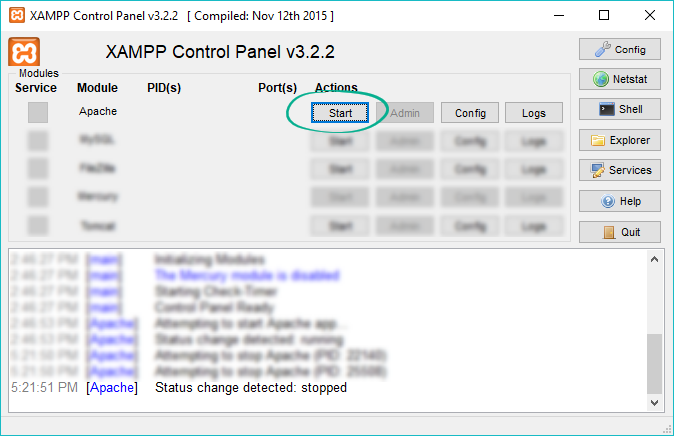
Once the above steps are completed, you can check the installation using this tool.
Need help? We're always here for you.