This article describes how to set up Maintenance mode for a CMS-based website.
NOTE: Before proceeding with any changes, we recommend generating a full backup of your website. If you've created your site using Softaculous script installer, feel free to refer to this guide step #4 – Backup software).
WordPress
Joomla 2.x
Joomla 3.x
Opencart 1.x
Opencart 2.x, 3.x
Prestashop 1.4.x
Prestashop 1.7.x
Drupal 6
Drupal 7
Drupal 8
Magento 1.9 and older
Magento 2.2
Moodle 2.9
Moodle 3.3
WordPress
Maintenance mode in WordPress can be set using plugins:
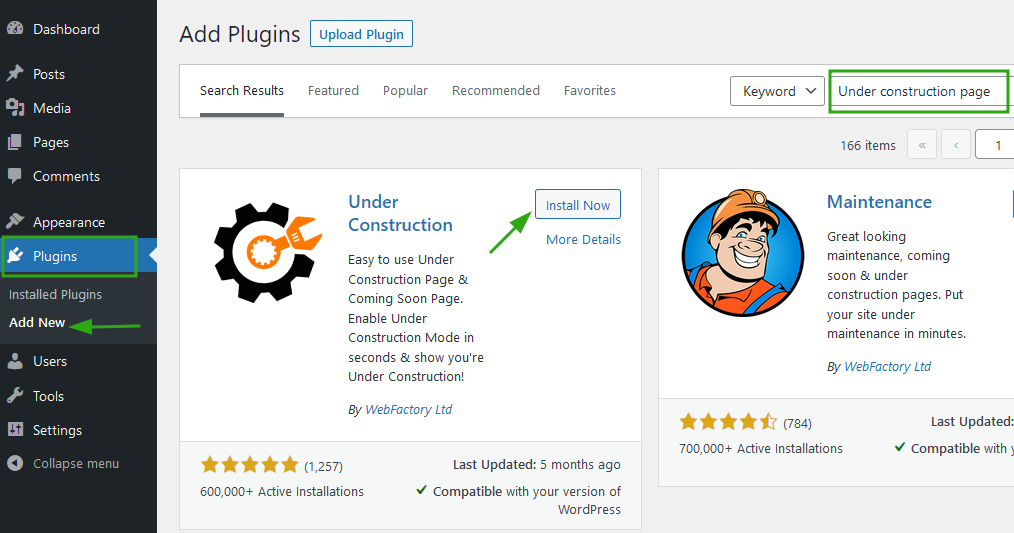
1. Go to WordPress admin dashboard > Plugins > Add new menu. Find the Under construction plugin and click Install Now button:
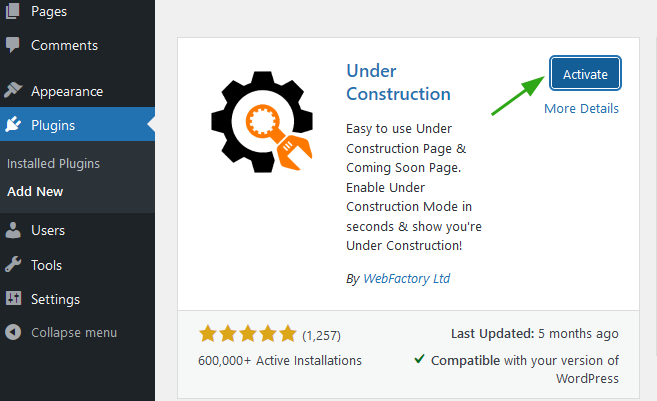
2. Once done, click Activate:
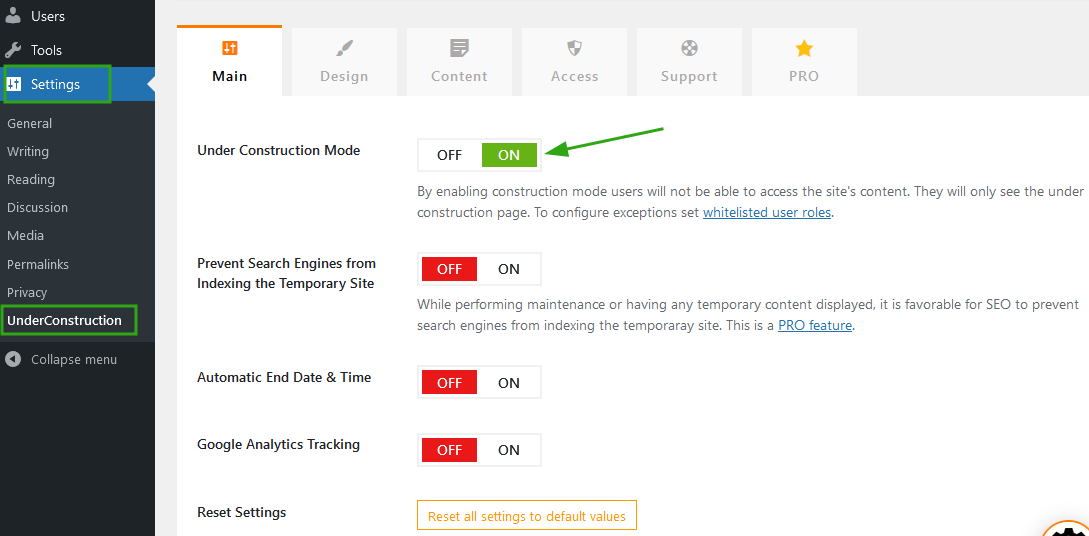
3. You will be redirected to the customization page. Here, you can enable Under Construction Mode in the Main section:
4. In the Content section you can add:
Headline - Here you can place a title for the page.
Content - Tell your visitors what to expect from your site.
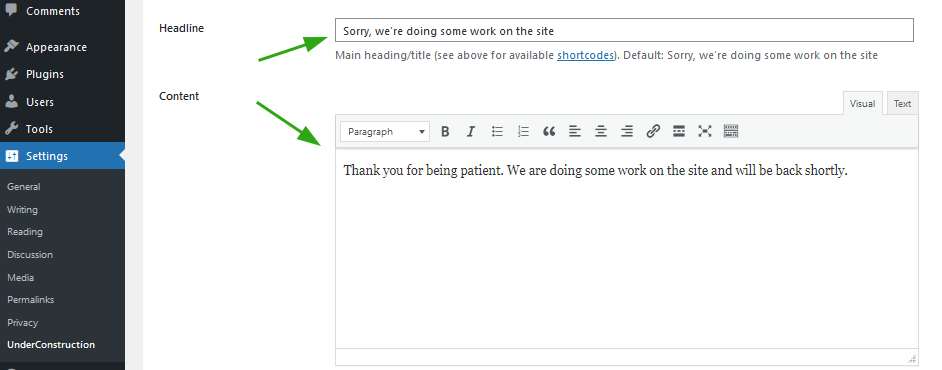
Once done, click the Save Changes button:

In the Design section you can change the view of the construction page:
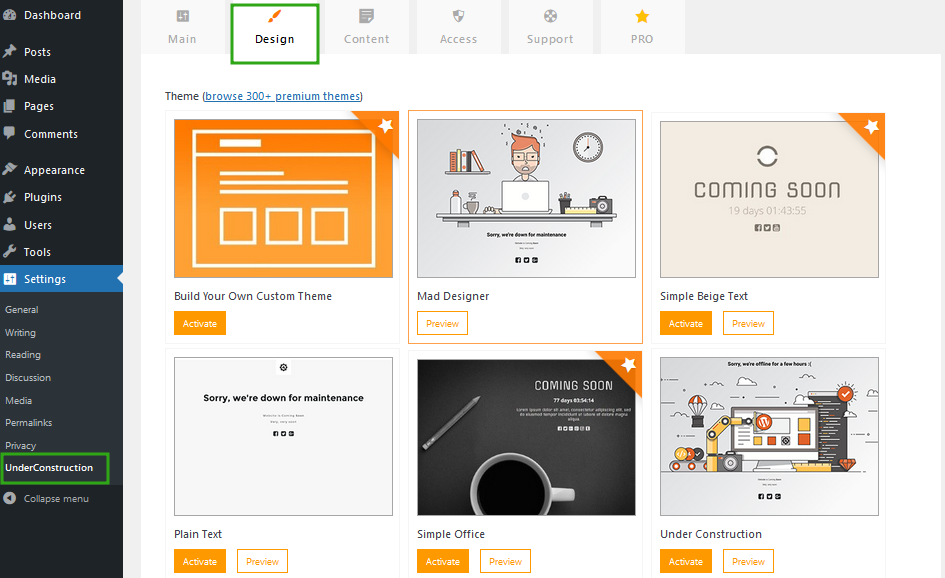
Click the Activate button near the selected page.
5. Log out of the WordPress Admin dashboard to see the created page:
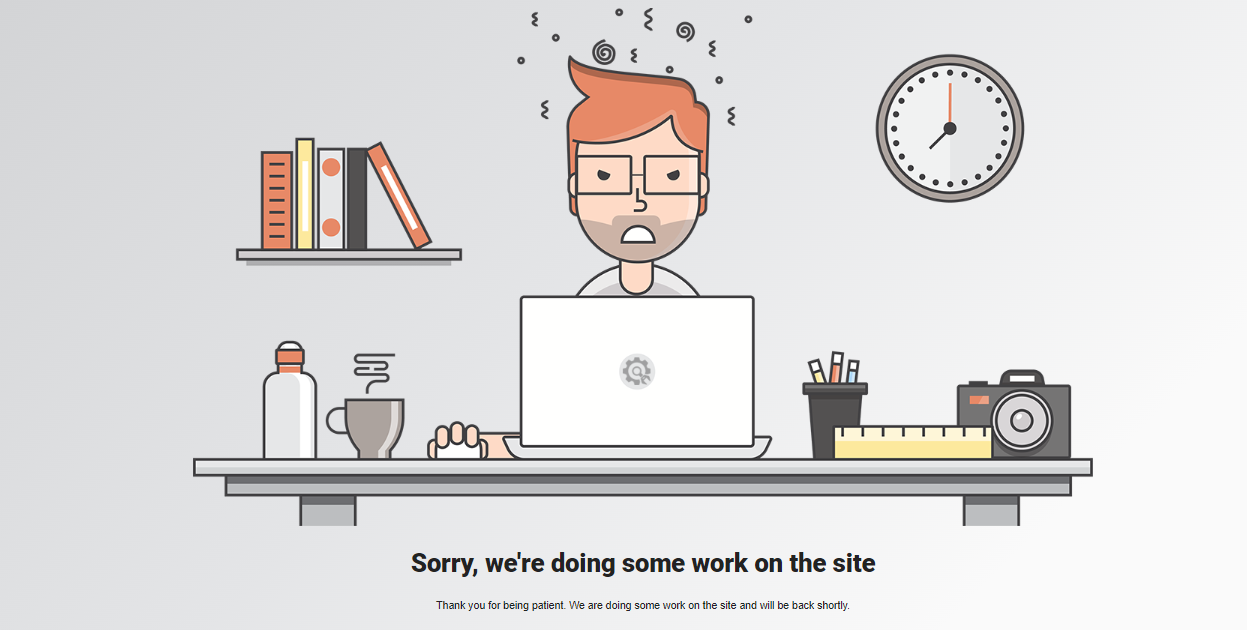
NOTE: You'll see your normal website while you are logged in to the WordPress admin dashboard. The visitors will see the Under Construction page.
Joomla
Joomla has a built-in feature for enabling the maintenance mode.
Joomla 2.x
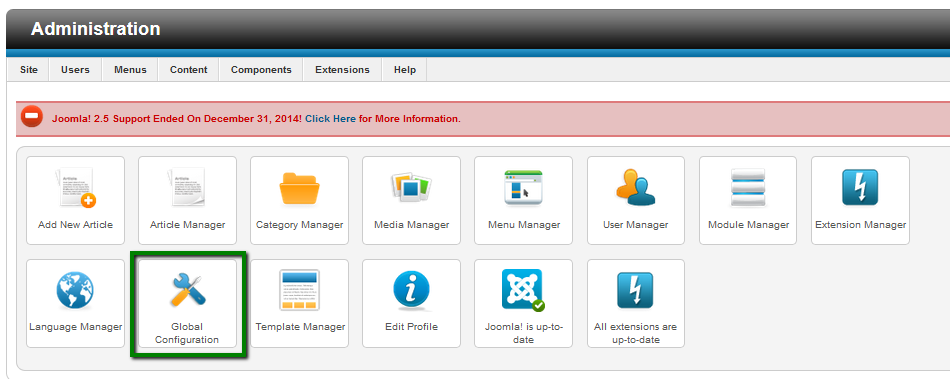
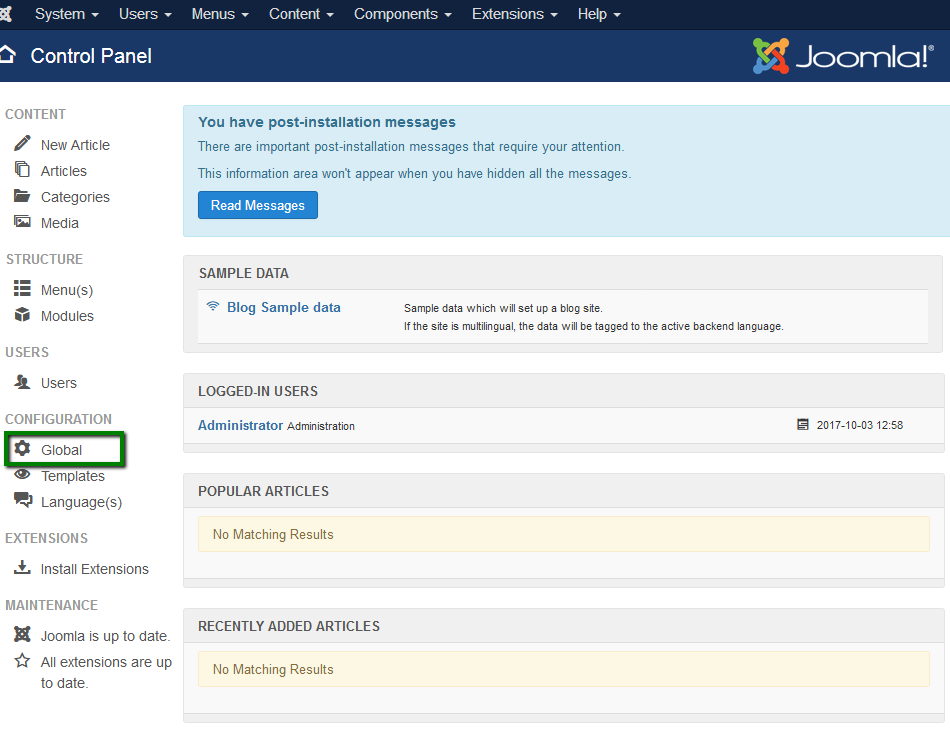
1. Log into Administrator dashboard > Global Configuration:
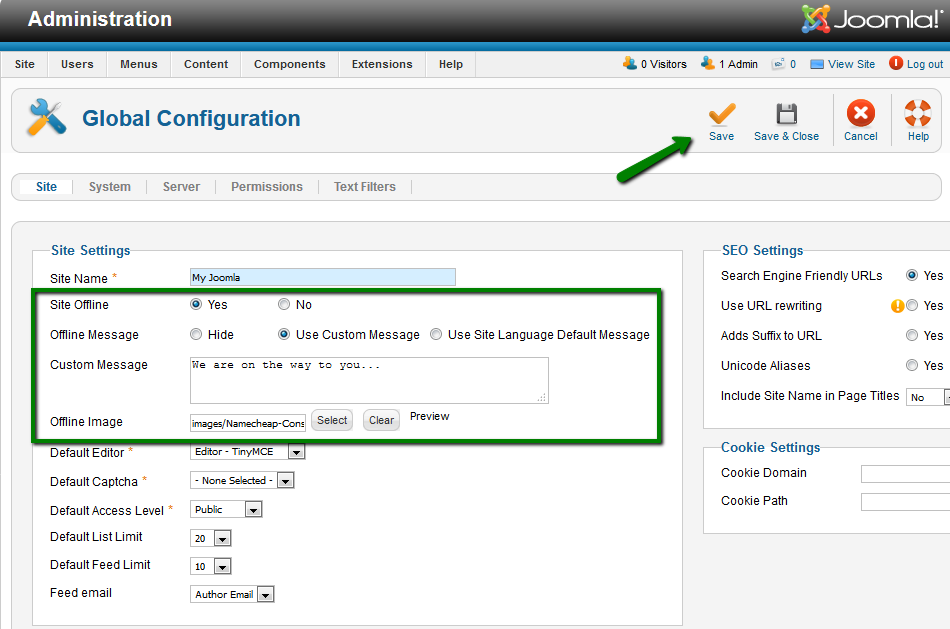
2. In the Site Settings section, find the Site Offline option and change the radio button from No to Yes.
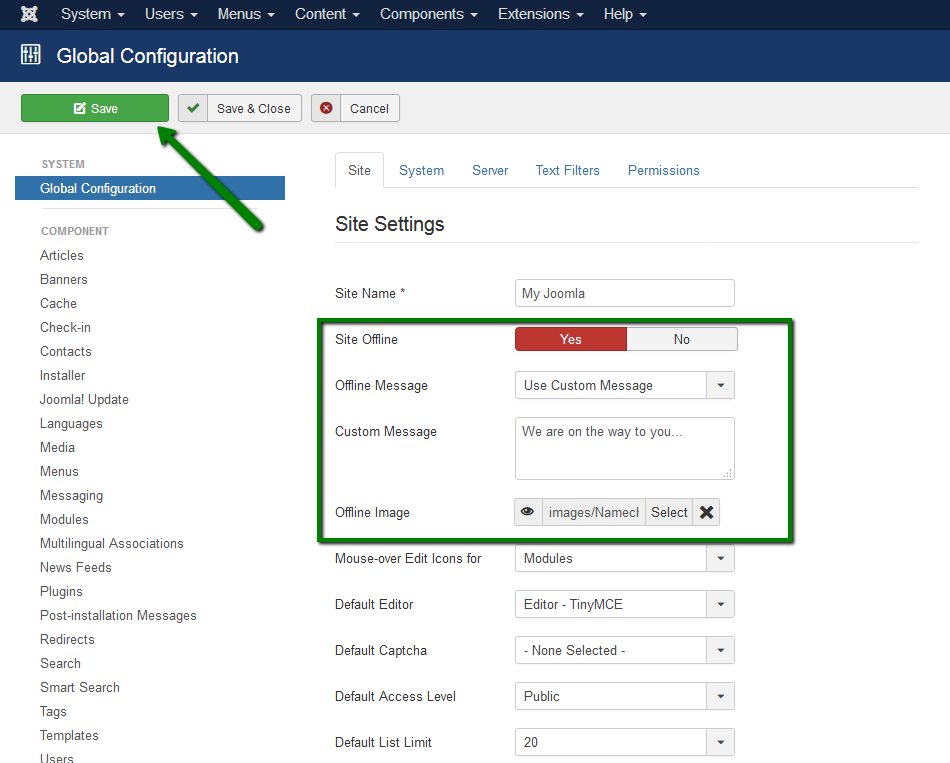
In addition, you can add Offline Message and Offline Image the visitors will see on the website while it’s offline.
Once done, click Save:
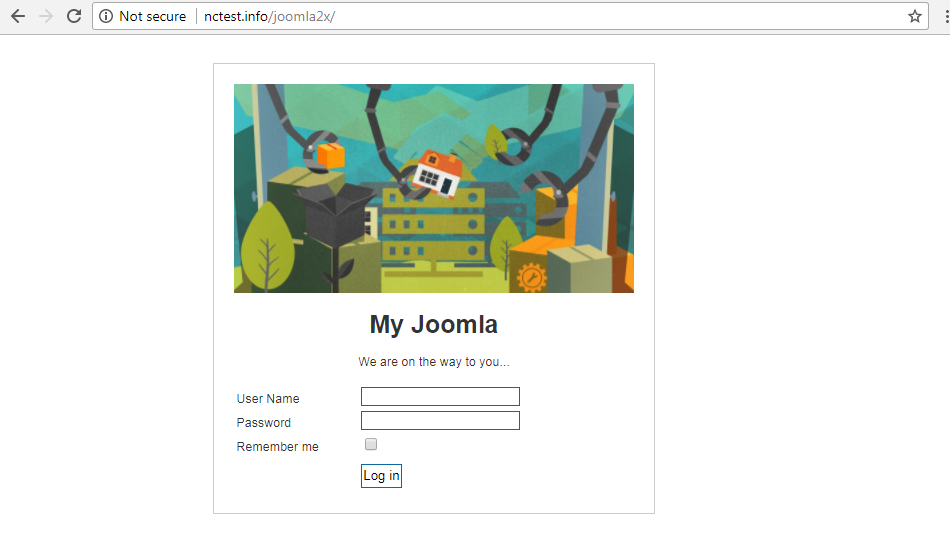
3. The website will look like this:
Joomla 3.x
1. Log into the Administrator dashboard > Configuration section > Global:
2. Find the Site Offline option and click Yes:
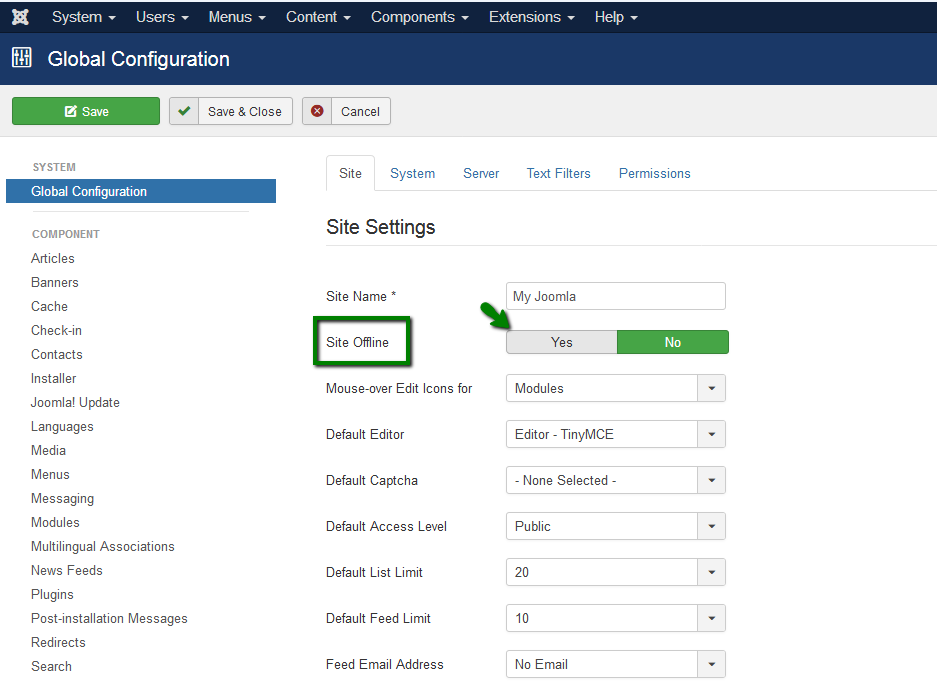
3. After that, you will be able to add Offline message and Offline image.
Once done, click Save:
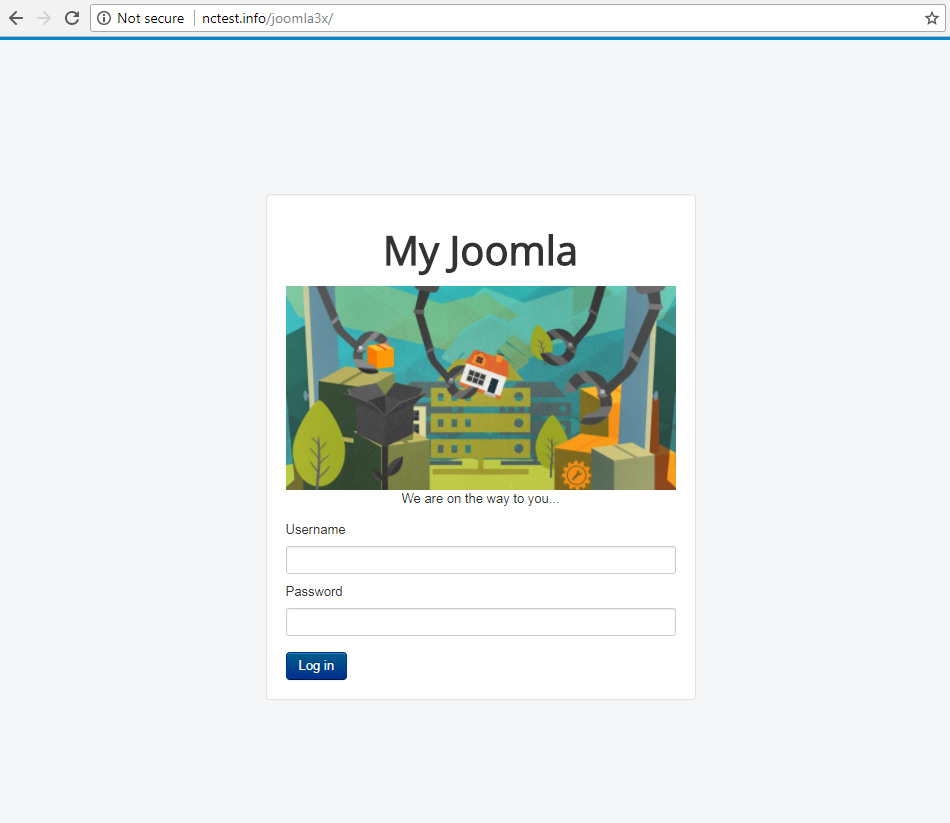
4. The website will look like this:
Opencart
Opencart has a built-in feature for enabling the maintenance mode.
Opencart 1.x
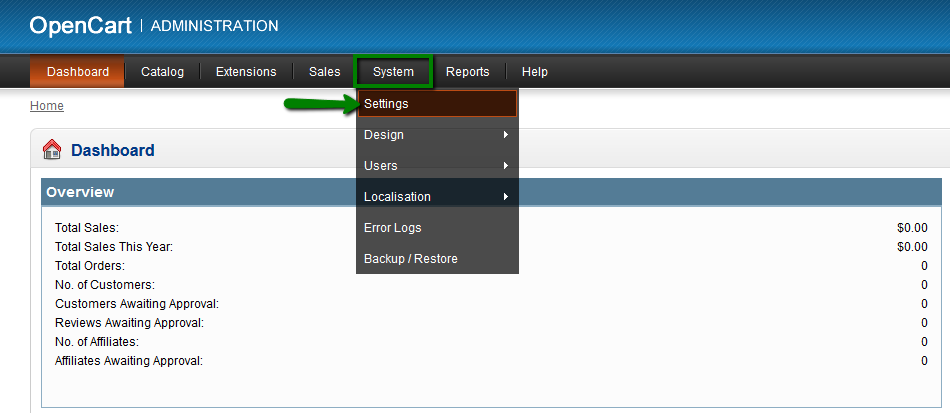
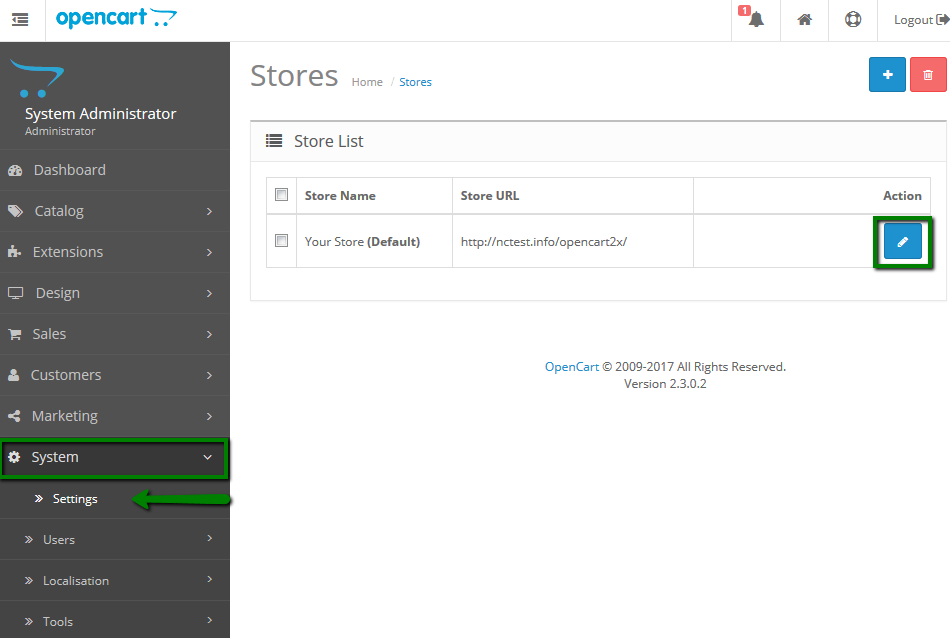
1. Log into Opencart Admin dashboard > System > Settings menu:
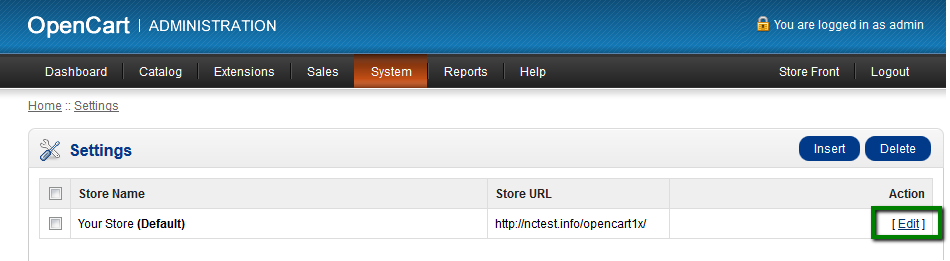
2. Choose your store from the list and click Edit:
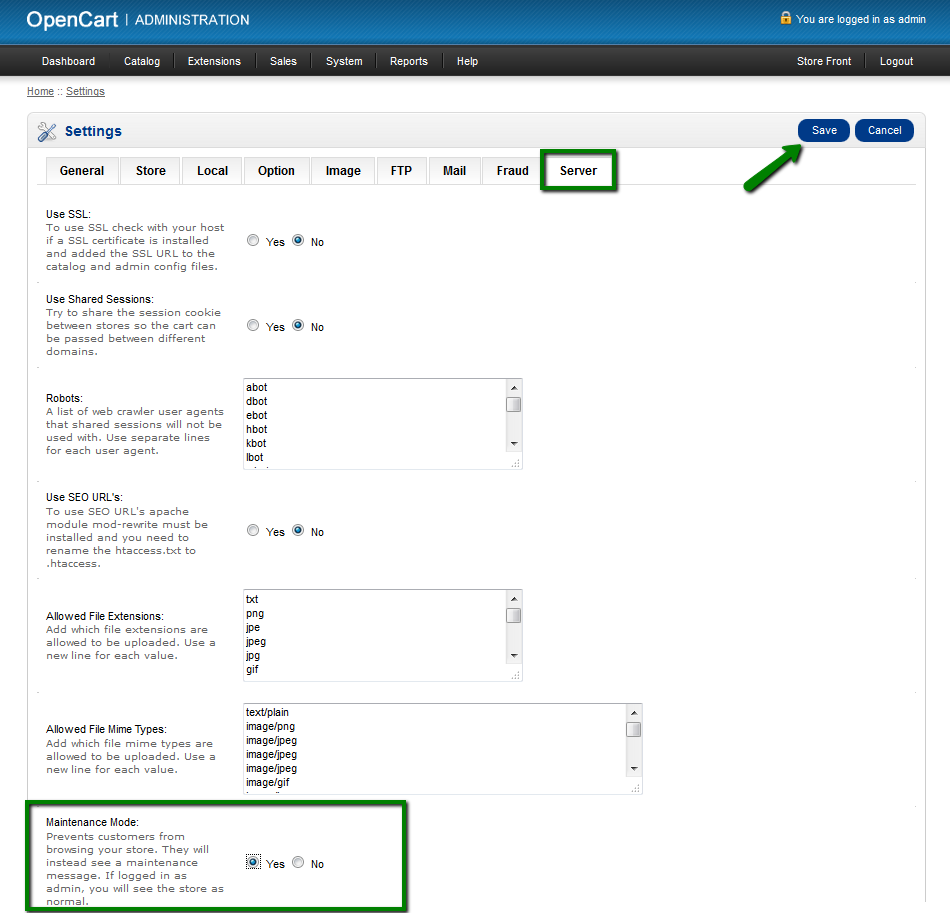
3. You will be redirected to the website settings page. Go to the Server tab.
Find the Maintenance Mode section and change the radio button from No to Yes.
Once done, click Save:
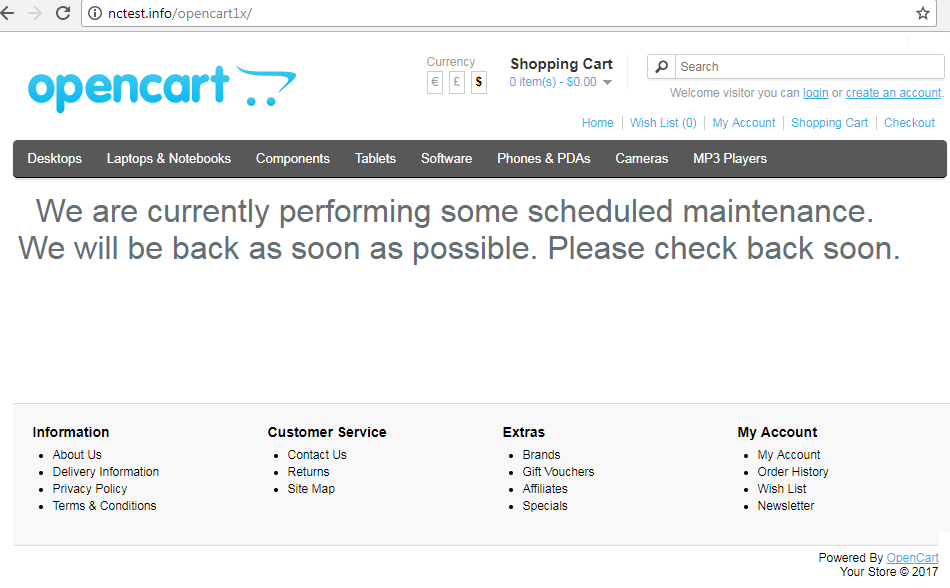
4. If you are logged in, you will see a working website in the browser. Log out of the Opencart Admin dashboard to see the maintenance page:
Opencart 2.x, 3.x
1. Log into Opencart Admin dashboard > System > Settings.
2. Choose your store from the list and click Edit:
3. You will be redirected to the website settings page. Go to the Server tab.
Find the Maintenance Mode section and change the radio button from No to Yes.
Once done, click Save:

4. If you are logged in, you will see a working website in the browser. Log out of the Opencart Admin dashboard to see the maintenance page:

Prestashop
Prestashop has a built-in feature for enabling the maintenance mode.
Prestashop 1.4.x
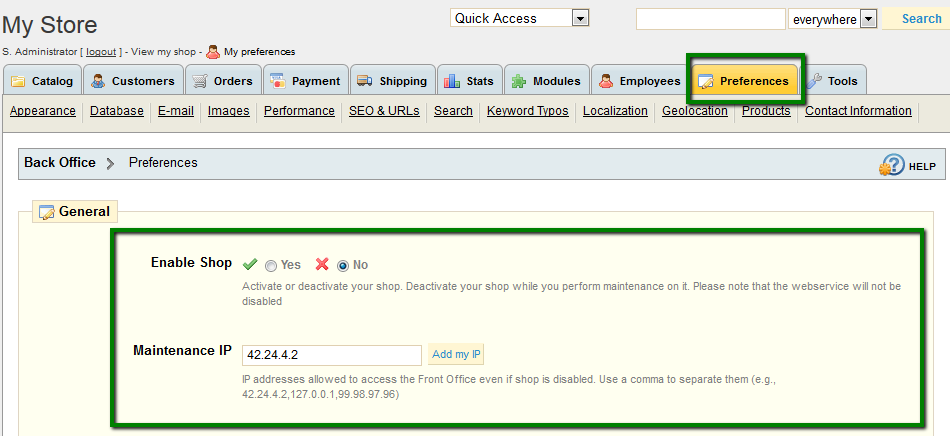
1. Log into Prestashop admin dashboard > System > Preferences.
2. Find the Enable Shop option and change the radio button from Yes to No.
You can add your local IP address in the Maintenance IP field to see the working website even in the maintenance mode.
Once done, click Save:
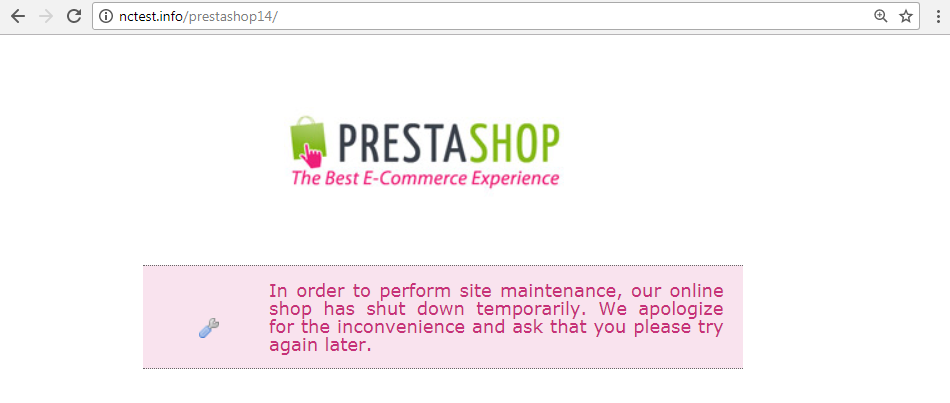
3. The website will look like this:
Prestashop 1.6.x
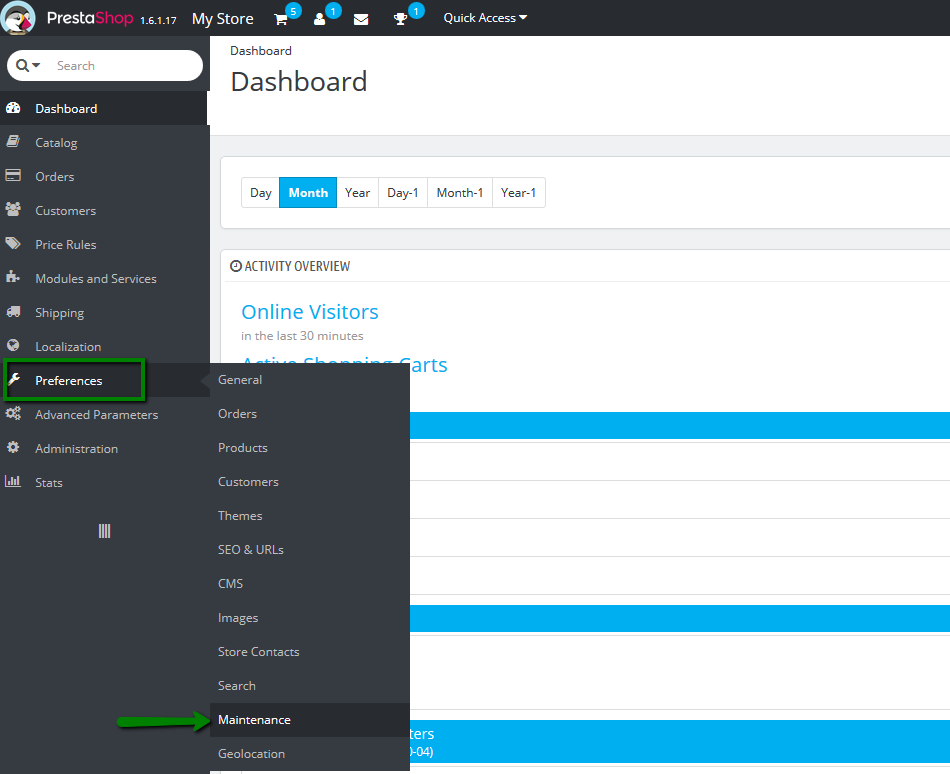
1. Log into Prestashop admin dashboard > Preferences > Maintenance menu:
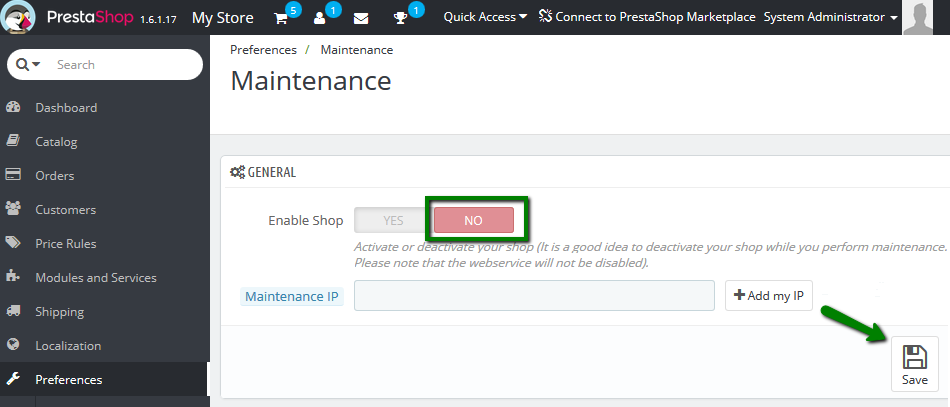
2. Find the Enable Shop option and change the radio button from Yes to No. You can add your local IP address in the Maintenance IP field to see the working website even in the maintenance mode.
Once done, click Save:
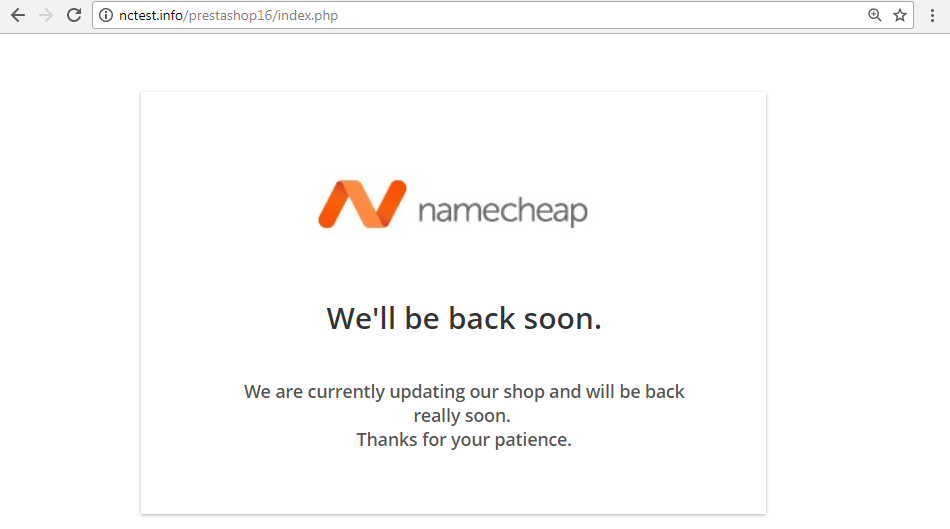
3. The website will look like this:

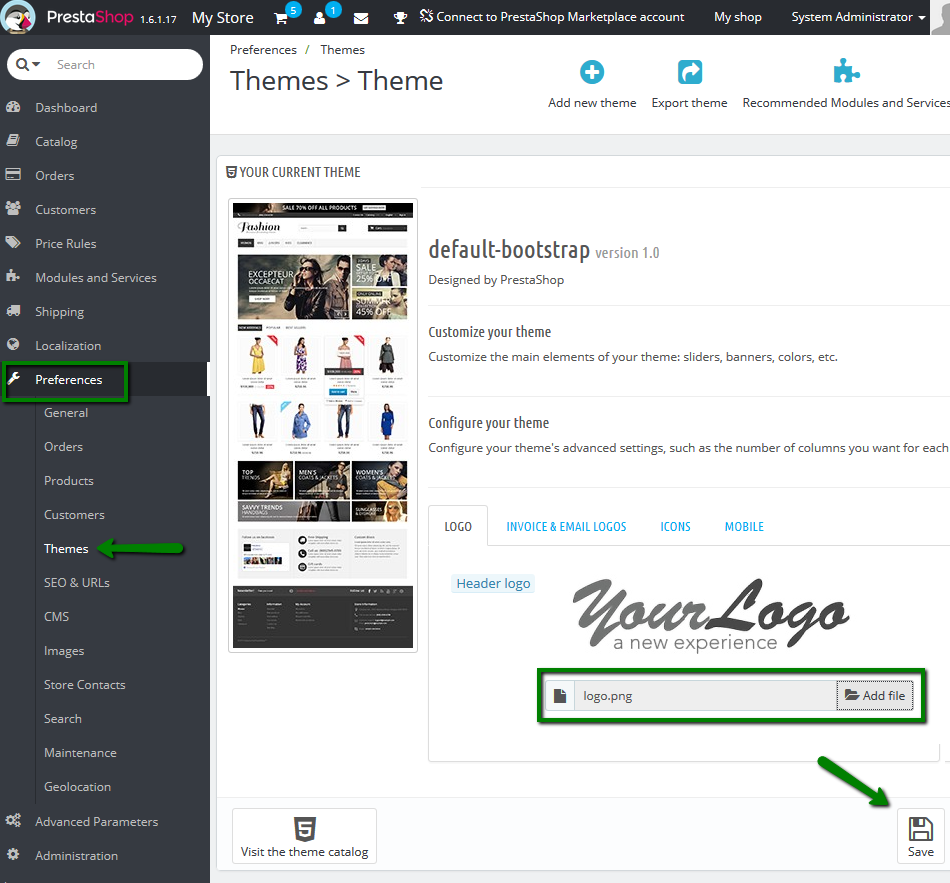
4. To change the logo on the maintenance page, go to Preferences > Theme menu. Click Add File and select an image file to use for the logo. Click Save:
5. If you open the website in the browser, you will see the updated maintenance page:
Prestashop 1.7.x
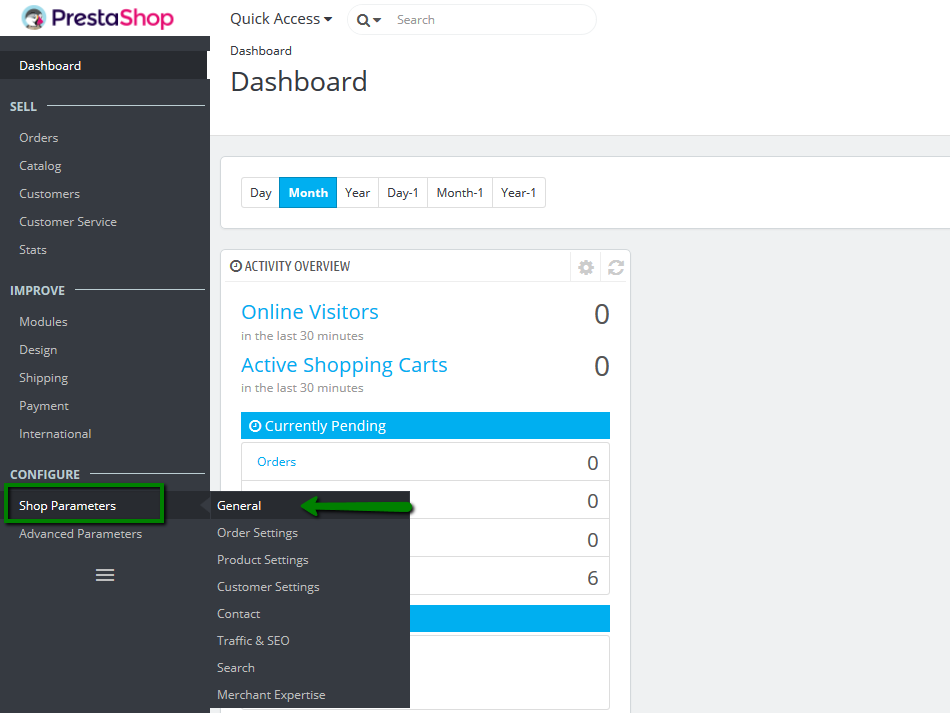
1. Log into Prestashop admin dashboard > Configure section > Shop Parameters > General menu:
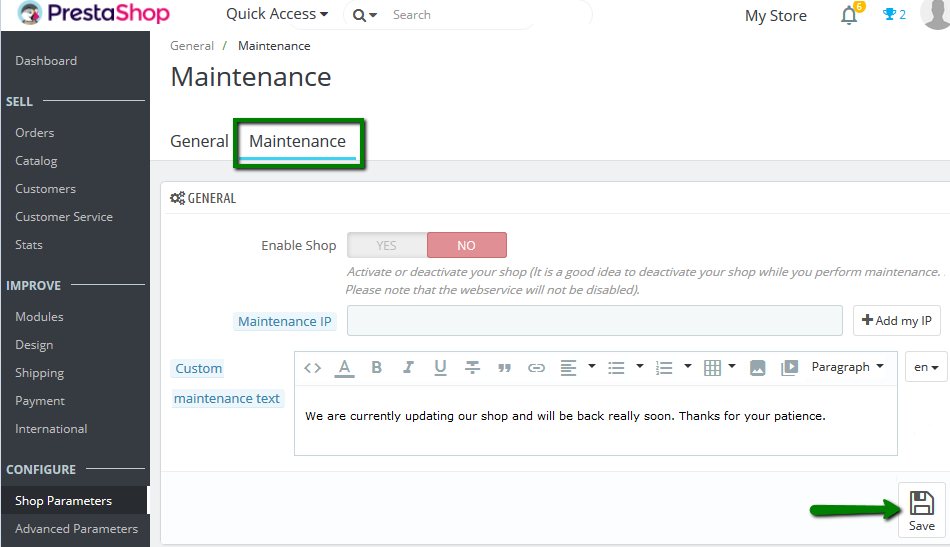
2. Go to the Maintenance tab. Find the Enable Shop option and change the radio button from Yes to No. You can add your local IP address in the Maintenance IP field to see the working website even in the maintenance mode. Also, you can customize maintenance text.
Once done, click Save:
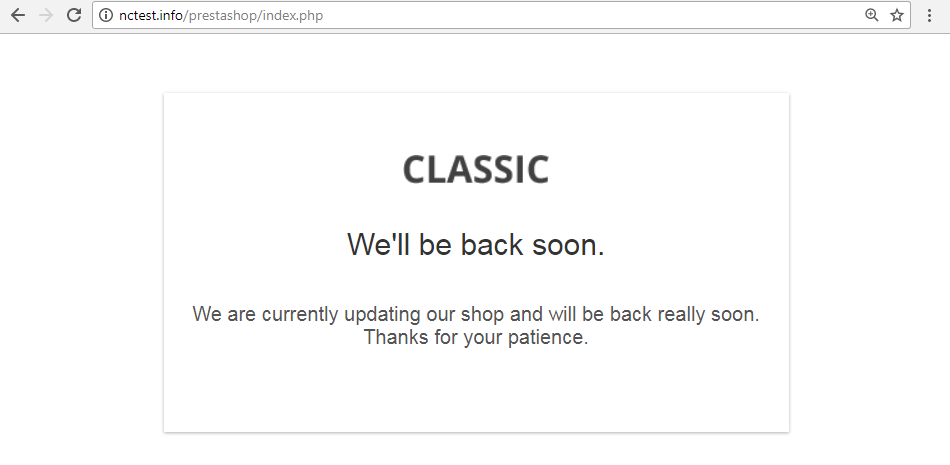
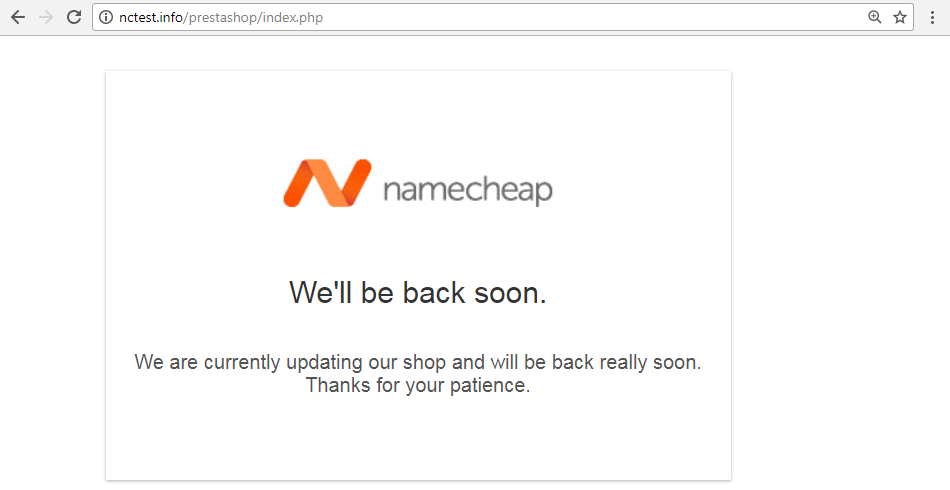
3. The website will look like this:
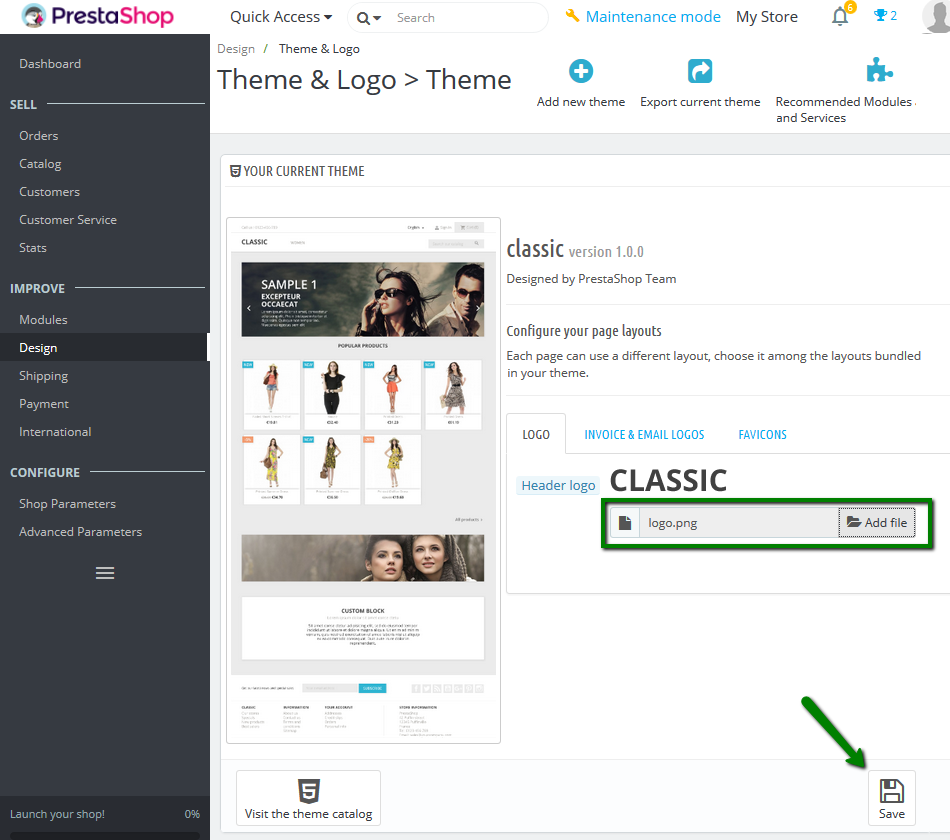
4. To change the logo on the maintenance page, go to Improve > Design menu > Theme & Logo.
Click Add File and select a file on your computer to use for the logo. Once done, click Save:
5. Open the website in a browser to see the updated maintenance page:
Drupal
Drupal has a built-in feature for enabling the maintenance mode.
Drupal 6
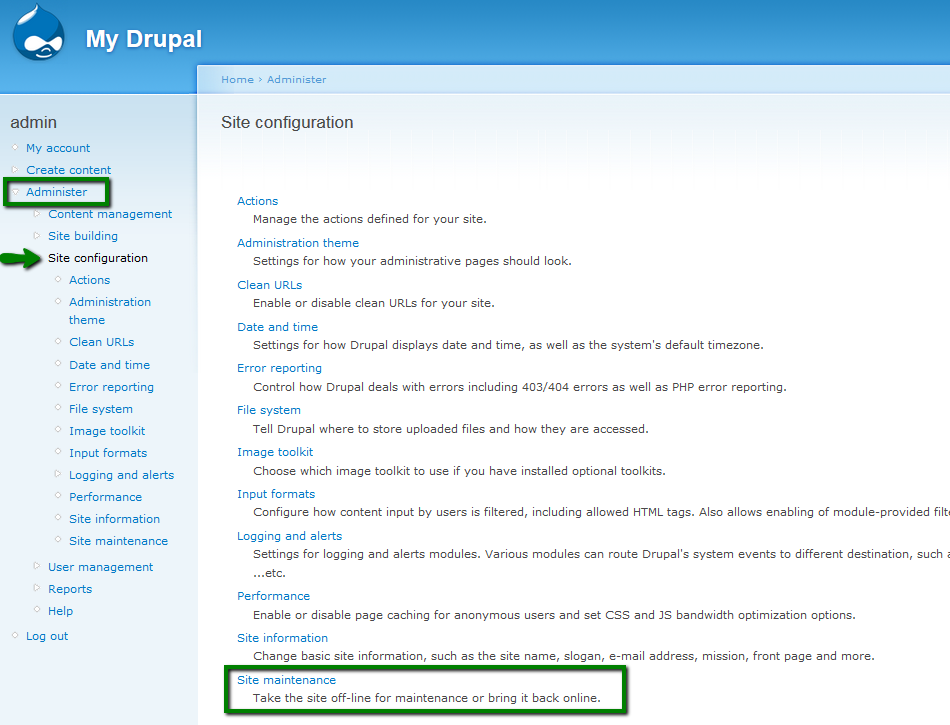
1. Log into Drupal Admin dashboard > Administer > Site configuration > Site maintenance:
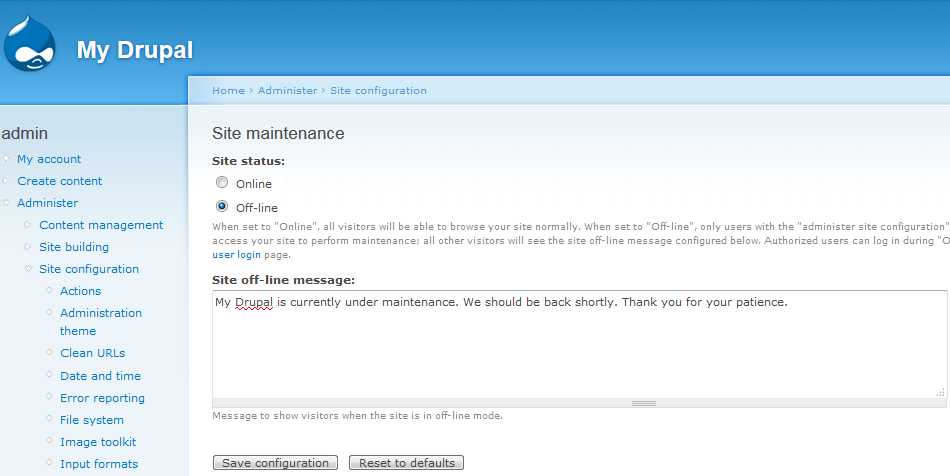
3. Change the Site status from Online to Offline. You can also add a custom 'Site off-line message' here.
Once done, click Save configuration:
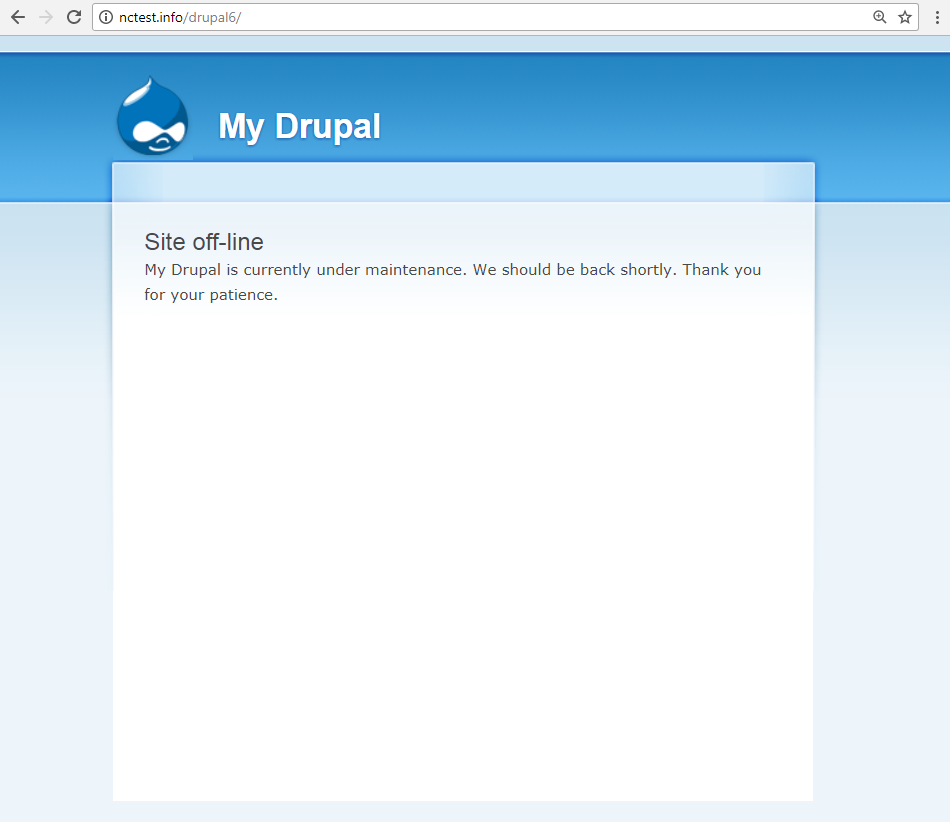
4. If you are logged in, you will see a working website. Log out of the Drupal Admin dashboard to see the maintenance page:
Drupal 7
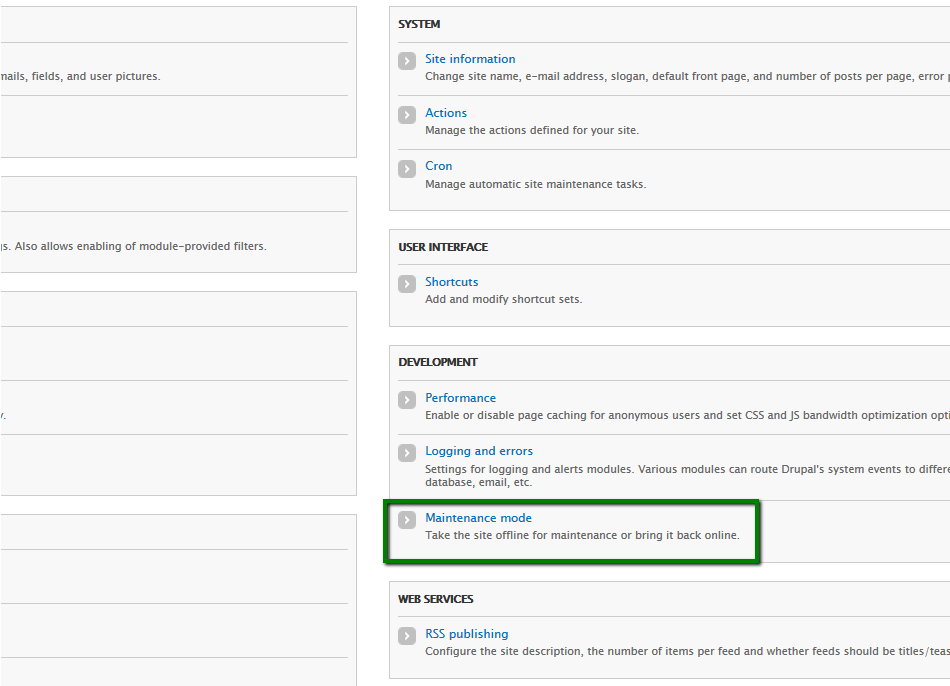
1. Log into Drupal Admin dashboard > Configuration menu > Maintenance mode:
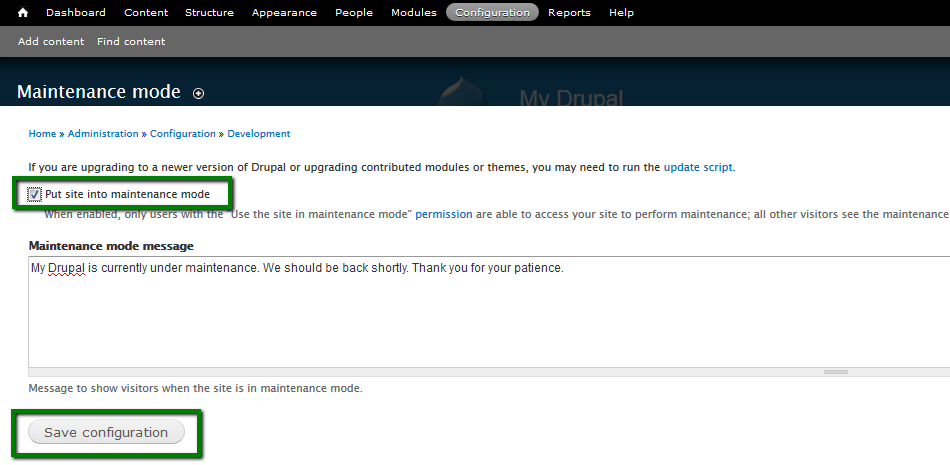
2. Select Put site into maintenance mode. You can also add Maintenance mode message here.
Once done, click Save configuration:
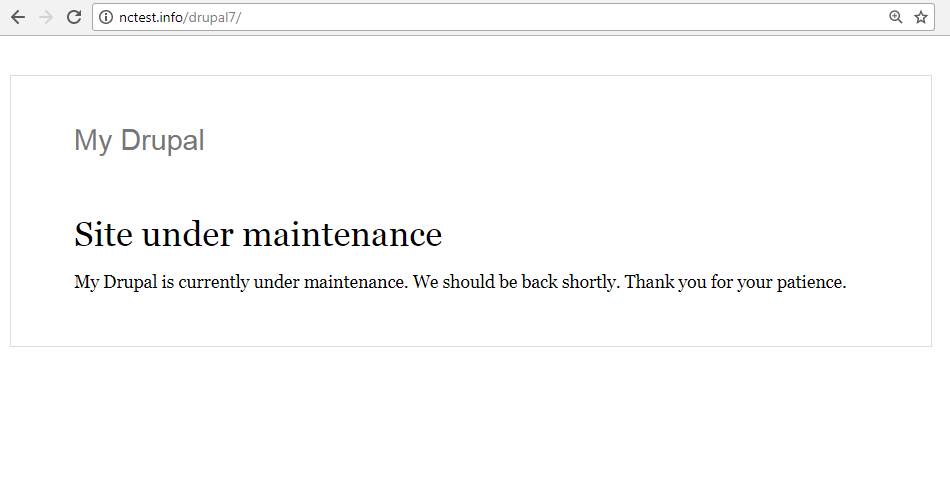
4. If you are logged in you will see a working website in the browser. Log out of the Drupal Admin dashboard to see the maintenance page:
Drupal 8
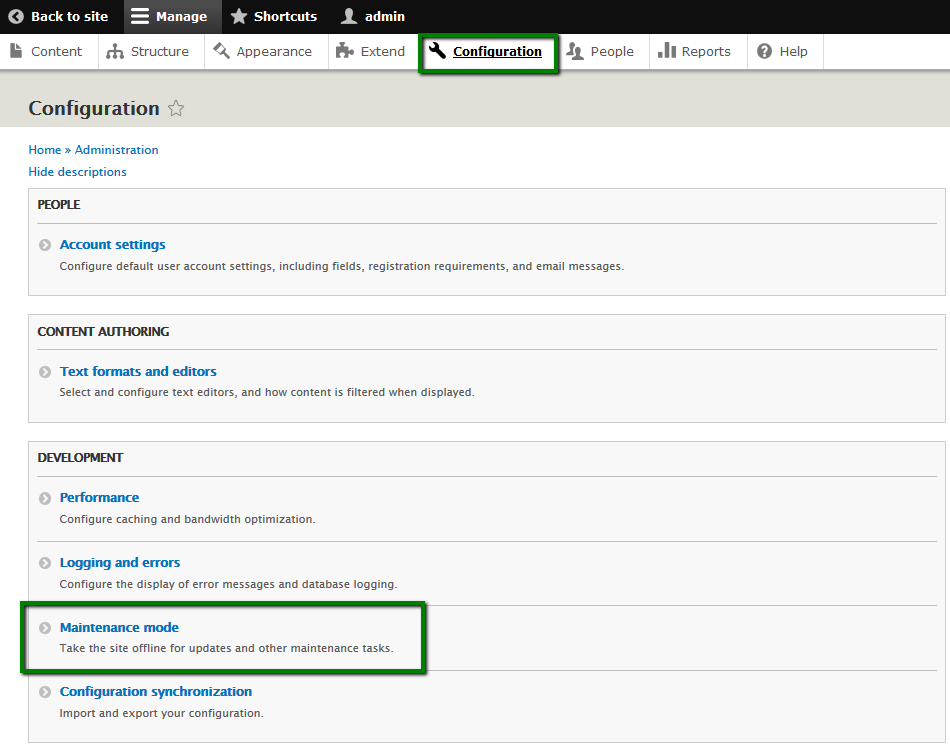
1. Log into Drupal Admin dashboard > Configuration menu > Maintenance mode:
2. Select the Put site into maintenance mode option. You can also add Maintenance mode message here.
Once done, click Save configuration:

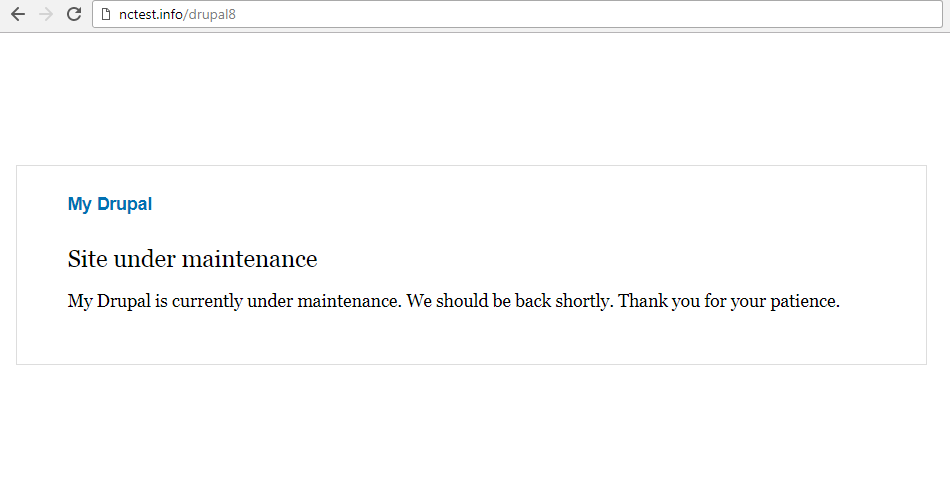
4. If you are logged in you will see a working website in the browser. Log out of the Drupal Admin dashboard to see the maintenance page:
Magento
Magento doesn’t have a built-in feature for enabling maintenance mode.
Magento 1.9 and older
1. Log into your cPanel account > Files section > File Manager menu:

2. Go to the root folder of your website (by default, it is public_html for the main domain and yourdomain.com for addon domains) and create a new file named maintenance.flag :

3. Open the index.php file with Code Editor:

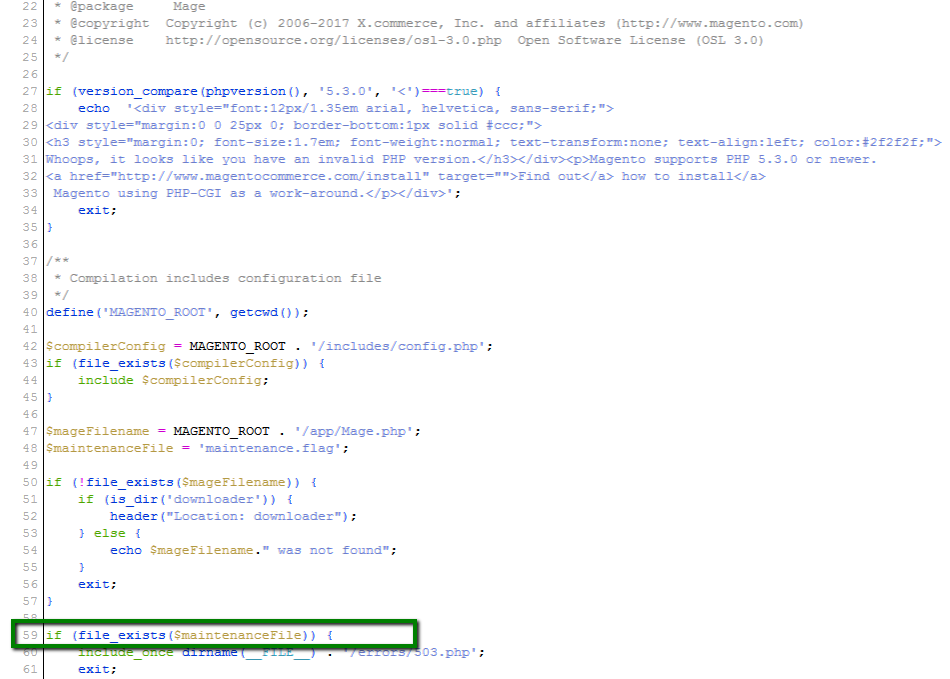
4. Search for the following code:
if (file_exists($maintenanceFile))
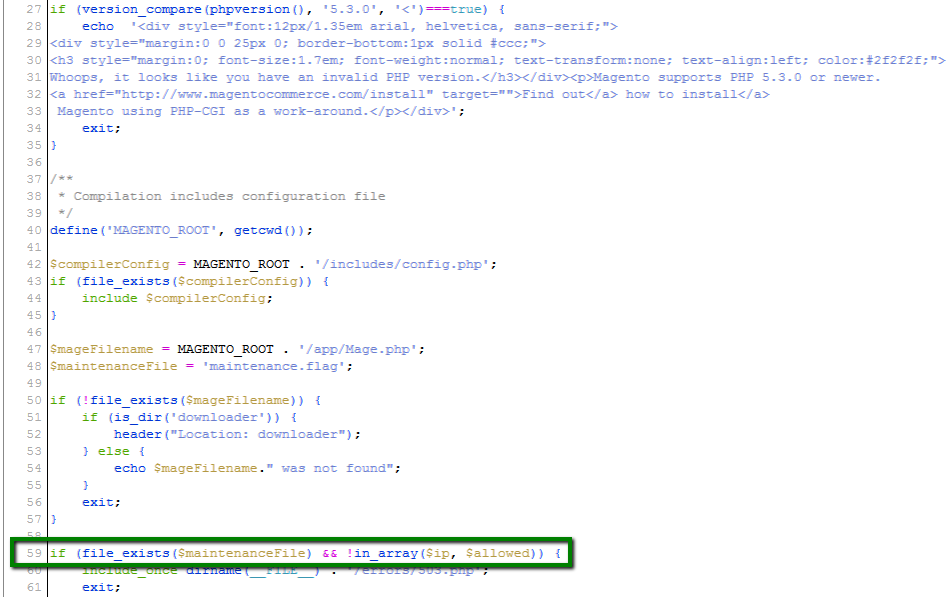
Replace the above code with this:
if (file_exists($maintenanceFile) && !in_array($ip, $allowed))
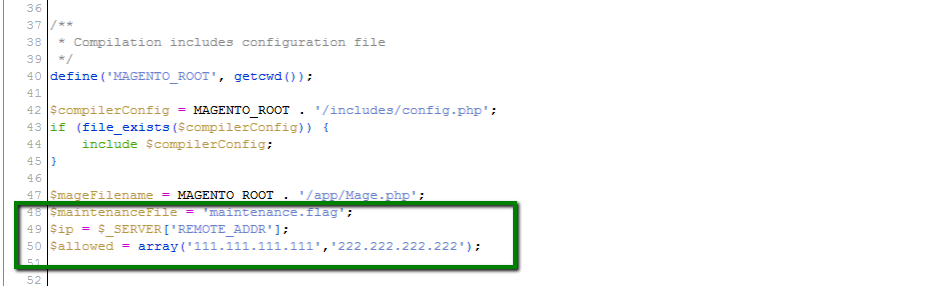
5. Once you enable the maintenance mode, you won't be able to access the front end of the site even if you are logged into Admin dashboard. However, it’s possible to allow the access to the website from a specific IP address.
To do this, find the following code:
$maintenanceFile = 'maintenance.flag';
Add this after it:
$ip = $_SERVER['REMOTE_ADDR'];
$allowed = array('111.111.111.111','222.222.222.222');
Where '111.111.111.111' and '222.222.222.222' are allowed IP addresses:
6. The maintenance page will look like this:
To change the default text, edit the code of the 503.phtml file located in /Errors/Default folder.
Magento 2.2
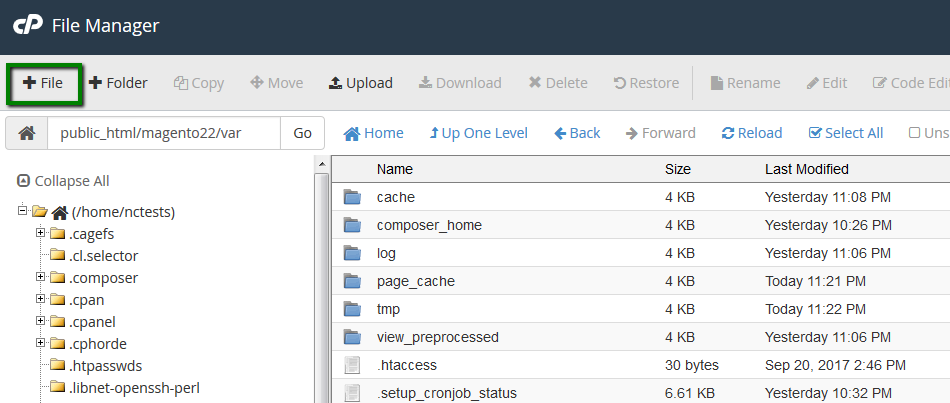
1. Log into your cPanel account > Files section > File Manager menu:
2. Go to the root folder of your website (by default, it is public_html for the main domain and yourdomain.com for addon domains), access the var folder and create a new file named .maintenance.flag in it:
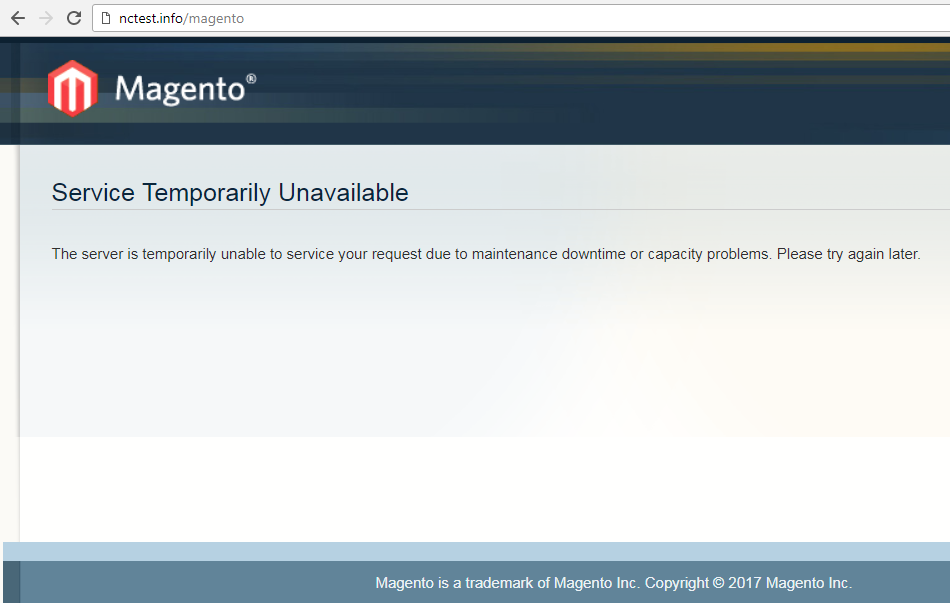
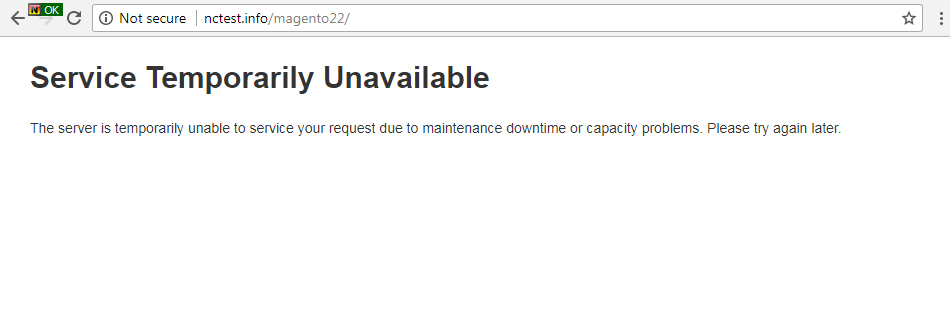
3. The website will shows the following message:
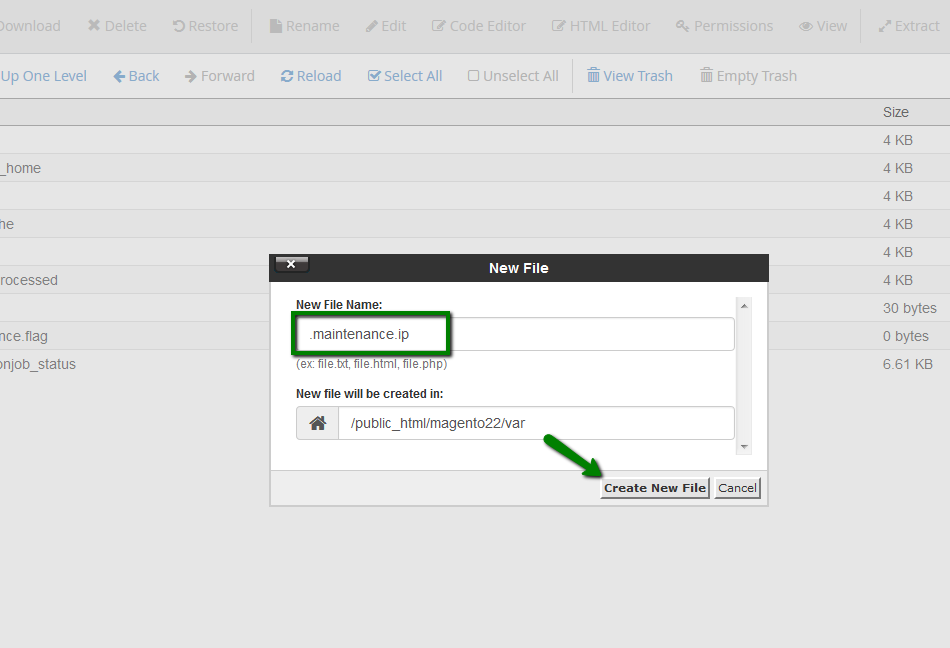
4. Once you enable the maintenance mode, you won't be able to access the front end of the site even if you are logged in as the admin. However, it’s possible to allow the access to the website for a specific IP address. Go to the var folderand create another file named .maintenance.ip:
5. Open it with the Code Editor:
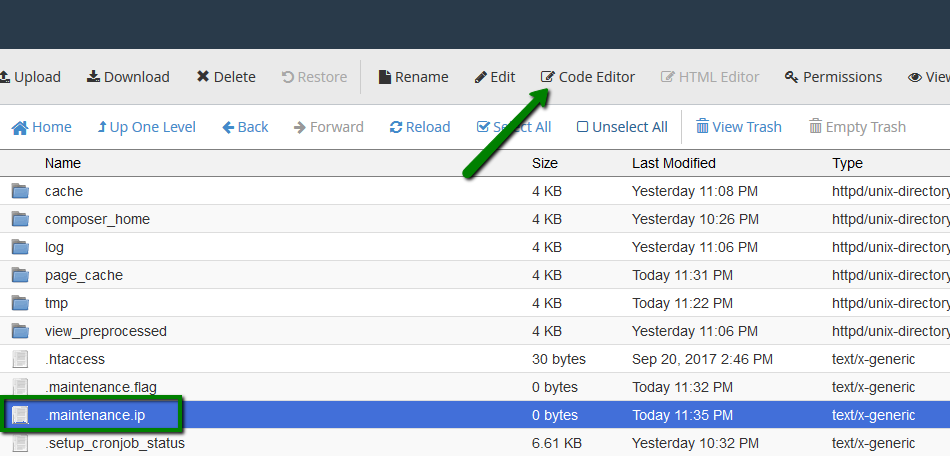
6. Add the list of the allowed IPs separated by comma:

Moodle
Moodle has a built-in feature for enabling the maintenance mode.
Moodle 2.9
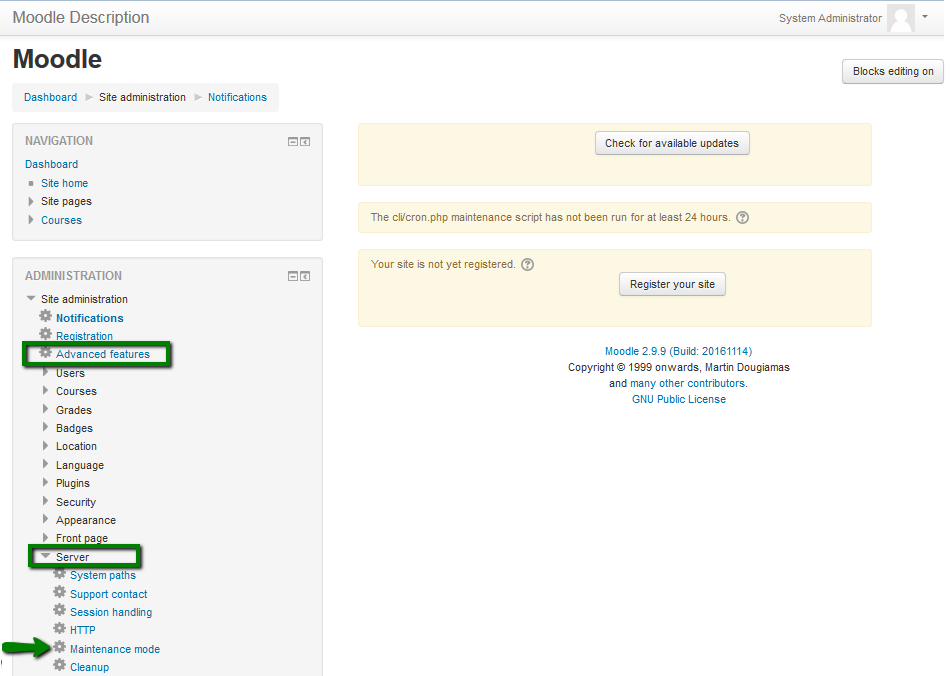
1. Log into Moodle Admin dashboard > Advanced features > Server > Maintenance mode:
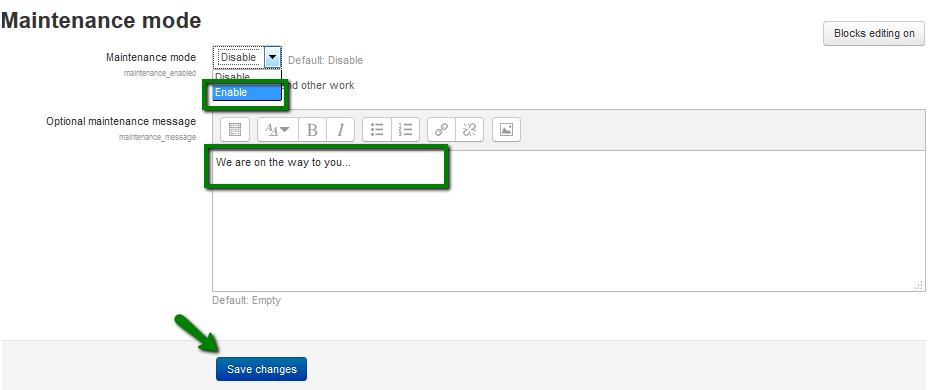
2. Select Enable from the drop-down menu. You can also add a custom maintenance message here.
Once done, click Save changes:
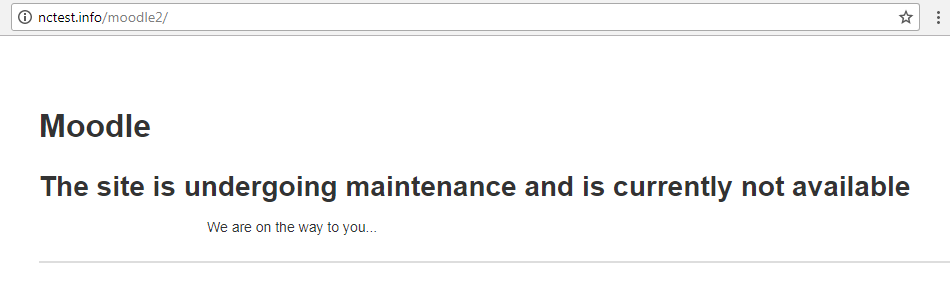
3. If you open the website in the browser, you will see the maintenance page:
Moodle 3.3
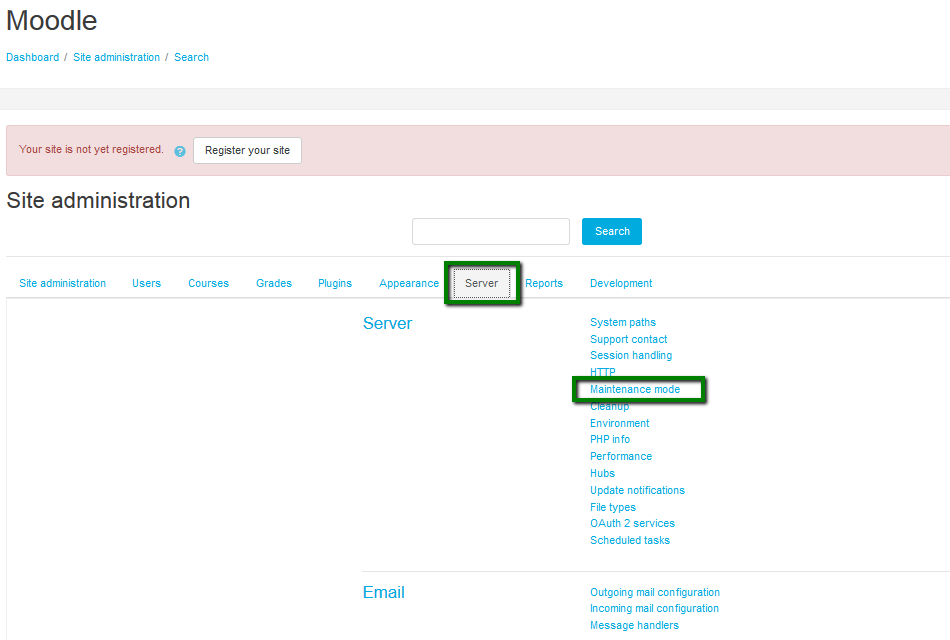
1. Log into Moodle Admin dashboard > Site Administration:

2. Next, go to Server > Maintenance Mode:
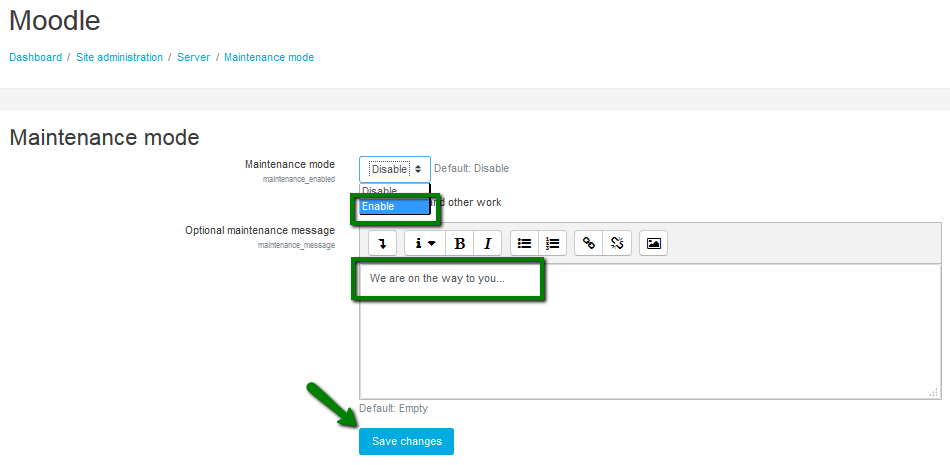
3. On the Maintenance mode page, select Enable from the drop-down menu. You can also add a custom maintenance message here.
Once done, click Save changes:
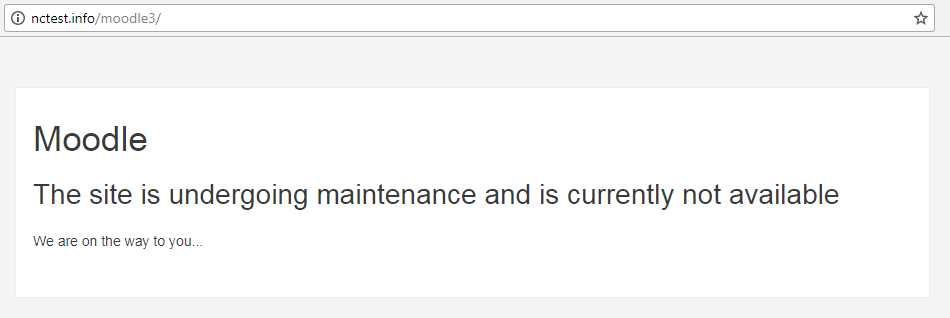
4. If you open the website in the browser you will see the maintenance page:
That's it!
