This guide describes the installation process on Exchange 2010. If you have an issued certificate signed by Comodo, it should be sent to you via email (the issued certificate is usually sent to the administrative email address which was chosen during the certificate activation). Alternatively, it can be downloaded from your Namecheap account.
You will need to have a certificate file with the .cer extension (or the file with the .p7b extension from your Namecheap account). This file should be copied to your Exchange server (the certificate should be placed in the Computer Store of the server).
Note: If you want to install a Wildcard certificate on Exchange 2010, you should enable "Enable wildcard certificate" option during the CSR code generation process (it is mentioned on step 5 of the corresponding guide).
Once done, follow the steps described below:
- Start the Exchange Management Console. In order to do it, click Start >> Programs >> Microsoft Exchange 2010 >> Exchange Management Console.
- Once done, mouse over the Manage Databases link and click on it. Then, go to Server configuration.
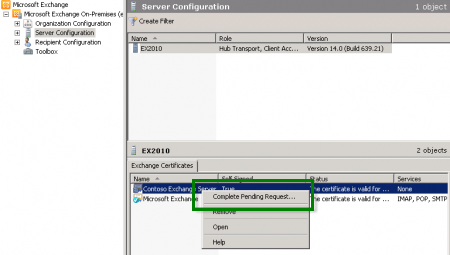
- You need to select your certificate from the menu in the center of the screen; the certificate is listed by its Friendly Name. Then click the link in the Actions menu to Complete Pending Request.
- To complete the pending request, browse to your certificate file, then click Open >> Complete:
Note: If you face an error message which is frequently shown in Exchange 2010 stating that "The source data is corrupted or not properly Base64 encoded.", please ignore it and hit F5 to refresh the certificate. Then verify that it says False under Self-Signed now.
If it still shows True, there are 2 possible reasons:
- you may have selected the wrong certificate or
- you may have generated the request on a different server
In order to fix this error, you can create a new CSR on this Exchange server and reissue the certificate.
Keep in mind that it is also possible to import PFX certificate at this stage as follows:
- With the Server Configuration menu opened, select the server you wish to secure over on the right;
- Right-click on the blank area in the Exchange Certificate field and select Import Exchange Certificate;
- An Import Exchange Certificate Wizard will pop up and you'll be able to browse your PFX file there.
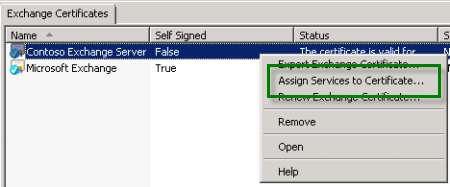
- For enabling your certificate to use, return to Exchange Management Console and click the link to Assign Services to Certificate...:
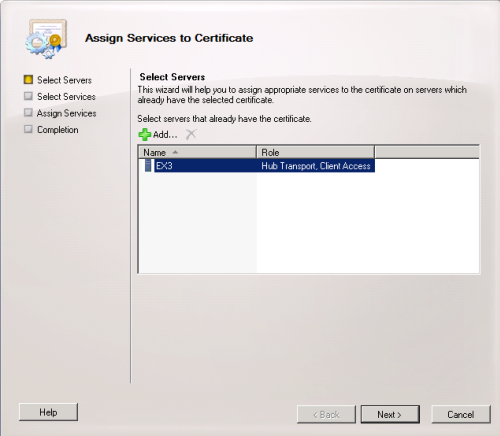
- Choose your server from the list, then click Next:
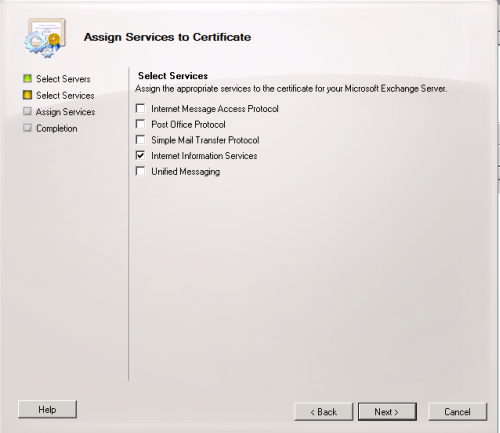
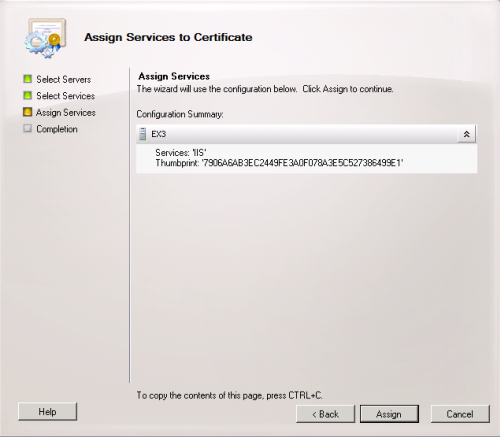
- Apply the certificate for the services for which you would like to enable your new certificate by clicking Next >> Assign >> Finish:
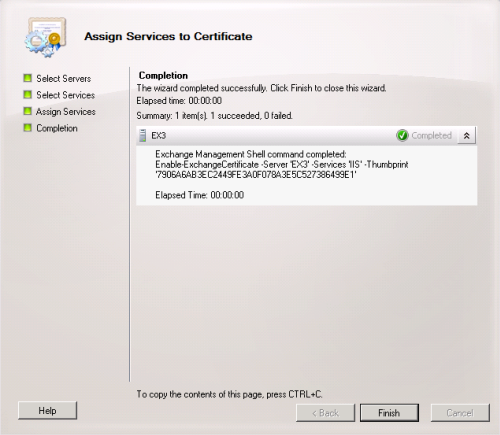
- Once all the steps are completed, your issued certificate should be installed and enabled for use with Exchange:

Your certificate installation can be checked here.
