CSR generation on Google Cloud services

Google Cloud Platform allows you to generate a CSR (Certificate Signing Request) using Google Cloud Shell, a built-in Command Line Console that provides access to cloud resources directly from a browser.

Step 1: Create a project

To begin, log in to your Google account, navigate here and click on Create Project to activate the Cloud Shell. If a project already exists, you may use that instead of creating a new one.

Specify a human-readable name for your project. You can edit the project name at any time during or after project creation. Project names do not need to be unique.

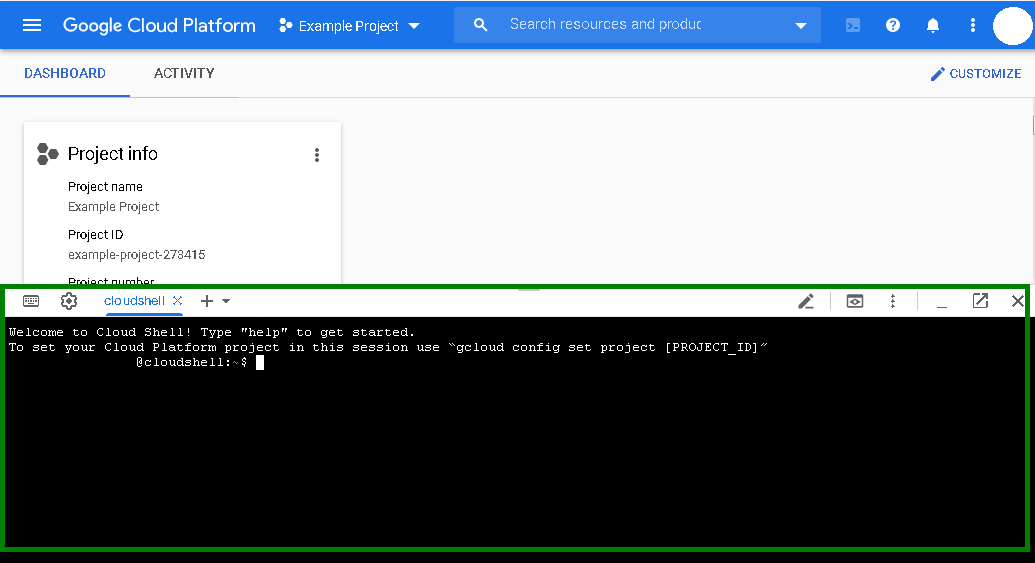
Step 2: Activate the Cloud Shell session

Next, click on the Activate Cloud Shell button at the top of the window:

A new Cloud Shell session will be opened at the bottom of the window. By default, it will open to the user Home directory/home/user:

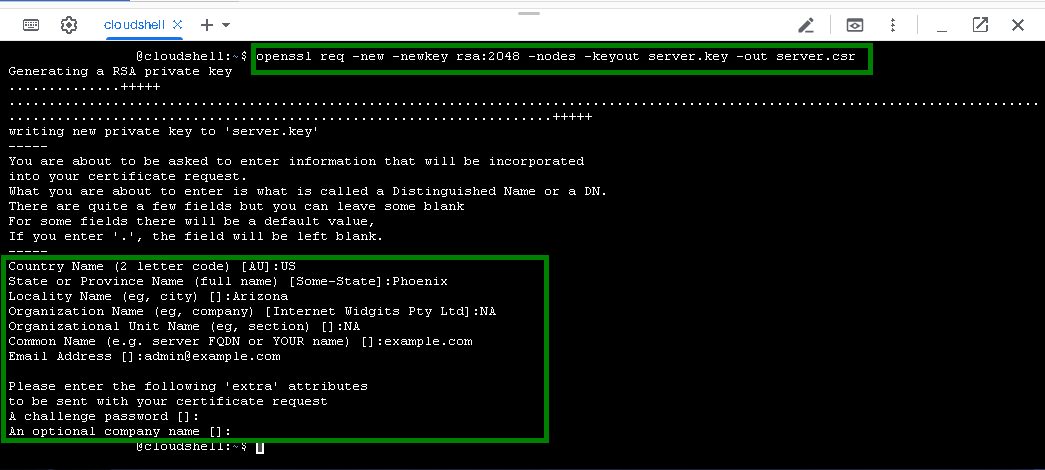
Step 3: Generate a CSR code in Cloud Shell

Follow the below steps to generate your CSR:

  1. Run the following command to create Private key and Certificate Signing Request (CSR) files (server.key and server.csr).

    Useful tip: we recommend replacing server in server.key and server.csr with the domain name the certificate will be issued for. This will make it easier to find the files in the future.

    openssl req -new -newkey rsa:2048 -nodes -keyout server.key -out server.csr

  2. Enter the following details using English alphanumeric symbols only:

    • Country Name

      Use a two-letter code. You can check your country code here.

    • State or Province Name

      Use the full name of your state or province. If your country is not divided into states, the city can be mentioned.

    • Locality Name

      Add the full name of the city.

    • Organization Name

      Mention the officially registered name of the company applying for a certificate (e.g., Namecheap, Inc.).

      Note: For Domain Validation certificates, 'NA' can be used as this field will not be listed in the certificate details.

    • Organizational Unit Name

      Specify the name of the division or department within the company indicated above. You can use 'NA' here.

    • Common Name

      Indicate the exact domain or subdomain name you wish to secure (i.e. example.com or *.example.com for Wildcard certificates).

    • Email address

      Enter the email you want the issued certificate to be sent to. It is possible to change this during activation.

    • Challenge password and Optional company name

      Leave these fields empty. For this, simply press Enter.

  3. Once all the requested information is provided, you will have two files generated in the current directory: *.csr and *.key .

  4. To open the file with the CSR code, enter the following command:

    cat server.csr

    Where server.csr is the exact name of your .csr file.


    The CSR file (*.csr) contains the code that should be used for SSL activation in your Namecheap account. Make sure to copy with the header and footer which are: “-----BEGIN CERTIFICATE REQUEST---- and “-----END CERTIFICATE REQUEST----”

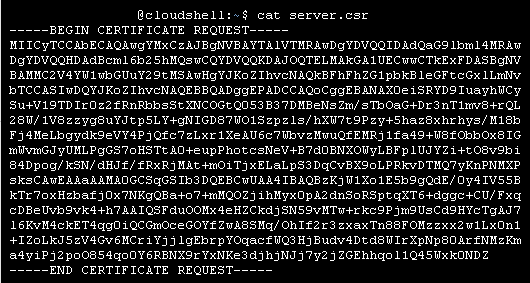
Feel free to verify the generated CSR code using our tool.

To open the file with the Private key, enter the following command:

cat server.key

Where server.key is the exact name of your .key file.

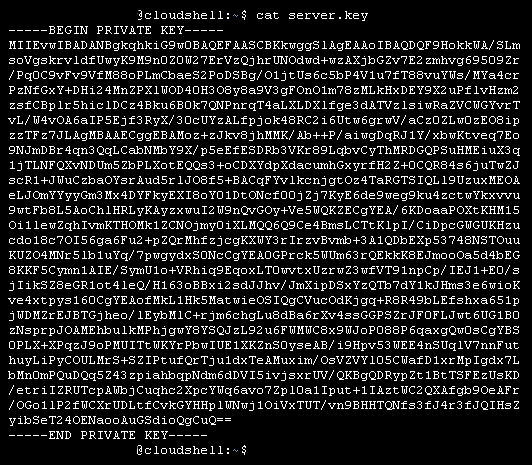
Useful tip: The Private key code is essential for certificate installation, which is performed after the certificate is activated and issued. It is crucial to remember the file name and location of your Private key so you can find it easily. The file content is a block of code that starts with "-----BEGIN PRIVATE KEY-----" and ends with "-----END PRIVATE KEY-----".

To find the Private key, the following command can be used:

sudo find / -type f -iname 'server.key'

Where server.key is the exact name of the key file. '*.key' can be used if the name of the file is forgotten. In that case, the output of the command will show the paths to all the .key files on the server.

You can also refer to this guide on how to find a Private key on a Linux-based system.

Make sure to activate the certificate using the recently created CSR code. You then must validate it and install it on your site to work properly.

Updated
Viewed
58162 times

Need help? We're always here for you.

notmyip