XenForo is one of the most popular commercial Internet forum content management systems. Here you can find the instructions on how you can install it. We are going to use nstests cPanel account/username and nctest.info domain. Make sure that you replace them with your own details.
Check system requirements
System Check Results
Installation
Post-installation check
Check system requirements
Before installing XenForo, make sure that your account complies with these minimum system requirements. You can do that in two ways:
Option 1:
You can check the requirements in the list below and compare them with the settings in your hosting account or contact our support team for assistance.
The system requirements are as follows:
- PHP version: 5.2.11+
- MySQL version: 5.0+
- PHP extensions: MySQLi, GD (with JPEG support), PCRE, SPL, SimpleXML, DOM, JSON, iconv, ctype
- PHP safe_mode = off
Option 2:
You can also use the test script here to check if your account meets the requirements. Follow these steps to proceed:
- download the script to your local device
- unzip the archive
- upload xenforo_requirements.php file to your cPanel (be advised to put it to the folder where you wish to install XenForo to)
- follow http://yourdomain.com/xenforo_requirements.php link in browser
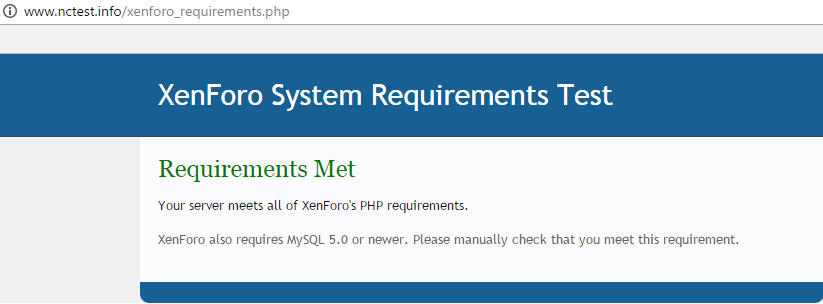
System Check Results
If everything complies with the requirements, you will see a page as in the screenshot below:
Otherwise, the output will look like:
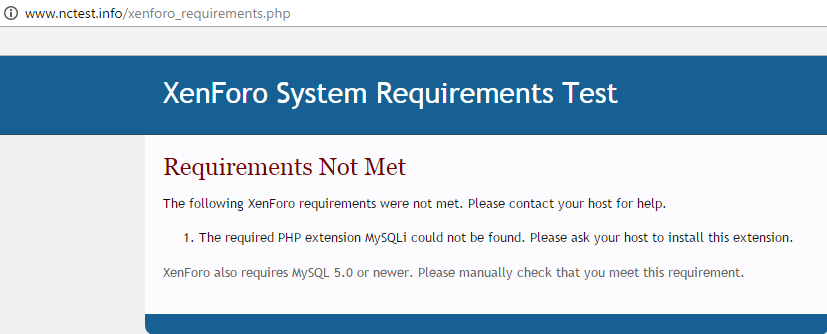
NOTE: If you receive an error stating that some PHP extension is not enabled, you can turn it on in your account. The corresponding instructions can be found below by the type of hosting account you have:
Shared hosting/Reseller hosting
Business hosting account (older servers)
Business hosting account (newer servers starting with business server 29)
VPS/Dedicated server
Once all the system requirements are met, you can proceed with the installation.
Installation
1. To begin with, you download XenForo .zip XenForo Customer Area to your device.
Before downloading the archive you will need to provide information about your domain in XenForo Customer Area. Make sure that Download the upgrade package only option is not checkmarked, otherwise, you will not be able to download a new XenForo installation.
2. Unzip the archive and find upload folder within it:
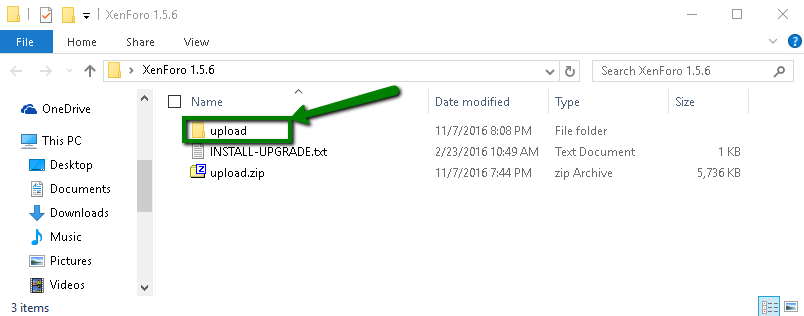
3. Transfer the content of upload folder to the document root folder of the domain in your cPanel.
In this example we upload the files via FTP. You can find the instructions on the upload process here.
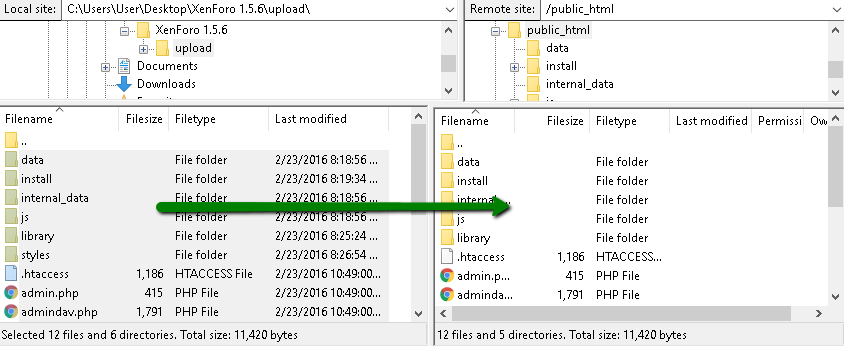
NOTE: The document root folder for the main domain is public_html by default, for the addon domain – public_html/addondomain.com.
4. Change permissions for data and internal_data folders to 0777:

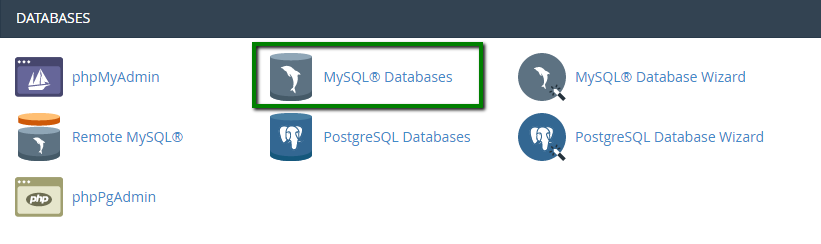
5. After that you can proceed with database setup. Go to MySQL Databases menu in your cPanel:
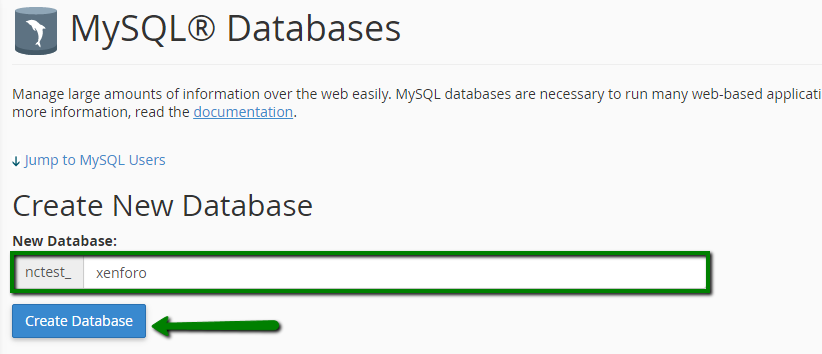
6. Create a database for the website:
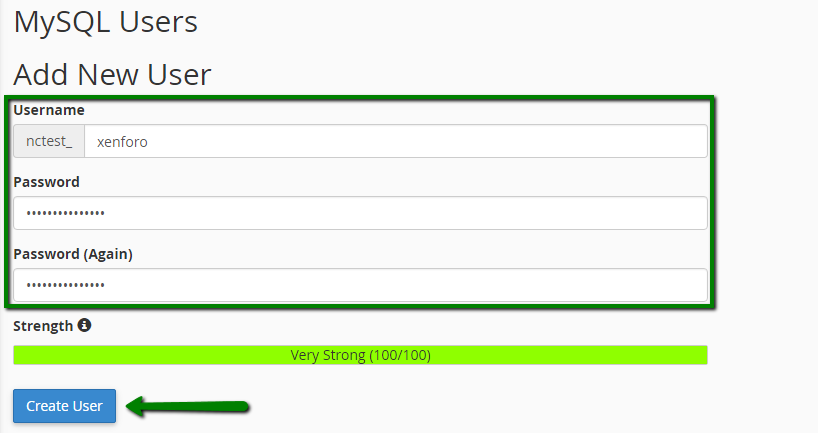
7. Scroll down a bit and create a database user. Save the username and password you set for it:
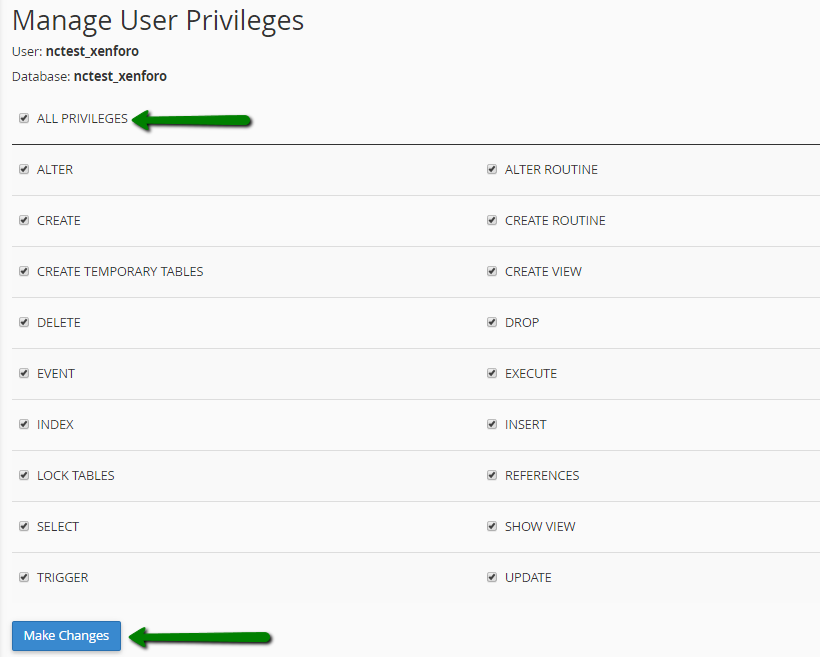
8. Now you need to assign the user to the database itself:
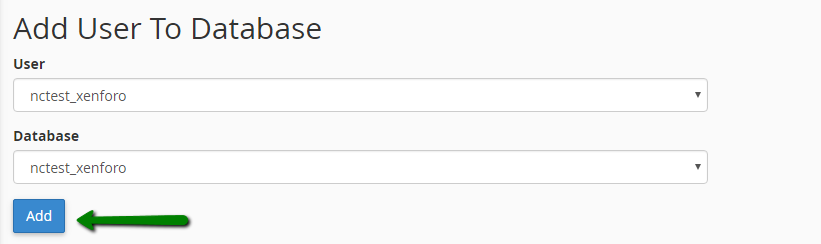
9. Make sure that All Privileges option is checkmarked:
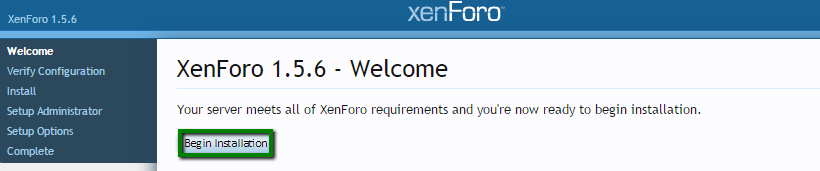
10. After that you can run the installation. Open http://yourdomain.com/install in your browser:
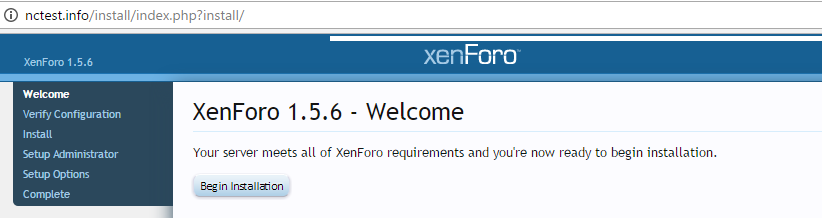
11. Hit Begin Installation:
12. Fill in MySQL Database Name, MySQL User Name and MySQL Password fields respectively:
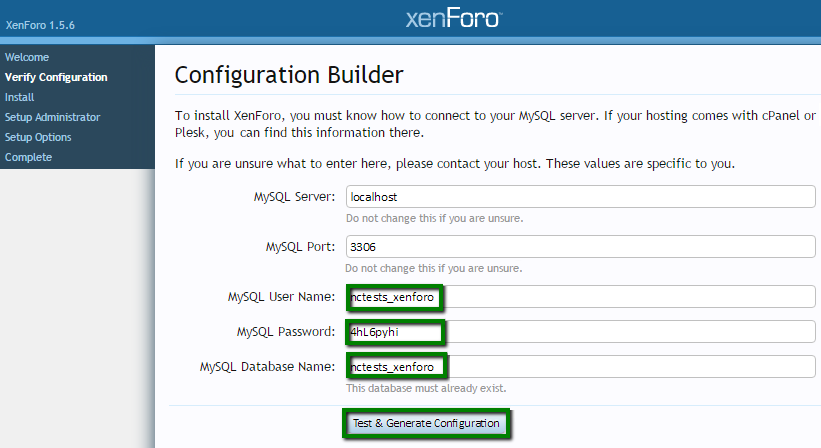
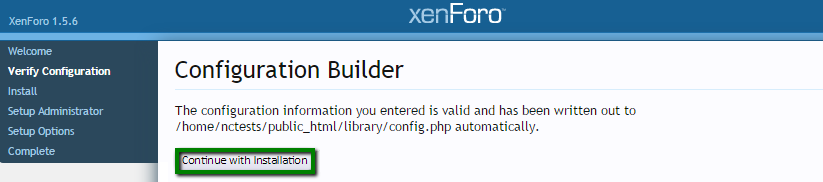
13. If all the details are entered correctly, the following page appears. Click on Continue with installation to proceed:
14. Hit Begin installation in the next step:

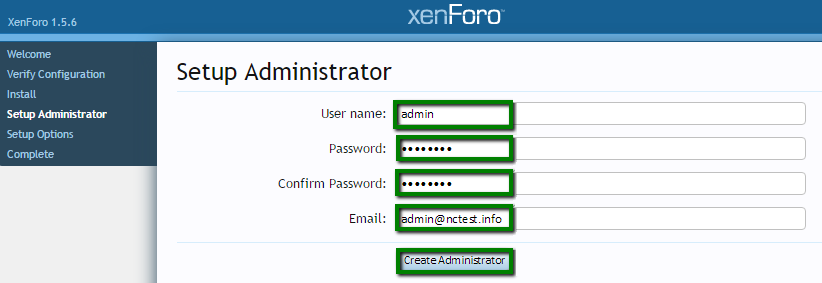
15. After installation is over, enter the details you wish to use as admin login details for your website:
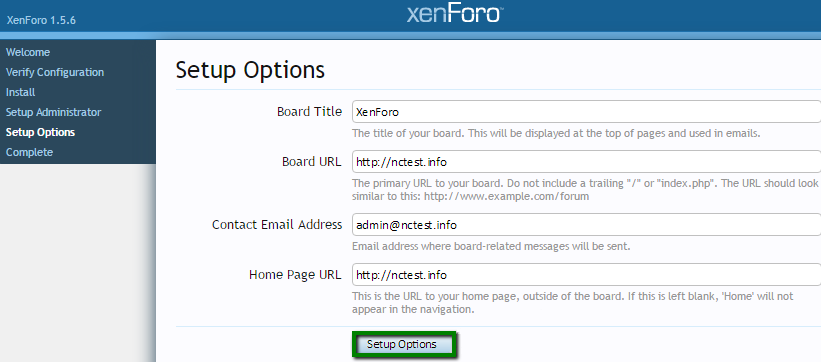
16. In the next step, check and edit setup options according to your needs and click on Setup Options button:
17. The following message will appear:
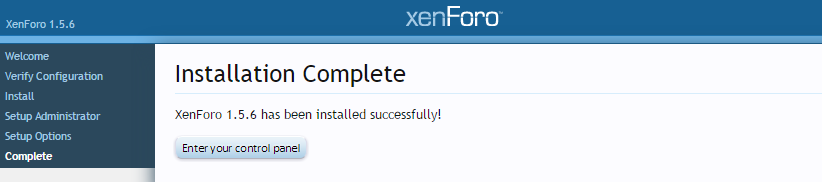
18. If you click on Enter your control panel, the page will redirect to the admin login page of your new XenForo website. In this example, it is http://nctest.info/admin.php:
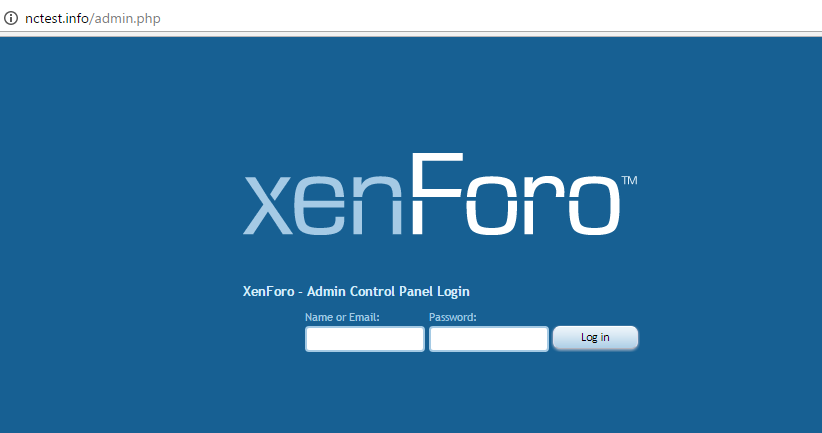
It is also recommended checking your website according to the instructions below to confirm the integrity of all uploaded files.
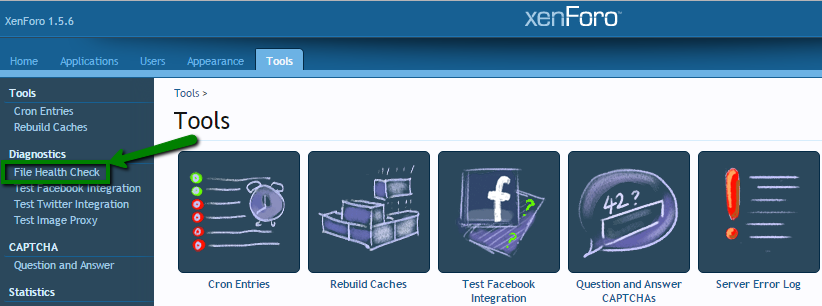
Post-installation check
1. Log into your XenForo admin panel and go to Tools tab:

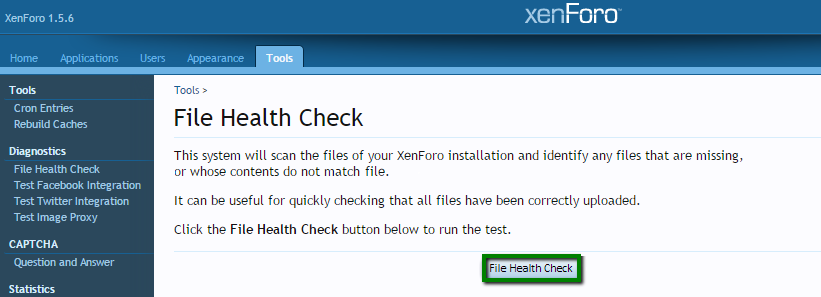
2. Move to File Health Check menu in the left-side bar:
3. Then hit File Health Check to proceed:
4. Let the check run. It will confirm if all the required files are in proper place and contain the correct data:
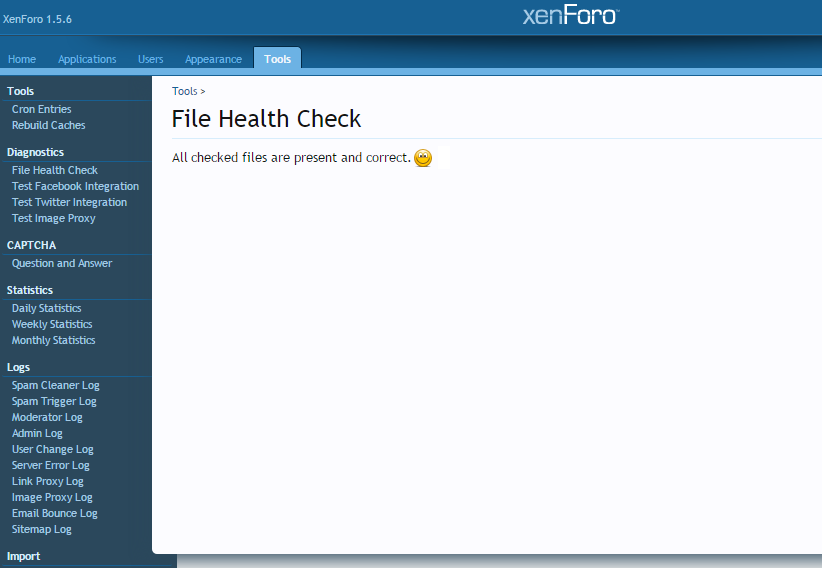
In case of any issues, you will receive a corresponding warning , it will inform you what should be done.
Once it is done, you can start working on your website.
That's it!
Need any help? Contact our HelpDesk
