
Secure your site without hassle with our SSL installation service.
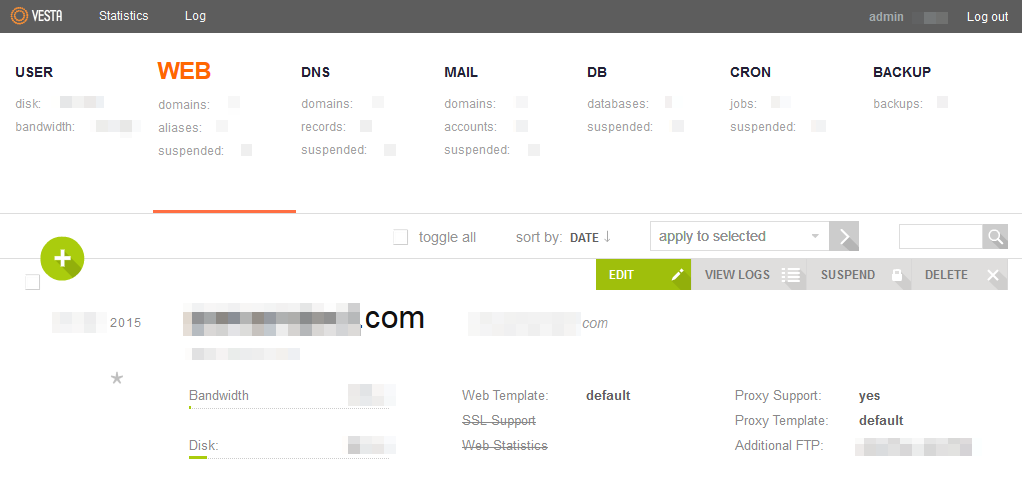
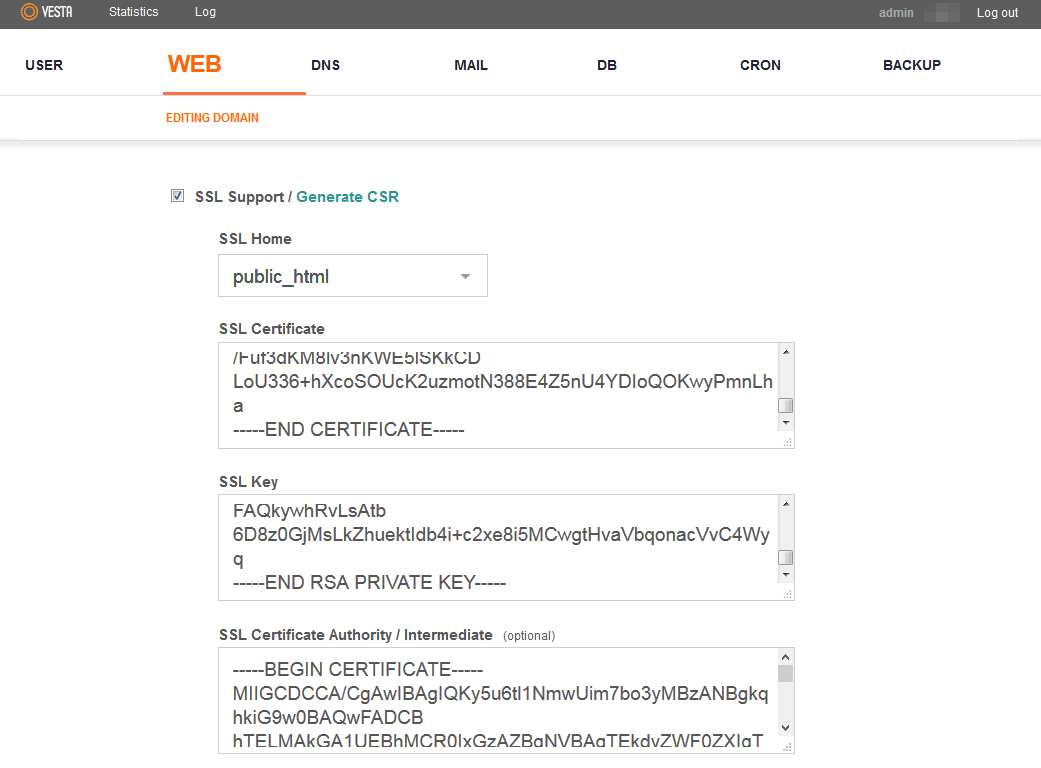
After your certificate has been issued and you have the certificate file, which you can always download in your Namecheap account, you are welcome to install it to your Vesta Control Panel.
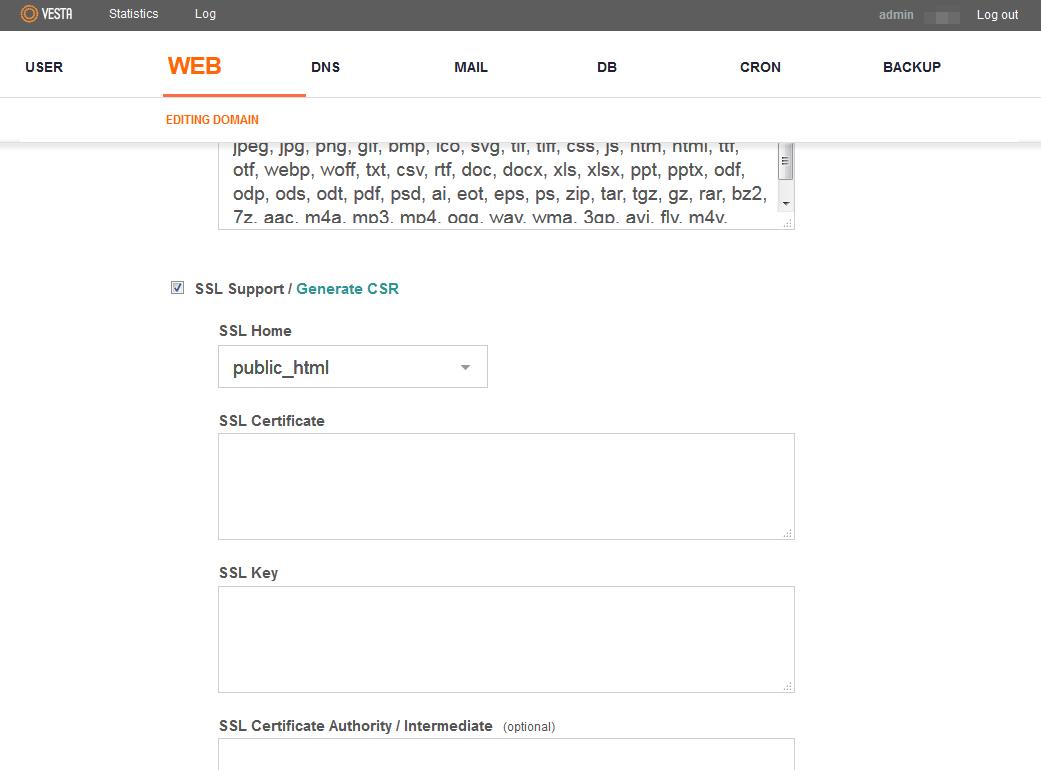
Keep in mind that the Private Key is not stored on Vesta CP server by default and thus it should be backed up after the CSR generation. Still, if the backup file wasn't created, you can try this workaround to find the key on Vesta CP.

Your certificate has been installed and you can check it using these tools:
https://decoder.link
https://www.ssllabs.com/ssltest/index.html
https://certlogik.com/ssl-checker
Need help? We're always here for you.