What is an Addon Domain?
Requirements for Addon Domains
What is an Addon Domain?
With Namecheap hosting plans (except EasyWP), you can host multiple domain names simultaneously. This means you can host additional websites and email accounts without purchasing a new hosting plan. An addon domain is the name for this feature.
Requirements for Addon Domains
To add a new
domain name to your hosting account, there are two basic steps you need to complete:
Here are the requirements for addon domains:
- The domain name must be pointed to Namecheap Web-hosting nameservers.
If you prefer to use PremiumDNS or third-party nameservers, you'll need to proceed with the validation process described in the "Domain name control validation" section.
- The domain name should not already be present in the same hosting account as an addon or as the main domain name.
To change the nameservers of domains registered with Namecheap, follow
this guide. If the domain is third-party, change the nameservers on your Registrar's side.
For instructions on adding an addon domain, follow the steps below:
Changing the Nameservers
To get started, you'll need to point your domain name to our hosting nameservers:
- For Shared Hosting plans, use dns1.namecheaphosting.com and dns2.namecheaphosting.com.
- For Reseller Hosting, use your private nameservers or Reseller Hosting nameservers specified in your Welcome Email.
The text guidelines on how to change nameservers to Shared Hosting for a domain registered with Namecheap can be found here.
If your domain name is registered with a third-party Registrar, contact their customer support and ask to change the nameservers to the ones mentioned above.
NOTE: The existing DNS records set up for your domain on the side of the Namecheap account or any other third-party DNS provider will not be transferred to cPanel automatically after the nameservers change to Web-hosting DNS. It means that it can cause your website/email service to go down. Make sure to copy the existing DNS records to cPanel manually to keep your services online.
NOTE: Once the nameservers are changed, your website most likely will not be available. In most cases, the
propagation period can take up to 24 hours (in rare cases more, since the caching time varies between ISPs). Unfortunately, this process cannot be influenced or sped up because of its automatic nature.
Add a new domain as an Addon Domain
Assuming that your domain name is already pointed to our hosting nameservers, you can add it to your hosting account as an addon domain using the following steps:
- Log in to your cPanel account. You can also use cPanel Shortcuts for quick access.
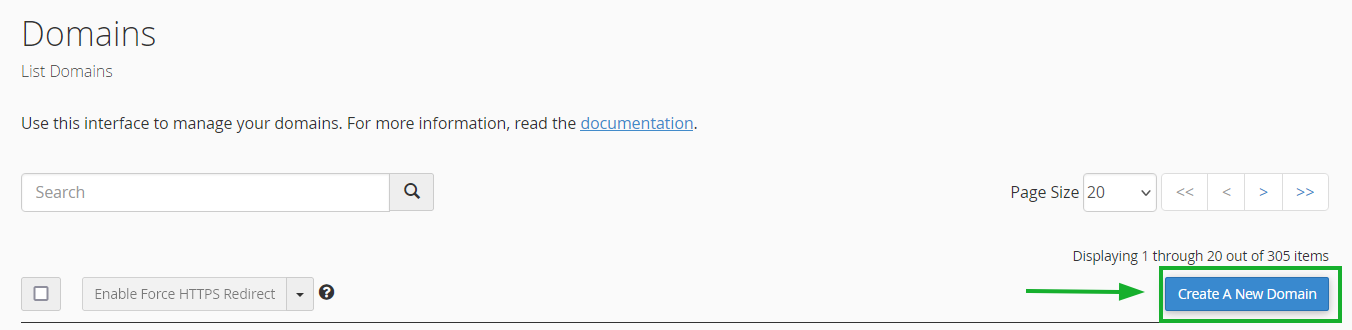
- In the Domains section, navigate to the Domains menu:

- Click on the Create A New Domain button:
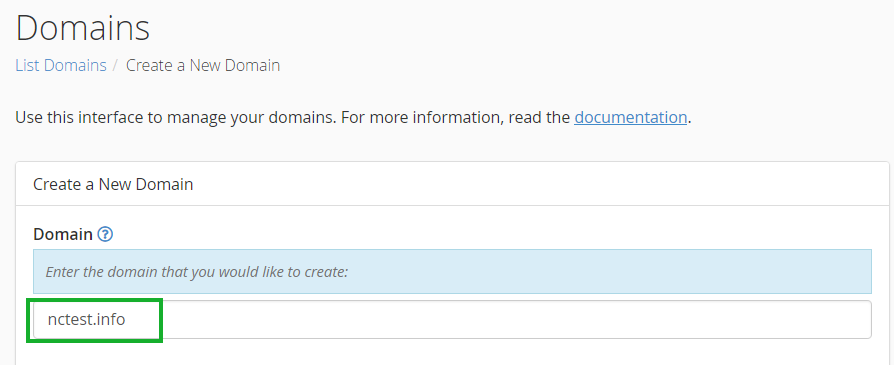
- Enter the domain name to add in the Domain text box:
- Click on the Submit button:
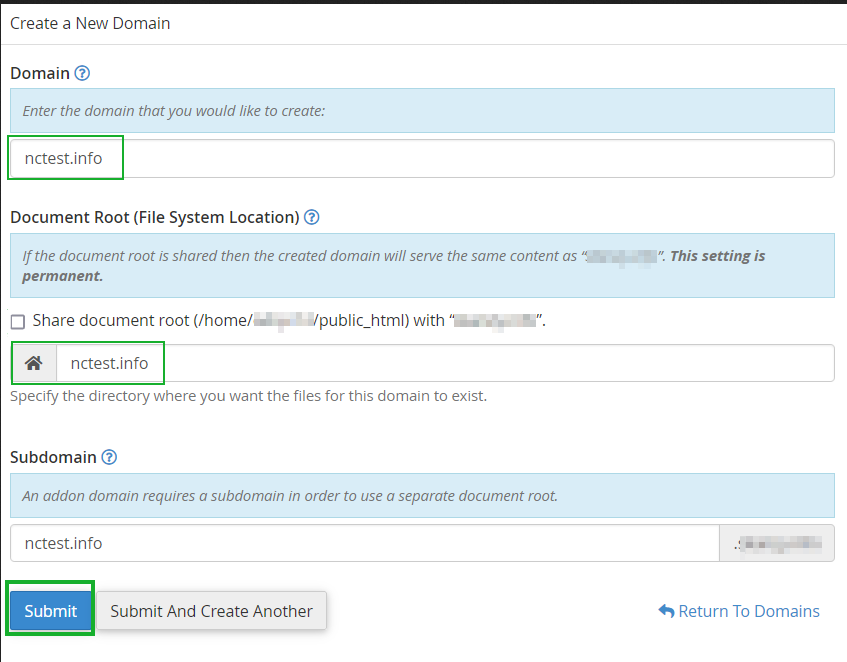
NOTE: The
Subdomain field will be automatically filled in.
If your domain name was not previously pointed to our Web-hosting nameservers, you will receive an error message while adding the addon:

In some cases, it may be impossible to point your domain name to our Web-hosting nameservers. Here are a few reasons why:
- Certain domain name types require a DNS zone file to be created on the hosting provider's side in advance.
- You want to create a website first and connect the domain name with it later.
- You want to keep the domain name pointed to third-party nameservers.
If you face any of these cases, follow the validation process described in the next section.
Domain name control validation
If you cannot change the nameservers of your domain name, you need to complete the domain name validation process:

This process involves one of three validation options: DNS-based validation, HTTP-based validation, or HTML-based validation:
- DNS-based validation requires creating a TXT record in the DNS zone of your domain on the DNS provider side.
- HTTP-based validation requires creating a TXT file in the root folder of the domain name in question on the side of your current hosting provider and adding the provided content to this file.
- HTML-based validation requires adding the provided code to the head section of the main website page on your current hosting provider's side.
NOTE: The provided validation code is only valid for
one day.
Once the required validation record is created, try creating an addon domain again. If you have any issues with validation, contact our Hosting Support department through
Live Chat or email us to
support@namecheaphosting.com.
After successful validation, you can upload content for your new domain name to the corresponding document root. For information on how to upload your website, see
this guide.
If you wish to create an email account for your newly-added domain name, please refer to
this guide.
Adding a Temporary Domain
A temporary domain is an automatically generated
cpanel.site subdomain provided for short-term use. It allows you to build and collaborate on a website even if you don't yet have a registered domain.
NOTE 1: Temporary domains cannot use email services, Search Engine Optimization (SEO), or Site Quality Monitoring. DNS settings for temporary domains are also not editable. Additionally, temporary domains are not indexed or ranked by search engines, so they have no impact on SEO.
NOTE 2: A main domain of the account cannot be replaced by a temporary domain.
Follow these steps:
1) In your cPanel, go to the
Domains menu and click the
Create a New Domain option.
2) Choose
Temporary Domain and hit
Submit (or
Submit And Create Another if you need more such domains):

The creation process may take a few minutes:

Then, you'll receive a success message:

That's it! You can start working on your website just like you have an ordinary domain (e.g., build a WordPress or SiteJet Builder website, or pick any other CMS in Softaculous). Also, you can manage redirects and install SSL if needed.
3) If you decide to replace a temporary domain with a registered one, go to the
Domains menu and press
Manage next to the domain:

4) Click
Replace with a registered domain:

5) Next, enter your registered domain, modify the
root folder if needed, and click
Update:
 NOTE
NOTE: When changing the directory, your
files will not be moved and will stay in the old directory. You will need to move the files manually to the specified folder.
Once a temporary domain is updated to a registered one, it will become an addon domain and will gain all email services and DNS editing privileges.
Removing a Domain from your Hosting Account
To remove an addon/temporary domain from your hosting account, follow these steps:
- Log in to your cPanel account.
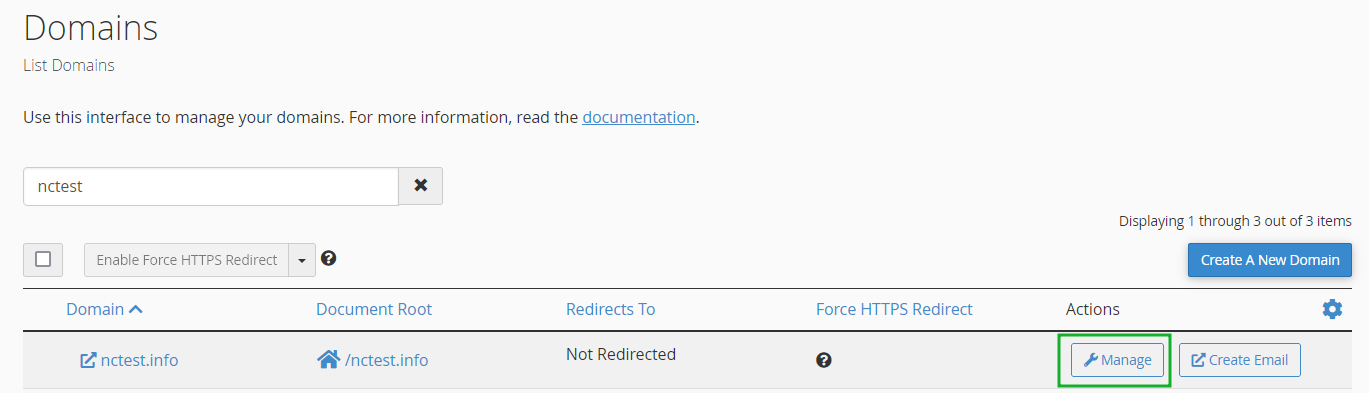
- Navigate to the Domains menu and click on the Manage button next to the domain name you wish to remove:
- Click on the Remove Domain button:
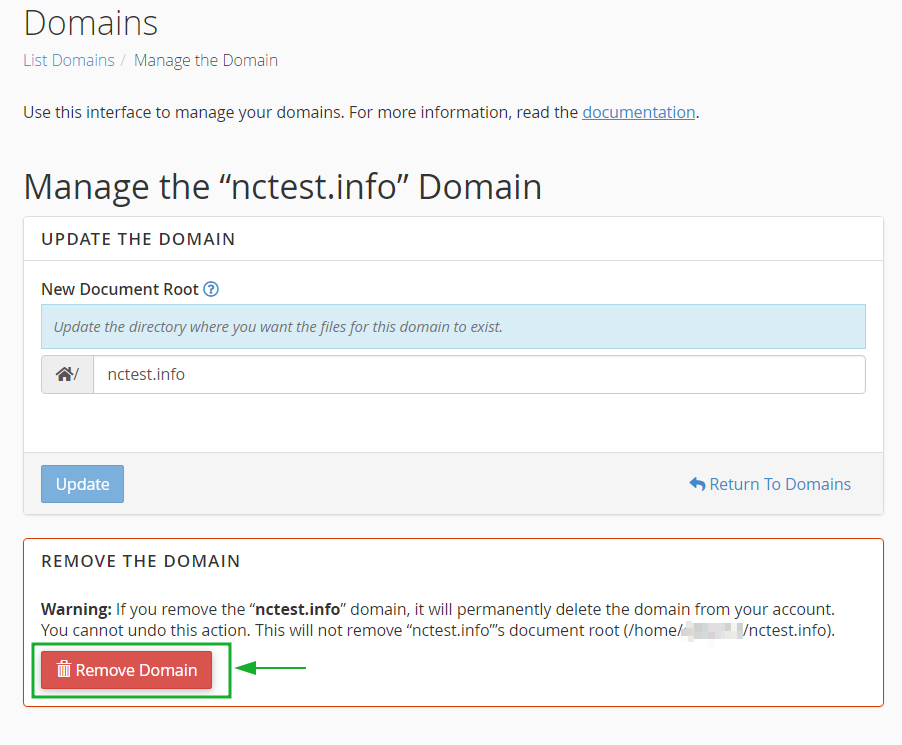
NOTE: Even after you remove the addon/temporary domain, the document root and content associated with it will remain in the File Manager menu. If you want to delete these files, you will need to do it manually by removing the corresponding folder from File Manager.
- To confirm that you wish to remove this domain, click on Yes, remove this domain:
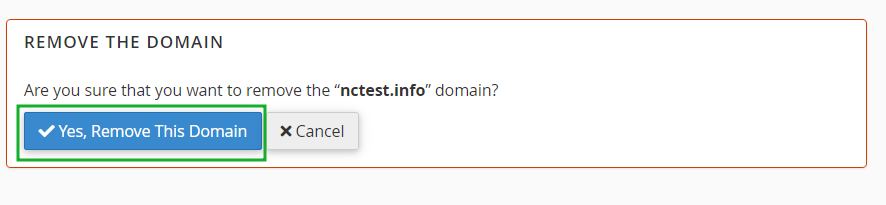
And that's it!
If you need further assistance or have any questions, please don't hesitate to contact our
HelpDesk
