Typically you would need to create Personal DNS for appearance reasons so anyone doing a WHOIS check will see your custom nameservers instead of the hosting company ones. It also simplifies the process of updating nameservers or moving to another host in the future if you are a hosting reseller. Instead of contacting all your customer base for updates, you will just need to change the IP address on your side, and the domains start propagating.
Personal DNS for your domain name is created by means of glue records that associate an IP address of a DNS server with a personal nameserver.
You can input the nameserver name and IP address in your account, and this information will be submitted to the Registry.
You are welcome to use the video guide or follow the instructions provided further in the article.
NOTES
:
- Private nameservers for .AI domains with complex hostnames like xx.xx.domain.ai are not supported. Only servers like xx.domain.ai can be registered
-
IP addresses for .AU personal nameservers should differ at least in one number in any octet.
- Personal nameservers for .DE domain names cannot be
currently registered with us.
- Once registered, all Private Nameservers for .EU domains are automatically associated
with .EU domain name along with the current nameservers, and it is not
possible to use any other nameservers except for the private ones for this domain name.
- Private nameservers registration is not supported at the moment for .IS domains.
- For .TO domains, it is possible to register a nameserver with an IPv4 address only, as IPv6 addresses are not supported.
- Only one IPv4 and one IPv6 address can be set for a .UK personal
nameserver. On the .UK platform, a nameserver may have an IPV4 or an
IPV6 IP Address recorded against it, or it can have both. A name server
cannot have two different IPV4 or IPV6 IP Addresses recorded against it
on the .UK platform.
- Nameservers for .CA, CN, and .NL TLDs should have a unique IP address each, meaning none of the nameservers can have the same IP. Also, for .CA domains, only one IPv4 address and only one IPv6 address are allowed per host.
-
For .COM, .NET, .CC, .NAME TLDs: According to
Verisign's unused objects policy, if no domain from Verisign zone (.com,
.net, .cc, .name) is using created personal name servers, the registry purges the name servers after 30 days of no use.
- Currently, it is possible to register a server with only an
IPv4 address using the Namecheap interface. If you would like to
register it with an IPv6 address, please contact our Support Team for assistance.
- The unregistered nameservers do not have associated IP address and cannot work properly with some domains.
For other domains, you can register personal (private) nameservers with an
IPv4 address in the following way:
1. Sign into your Namecheap account (The Sign In option is available in the header of the page).
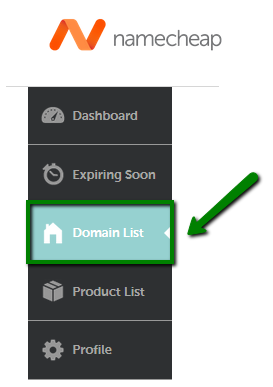
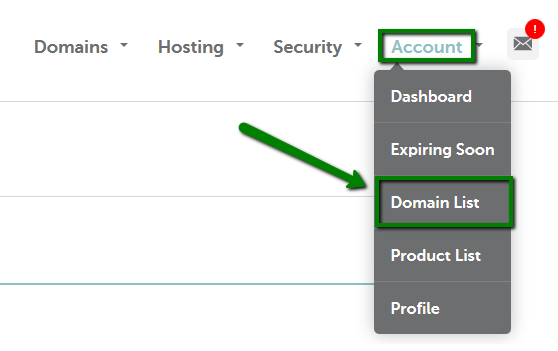
2. Mouse over the Account option in the upper right corner of the page and choose Domain List or select the Domain List menu in the left sidebar:
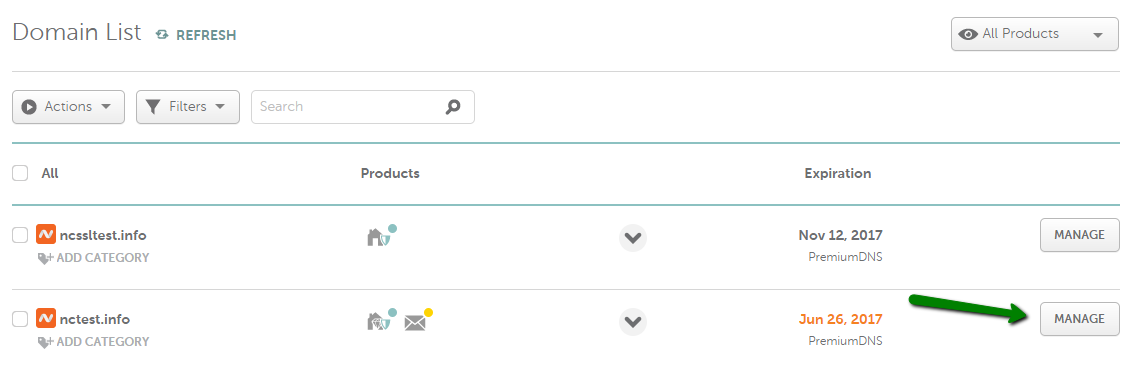
3. Click on the Manage option in front of the domain name:
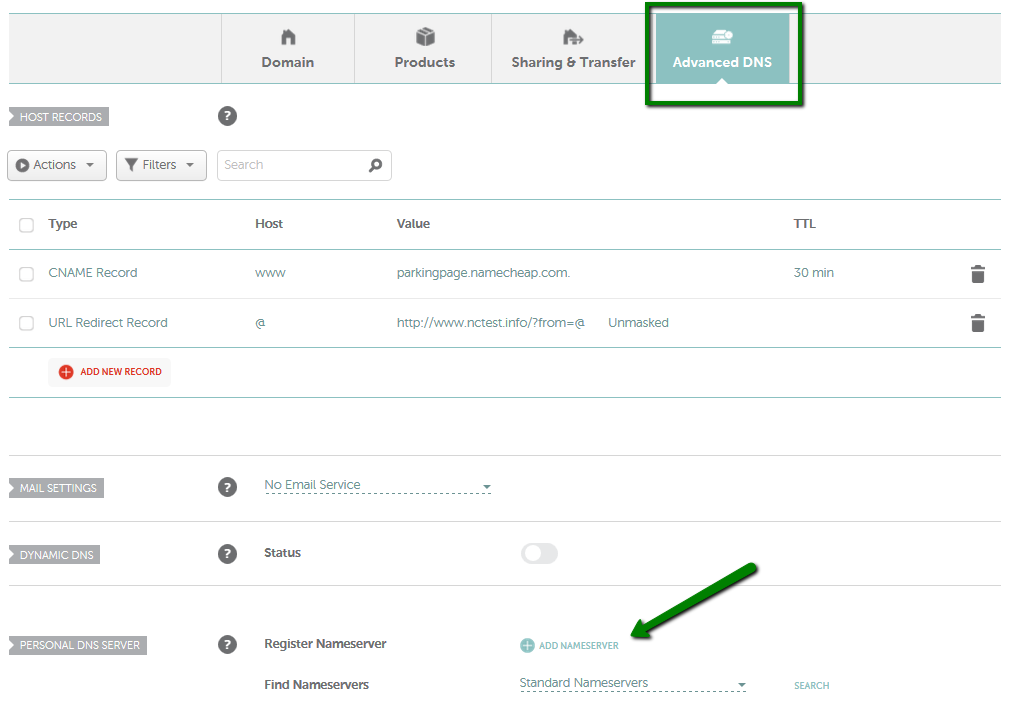
4. Click on the Advanced DNS tab and find the Personal DNS Server section >> select Standard or Custom Nameservers from the drop-down menu > click on the Add Nameserver button:
5. Enter the desired hostname into the Nameserver field (e.g. "ns1" if you would like to register the "ns1.nctest.info" nameserver, etc.)
:
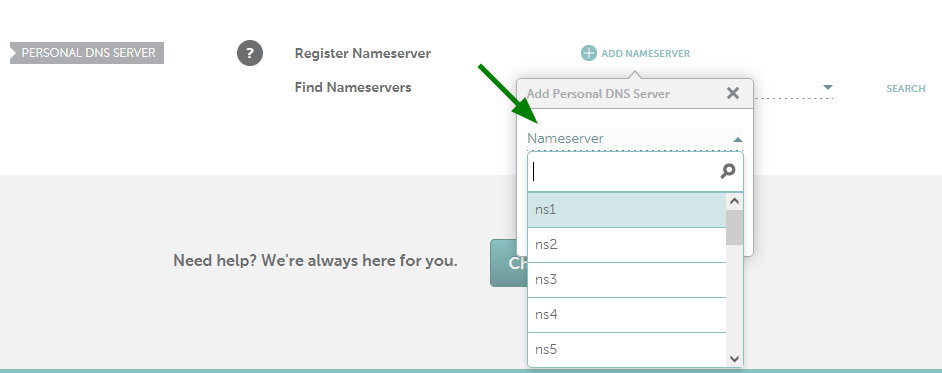
The IP address for the Personal DNS should be provided by your hosting company if your hosting package has the Personal DNS option. Usually, such IP
address is listed in the email with your hosting account details, but you can also contact your hosting provider if you cannot locate it.
Once you have your IP, please enter it into the IP address field.
6. Click on
Done.
- In order to check if a standard personal nameserver is registered at the moment (the ones with a host ns1-9 and dns1-9), you will need to select Standard Nameservers from the drop-down list on the Find Nameservers line and click on the Search button:

- In order to check if the specific personal nameserver is registered, select Custom Nameservers on the Find Nameservers line, enter the name of the custom personal nameserver in full (e.g. dns1.test.nctest.info) into the Host field below and click on the Search button:
7. Once you’ve registered your nameservers, please do not forget to create
the corresponding A records for them in your domain name zone file.
This can be done in the DNS or Zone Management menu of your hosting
control panel. You might need to contact your
hosting company for assistance with setting up the records.
8. The nameservers registration will not automatically point your domain name to the nameservers you've created. If you need to switch your domain to these DNS, follow
this guide for more details.
NOTE: If you leave your domain pointed to Namecheap BasicDNS/PremiumDNS, you will also need to set up the
A records in the
Advanced DNS tab to connect the domain to your personal nameservers.
That's it!
If you have any questions, feel free to contact our Support Team.
