$ U.S. Dollar€ Euro£ British PoundC$ Canadian DollarsA$ Australian DollarsRs Indian Rupees¥ China Yuan RMBMore Info
How to export DNS Zone from cPanel and import to Cloudflare
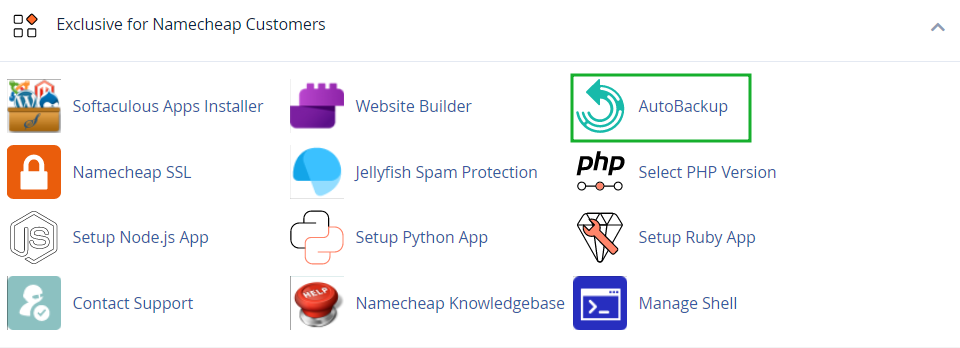
It is possible to download a DNS Zone file with Stellar Plus and Stellar Business plans using the AutoBackup menu in cPanel.
NOTE: For Stellar and Reseller plans, please reach out to our Hosting team via Live Chat or email so that you can download the DNS Zone file in cPanel.
To get your DNS Zone file, log into cPanel and select AutoBackup.
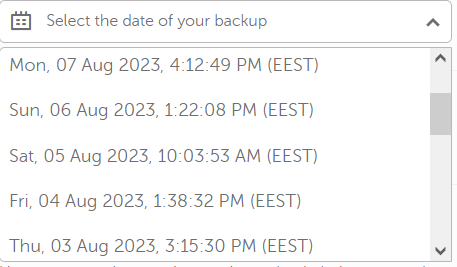
Choose the date of your backup.
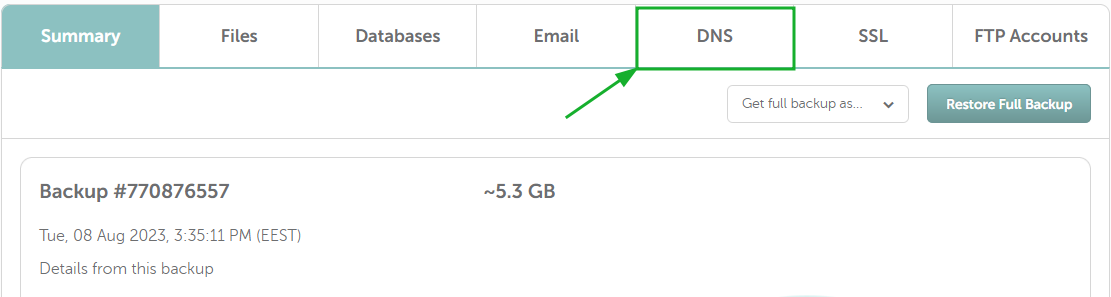
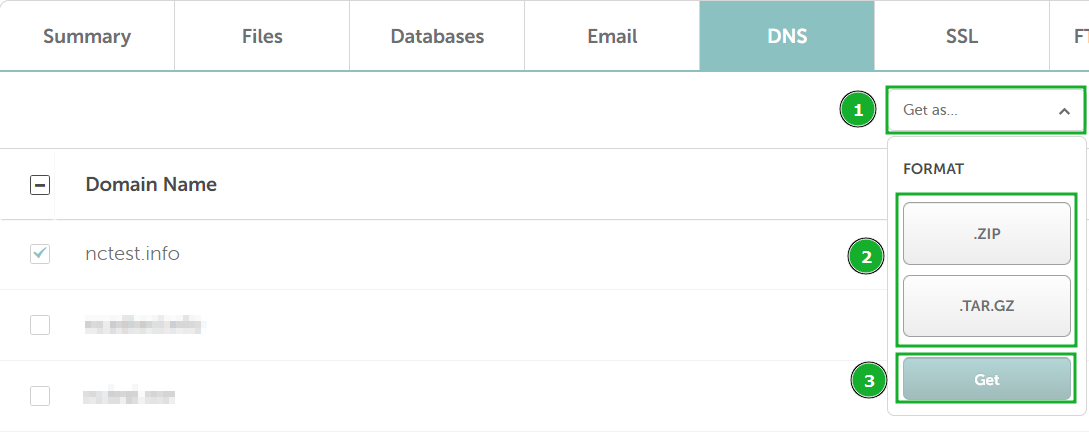
Then navigate to the DNS tab:
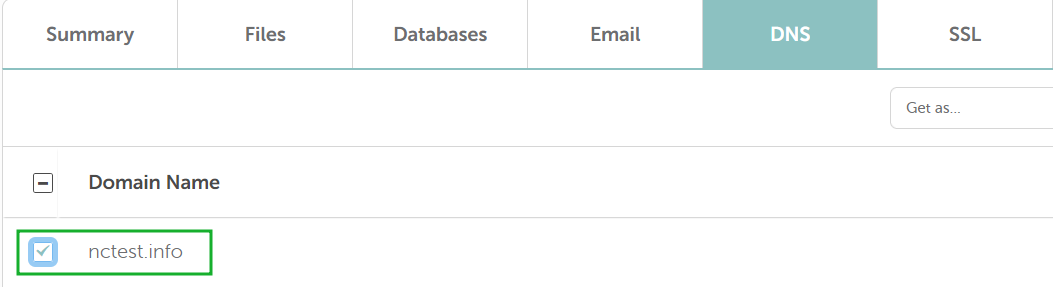
Choose the domain from the list and select the checkbox.
Choose the Get as option, the type of backup, then select Get.
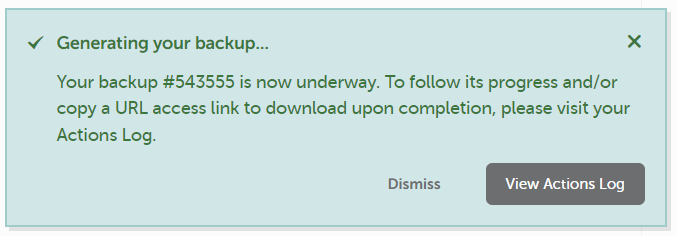
You will receive a message that the backup has started.
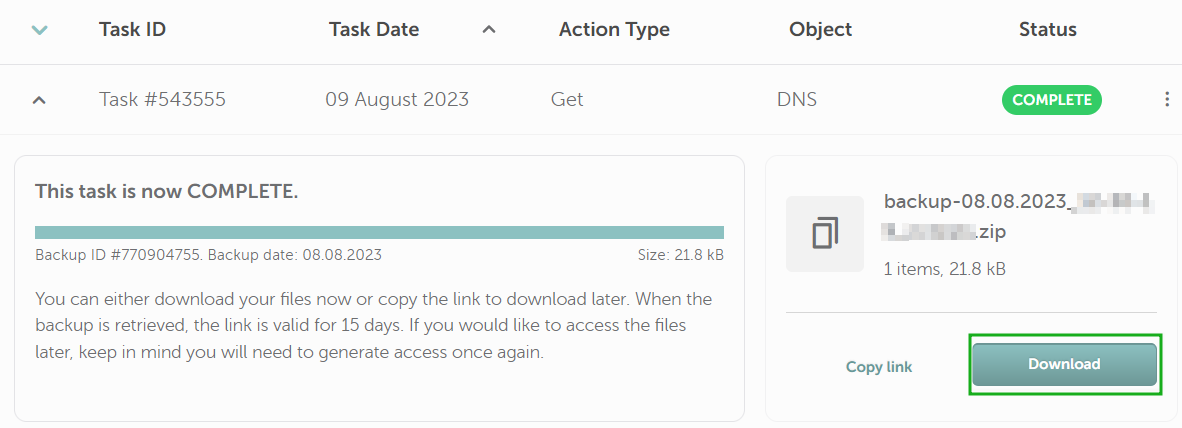
When the backup is ready, choose Download.
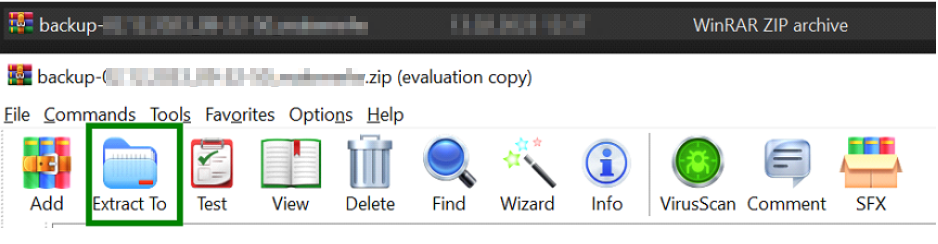
The downloaded file will be extracted to your computer. This may be found in Downloads or a similar folder.
Go to this downloaded folder and the subfolder dnszones. Find your DNS Zone file here.
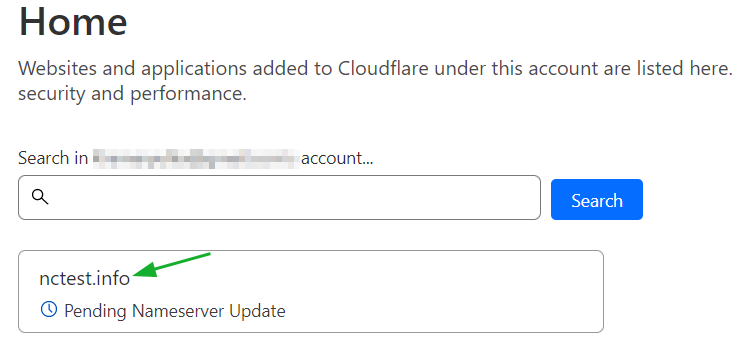
Log into your Cloudflare account and access the Domain Names list.
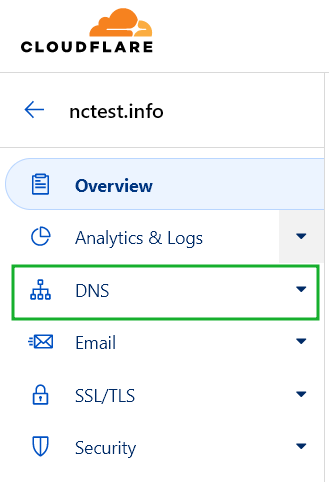
On the next page, choose the DNS menu.
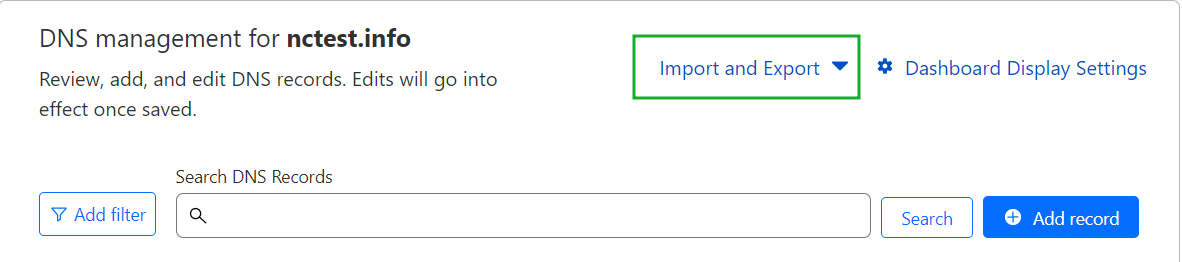
Check if there are no existing DNS records, then choose Import and Export.
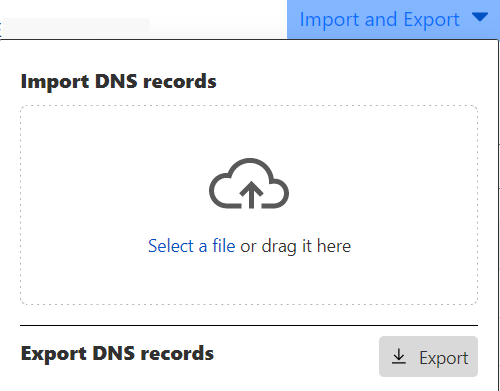
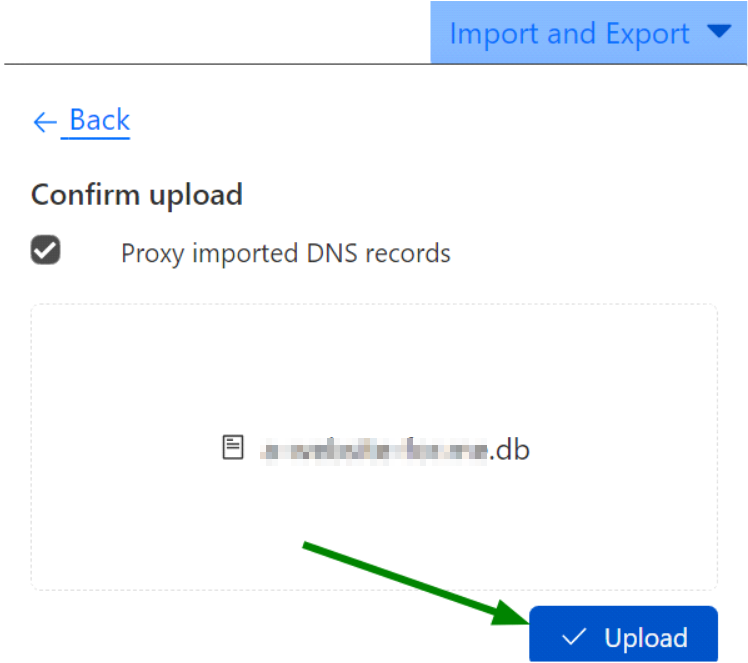
You can either drag-and-drop or upload the DNS Zone file.
After adding the DNS File, select Upload.
Once the DNS file is uploaded, check the records for the domain in the DNS tab.