Follow the steps below to configure OpenVPN on Linux Mint:
1.
Choose an administrator-enabled account and login to your main desktop.
Click the Linux Mint start button on the taskbar in the bottom left of
your screen and then click on the Software Manager.
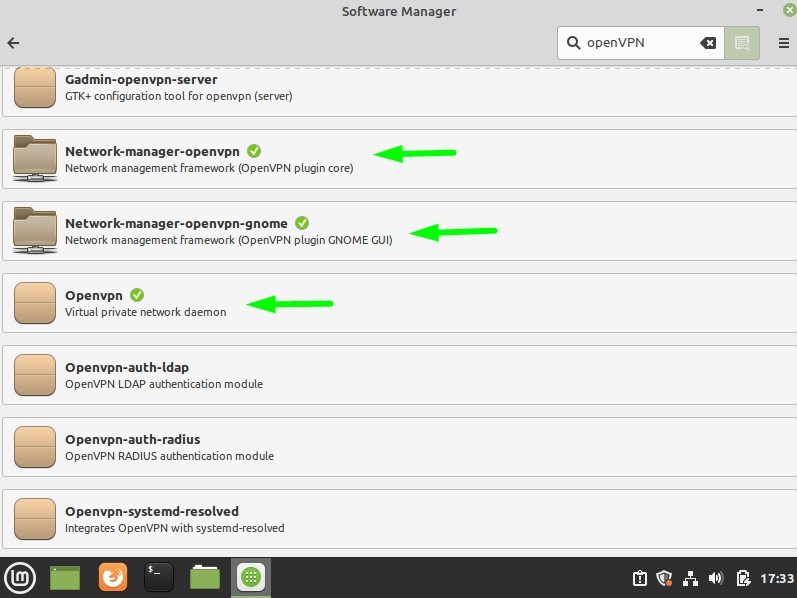
2. Search for OpenVPN packages and make sure the following packages are installed:
- OpenVPN
- Network-manager-openvpn
- Network-manager-openvpn-gnome
Note:
You can check if the packages are already installed by looking for the
green check mark next to each package name. If there is no check mark,
please make sure to select each of the mentioned packages, click the
green install button and enter your admin password to complete the
installation.
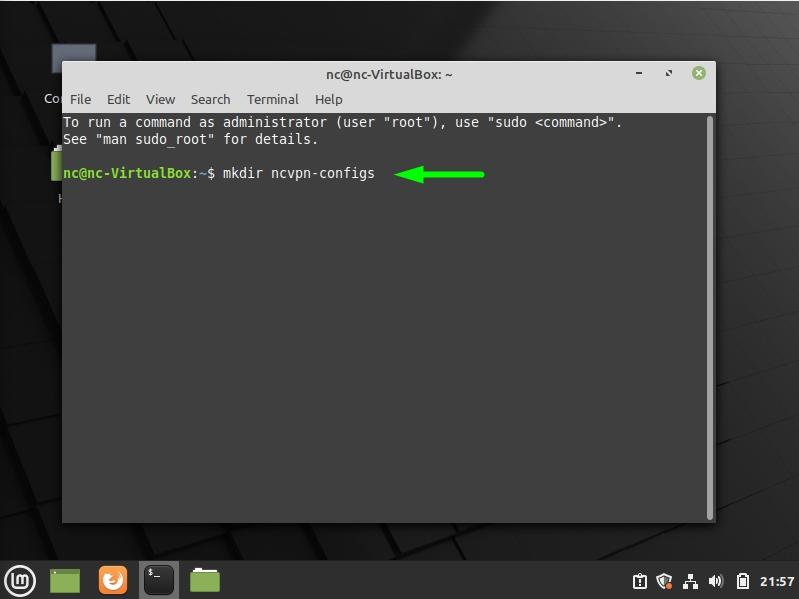
3. Open the Terminal.
4. Enter the following command to create a folder for FastVPN configs:
mkdir ncvpn-configs
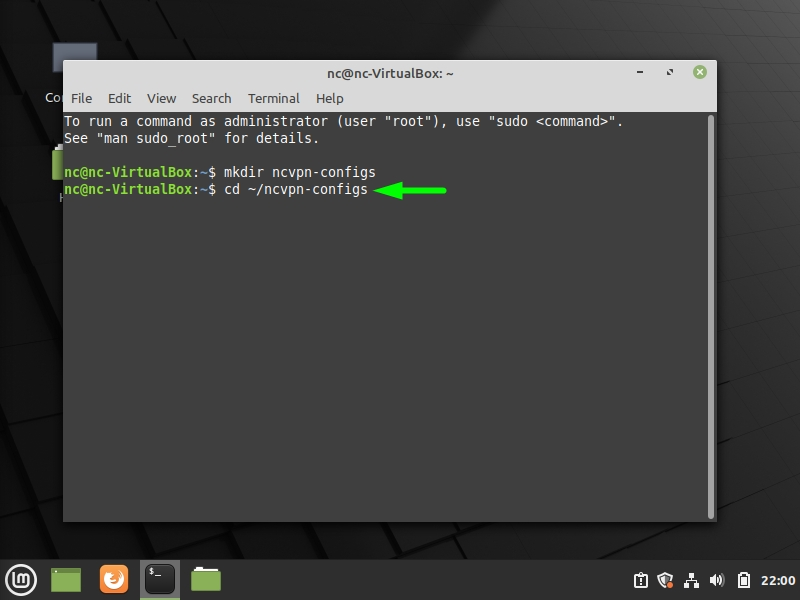
5. Type the following command in the terminal window:
cd ~/ncvpn-configs
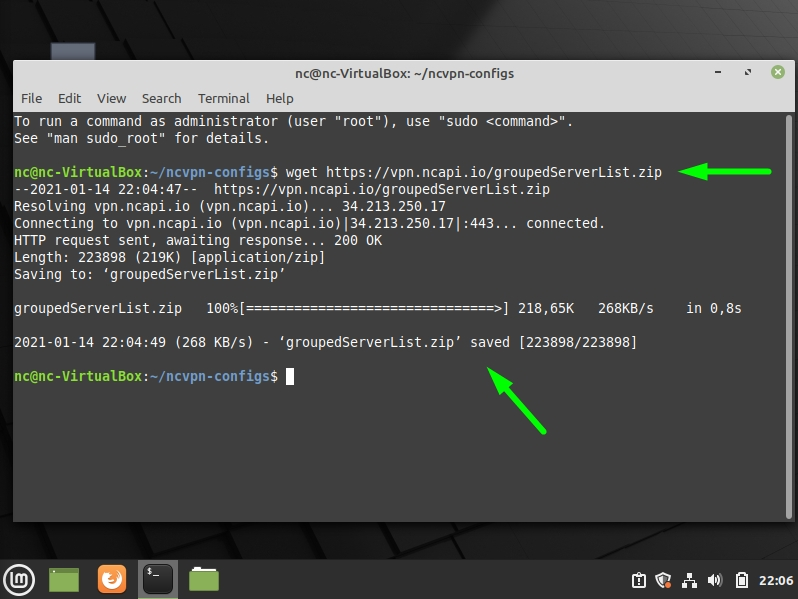
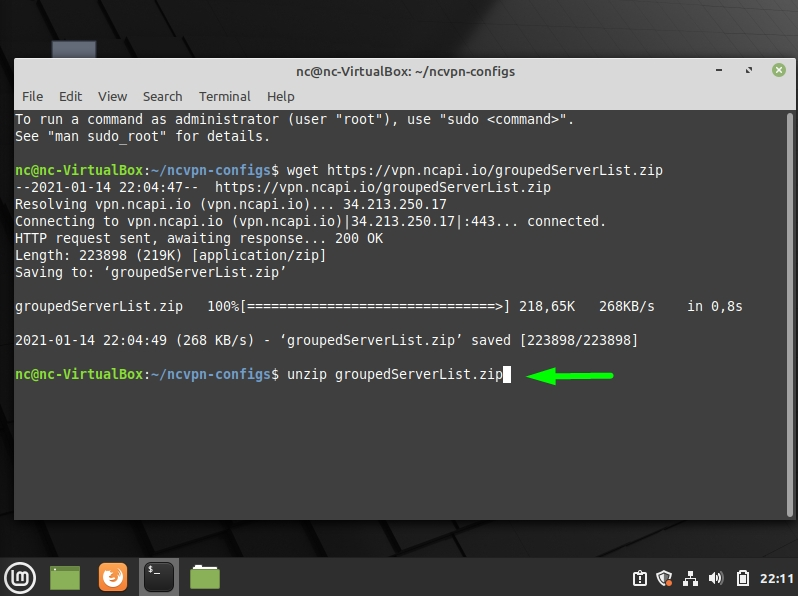
6. Enter the command below:
wget https://vpn.ncapi.io/groupedServerList.zip
This command will download and save the OpenVPN groupedServerList.zip file from our repository.
Press the Enter key. Once done, you will see groupedServerList.zip saved as shown below:
7. Unzip the configs files into your ncvpn-configs directory by using the command below and pressing Enter:
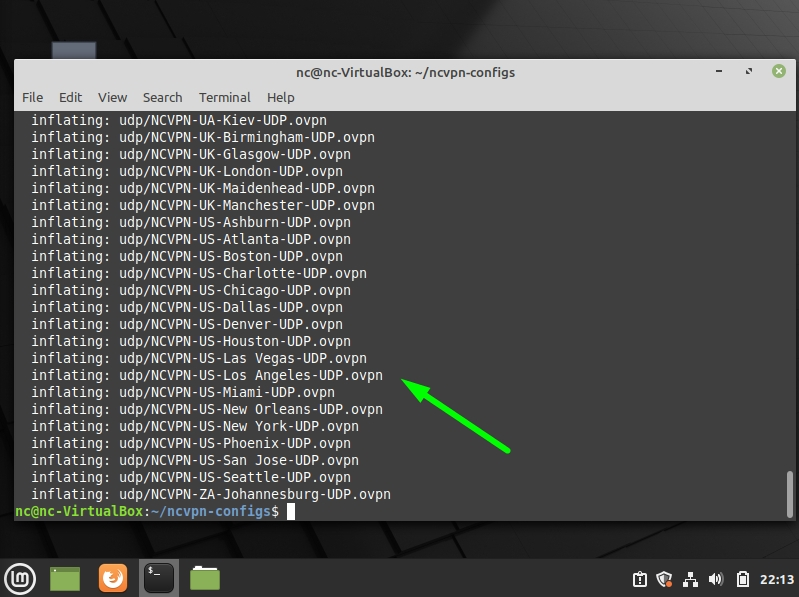
unzip groupedServerList.zip
After all the required configuration files are unzipped, they will be shown in the terminal window:
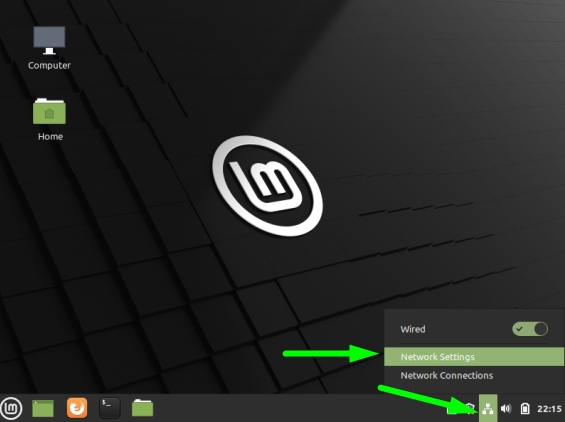
8. Close the Terminal window, click on the Network icon at the bottom right of the screen and select Network Settings:
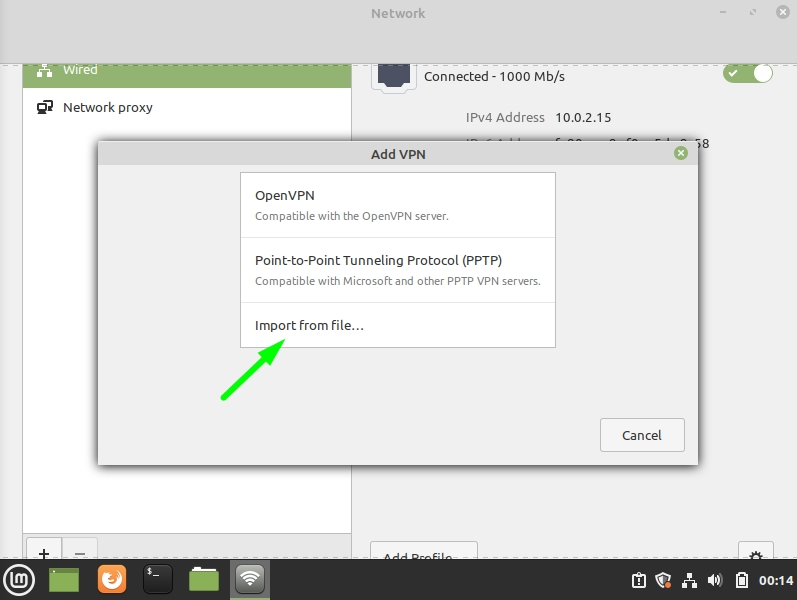
9. Click the + button and move on to the next step:
10. Choose the Import from file... option:
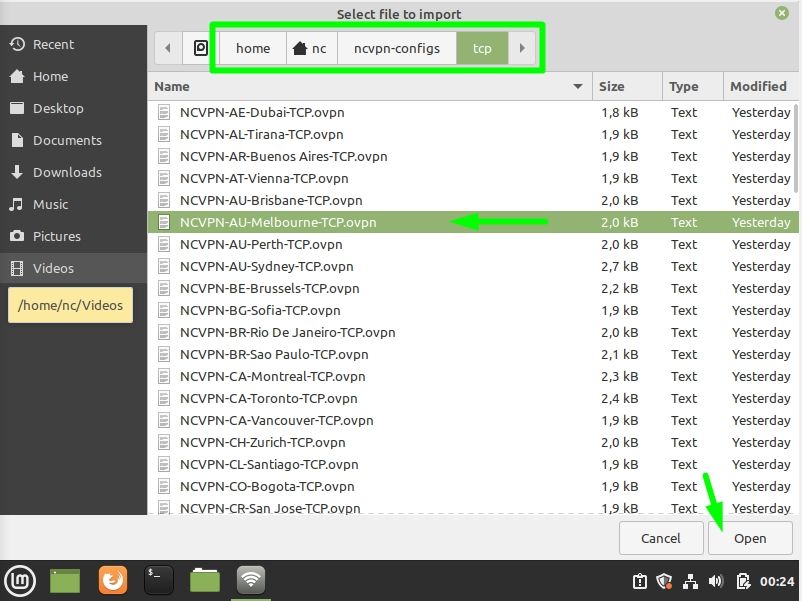
11. Select the preferred TCP or UDP OpenVPN configuration that was downloaded before from your ncvpn-configs folder (e.g. NCVPN-AU-Melbourne-TCP.ovpn).
Once the configuration file has been chosen, click the Open button in the bottom right corner as shown below:
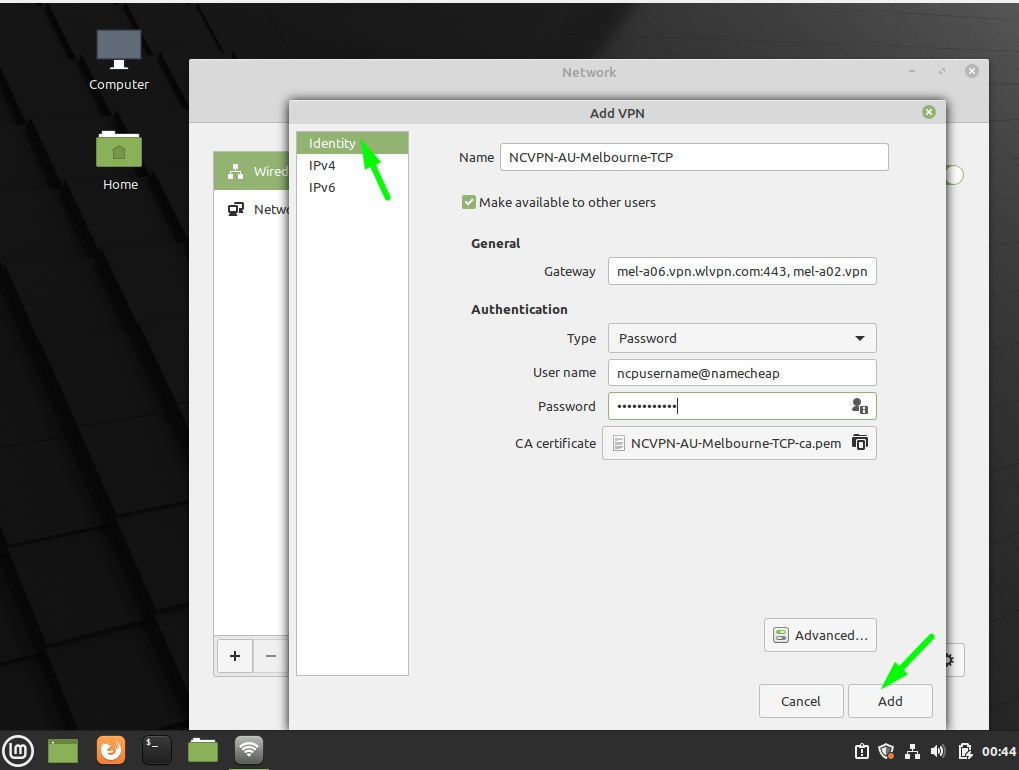
12. Wait till the selected OpenVPN config file is imported into the Add VPN window and proceed with the following settings:
- Enter a desired connection name in the Name field.
- Put the check mark next to Make available to other users.
- Enter the server address in the Gateway field.
- Put "Password" into the Type field.
- Fill in the User name and Password fields with the details from your FastVPN Account Panel.
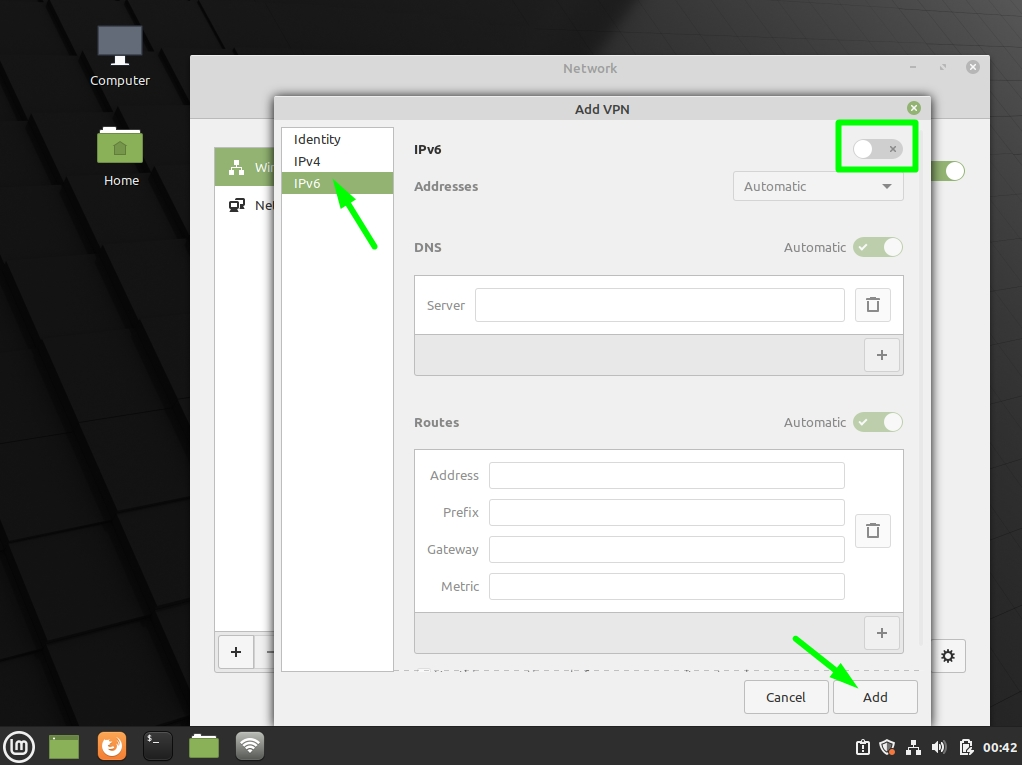
Click on IPv6 in the left menu and move the IPv6 toggle button to the position OFF (as it is shown on the screenshot below). Click the Add button to proceed further:
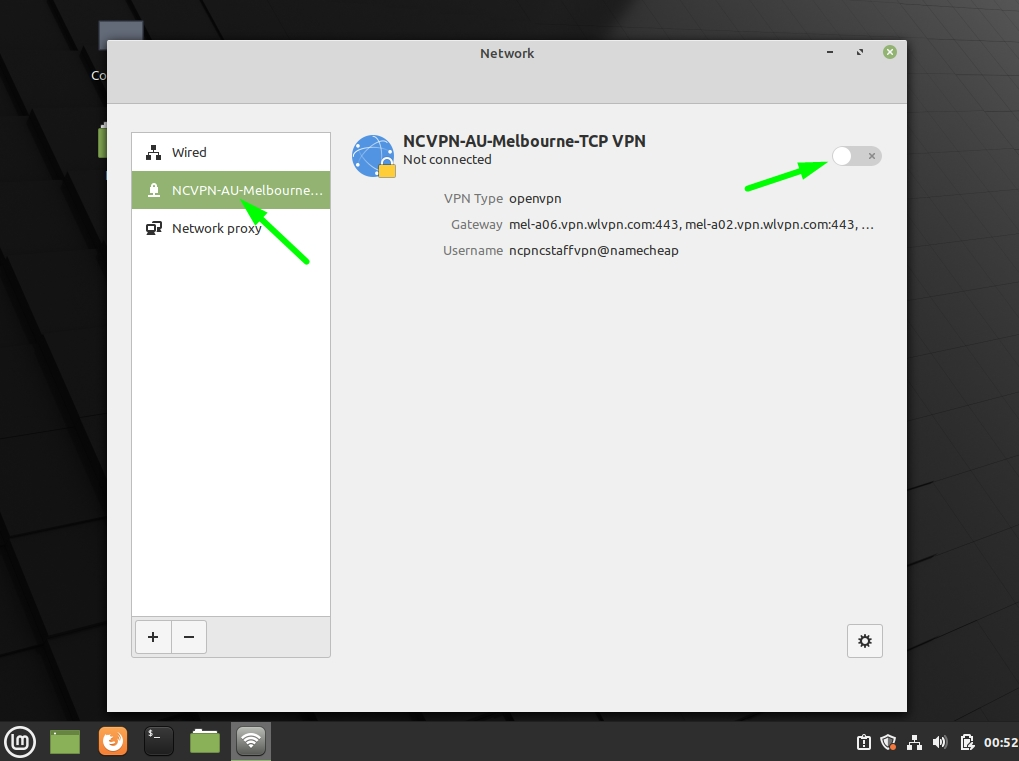
13.
After the new OpenVPN configuration is installed, you will see the
newly created OpenVPN connection listed in the left menu in
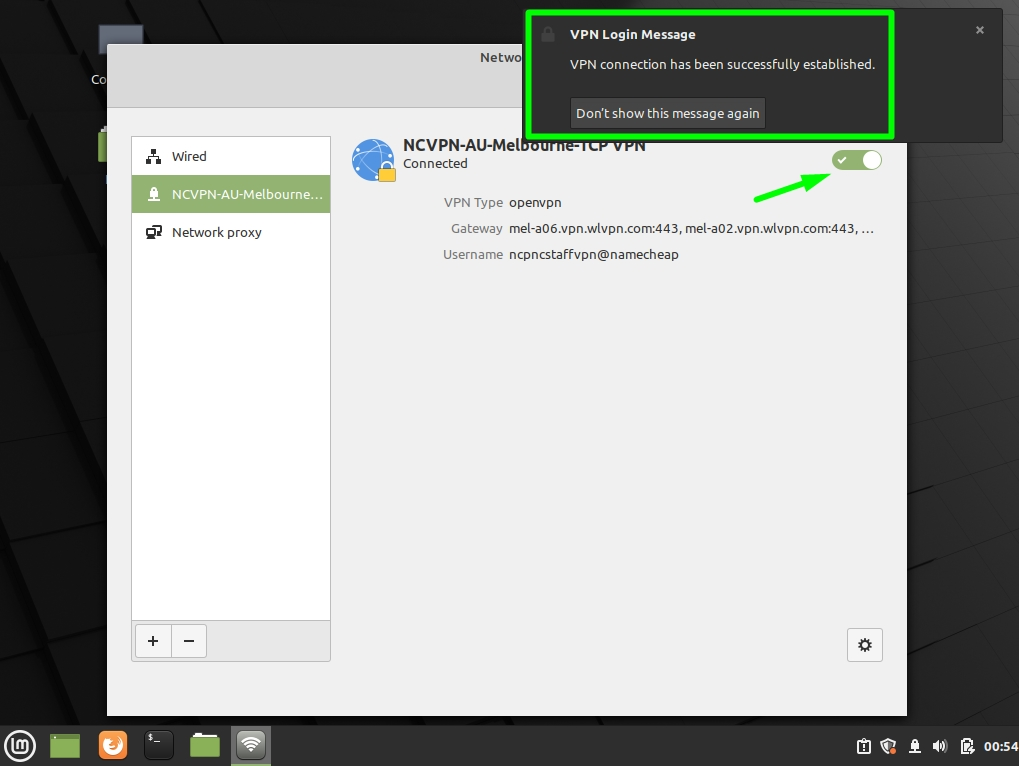
the Network window. Click the VPN connection toggle switch to connect to FastVPN:
14. If the VPN connection is successful, you will get the following message:
To make sure that your IP address has been changed to an anonymous and private FastVPN IP, open your web browser and go to
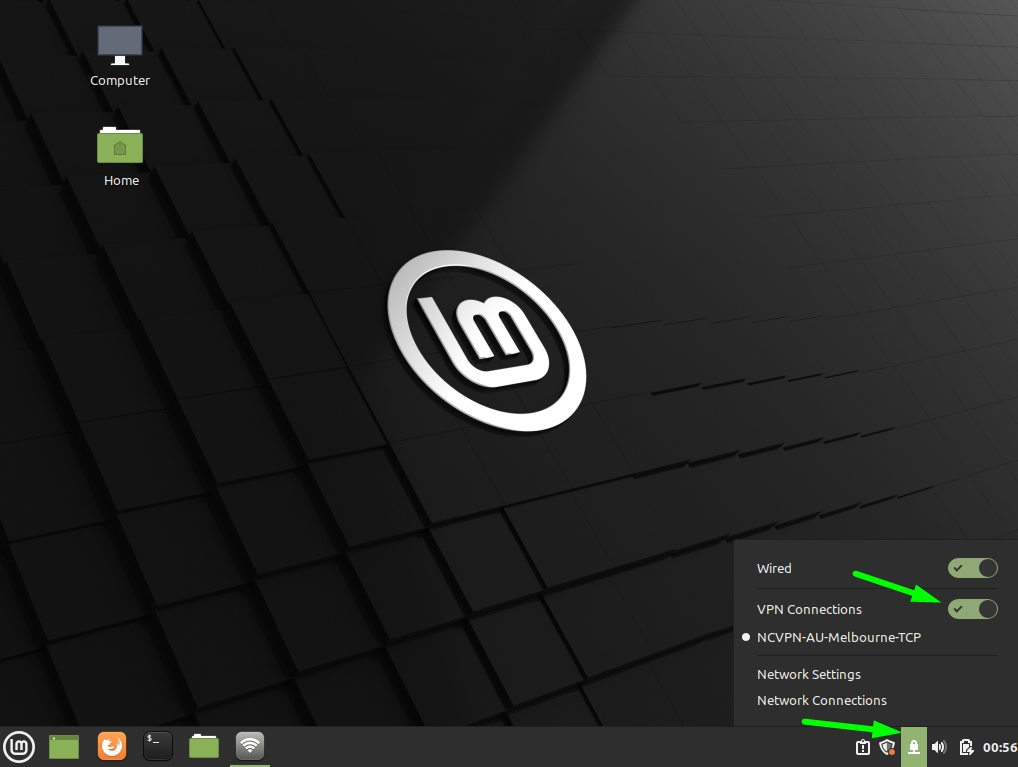
https://www.namecheap.com/vpn/what-is-my-ip/ 15. To disconnect from FastVPN, click on the padlock icon and toggle the
VPN Connections button to the OFF position:
If you need any further assistance, please contact our
Support Team.