This guide was created for Raspbian Buster Lite but can be also used to set up a FastVPN client on Raspbian Buster with desktop.
To ensure a proper work of OpenVPN on Raspbian, you will need:
-
A secure FastVPN connection (Don’t have one? Sign up here!);
-
Access to you FastVPN account panel in order to get your network credentials;
-
A working installation of Raspbian.
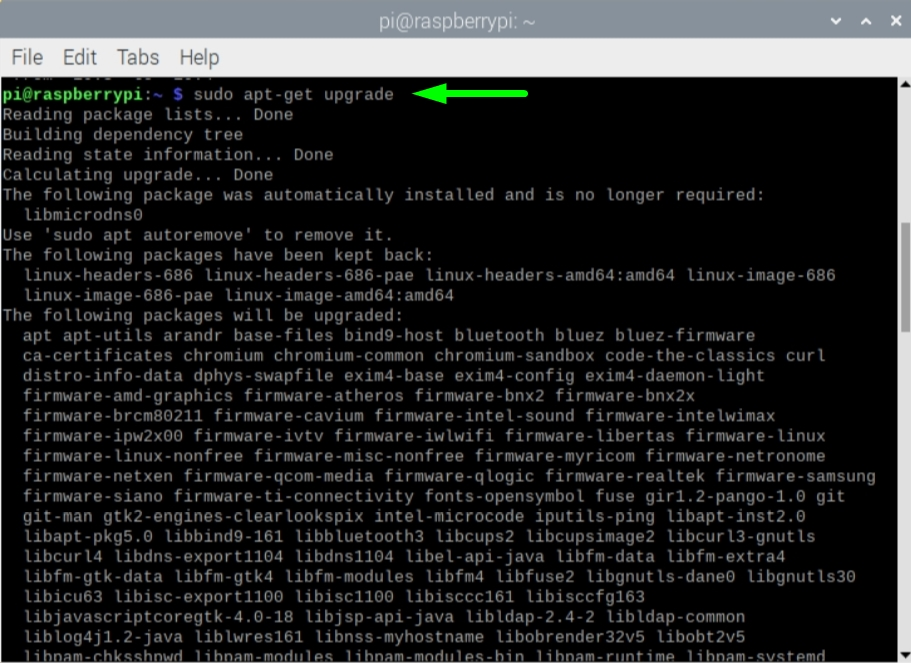
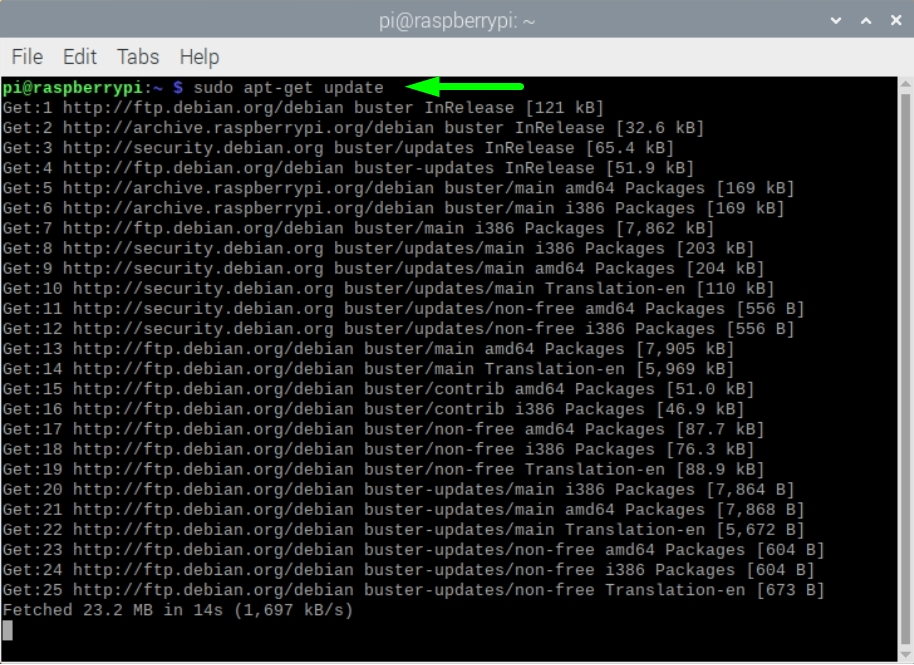
1. Update the Raspberry Pi by entering the following commands one by one:
sudo apt-get update
sudo apt-get upgrade
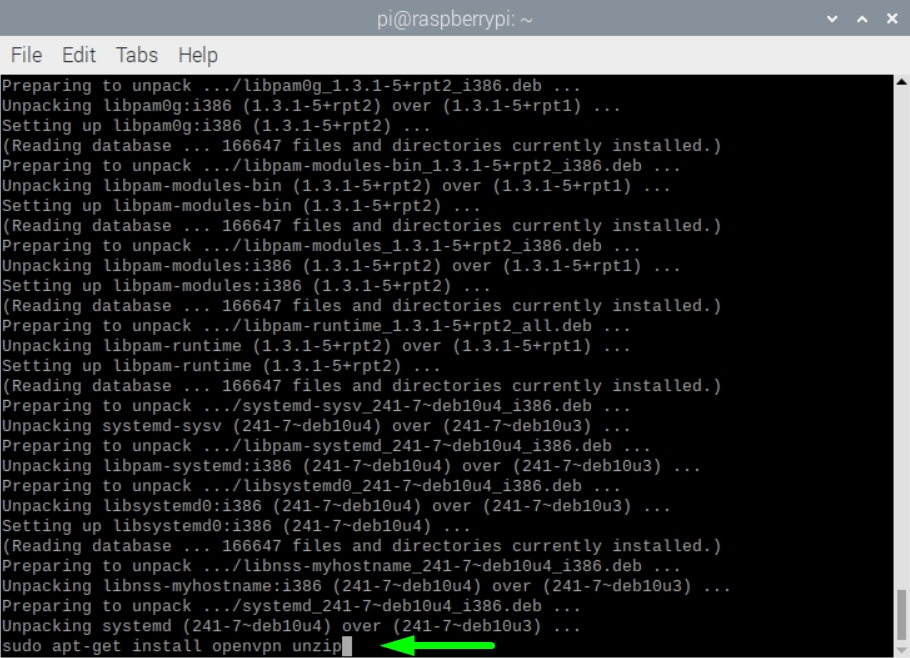
2. Install OpenVPN by using the command below:
sudo apt-get install openvpn unzip
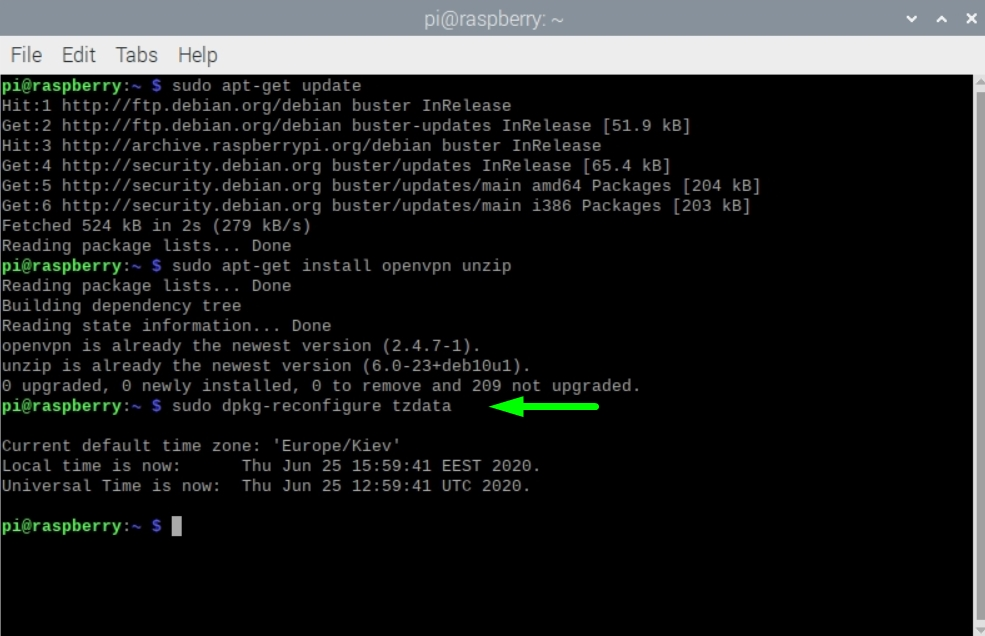
3. Make sure the time zone is correct. For this, run the command
below and go through the configuration prompt to select the correct time
zone:
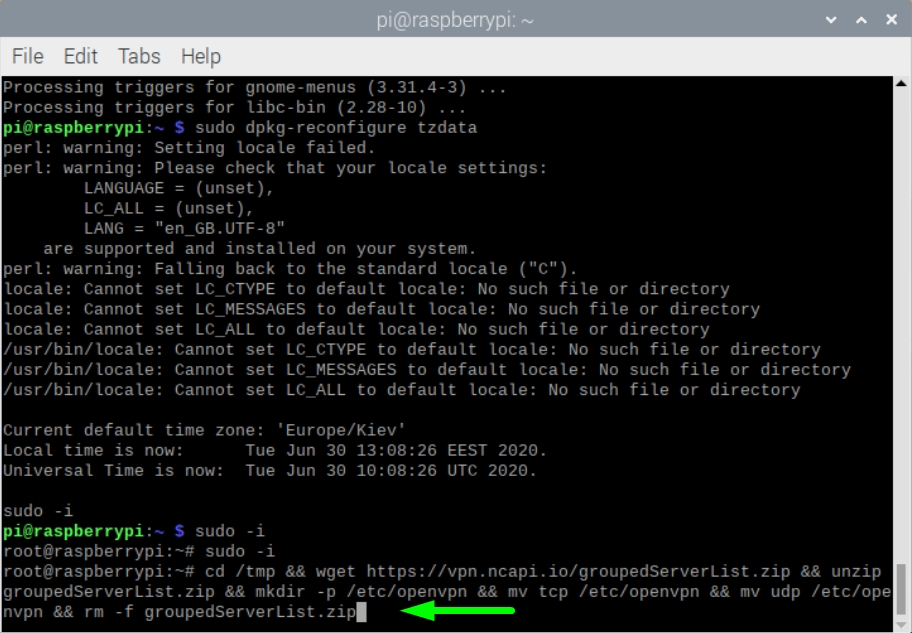
sudo dpkg-reconfigure tzdata
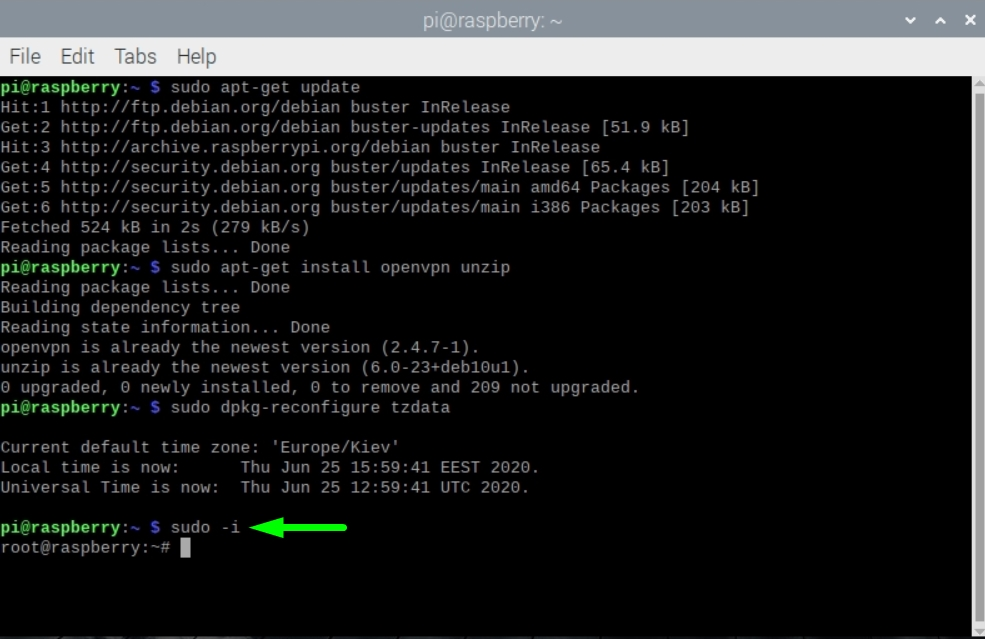
4. Elevate your privileges to root by entering:
sudo -i
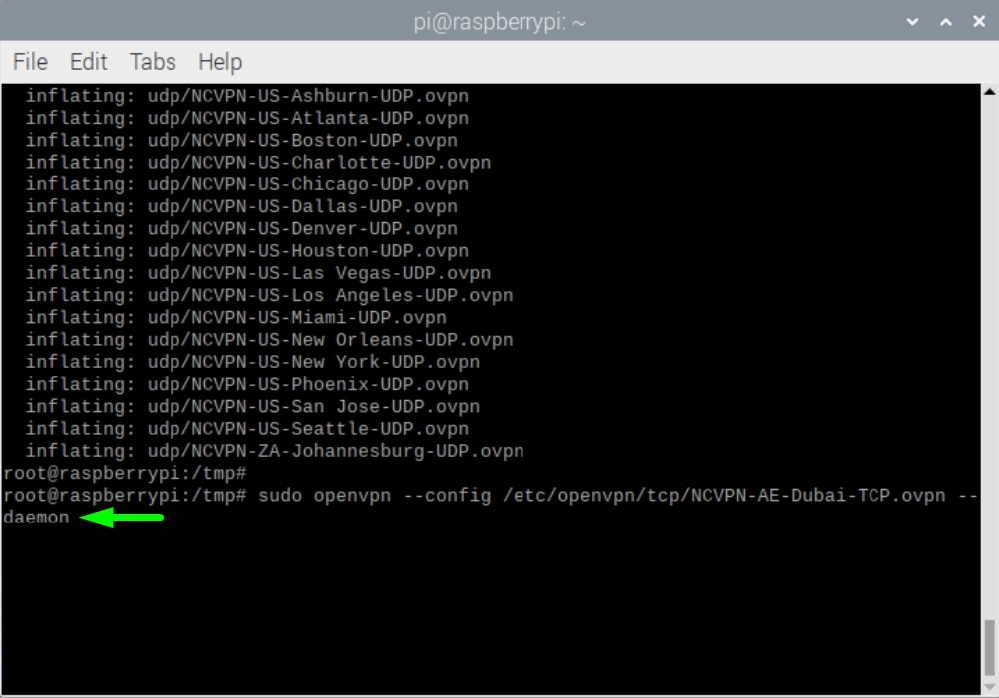
5. To download the configuration file and setup FastVPN, run this command:
cd /tmp && wget
https://vpn.ncapi.io/groupedServerList.zip && unzip groupedServerList.zip && mkdir -p /etc/openvpn && mv tcp /etc/openvpn && mv udp /etc/openvpn && rm -f groupedServerList.zip
6.
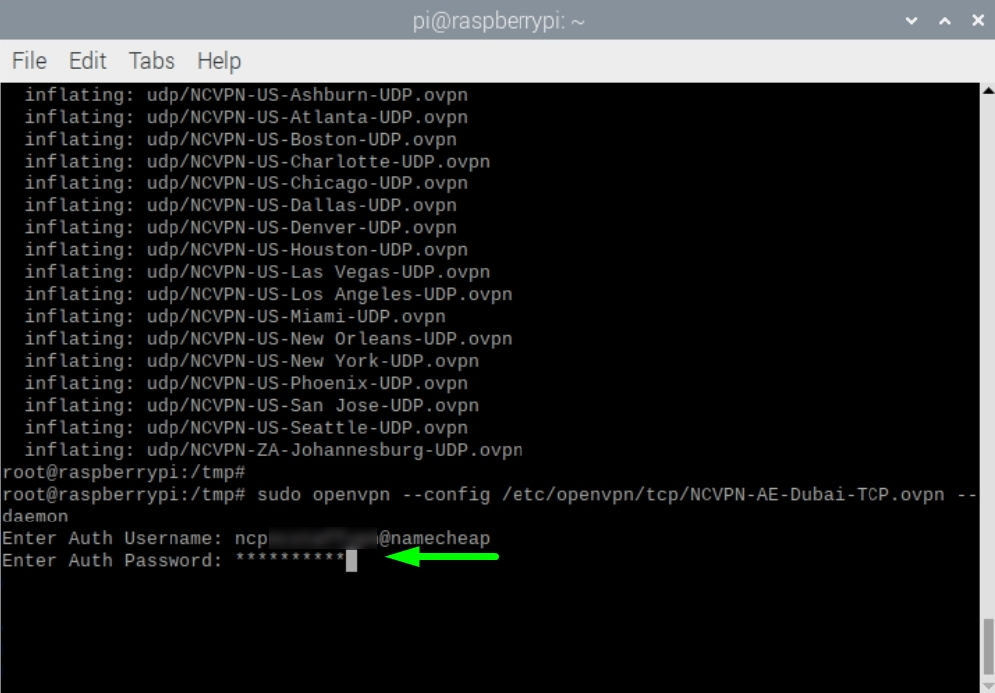
Depending on which protocol is preferable for you, you can enable FastVPN using two commands:
-
For TCP
:
sudo openvpn --config /etc/openvpn/tcp/NCVPN-AE-Dubai-TCP.ovpn --daemon
-
For UDP:
sudo openvpn --config /etc/openvpn/udp/NCVPN-AE-Dubai-UDP.ovpn --daemon
NOTE: "NCVPN-AE-Dubai-TCP.ovp" and
"NCVPN-AE-Dubai-UDP.ovpn"
can be changed to any preferred location from groupedServerList.zip
7. Enter your FastVPN login credentials (Auth Username and Auth Password):
NB! FastVPN account username and password are available from the
FastVPN account panel.
8. To disconnect from FastVPN, use the following command:
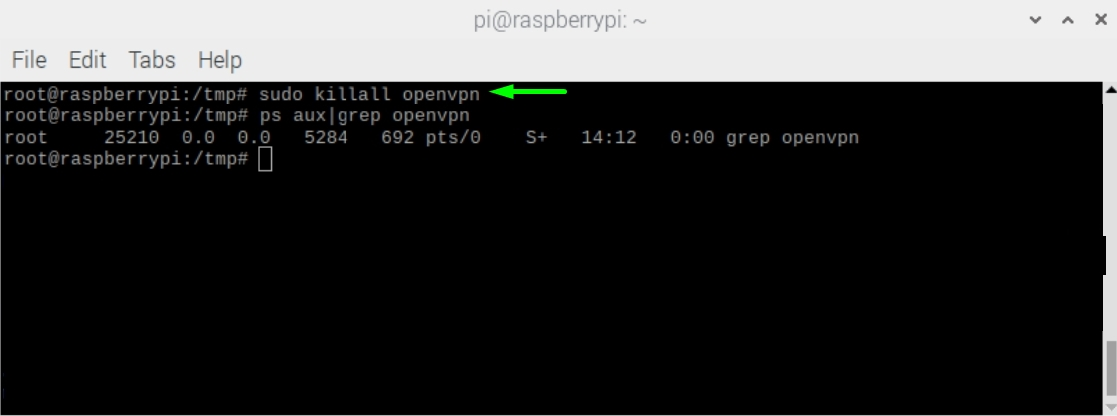
sudo killall openvpn
9.In order to change your VPN connection,
you need to stop all active VPN connections first. For this, run the command:
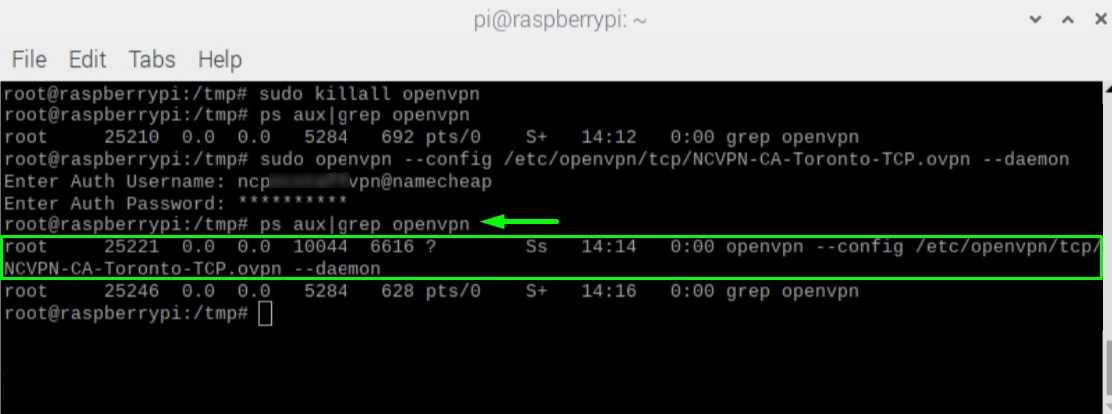
sudo killall openvpn
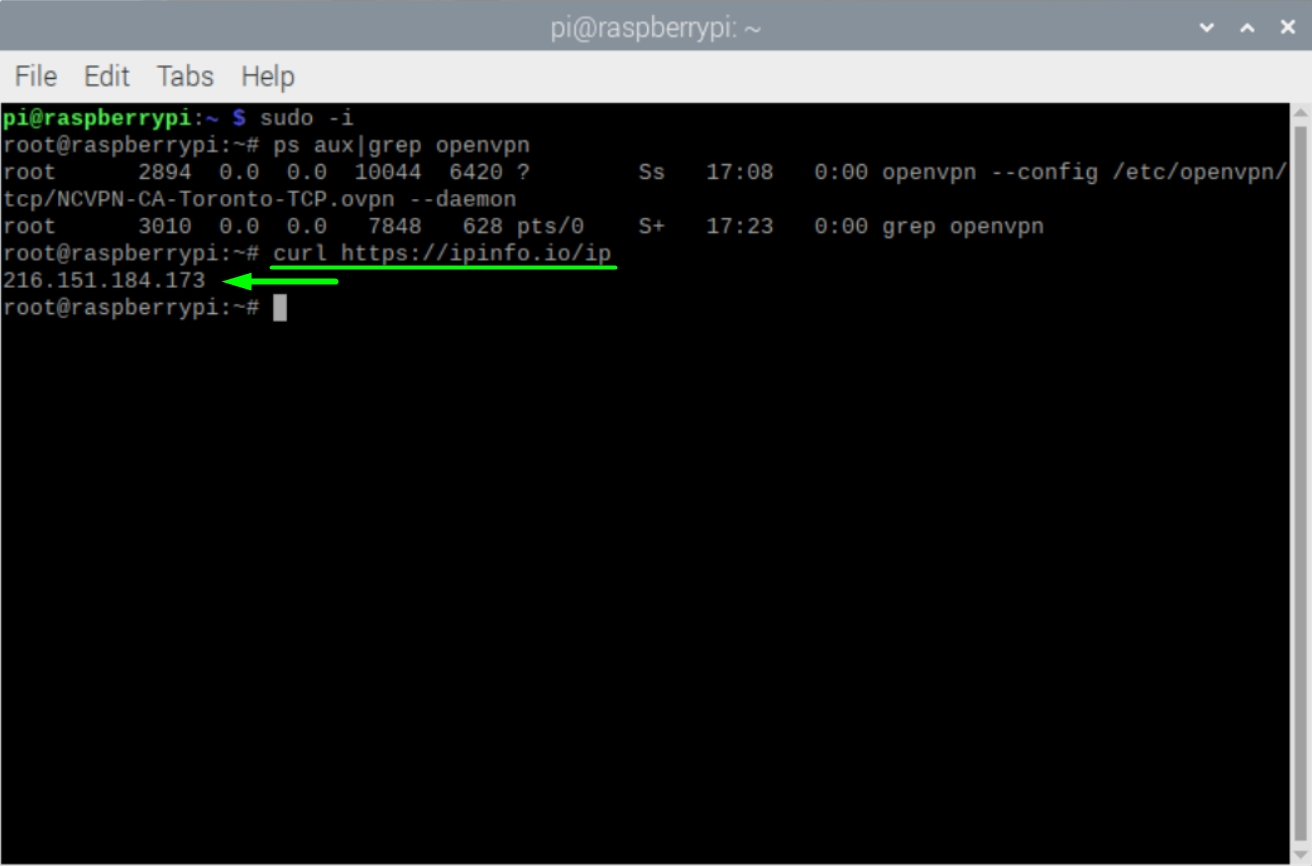
NOTE: You can check what VPN connection is currently running by entering ps aux|grep openvpn
After that, please follow the Steps 6-7 to connect to any other preferred location.
10. In order
to
verify that your VPN connection is successful
, wait for about a minute and enter the command below
:
curl https://ipinfo.io/ip
You will see your new public IP:
That's it! Now your Raspberry Pi is running behind FastVPN. The Raspberry Pi will be connected automatically to FastVPN when it is started.
If you need any further assistance, please contact our Support Team.