In this article, you will find the steps for how to add your Gmail and Google Workspace accounts to Private Email using the Add mail account option.
This option lets you add any email account of yours to the Private Email web interface through IMAP/SMTP protocols.
Here are two reasons why you might need to use this option:
1) To manage your email account(s) in one place
2) To add email account(s) to transfer emails
But what if an email account you add is created with a Google Workspace email account or regular Gmail account? Google is known for its user-security approach so adding a Google email account requires some preparations. This is where the App password option can be used.
The App password is a special password that is created for a particular non-Google device or application that a Google email account will be connected with. It gives you the possibility to not disable two-factor authentication (2FA) protection in order to keep a Google email account protected and add it to a mail application without the failures that happen when a real Google password is used.
NOTE: The App passwords option is available for accounts with enabled 2FA. If you are not able to find this option, check if 2FA is turned on. If you do not use 2FA, a Google email account can be added to a non-Google device or application by enabling the Less secure apps access and
allowing access to your Google account. This will allow you to add a Google email account using an actual Google password.
Let’s start the process of this special password generation and its further usage when adding an email account:
1. Access your Google account admin panel here
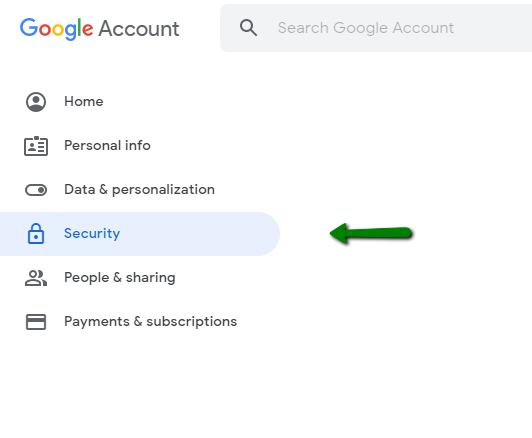
2. Navigate to the Security tab, which is located on the left panel:
3. Scroll to the “How you sign in to Google” section and press on the “2-Step Verification” field:

4. Scroll to the bottom and press on the “App passwords” field:

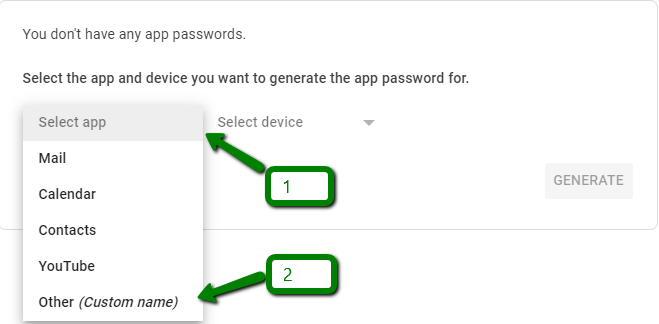
5. Click on the Select app field and choose Other (Custom name):
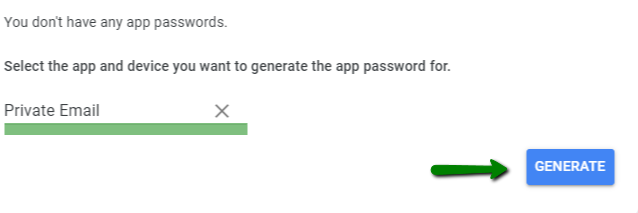
5. Fill in the field under Select the app and device you want to generate the app password for with the name of the app where a password will be used. In our case, it might be Private Email. Now click on the Generate button.
You will see a generated password at the Your app password for your device field. Copy this password and save it to your clipboard.
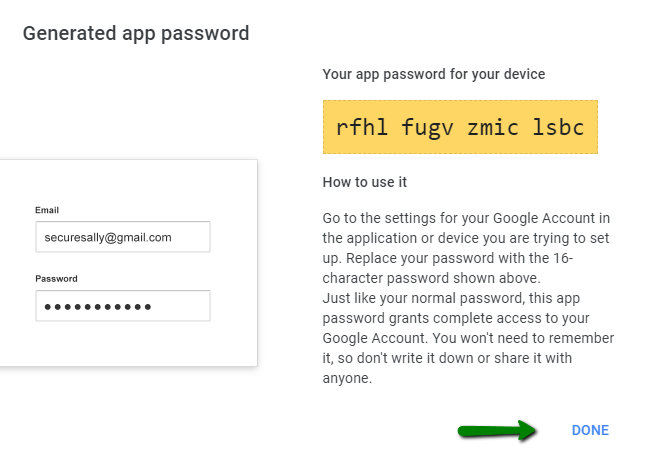
Now click the Done button to complete the process.
Let’s start by describing the process of a @gmail.com email account adding to the Private Email webmail:
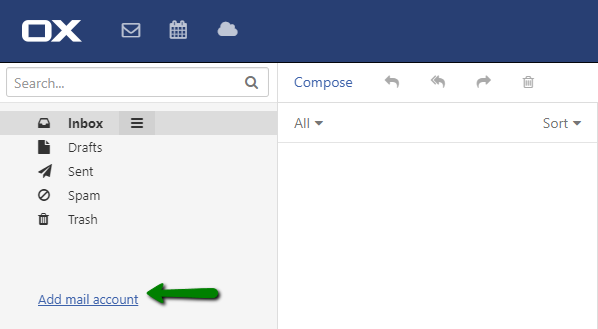
1. Open Private Email webmail and log in to the email account where you want to add a gmail account.
2. At the left side of the Inbox page, click on the Add mail account button:
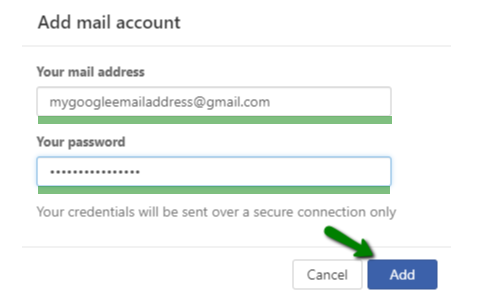
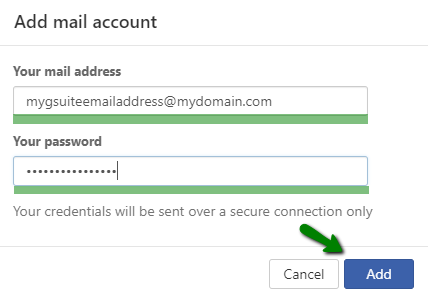
3. Enter your @gmail.com email address to the Your mail address field and the generated password to the Your password field, then click on the Add button.
The system will auto-configure a @gmail.com email account and the following pop-up window will appear at the top of the page:

Congrats! You’ve added your gmail account to your Private Email. From now on, you can use this email account as usual.
Google Workspace
Preparing to add a Google Workspace email address is similar to an app password creation; however, the process of adding an email account to Private Email webmail is a bit different. Why? In this case, the system is not able to automatically configure an email account so the IMAP/SMTP server settings need to be entered manually.
Before adding a Google Workspace email address, several options need to be enabled.
The first one is the IMAP access. To turn it on you need to:
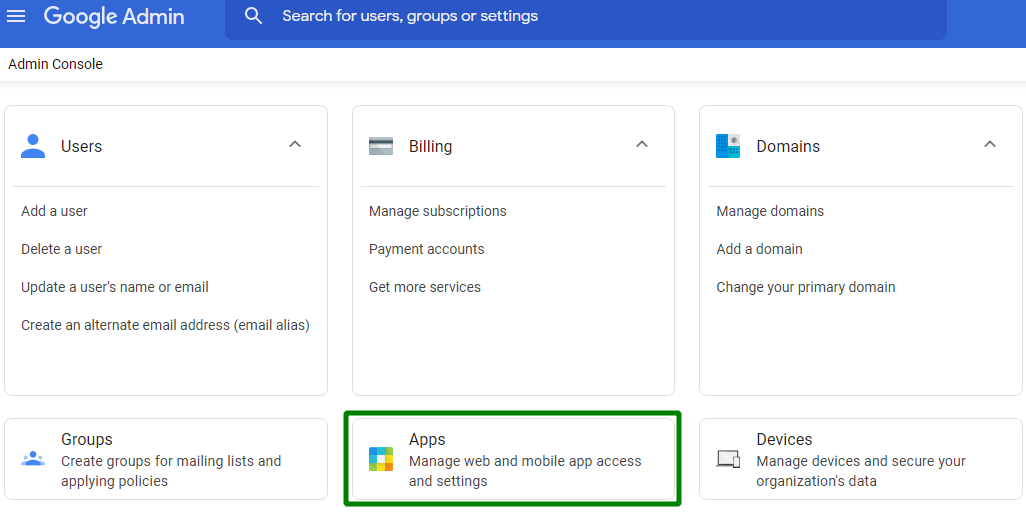
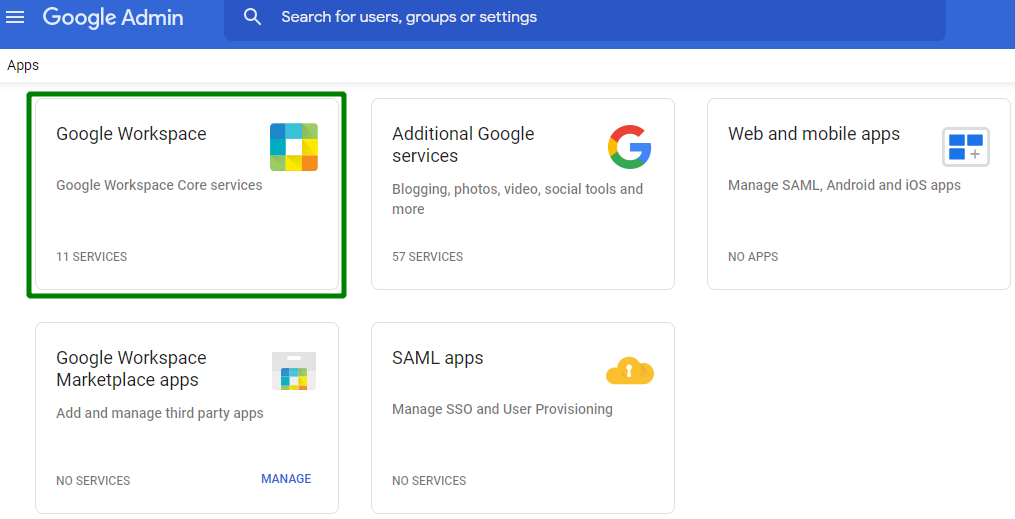
1. Log in to your Google Admin console and go to Apps menu:
2. Choose Google Workspace menu:
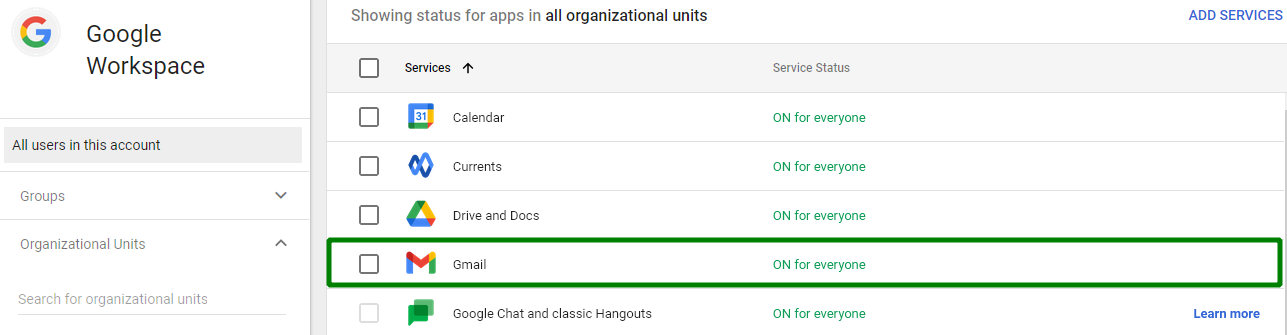
3. Then choose Gmail >> End User Access:
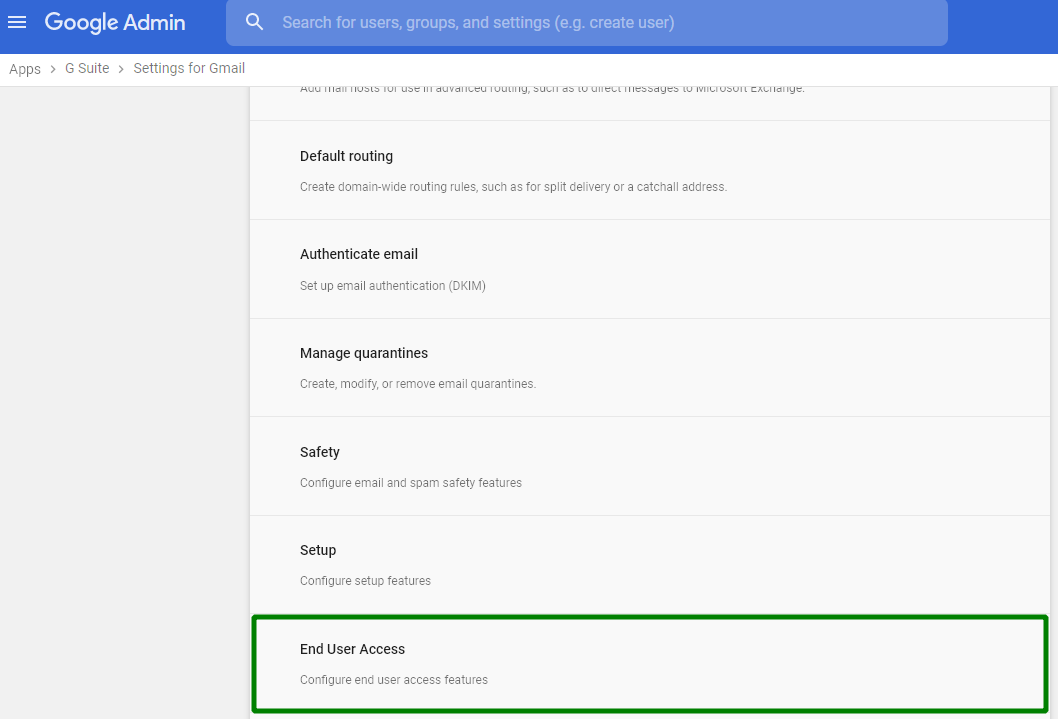
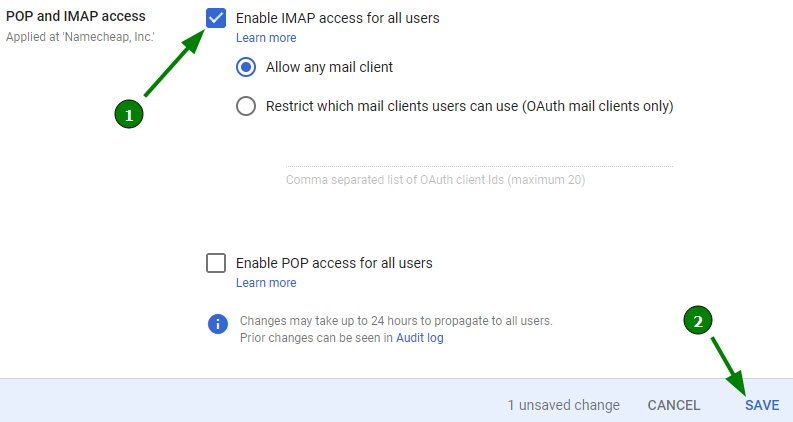
4.Locate the POP and IMAP access section and click on it:
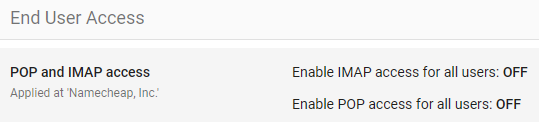
5. Enable IMAP access and save your changes:
The second option is the Less Secure Apps.
At the beginning of this article, we mentioned that the Less Secure Apps option cannot be enabled if 2FA is turned on. However, this only applies to the owner of a @gmail.com or Google Workspace user but not to a Google Workspace admin who has full access to subscription management and can permit Google Workspace users under a subscription to add their email accounts to non-Google apps. Therefore, if you are an owner of a Google Workspace subscription, follow the steps below:
1. Access the admin panel here
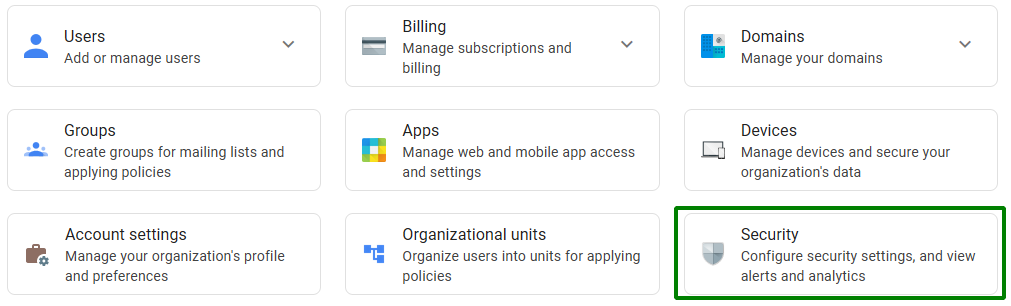
2. Locate the Security icon:
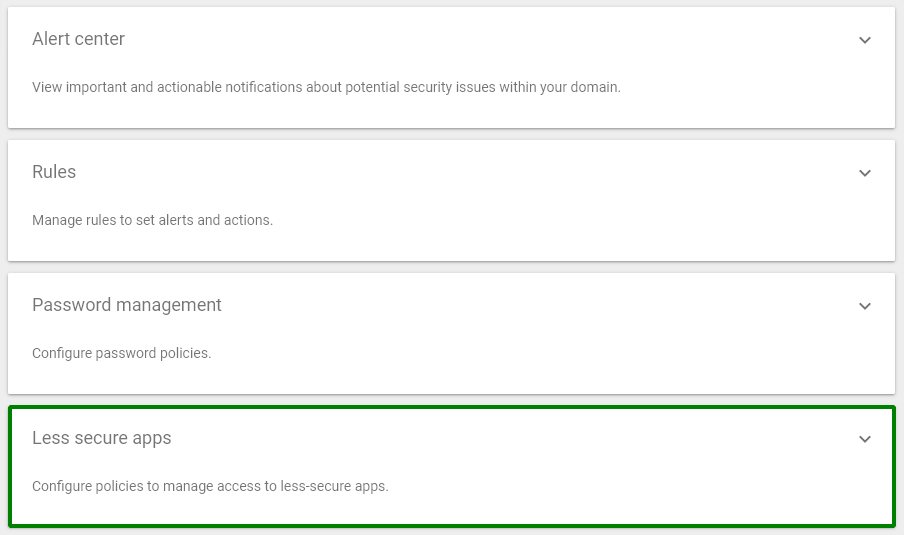
3. Now locate the Less Secure Apps line and click on it:
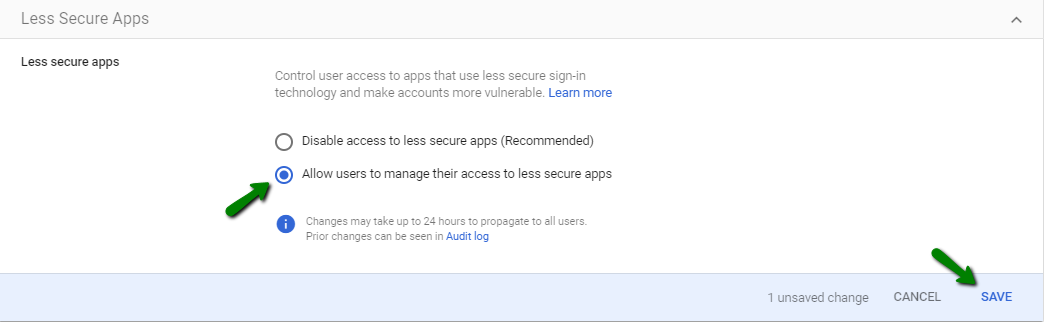
4. Enable the Allow users to manage their access to less secure apps option and save the changes:
NOTE: Before adding a Google Workspace email address to Private Email webmail, make sure you have not reached the limitation of 5 failed IMAP login attempts. Otherwise, you’ll need to wait for 24 hours until the block is automatically lifted.
So, let’s start!
1. Go to the Private Email webmail.
2. Click on the Add mail account button:
3. Enter your Google Workspace email address to the Your mail address field and an app password to the Your password field. Then click on the Add button.
The system will make an attempt to configure an email account manually, but the process will fail, and the following warning will appear:
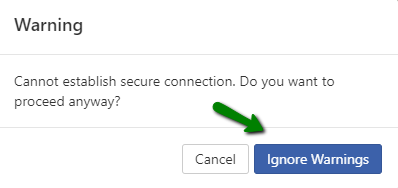
Skip the warning by clicking on the Ignore Warnings button.
The next error message will confirm the failed auto-configuration and a manual configuration will be offered:

Click on the Manual button to start configuring a Google Workspace email account manually. The settings for the manual configuration are as follows:
Account name: the name of your account
Your name: your first and last names, or any other name
Email address: the email address of your Google Workspace email account
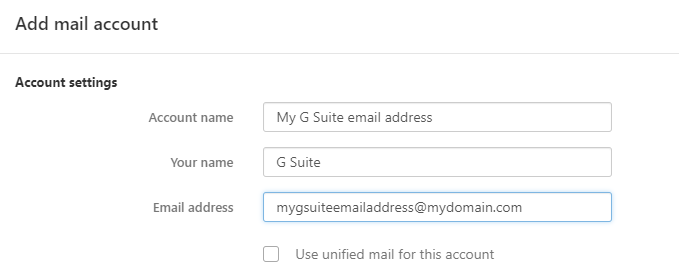
The Use unified mail for this account option is not enabled by default but you are free to enable this option if needed. To learn more about it, visit this article.
NOTE: To generate an app password for your Gmail account, please follow these steps from the guide.
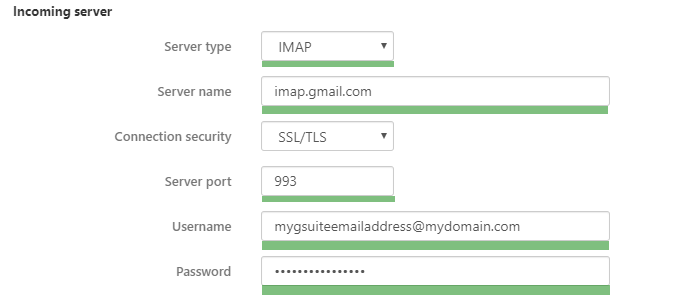
Incoming server
Server type: IMAP
Server name: imap.gmail.com
Connection security: SSL/TLS
Server port: 993
Username: your Google Workspace email address
Password: an app password
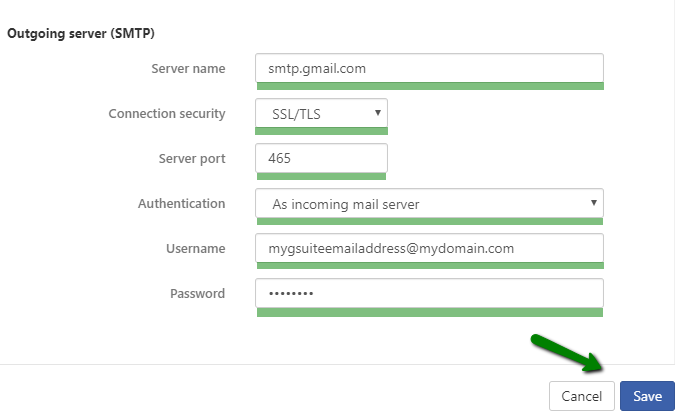
Outgoing server
Server name: smtp.gmail.com
Connection security: SSL/TLS
Server port: 465
Authentication: As incoming mail server
Username and Password will be fetched automatically (the ones already specified in the Incoming server settings)
If all the entered details are correct, the following pop-up window will appear:
Congrats! You can now start managing your email accounts through the same web interface or move emails to a Private Email account.