If you want to use our Supersonic CDN with EasyWP, this article is just for you.
Points to keep in mind:
- Currently, Supersonic CDN can be used only with domains (both Namecheap-registered and external) pointed to Basic DNS, Free DNS, Premium DNS, or Web-Hosting DNS if you are using Shared hosting.
- It is not possible to use Supersonic CDN with subdomains and free EasyWP domains.
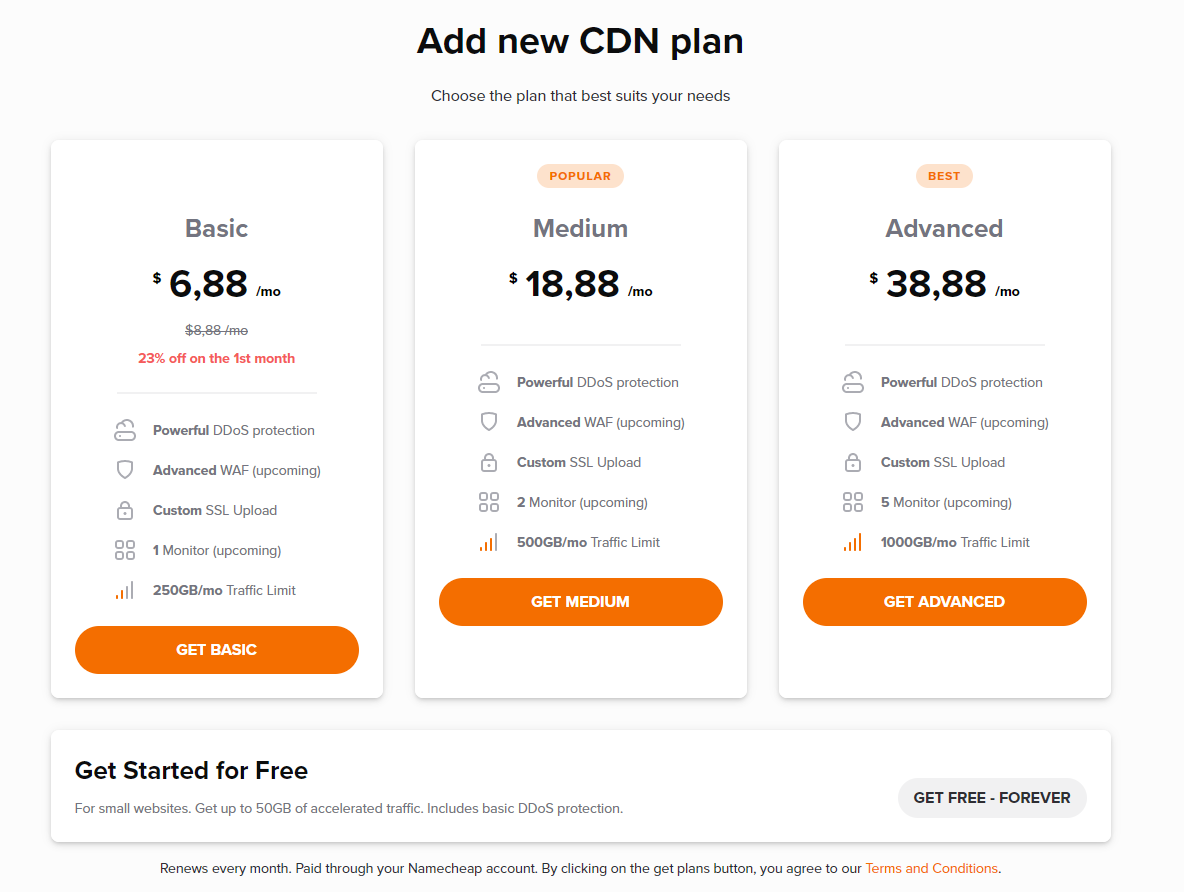
3. Choose the desired plan and click Get next to it:
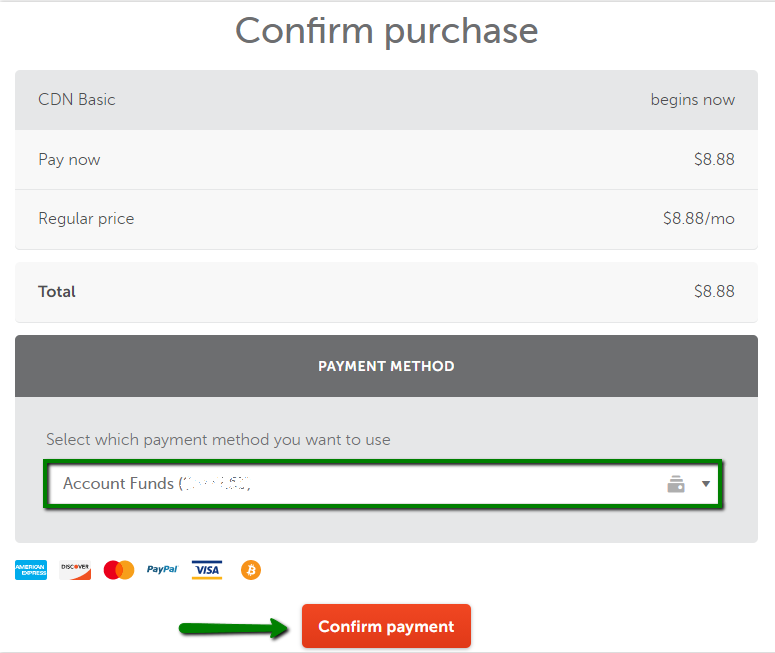
4. On the next stage, you can check the payment methods you may use: Credit Card, PayPal, or Account funds. Choose the payment method you would like to use and Confirm the payment:
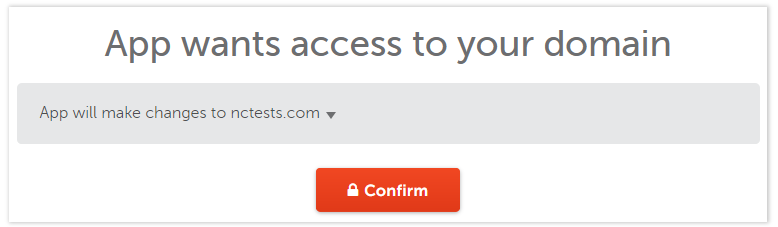
5. You will be redirected to a confirmation page to confirm that the Supersonic CDN application is allowed to change DNS records for your domain name.
To finish the installation, click Confirm:
6. Once the installation process is completed, you will get a confirmation message that the website is connected to CDN successfully:
NOTE: In some cases, it can take up to 30 minutes before the service is completely set up.
You already have a Supersonic CDN subscription
In case you already have the Supersonic CDN subscription and want to connect it with your EasyWP website, follow these steps:
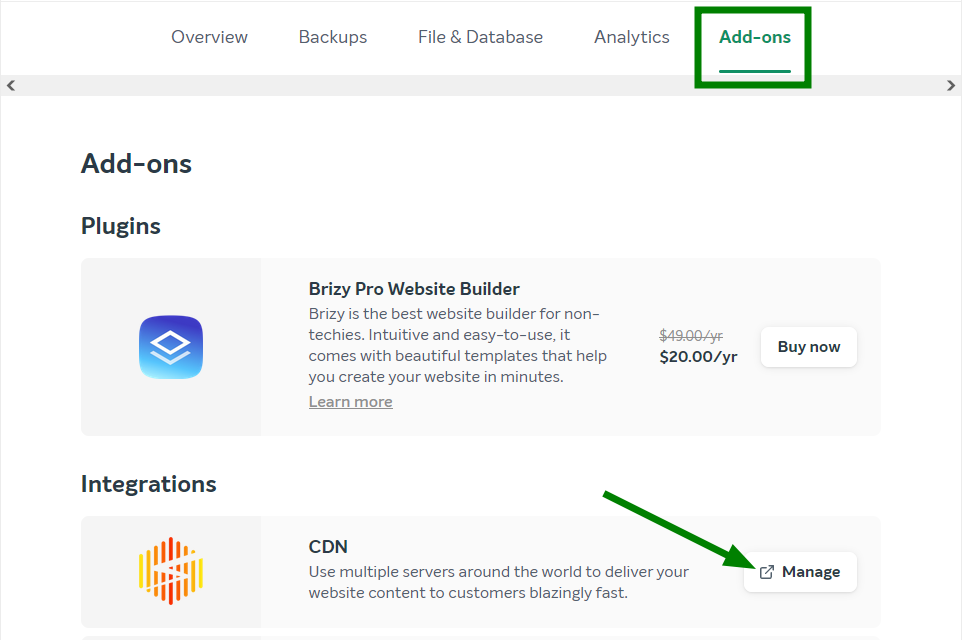
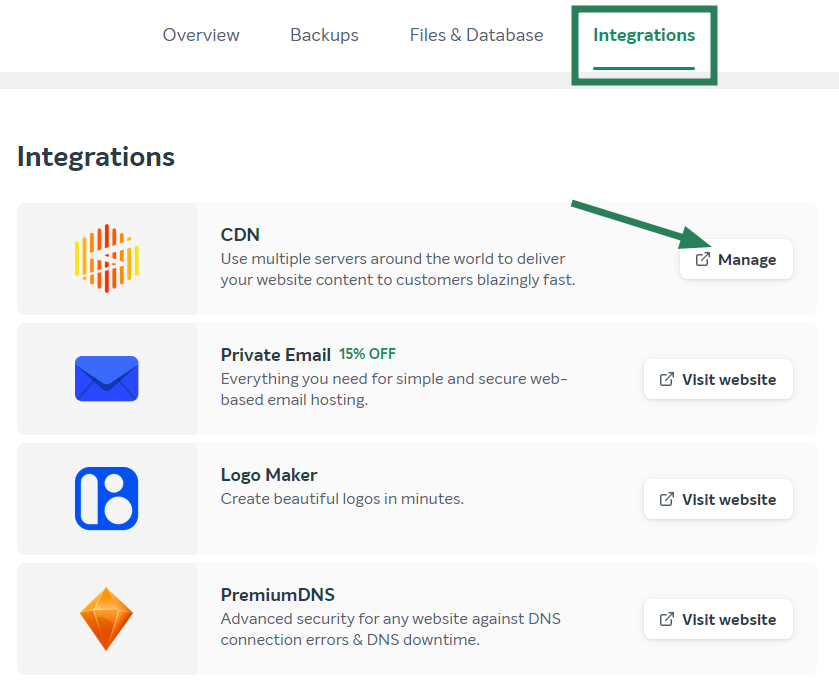
1. Start from the EasyWP admin dashboard >> Integrations tab >> CDN >> Manage:
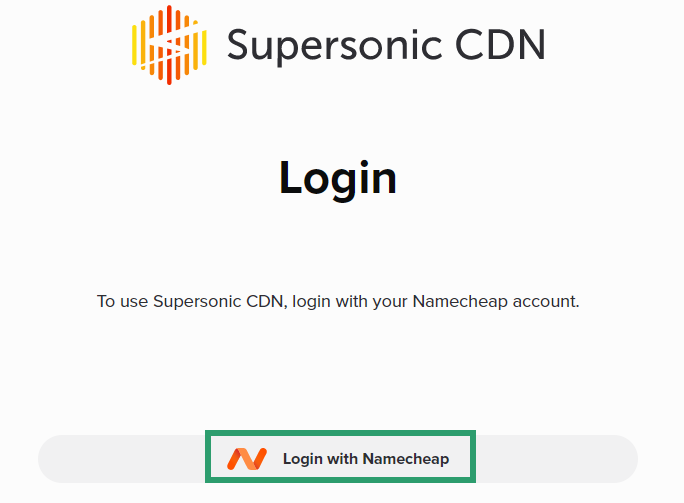
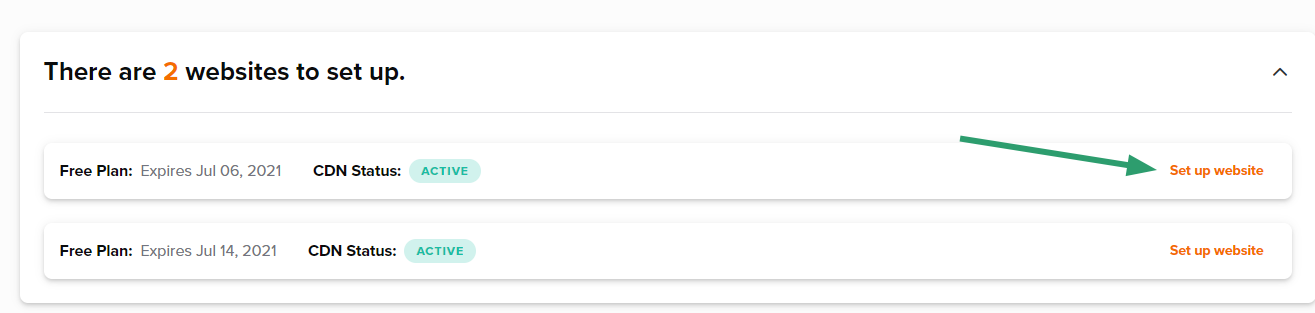
2. You will be redirected to the CDN dashboard. Once there, click Set up website:
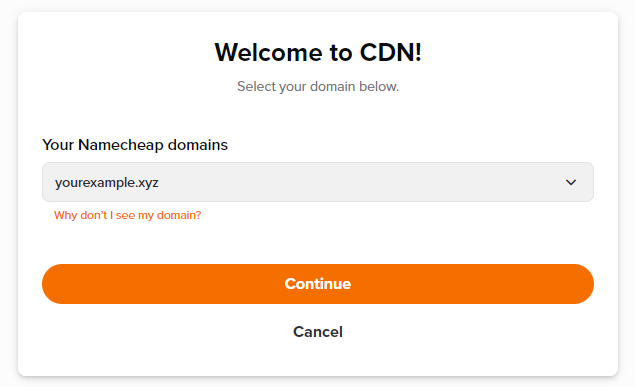
3. Choose the domain name you wish to connect with Supersonic CDN and click on
Continue:
Once done, you may see the following message:
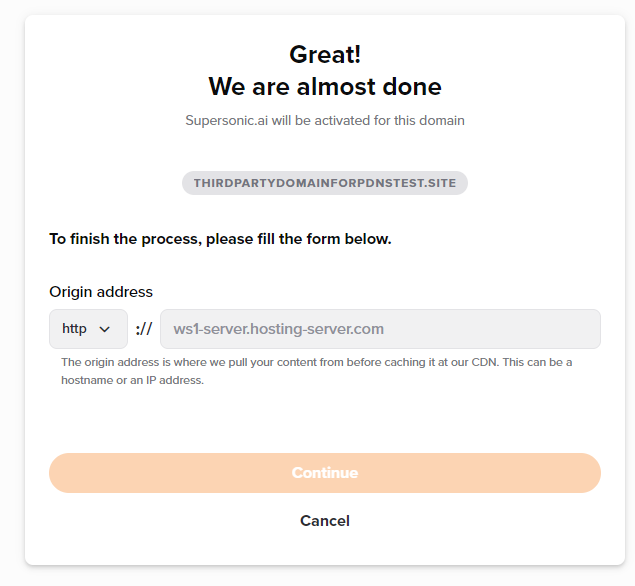
Choose the needed protocol (http/https).
NOTE: The "
http" option can be used when the SSL certificate is not installed on the website. If you have chosen the "
https" option during the setup, follow the steps from
this guide in order to complete the SSL installation.
Put the Alias record of the subscription in this field or contact our
Support Team for us to provide you with the necessary details. Make sure that there are no dots at the end of the record.
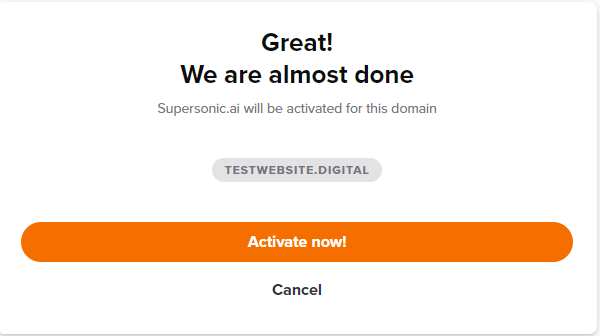
4. You will be redirected to a confirmation page to confirm that the Supersonic CDN application is allowed to change DNS records for your domain name.
Confirm your actions on the next page by clicking on
Activate Now!:
5. Once the installation process is completed, you will get a confirmation message that the website is connected to CDN successfully:
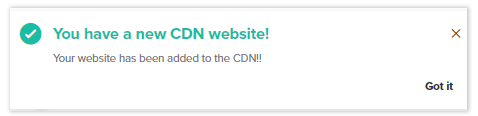
NOTE: In some cases, it can take up to 30 minutes before the service is completely set up.
That’s it!