Moving a WordPress site is easier than it seems and can be done with no downtime.
In this step-by-step tutorial, we describe two methods of moving your WordPress website to a Shared server. You can either do it manually or using a plugin.
The main difference between these two ways is that with the plugin transfer, the existing or new domain needs to be pointed to the Shared server during the process, which will result in downtime. To prevent the downtime, we will show you how to modify the hosts file on your computer.
If you are transferring a WordPress website created with EasyWP, we recommend not to cancel the subscription until you fully migrate your WordPress site, and test it on the new Shared account. It can also be a good idea to keep the old account active for a few days to verify that everything works as expected and no data is lost during the transfer. Additionally, you can save a copy of the website from the EasyWP dashboard >> the Backups menu - it can be used for manual restoration in case the plugin method is not a viable option for the migration.
In addition to our automated, free WordPress migration service, you can use one of the following three ways to move your WordPress website to a Shared hosting account.
Manual transfer
Transfer with the help of plugins
Manual transfer
Step 1 - Backup your websiteTo restore your WordPress website on the hosting account, you need to make a
backup of the website's files and the
database. If you are using EasyWP, please follow
this guide.
Step 2 - Upload the backup to your Shared hosting account1.
Log in to your cPanel account.
The cPanel login details differ from the Namecheap ones, and were sent in your
Hosting Welcome Guide.
2. Next, go to the File Manager menu in the Files section.
3. Move to your domain's root folder. Files for the main hosting domain are located in the public_html folder. In case you wish to transfer the website of an addon domain, you can check the root folder in the Domains menu.
4. Click Upload in the File Manager toolbar:
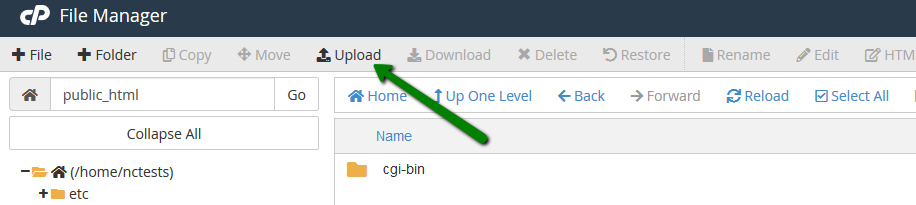
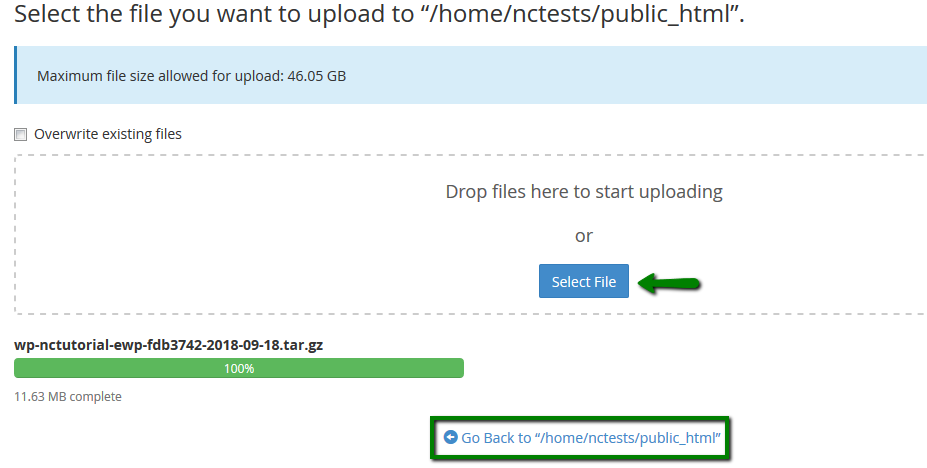
Use the Select File button to upload the backup of the files from your computer (e.g., wp-name-of-website-number-date.tar.gz):
PLEASE NOTE: If your backup file is large, it will be faster to transfer it using FTP.
5. When the upload is complete, click Go Back to the root folder of the domain.
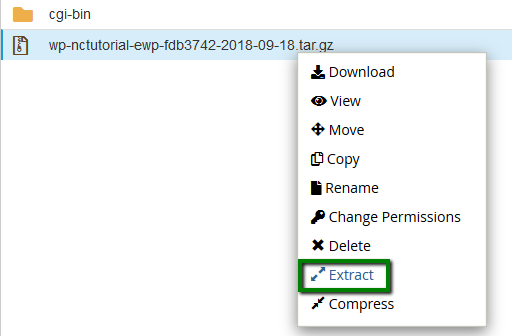
Right-click the uploaded file and select Extract to extract files into the working directory:
Step 3 - Create a new database
Use this guide to create a new database, database user, and to assign the user to the database. Take a note of the database name, the database user, and database user password. You will need those details later.
Step 4 - Edit the configuration details
1. Go back to File Manager. Find the extracted files, right-click the wp-config.php file, and select Edit.
2. Find the MySQL settings line and replace the database name, database username, and password with your actual values. Also, change the MySQL hostname to localhost:
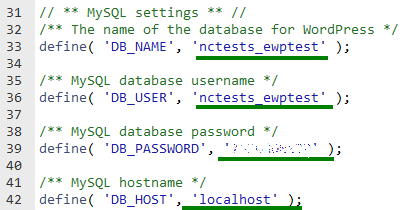
Save the changes and close the file.
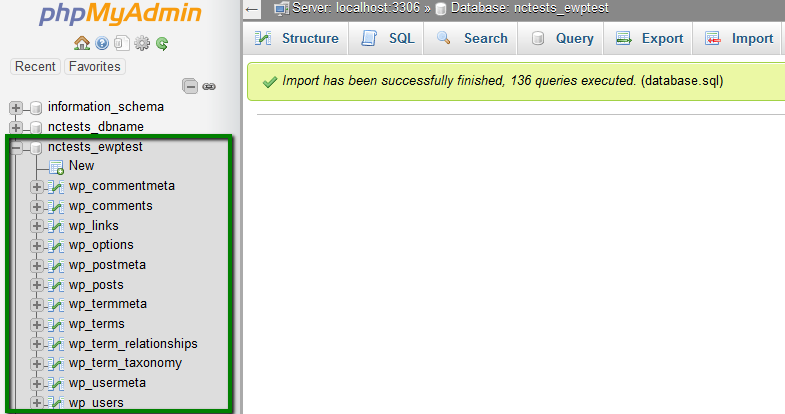
Step 5 - Import the database
2. Wait for the database to be imported. A list of the WordPress tables should appear on the left:
The transfer is completed. We recommend checking how the website resolves from the Shared server before changing DNS. You can find the instructions here.
If everything works correctly, change DNS to
point the domain to your new hosting account.
PLEASE NOTE: Since the plugins described below are third-party tools, we are not responsible for their functioning and the ability to properly migrate a website. We advise you to
always keep a copy of your website generated manually via the EasyWP dashboard >> the
Backups menu. If there are issues with backup generated through a plugin or the restoration via the plugin is not possible for your website, you will always be able to restore your website from the manual backup.
Step 1 - Export WordPress website
1. Log into your WordPress dashboard. By default, the link is yourdomain.tld/wp-admin.
If you have an EasyWP installation and don't remember your password,
use this guide to reset it.
2. Go to
Plugins >> Add new >> search for
All-in-one WP migration:
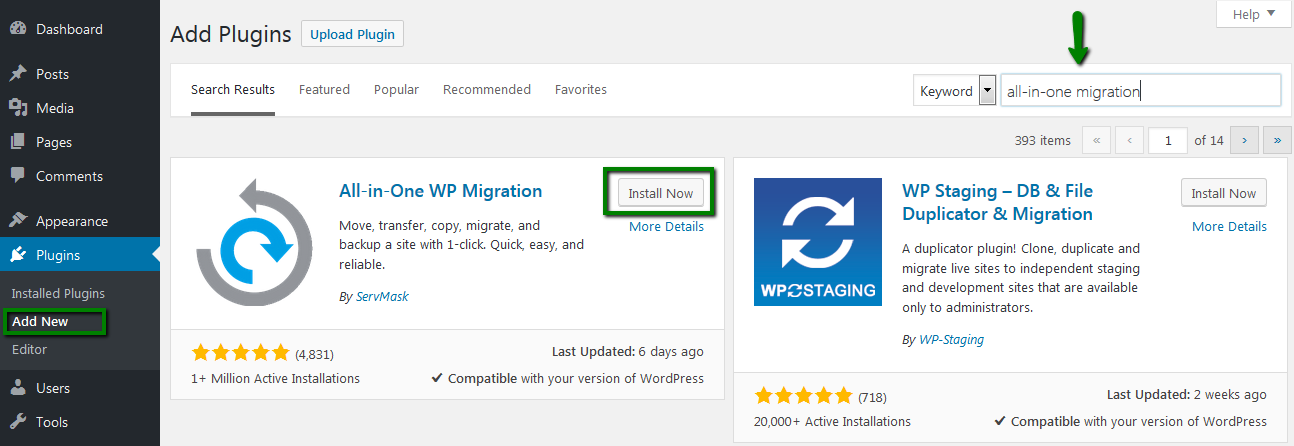
Click the Install Now button to install the plugin. Then, click Activate.
PLEASE NOTE: The free version of this plugin allows importing websites up to 512MB.
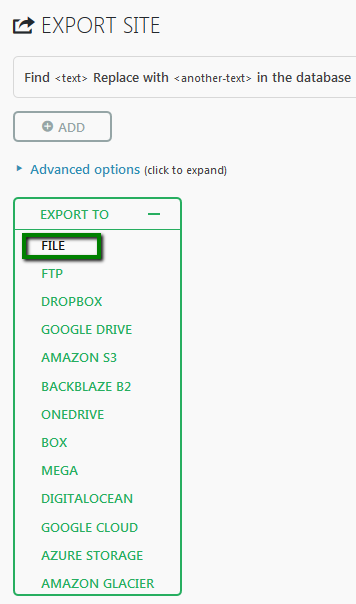
3. Go to Export in the new All-in-one WP Migration menu that appeared in the left sidebar:

4. Click the Export To button. There you have several export options (like Dropbox, GoogleDrive, FTP, etc.). Select the File option:
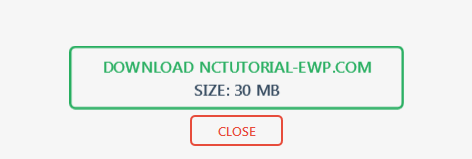
5. Wait for the files to be prepared, and click the link to download the backup to your computer:
Step 2 - Install WordPress on a Shared server
Log in to your cPanel account.
The cPanel login details differ from the Namecheap ones and were sent in your Hosting Welcome Guide.
Use this guide to install WordPress on your domain.
Step 3 - Install the All-in-one WP migration plugin on the Shared server side
At this point, your domain is still pointed to the previous hosting provider or EasyWP server. If you are not worried about the downtime, you can go on and change DNS to point your domain to the Shared account.
If you want to avoid downtime, you can access your new website on your computer by temporarily modifying the hosts file.
When you are ready, access the WordPress dashboard at yourdomain.tld/wp-admin. Make sure you are in the new dashboard. It should be a default one, with no posts, pages.
Install the All-in-one WP Migration plugin the same way you installed it on the WordPress side.
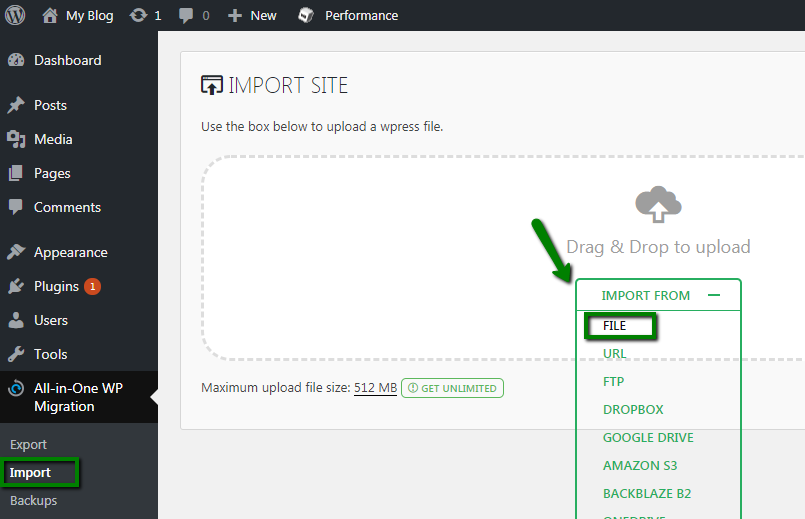
Step 4 - Import the backup
1. Go to All-in-one WP Migration >> Import and click the Import to button. Select File from the drop-down list:
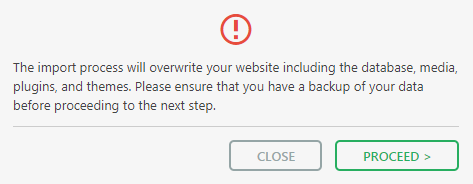
2. Select the .wpress backup file saved on your computer. A pop-up window with the warning will appear. Click Proceed:
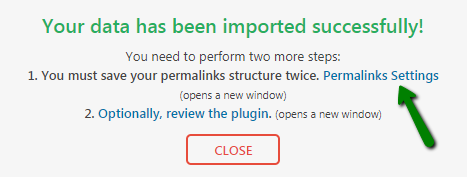
3. Wait for the import to complete. When a confirmation message appears, click Permalinks Settings:
PLEASE NOTE: You may need to re-log in to your WordPress dashboard. As the backup has already been restored, use the login details that were set for the WordPress dashboard previously.
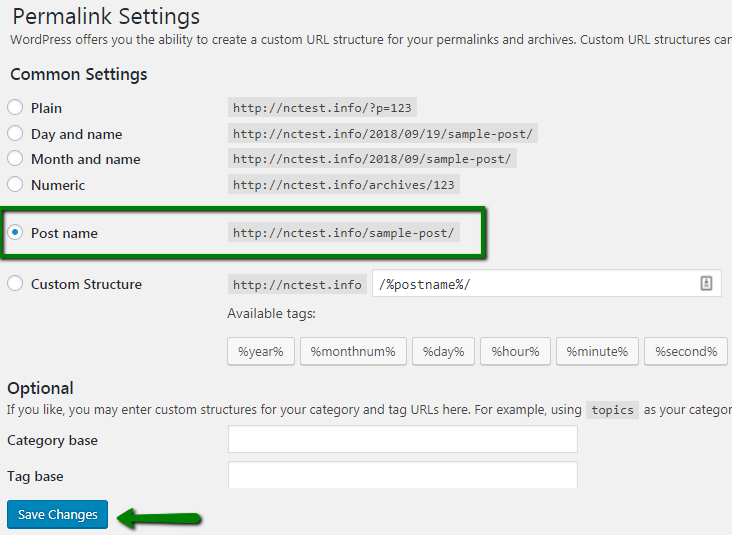
4. In the Permalinks menu, select the permalink structure you prefer and click Save Changes.
If you are using the Custom Structure, copy it first. Select a different setting and click Save Changes. Then, paste the Custom structure and save it again:
The transfer is completed. You should test your WordPress site to make sure that everything is working as expected.
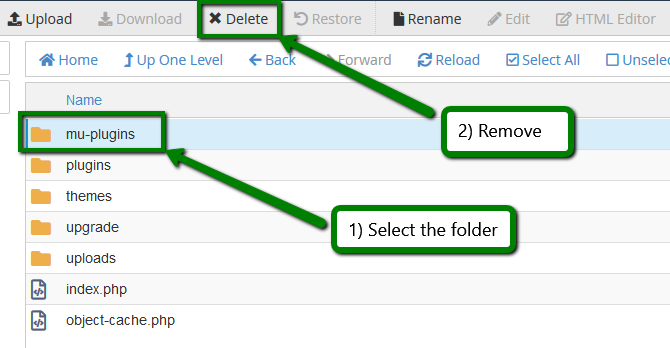
NOTE: After the backup is restored, please check the directory wp-content - if you found the folder mu-plugins, make sure to remove it. The mu-plugins folder and its content is needed only on EasyWP servers, and it may negatively affect your website on Shared hosting.
In case you haven't pointed your domain to the Shared account in the previous step, update the DNS records as described in this guide.
Duplicator plugin
Step 1 - Backup WordPress website using Duplicator
1. Log into your WordPress dashboard. By default, the link is yourdomain.tld/wp-admin. If you don't remember your password, use this guide to reset it.
2. Go to Plugins >> Add new >> and search for Duplicator:
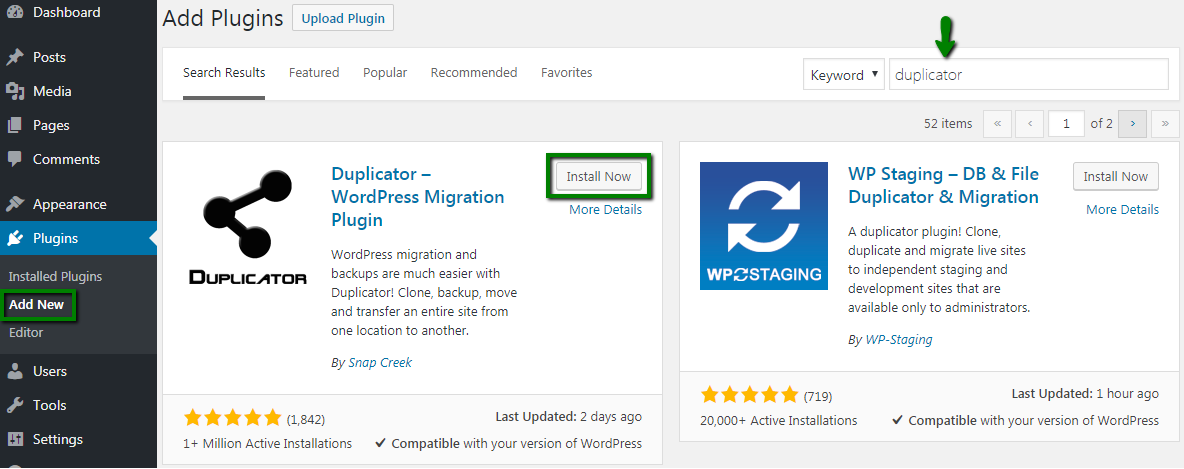
Click the Install Now button to install the plugin, then click Activate.
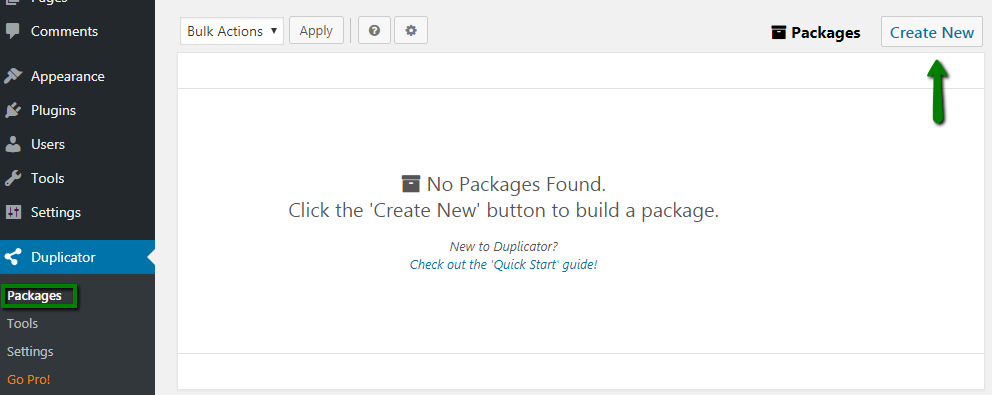
3. A new menu Duplicator will appear in the left sidebar. Go to Duplicator >> Packages. Click the Create New button at the top right corner:
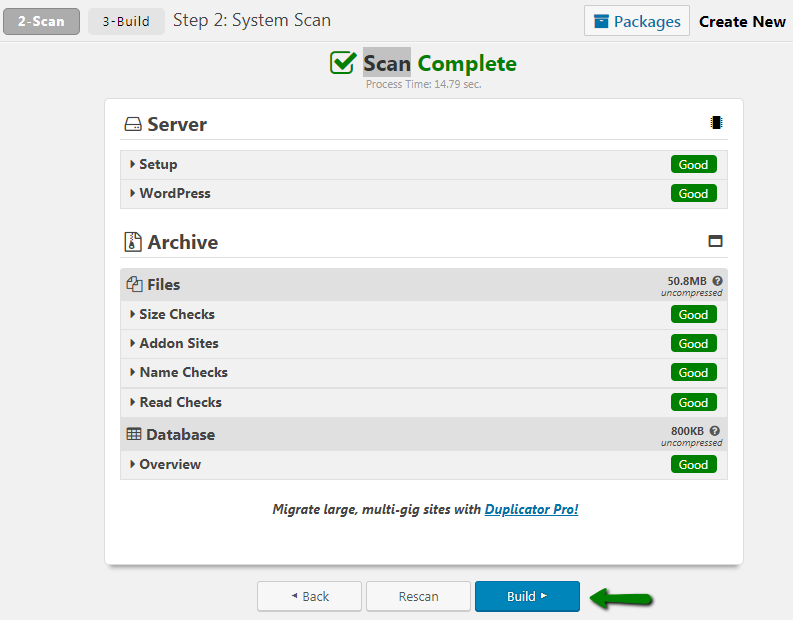
4. Click Next and check the scan results. If everything says Good, click Build and wait for the process to complete:
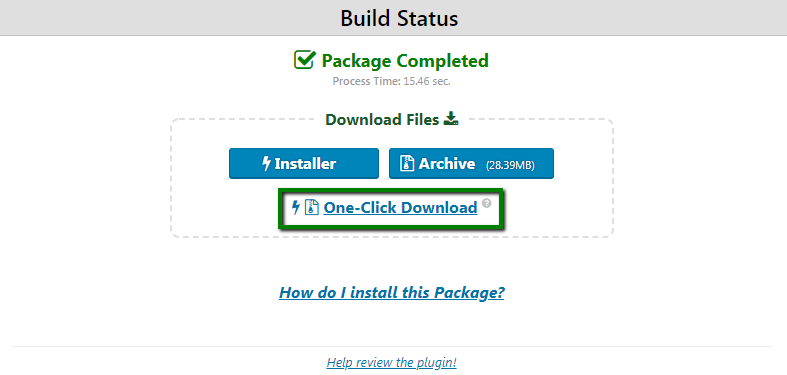
5. Once the package is ready, you will see download options. Use One Click-Download to save both the Installer file and the Archive to your computer (make sure both files were downloaded. You may also download them separately):
Step 2 - Upload the backup to your hosting account
1. Log in to your cPanel account.
The cPanel login details differ from the Namecheap ones, and were sent in your Hosting Welcome Guide.
2. Next, go to the File Manager menu in the Files section.
3. Move to your domain's root folder. Files for the main hosting domain are located in the public_html folder. In case you wish to transfer the website of an addon domain, you can check the root folder in the Domains menu.
Click Upload in the File Manager toolbar:
4. Use the Select File button to upload the installer.php and the file archive from your computer:
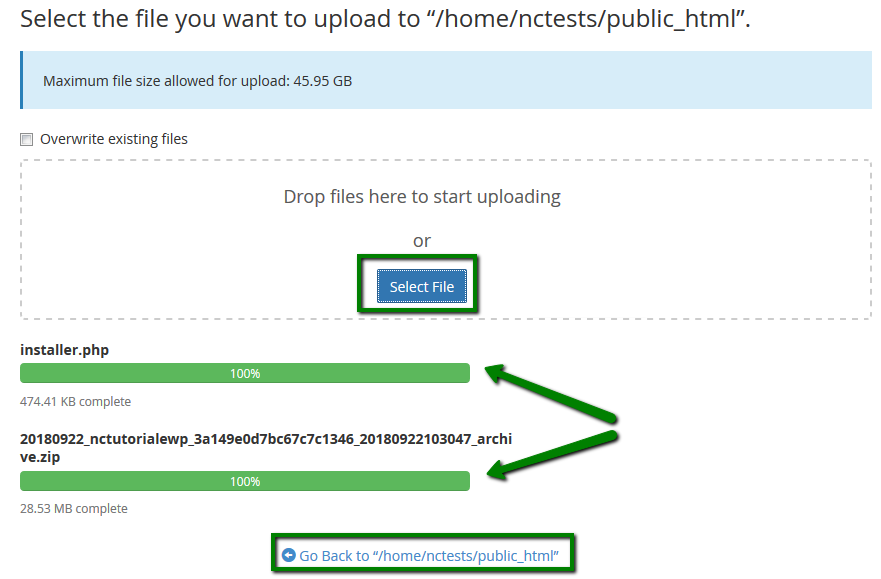
Click Go Back when the uploads are complete.
Step 3 - Create a new database
Use this guide
to create a new database, database user, and to assign the user to the
database. Take a note of the database name, the database user, and
database user password. You will need those details later.
Step 4 - Run the installer
Next step is to
access installer.php on the new server. However, the domain is still pointed to the previous hosting provider or another server at this point. If you are not worried about the downtime, you can go on and change DNS to point your domain to the Shared account.
If you want to avoid downtime, you can access your new website on your computer by temporarily modifying the hosts file.
1.
When you are ready, access the installer using the
yourdomain.tld/installer.php link, replacing yourdomain.tld with your
actual domain name.
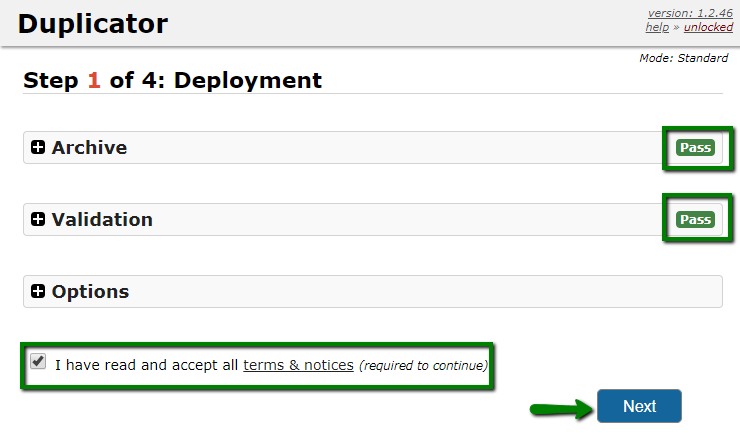
2. The installer will run some checks and show you Pass next to Archive and Validation.
If you see any error, fix it and access the link again.
Check the I have read and accept all terms & notices box and click Next:
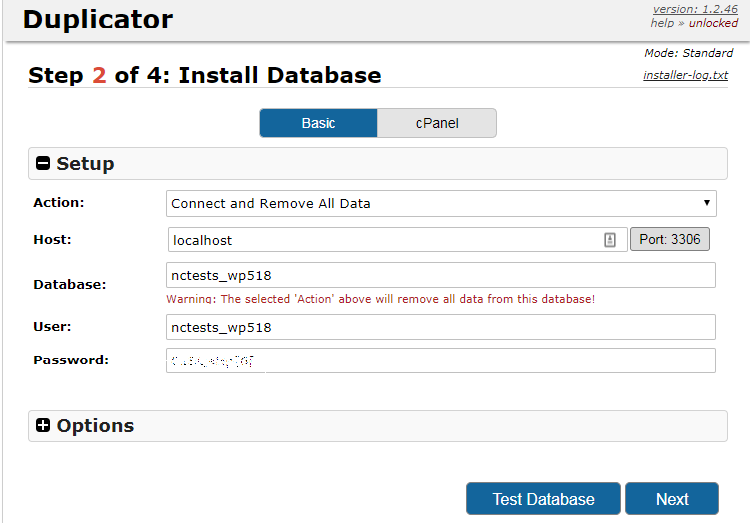
3. On the next step, enter localhost as the host, the database name, database username, and database user password you created earlier. Click Next:
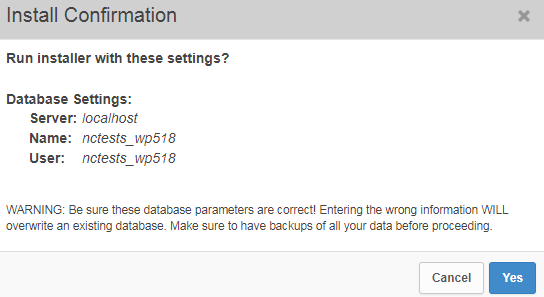
4. A pop-up window will appear. Confirm the database settings by clicking Yes:
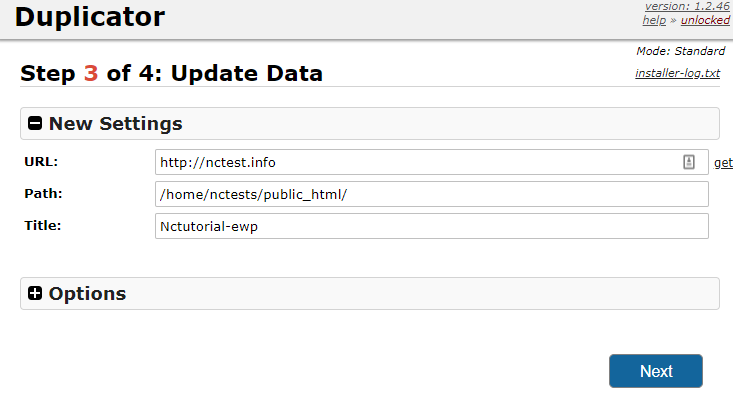
5. On the third step, you can change the domain for the installation, the path through which the files will be extracted, and the title for the website. If you are not planning to change the domain, leave the defaults and click Next:
6. The installation process will take several minutes to complete. Once finished, you will be taken to the fourth step. Open your website in a browser and log in to the WordPress dashboard to check if everything works as expected:

7. Finally, go back to cPanel >> File Manager >> root folder of the domain and delete the installation files:
- installer.php
- installer-backup.php
- dup-installer-data_[HASH].sql
- dup-database_[HASH].sql
- dup-installer-log_[HASH].txt
- [HASH]_archive.zip
To delete a file, right-click it and select Delete from the drop-down menu
Leaving these files in your account can impose a security risk.
The transfer is completed. You may visit your WordPress site to make sure that everything is working as expected.
NOTE: After the backup is restored, please check the directory wp-content - if you found the folder mu-plugins, make sure to remove it. The mu-plugins folder and its content is needed only on EasyWP servers, and it may negatively affect your website on Shared hosting.
In case you haven't pointed your domain to the Shared account in the previous step, update the DNS records
as described in this guide.