Magento is one of the most powerful and popular e-commerce systems in the world. Softaculous Apps Installer allows you to install the latest version in just a few clicks.
Still, it may be necessary to use functionality that only presents in an older version. These versions should be installed manually.
In this guide, we will walk through the installation of Magento 2.1.12 via cPanel interface and command line/composer. Also, starting with Magento 2.4.0 version, the Web Setup Wizard is removed, and it is needed to use the command line to install or upgrade Magento, as well as modules and extensions. We will provide you with the steps on how to install Magento 2.4.4.
Magento 2.1.12
Pre-setup
Preparing files and database
Installation
Magento 2.4.4
Pre-setup requirements
Setup
Pre-setup
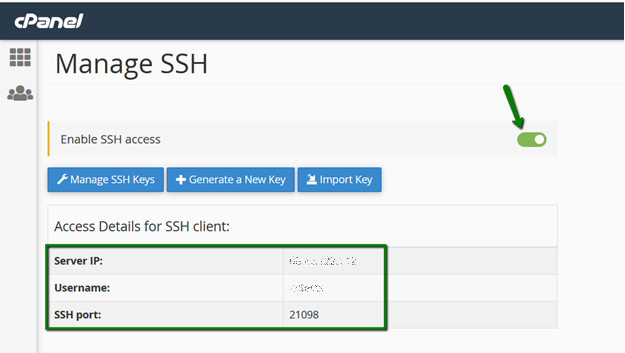
1. First, make sure that shell access (SSH) is enabled for your account. You can review and enable it in cPanel >> Manage Shell menu.

4. Confirm that Composer is installed by running the following commands:
- which composer
- composer --help

Preparing files and database
1. To begin, you need to find the Magento version you need. The main repositories for older versions are:
For this example, we will use Github.
2. In order to download the archive, you must run the wget command along with the direct link to the file archive. In this case, it’s:
- wget https://github.com/magento/magento2/archive/2.1.12.tar.gz

(Make sure to replace the URL with the one you need.)
3. Use the following command to extract the files:
- tar xfz 2.1.12.tar.gz --strip 1
Remember to replace the
2.1.12.tar.gz with the name of the archive in question. Also, remember to use the
--strip 1 option, or you will have to move the files manually.

4. To install Magento via Composer, use the composer install command.
Wait for the process to complete. You will see the "Generation Autoload Files" message when it finishes:

5. The next step is the database setup. For this step, you will need to do the following:
- Create the database.
- Create a user and set a password.
- Add the user to the database.
Detailed steps for this
can be found here.
Installation
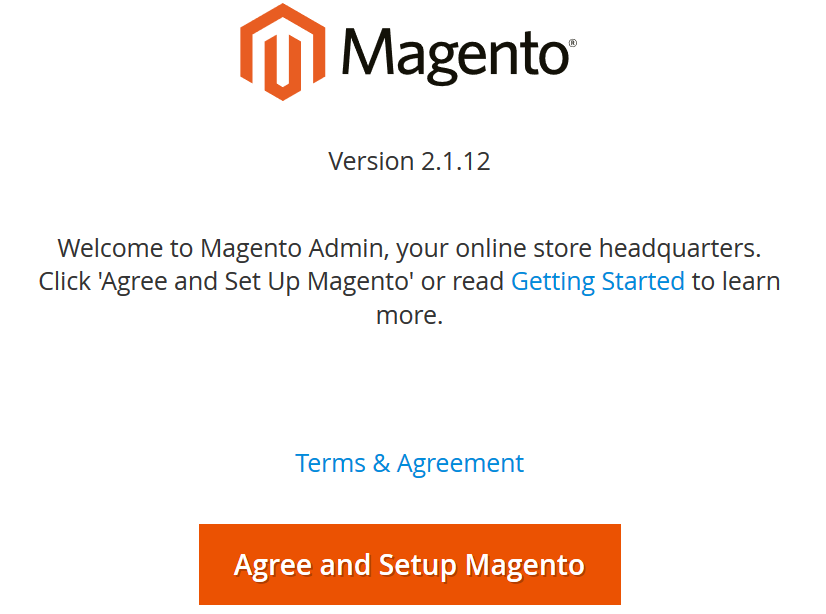
1. You must open your website in a browser in order to continue the installation process. You will then be asked to accept Magento’s User Agreement:
2. Next, a system readiness check will be performed:
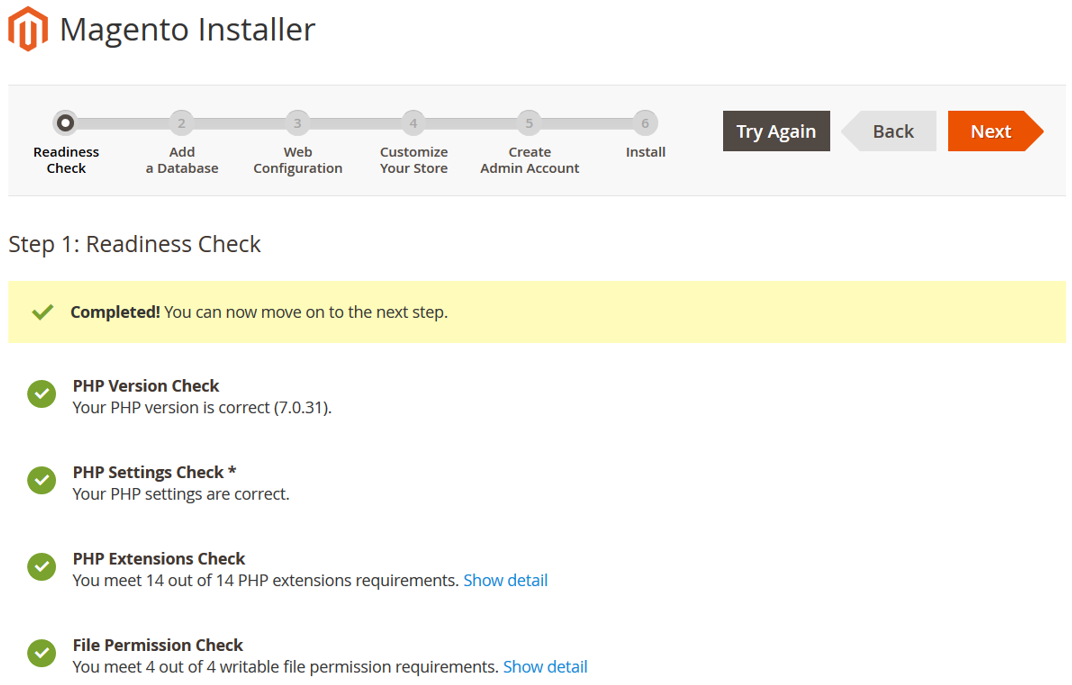
In case any of the PHP requirements are not met, please refer to the tutorial on
how to adjust your PHP settings. File permissions can be reviewed and changed
as described here.
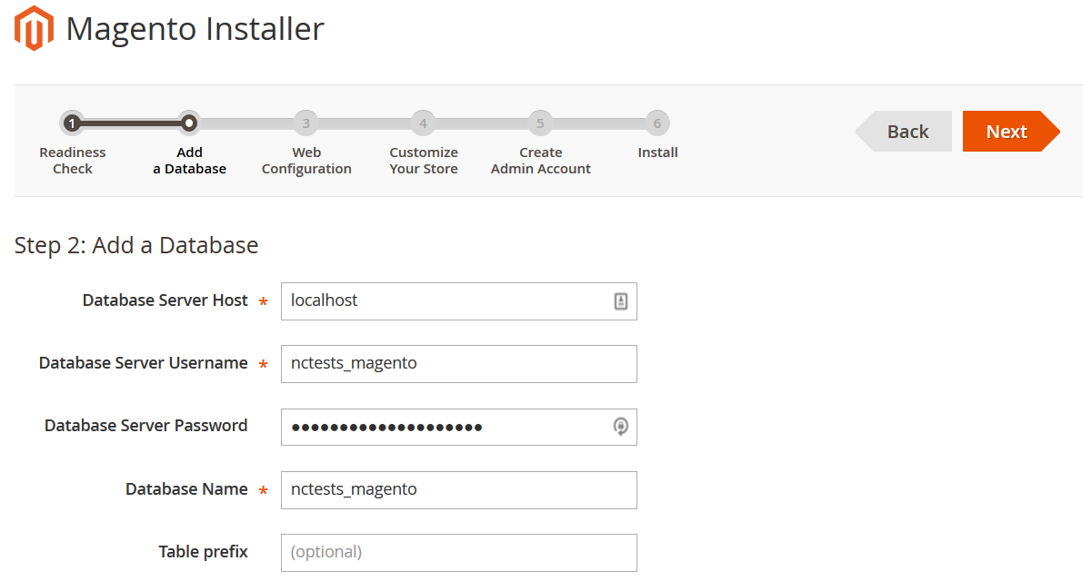
3. Once the check is completed, enter the details for the database you created earlier (see Step 5 above):
- Database Server Host (localhost)
- Database Server Username (username of the user assigned to the database)
- Database Server Password (password of the user assigned to the database)
- Database Name
4. The next step (Web Configuration) allows you to perform the basic configuration of the website and admin panel. These settings are entirely based on your preference.
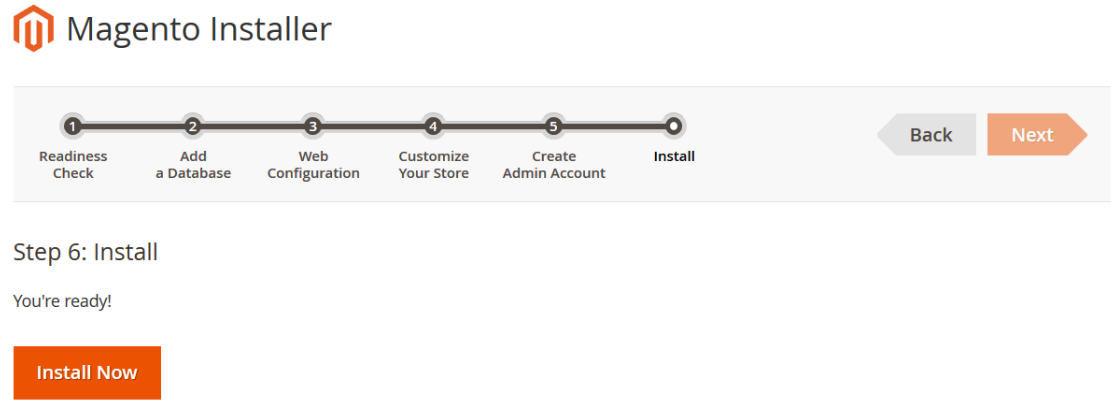
5. Finally, press Install Now to complete the installation.
You should see this message:
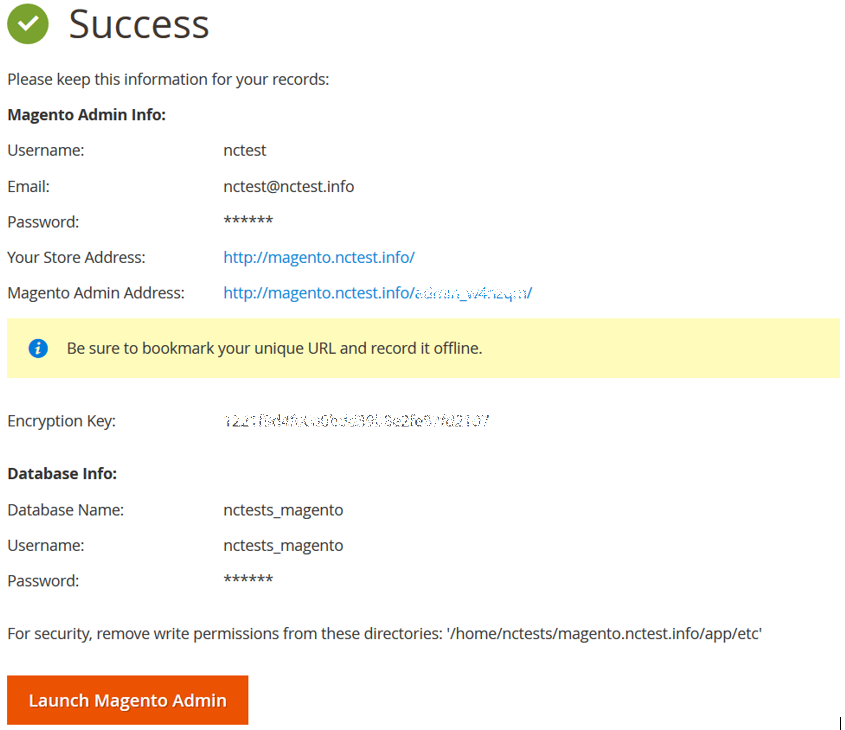
That’s it!
- PHP version: 7.4 or higher;
- sodium PHP extension;
- check if the composer is present via the ‘composer -v’ command. If it is not present, it can be installed using this instruction;
- get Public and Private authentication keys to the Magento Composer repository using this guide;
- the full list of requirements can be found here.
We will use the subdomain magento.nctest.info to demonstrate the Magento installation steps:
- Make sure SSH access is enabled for your cPanel. You can find more details here.
- Open Terminal and navigate to a domain’s root folder, in our example magento.nctest.info, the command is ‘cd magento.nctest.info’ (the full path is /home/cpuser/magento.nctest.info):

- Run the following command to upload Magento via composer:
composer create-project --repository-url=https://repo.magento.com/ magento/project-community-edition=version install-directory-name
version - can be replaced with the necessary version. You can find the list of versions here. In case it is omitted, the composer will install the latest version of Magento.
install-directory-name - should be replaced with the name of the folder where Magento should be installed. In our example, it is the magento.nctest.info folder.
Here is our command:
composer create-project --repository-url=https://repo.magento.com/ magento/project-community-edition=2.4.4-p1 magento.nctest.info
- Use the Public key as the Username and the Private key as the Password (please note that it will be hidden in Terminal due to security reasons). Keys can be generated here.

- Wait till the installation is finished. Once it is completed, a new magento.nctest.info folder will be created automatically inside the previous one (the full path is /home/cpuser/magento.nctest.info/magento.nctest.info). It is needed to enter it:

- If you are installing the Magento version higher than 2.4, please disable Elasticsearch running this command:
php bin/magento module:disable {Magento_Elasticsearch,Magento_InventoryElasticsearch,Magento_Elasticsearch6,Magento_Elasticsearch7}
NOTE: Elasticsearch cannot be installed on Shared servers.
- Create a new database, database user, and password in your cPanel using this guide.
- Set up Magento using this command:
php bin/magento setup:install --base-url=http://${site_URL} --db-host=localhost --db-name=${DB_NAME} --db-user=${DB_UR} --db-password=${DB_pass} --admin-firstname=First_name --admin-lastname=Last_name --admin-email=${admin@magento.nctest.info} --admin-user=Admin_Username --admin-password=Admin_Password --language=en_US --currency=USD --timezone=Europe/Lisbon --use-rewrites=1 --backend-frontname=admin321
http://${site_URL} - should be replaced with the actual address, in our example it is https://magento.nctest.info;
${DB_NAME} - should be replaced with the new created database name;
${DB_UR} - the actual database user;
${DB_pass} - the actual database password;
First_name - your admin first name;
Last_name - your admin last name;
${admin@magento.nctest.info} - the working email as you will need to configure 2FA later to access your admin dashboard;
Admin_Username - should be replaced with the custom admin username;
Admin_Password - the custom admin password;
Admin321 - can be replaced with any custom login link.
Also, you can specify any language, timezone and currency.
Once the installation is finished, you will see the following output:
[SUCCESS]: Magento installation complete.
[SUCCESS]: Magento Admin URI:
Nothing to import.

- The last step is to move all the files from the /home/cpuser/magento.nctest.info/magento.nctest.info folder to the /home/cpuser/magento.nctest.info folder.
- Check the Magento installation in a browser.
That’s it! You have installed a custom version of Magento.
