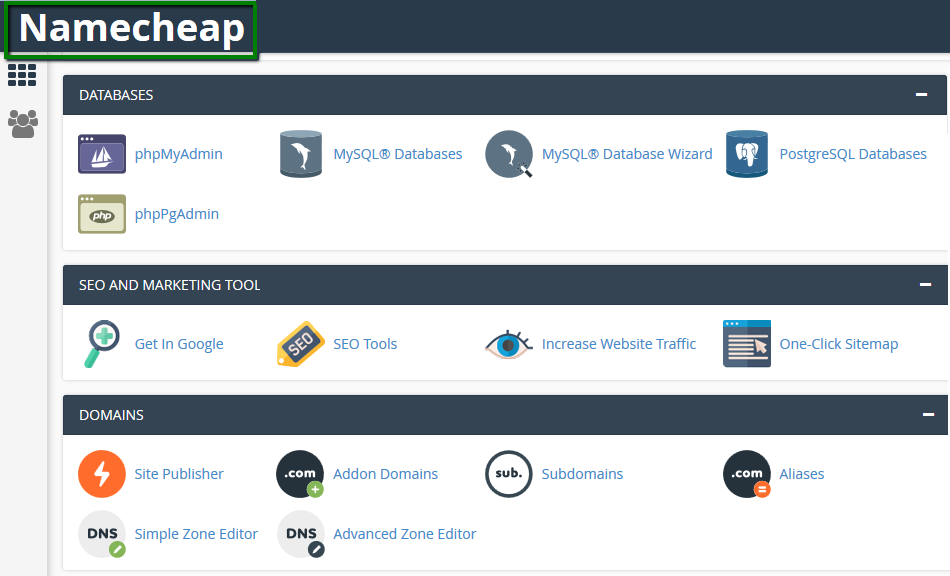
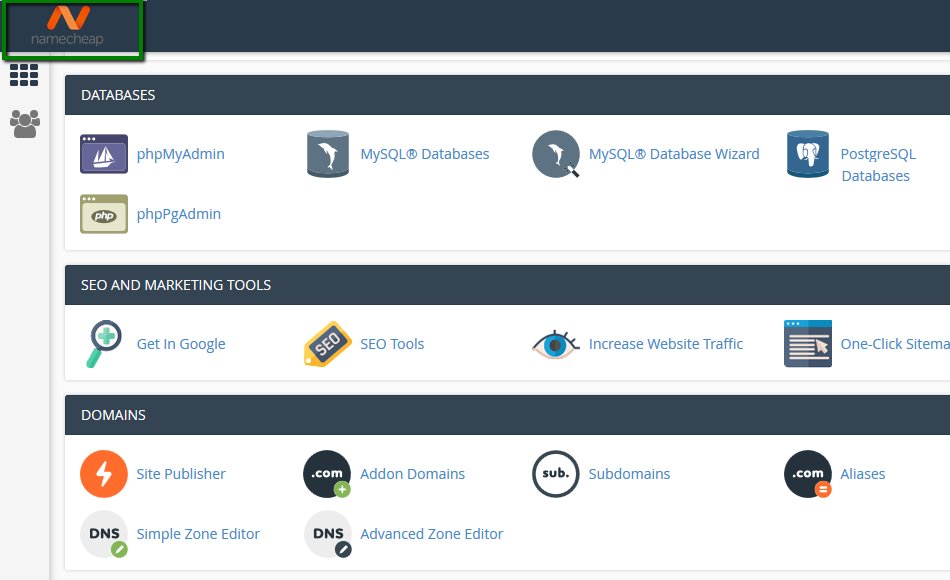
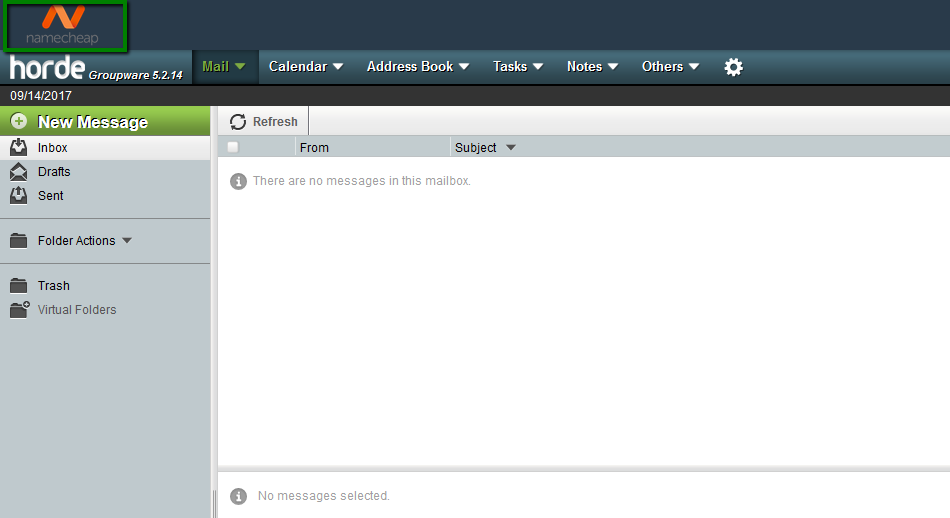
Branding is very important for online businesses. The more places your company's brand appear, the better it sticks in the customers' minds.
The steps below show how to customize the appearance of cPanel interfaces to match your company's branding.
Customize Branding
1. Log in to WHM and navigate to the cPanel section > Customization.
2. In the Customize Branding tab you can change your logo, favicon, and other information of the Paper Lantern theme for your cPanel users. If the account owner does not specify custom branding, the cPanel user sees the root user’s branding, if it exists:
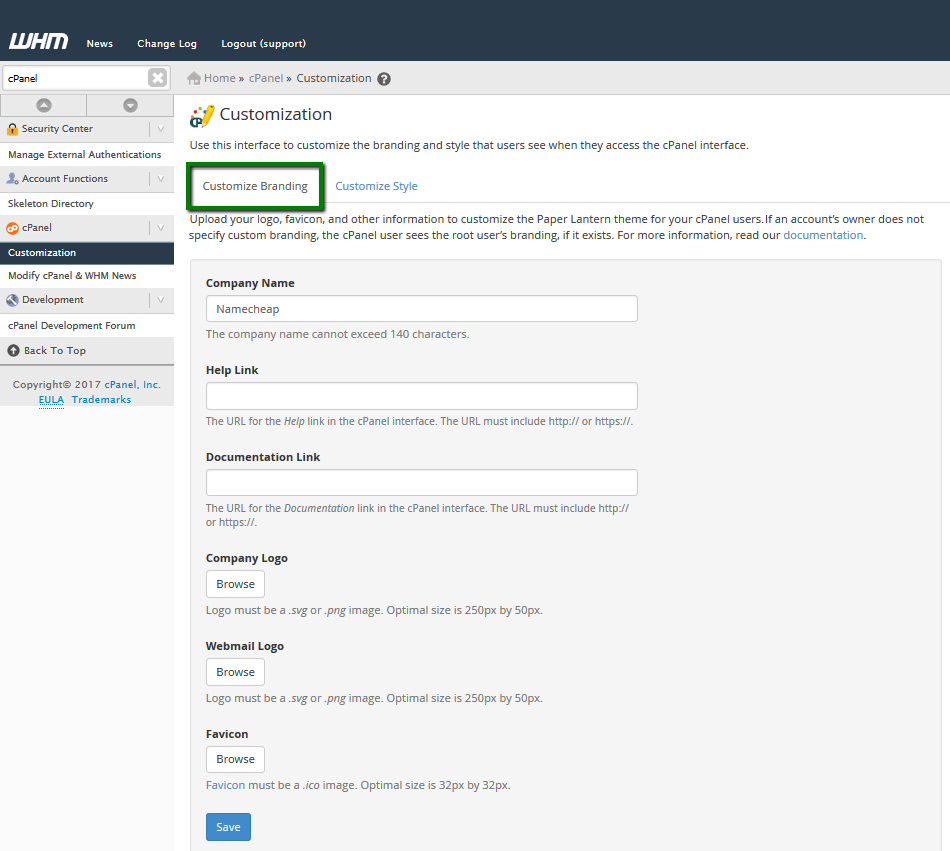
Company Name - enter it here, to brand the interface with the name of your company. The company name cannot exceed 140 characters.
NOTE:-
Use this option if you do not wish to upload a custom logo.
-
If you use this option, your company name will appear in the default cPanel font.
Help Link - if you have a support website, you can enter its URL here. The link will not appear in the cPanel interface until you enter a custom URL. The URL must include http:// or https://.
Documentation Link - you can enter your documentation website's URL. If you do not customize this field, the Documentation link points to cPanel's documentation website.The URL must include http:// or https://.
Company Logo - this feature allows you to edit the header and footer images in each theme as well as the main page icons for the style. The logo must be a .svg or .png image. Optimal size is 250px by 50px:
Webmail Logo - here you can add a custom logo to your Webmail access page. The logo must be a .svg or .png image. The optimal size is 250px by 50px:
Favicon - Favicon (also called site icon) is a small image that appears next to your website title in the browser. It helps your visitors to identify your website. Favicon must be an .ico image. The optimal size is 32px by 32px.
3. Once you edit all the settings, click Save.
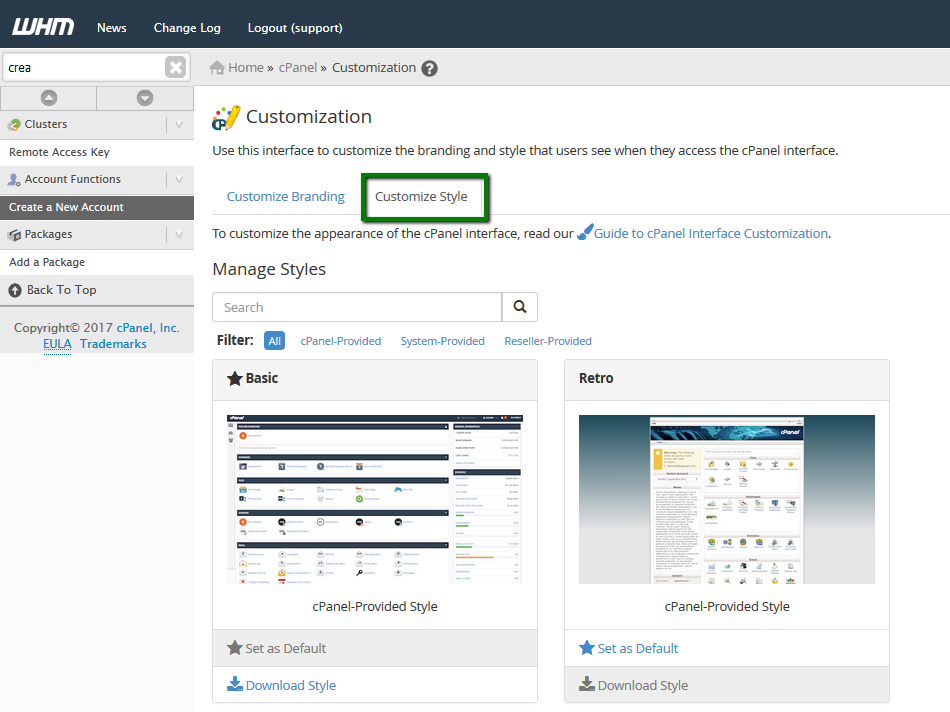
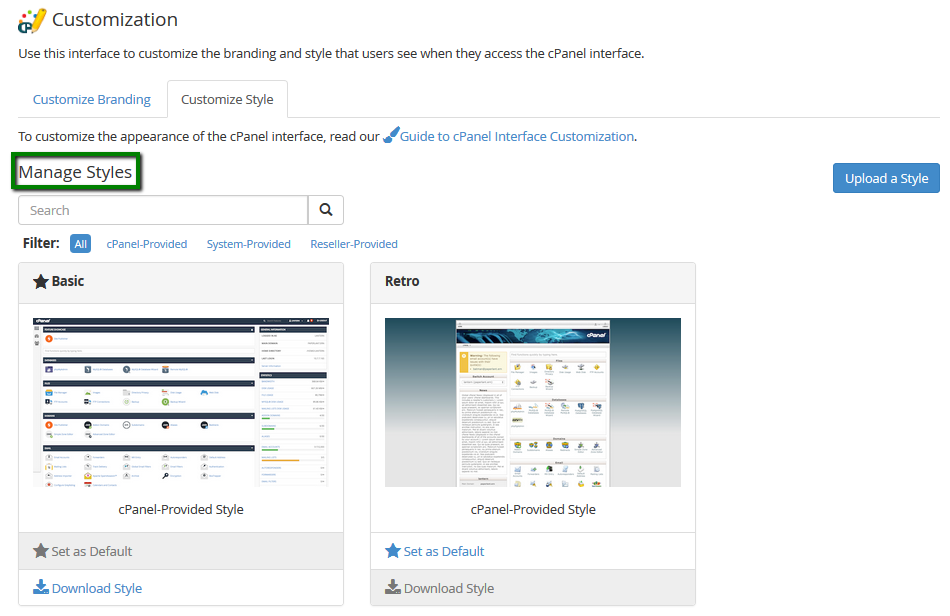
Customize Style
Customize Style tab allows to customize the appearance of the cPanel interface:
To upload custom cPanel styles:
1. Click Upload a Style:
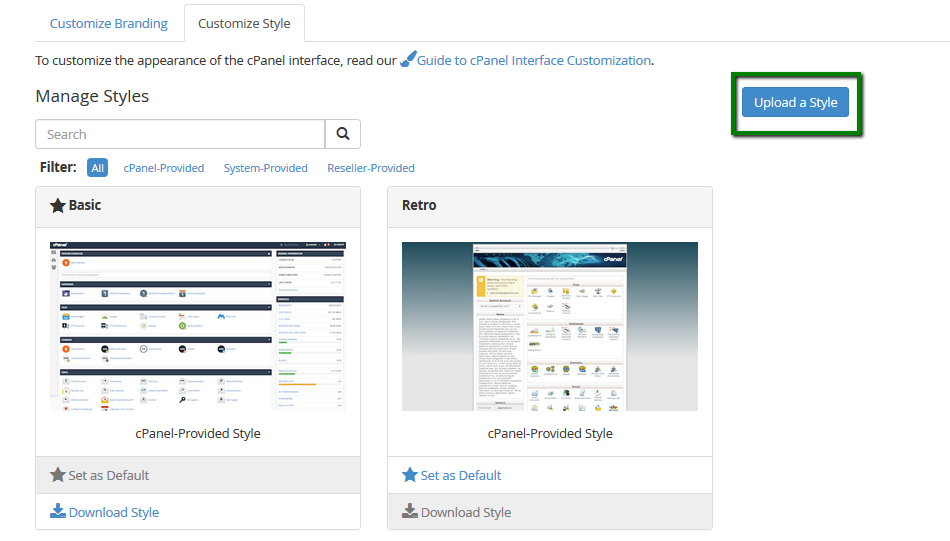
2. Select a style to upload using the Browse button. You must upload your style as a .tar.gz file. The selected file must contain the styles.css file, the styles.min.css file, or both. The system will use the .tar.gz file’s name as the style name.
3. Select 'Set this style as my default style', if needed, and click Upload:

You may find more information on how to create a custom style here
In Manage Style section you can:
- Set as Default - click to set a style as the default style for your newly-created accounts. For existing accounts on the server the style needs to be set manually.
- Download Style - click here to download existing styles in order to customize them or use them as a base for new styles.
- Delete - click the trash can icon to delete a style, and then click Delete again to confirm the deletion. You can only perform this action on uploaded styles.
This is it!
