The option to use a custom domain name with Office 365 is only available for Office business packages.
To map your Namecheap domain with an Office 365 account, you need to do the following:
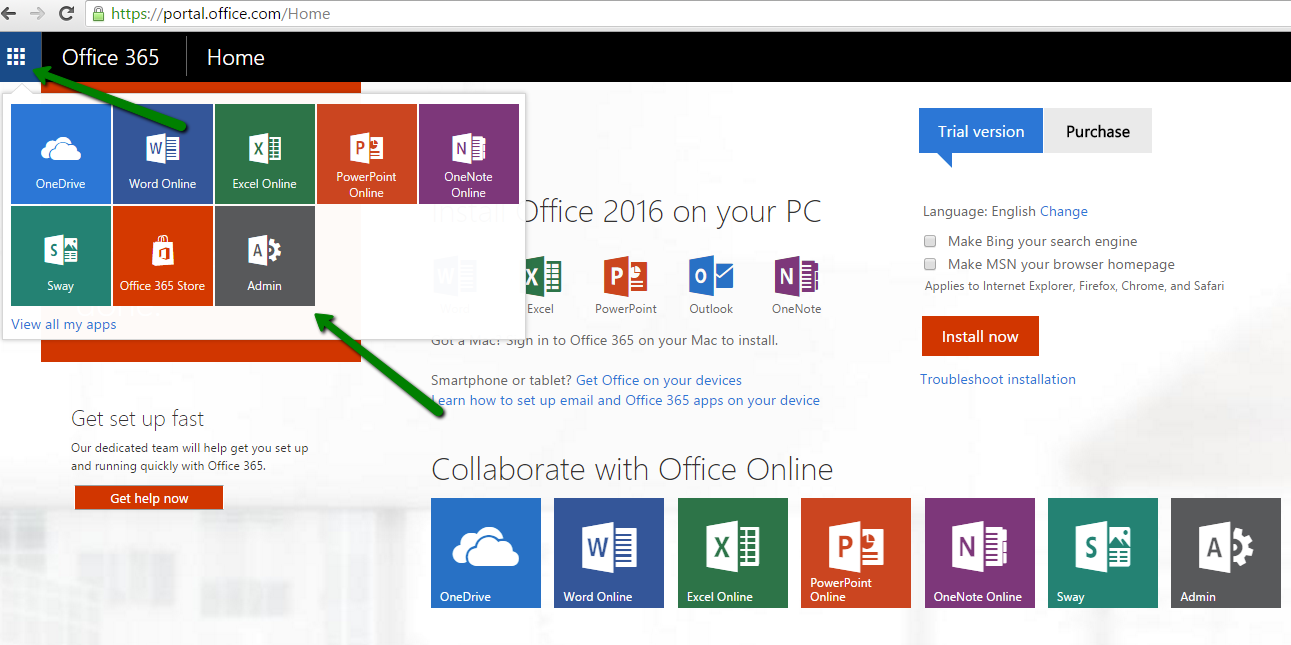
2. Mouse over to the App Launcher icon and select Admin from the list:
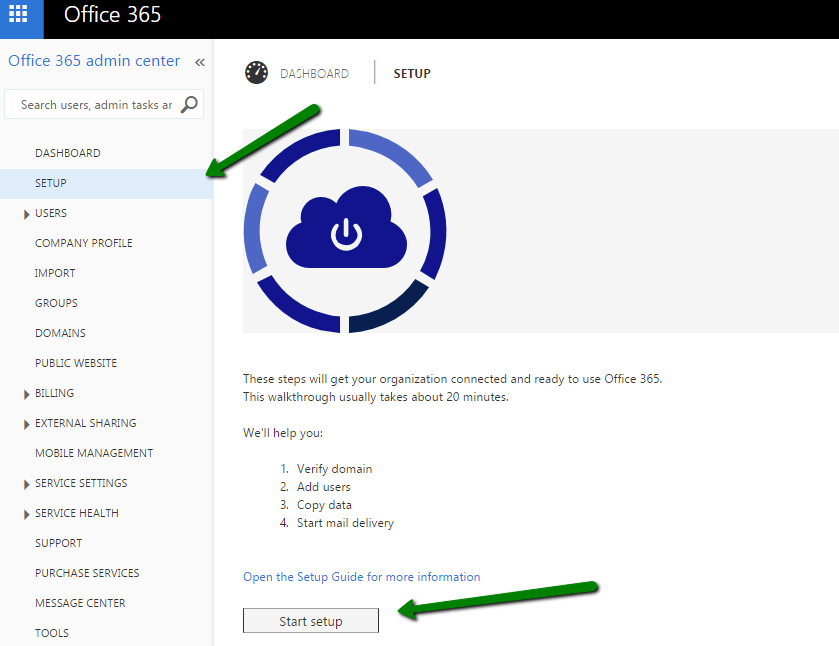
3. Click on the Setup option on the left and hit the Start Setup button:
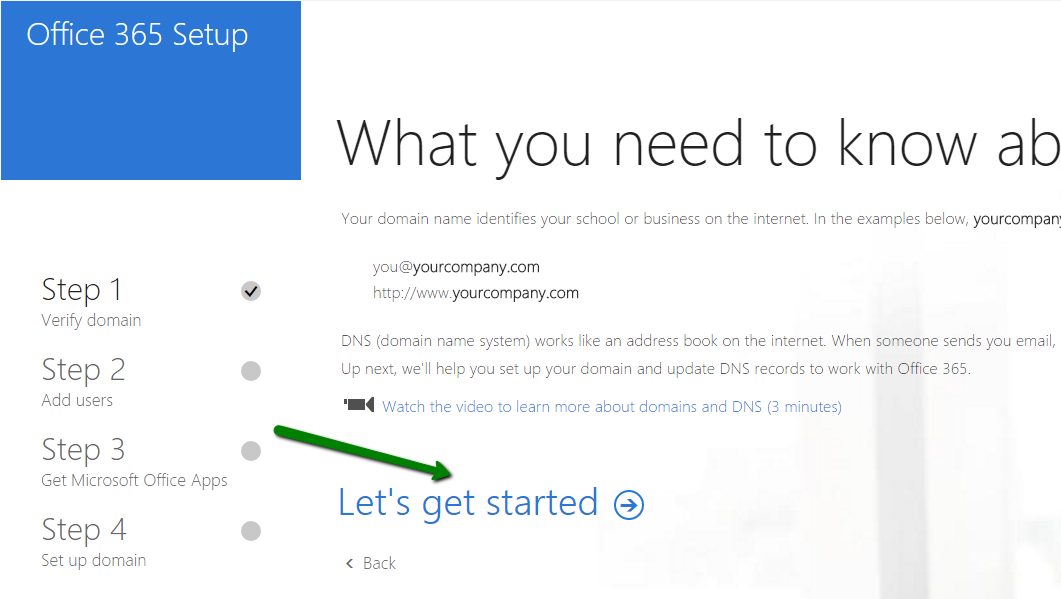
4. Click on the Let's get started link:
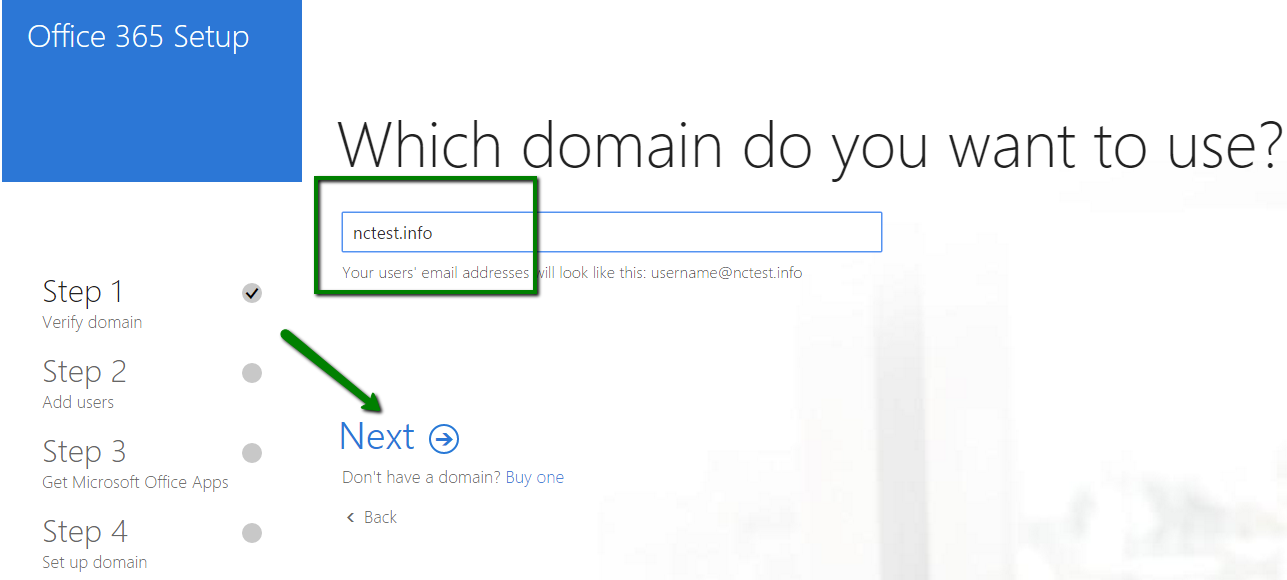
5. Insert your domain name in the format domain.tld and click Next:
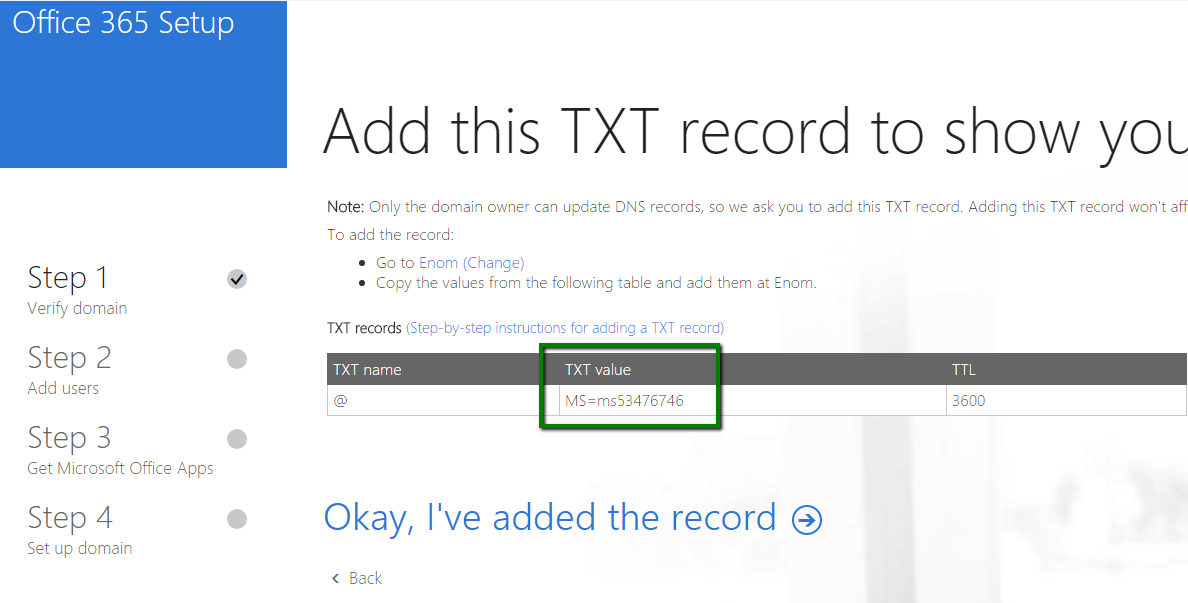
6. Copy TXT Value generated for your domain (MS=ms53476746 in our case):
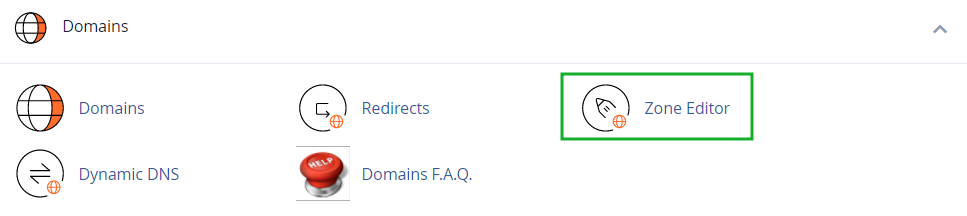
7. Go to your cPanel account > Domains section > Zone Editor menu:
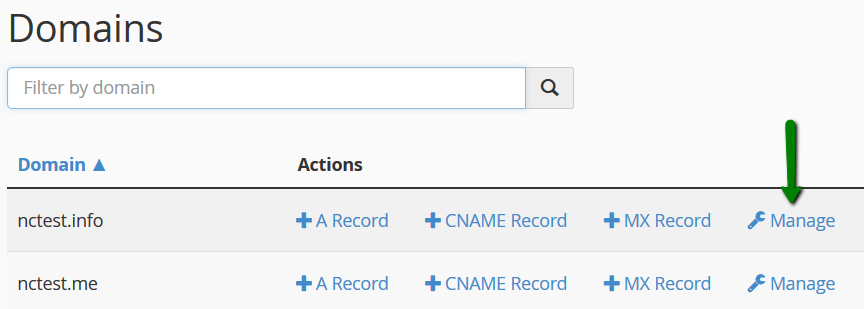
Click Manage next to the domain name:
Add a new TXT record using the Add Record button:
- Name: full domain name, like nctest.info
- TTL: 1200
- Type: TXT
- Record: verification string provided by Office 365

8. Wait for about 30 minutes for the newly created record to be accepted globally and get back to your Office account to proceed further with the setup:
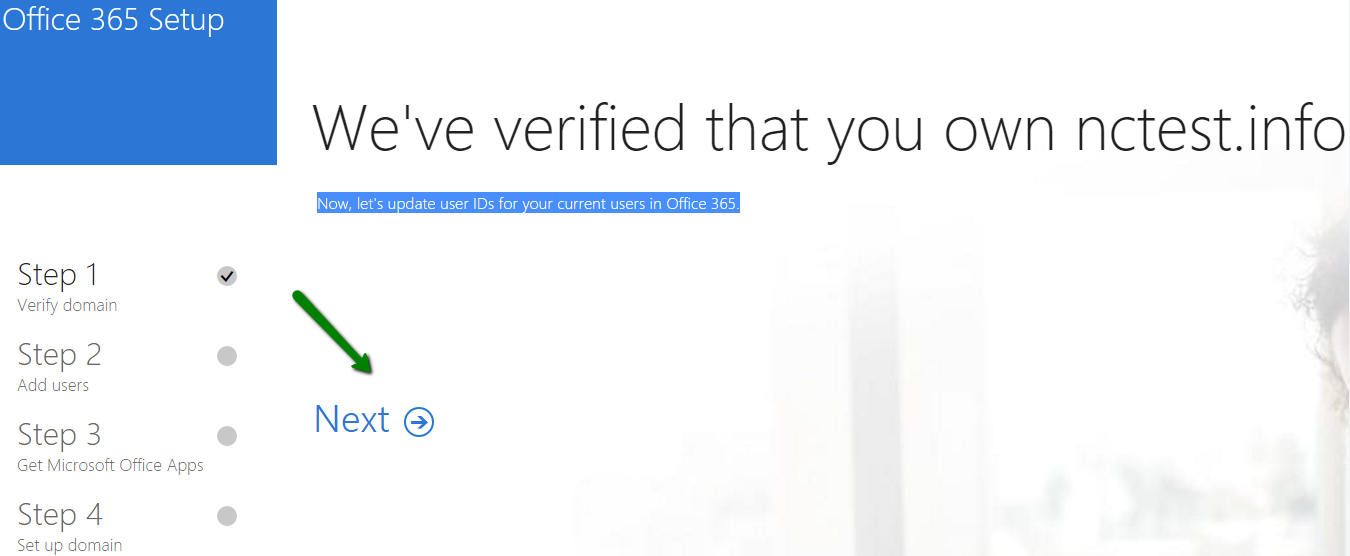
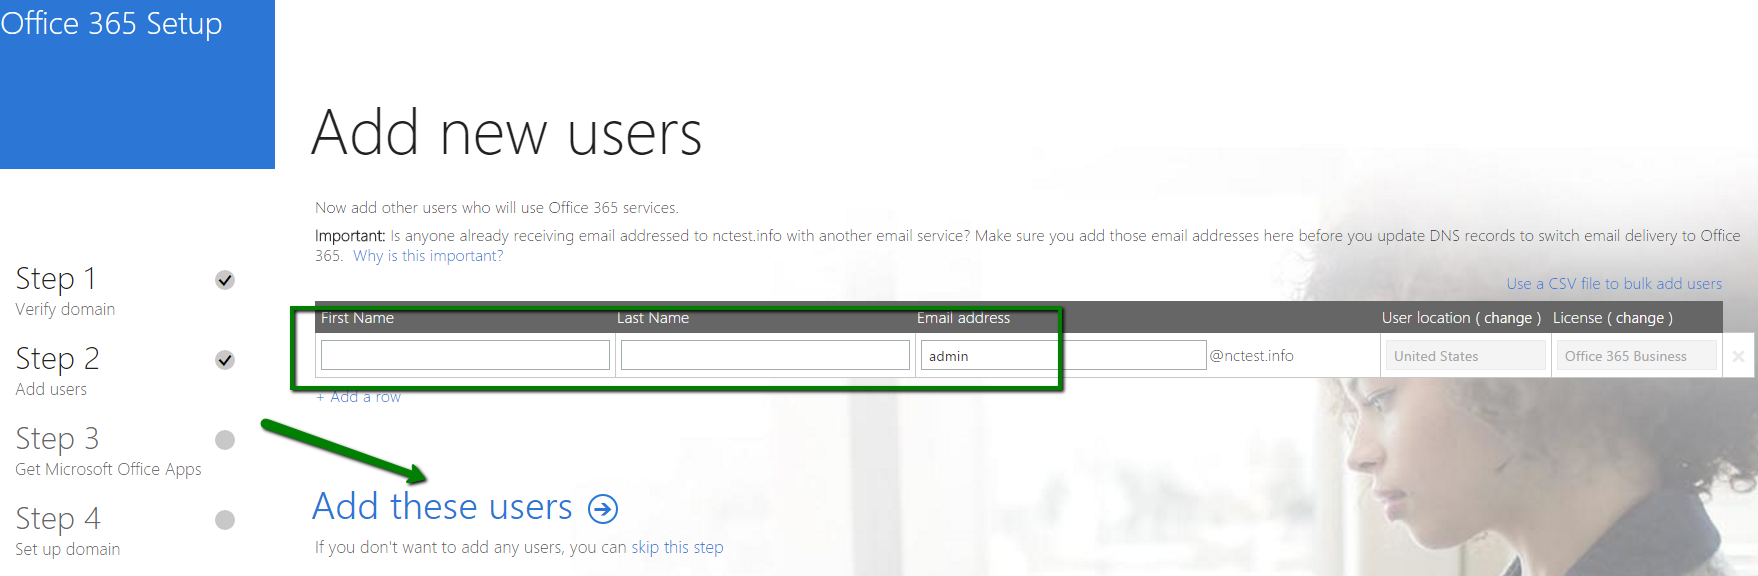
9. If the setup is successful, you will be able to add new users who will use Office 365. Just put in the First and Last name into the corresponding fields along with the email address:
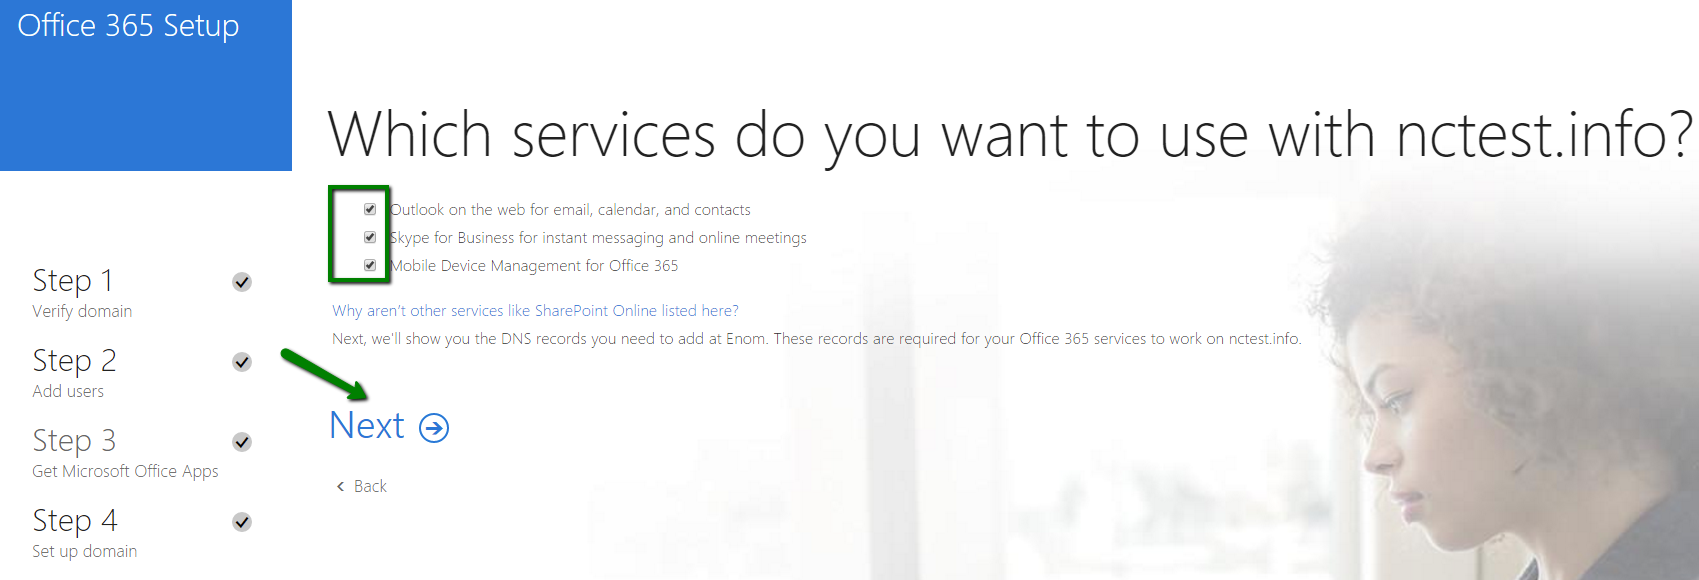
10. Choose the option you need on the next screen and click on the Next button:
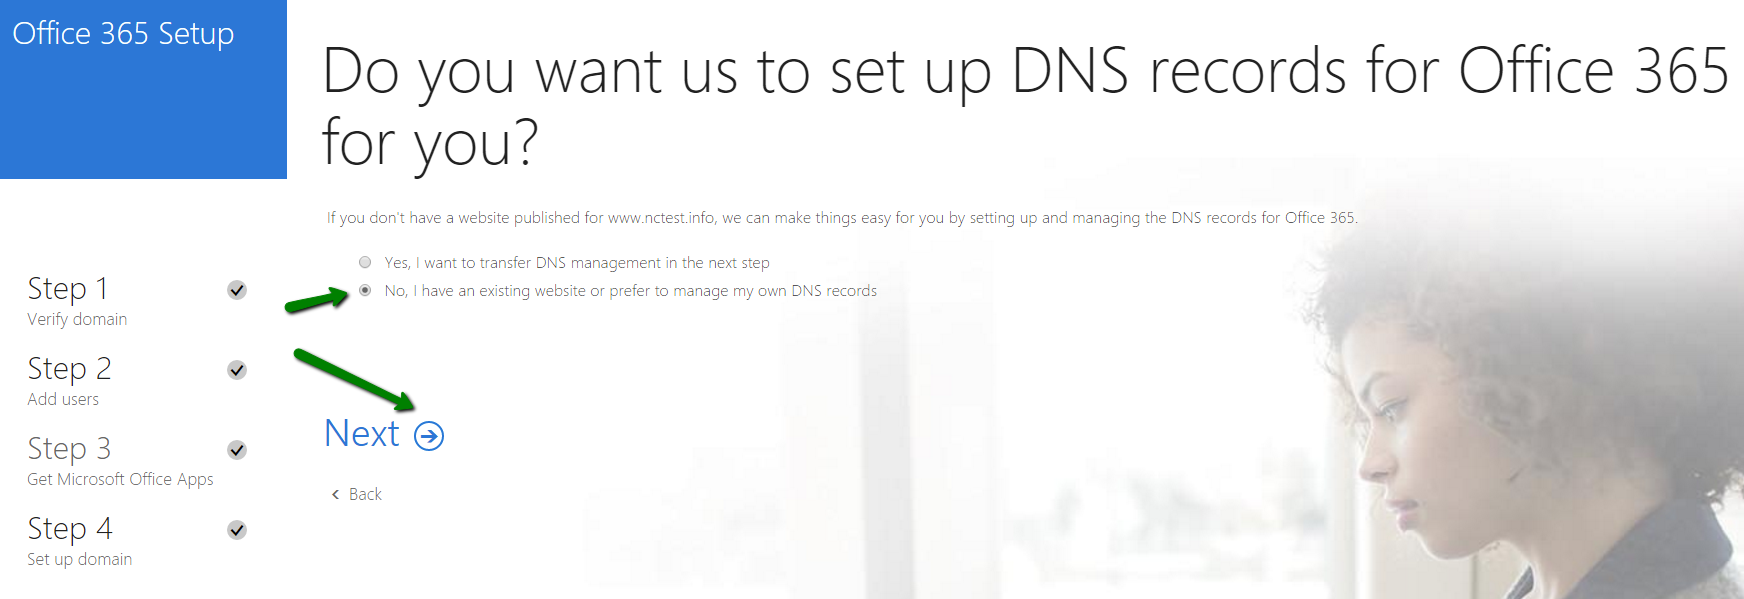
Select the No, I have an existing website or prefer to manage my own DNS records option and click Next:
11. Below you will find the records required to use Outlook for email, calendar and contacts:
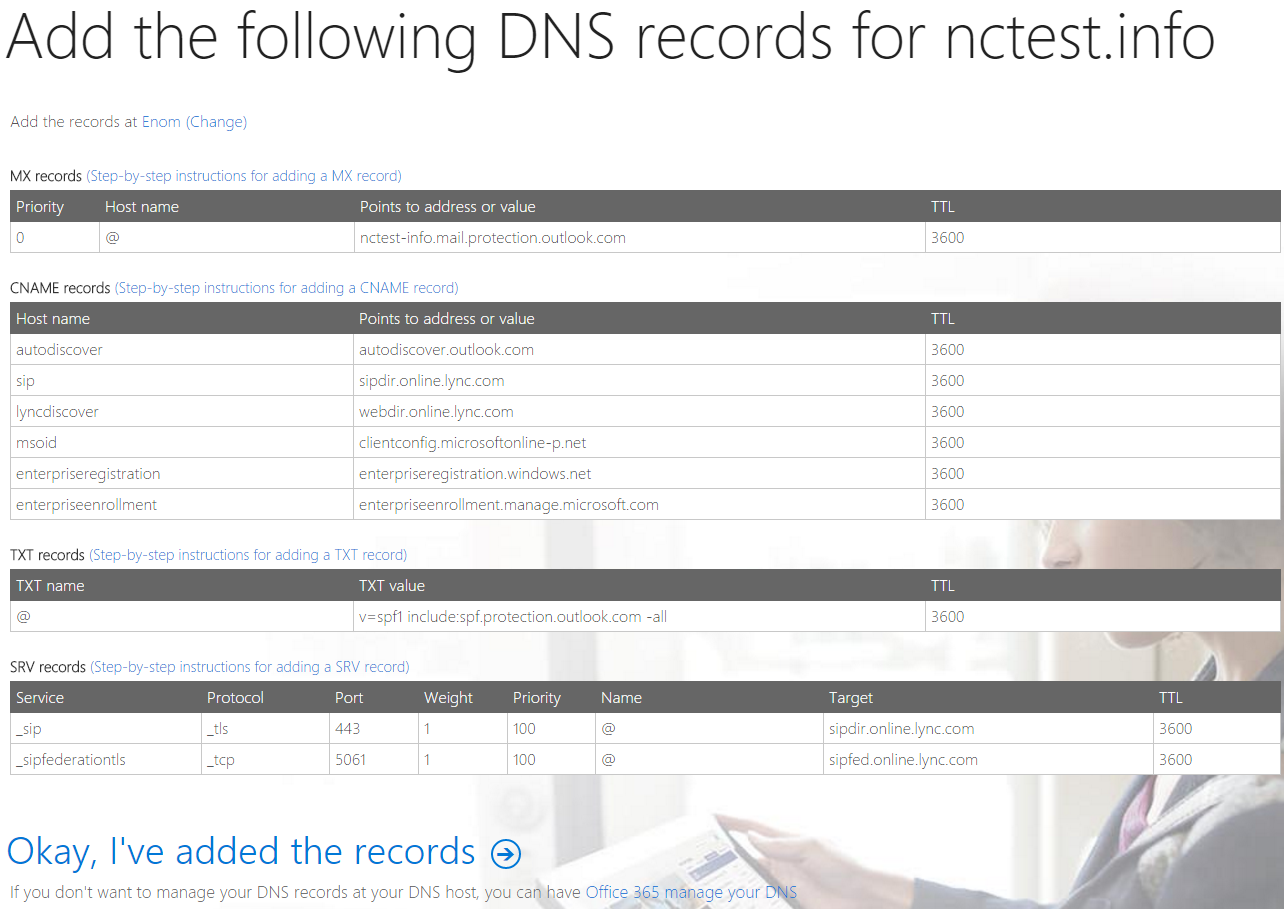
12. To add them for your domain, get back to your cPanel account and make the necessary changes in the Zone Editor menu using Add record option. Here are the records to be created:
| Type | Host | Value |
|---|
| CNAME | autodiscover | autodiscover.outlook.com |
| CNAME | sip | sipdir.online.lync.com |
| CNAME | lyncdiscover | webdir.online.lync.com |
| CNAME | msoid | clientconfig.microsoftonline-p.net |
| CNAME | enterpriseregistration | enterpriseregistration.windows.net |
| CNAME | enterpriseenrollment | enterpriseenrollment.manage.microsoft.com |
| TXT | yourdomain.tld
(nctest.info in our case)
| v=spf1 include:spf.protection.outlook.com -all |
PLEASE NOTE: Before adding a CNAME record for the autodiscover host, make sure that you do not have the existing CNAME record for the same host. If you do, remove the already existing record and then add the new one from the above table.
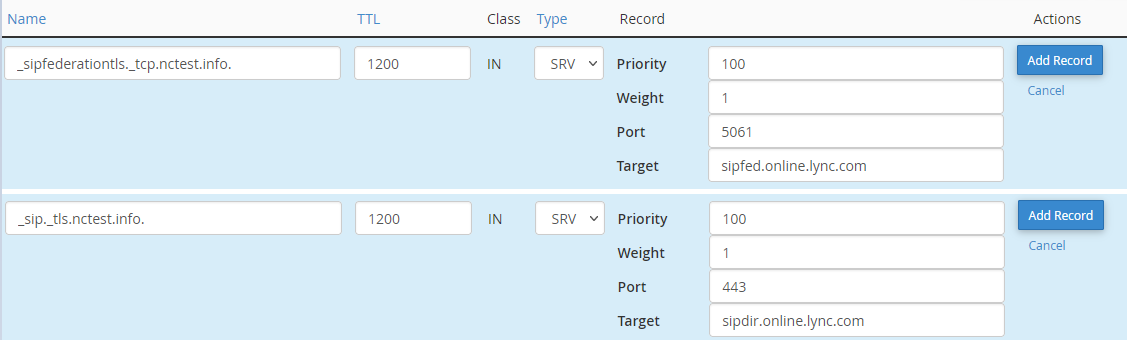
| Type | Service | Protocol | Priority | Weight | Port | Target |
|---|
| SRV | _sip | _tls | 100 | 1 | 443 | sipdir.online.lync.com |
| SRV | _sipfederationtls | _tcp | 100 | 1 | 5061 | sipfed.online.lync.com |
Here is the example of correctly added SRV records in cPanel (replace nctest.info with your own domain):
| Type | Name | TTL | Priority | Destination |
|---|
| MX | yourdomain.tld
(nctest.info in our case)
| 1200 | 0 | yourdomain-tld.mail.protection.outlook.com
(nctest-info.mail.protection.outlook.com in our case) |
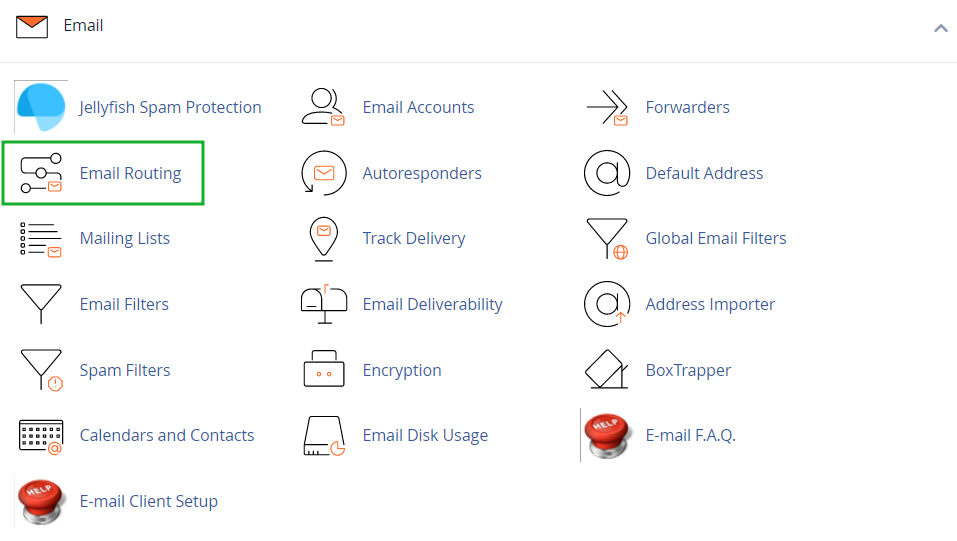
13. Once done, go back to cPanel's main page > Email section > Email Routing menu:
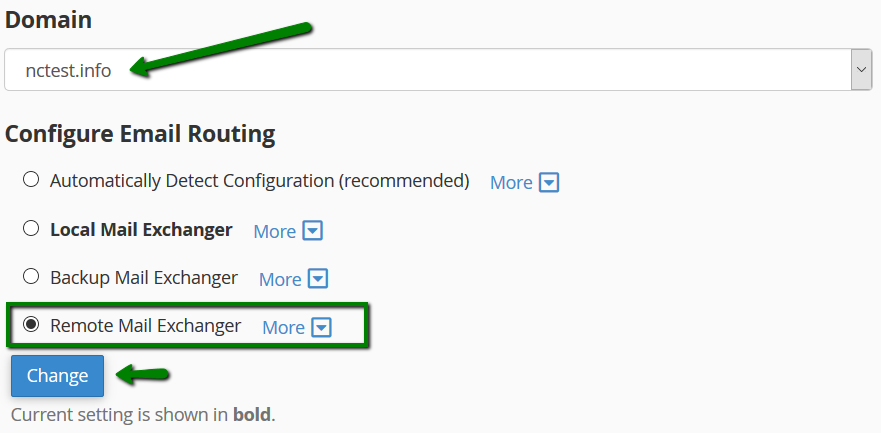
If you have several domains or subdomains, choose the needed domain from the drop-down list and set Email Routing to Remote Mail Exchanger > click Change:
14. Go back to your Office account in several minutes to confirm this change by clicking on Okay, I've added the records link.
The domain name is now associated with Office 365:
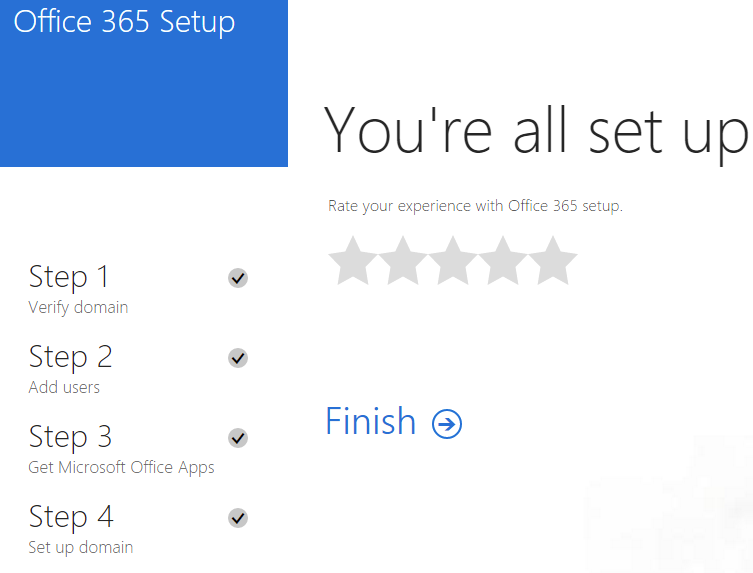
That's it!
Need any help? Contact our HelpDesk
