The Enjin service provides the option to name your website using the Enjin-based URL link, for example, http://namecheap.enjin.com.
This address is created at the very beginning right after signing up at the Enjin website.
To make your website unique and easily accessible, you can connect it with your custom domain.
The free/trial plans do not have a feature to use custom domains. You can substitute the Enjin website address with your custom domain once you Upgrade to the Advanced/Ultimate plan.
After that you can use several simple setup methods to link your domain to the Enjin service:
1) Nameservers switch (preferable to use when your domain is not connected with any other service).
2) DNS records change (used if you would like to leave the domain pointed to Namecheap BasicDNS, PremiumDNS or FreeDNS; this will allow you to use free email forwarding as well as create and manage subdomains).
Nameservers switch
1. Sign in to your Namecheap account.
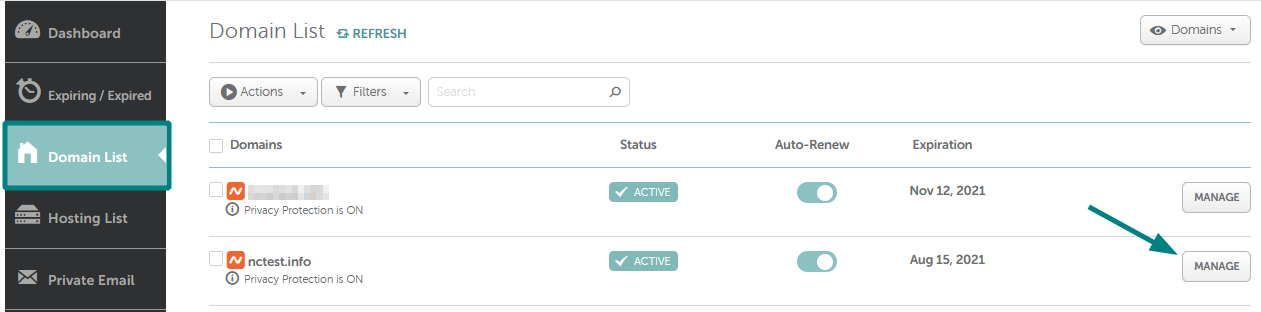
2. Select Domain List from the left sidebar and click on the Manage button next to your domain:
3. Select the Custom DNS option from the drop-down for the Nameservers section and enter the following nameservers:
ns1.enjin.com
ns2.enjin.com
ns3.enjin.com
ns4.enjin.com
Once done, please make sure you click on the green checkmark to save the changes. The screen will refresh and the messages notifying about propagation (time required for the new settings to get accepted and start working worldwide) will appear on the top of the page:
4. Now please wait 24-48 hours before proceeding and returning to your Enjin account to finish the setup. You will see a warning message on your Enjin DNS panel until the nameserver changes propagate all over the world. Once Enjin detects the nameservers have been changed, you will be able to edit your DNS Records using the Enjin DNS panel.
DNS records change
It is possible to set up necessary records from Namecheap's side for domains that are pointed to our BasicDNS, PremiumDNS or FreeDNS.
These instructions cannot be used for the domains pointed to any custom nameservers.
1. Select Domain List from the left sidebar and click on the Manage button next to your domain:
2. Switch to the Advanced DNS tab to manage domain records. Locate the Host records section and click on the Add New Record button. Configure the following two records if you want to use a bare domain for your website, e.g., domain.tld:
- A record for @ pointing to 18.209.54.50
- CNAME record for www pointing to app.enjin.com
Use either the Save All Changes button under the set of the records or
click on each green checkmark in the end of a record to save all changes
properly:
Normally, it takes 30 minutes for newly created records to take effect.
If you have any questions, feel free to contact our Support Team.