
ConfigServer provides the free WHM plugin CSF, which allows you to modify your iptables rules within WHM. It is a stateful packet inspection (SPI) firewall, login and intrusion detection mechanism, and general security application for Linux servers.
We strongly recommend having this plugin installed and enabled in order to have at least a minimal required level of protection against brute-force, DDoS and other kinds of attacks. For the full list of features, check the official page.
Installation
Managing firewall rules
Manually blocking IP addresses
Manually whitelisting IP addresses
Checking IP status in the firewall
Opening ports
Disabling email notifications
Installation
You can only install CSF via the Command Line Interface e.g., SSH access. In CLI when logged in as a root, run the following commands:
cd /usr/src
rm -fv csf.tgz
wget https://download.configserver.com/csf.tgz
tar -xzf csf.tgz
cd csf
sh install.sh
You should see the Installation Completed message in the end:

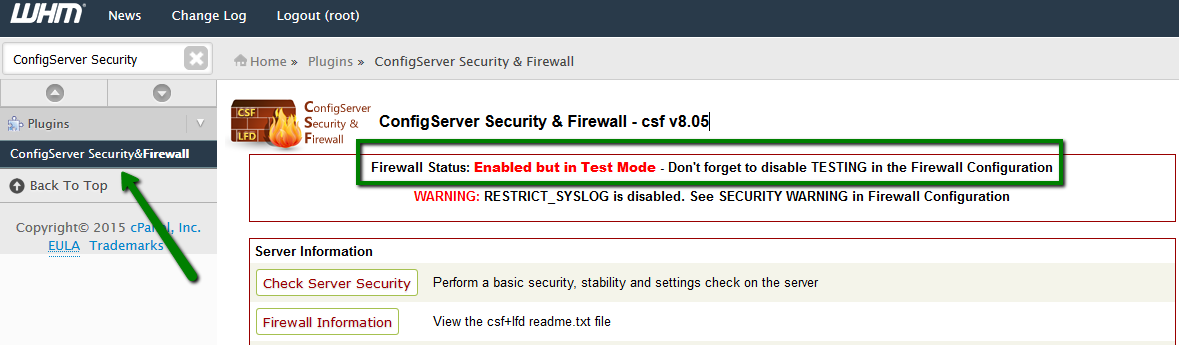
Now in order to enable CSF, proceed to WHM > Plugins section > ConfigServer Security & Firewall.
Right after the installation the Test mode will be enabled which means that the firewall is not fully active yet:
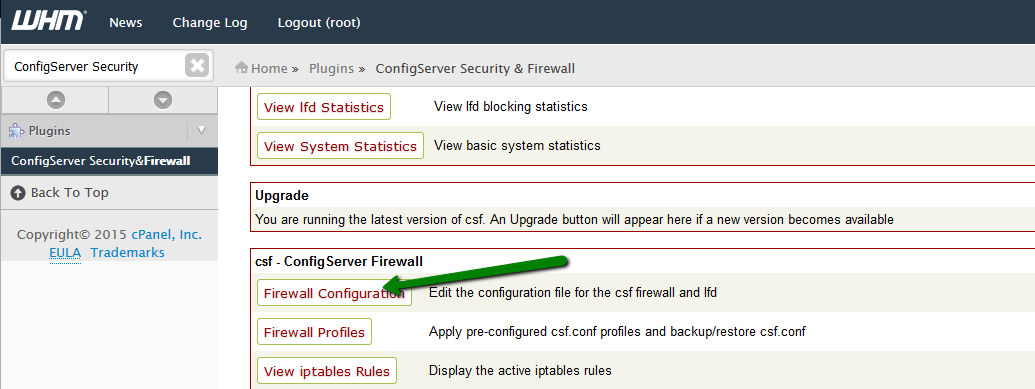
In order to enable it, you must confirm the current configuration via the Firewall Configuration menu:
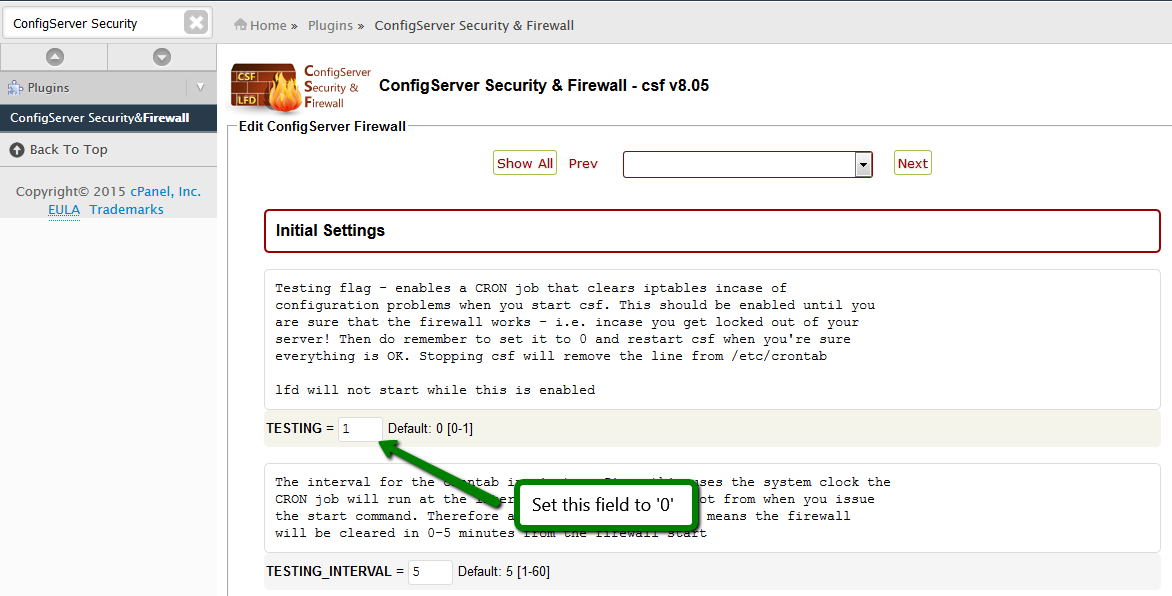
Set the TESTING field at the very top to 0:
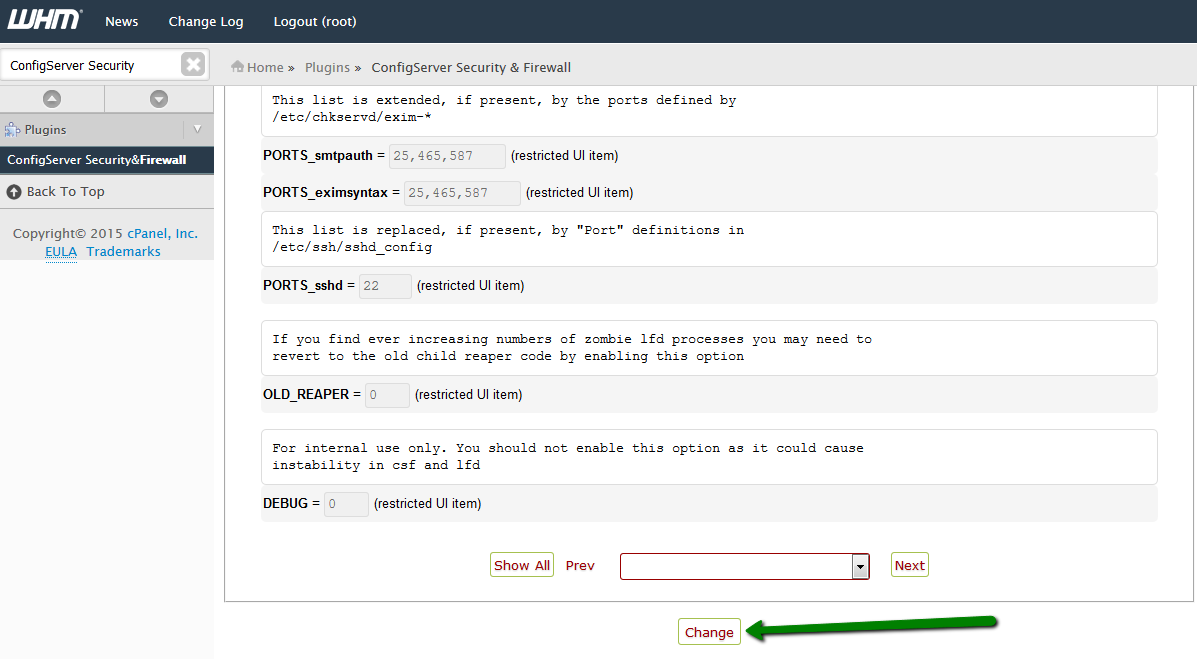
Once done, click Change in the very bottom of the page:
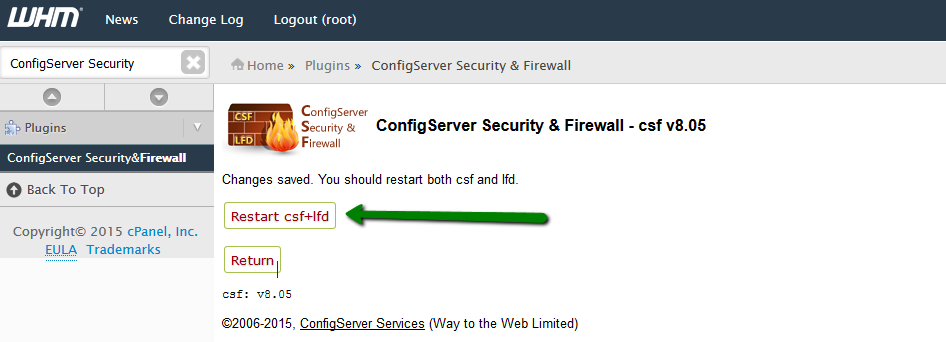
After that, restart CSF by clicking on Restart csf+lfd:
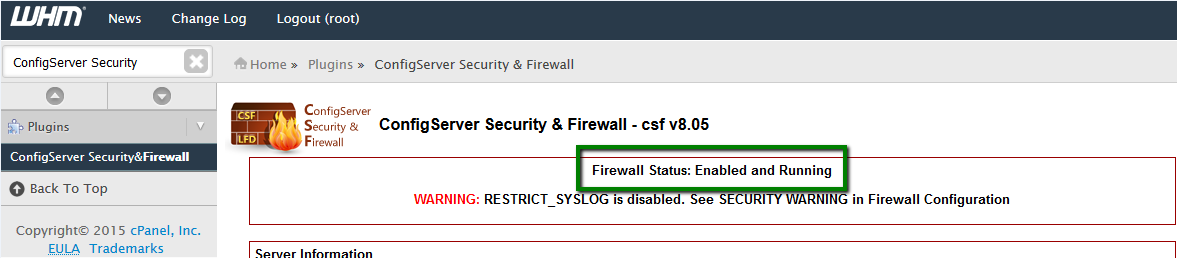
You should now see the Firewall Status: Enabled and Running message:
In order to block an IP address from accessing the server use the Quick Deny option:

We suggest adding comments to all manual blocks in order to ease the troubleshooting process of firewall-related issues in the future.
If you want to whitelist any IP address on the server to prevent it from being blocked, use the Quick Allow option:

NOTE: You can also whitelist/blacklist full networks in the correct CIDR format. For example, adding 104.212.248.0/24 to the allow list will whitelist all IPs starting from 104.212.248.0 till 104.212.248.255

If you suspect that some IP address is blocked in the firewall, you can check it in the Search IP field:

Any allowing or blocking rules for this IP address will be shown if such exists.
For example, the block we have set earlier looks like this:
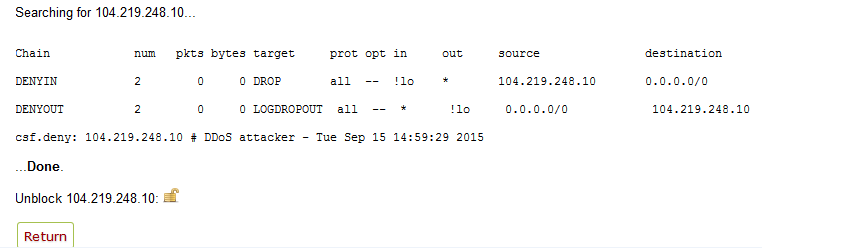
NOTE: You can instantly unblock an IP address at the same page by clicking on the padlock icon next to it.
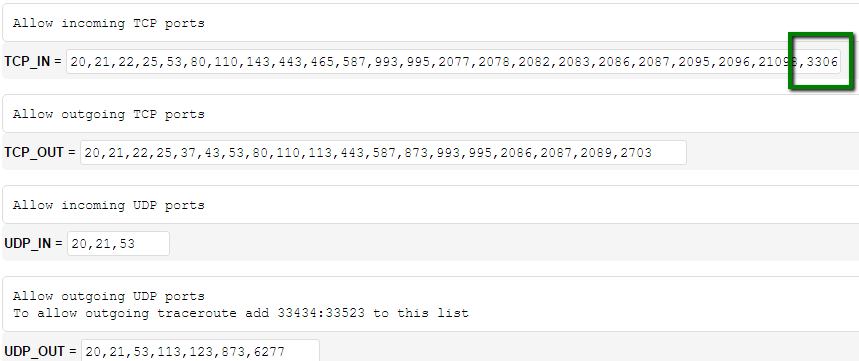
In order to open a TCP or UDP port on your server go to Firewall configuration and locate TCP_IN/OUT and UDP_IN/OUT lines, after that add the port to the corresponding field after the comma.
For example, if you want to open port 3306 for inbound connections to your MySQL database, just add 3306 to TCP_IN field:
Click Change at the bottom of the page and restart CSF for the changes to take effect.
This configuration is managed by our management software for Basic and Complete management plans. If you have a VPS or a Dedicated server with a management plan, feel free to contact our Support Team, and we’ll be happy to assist you with opening ports on your server.

Need help? We're always here for you.