The CNAME record will point your domain or subdomain to the IP address of the destination hostname. So, if the IP of the destination hostname changes, you won't need to change your DNS records as the CNAME will have the same IP.
You are welcome to use this video guide or follow the text instructions further in the article.
NOTE: Please don't set up a CNAME record for a bare domain e.g., yourdomain.tld (@ hostname) since it may affect the operation of the domain's MX records and, consequently, the email service. In most cases you will need to create a CNAME record for www (or other subdomain) and URL Redirect for @ that will point to http://www.yourdomain.tld/
If your domain is pointed to the Namecheap Web Hosting DNS, you can set the CNAME record in your cPanel with the help of
this tutorial.
Follow these steps to create a CNAME record for your domain
(1) Sign into your Namecheap account (The "Sign In" option is available in the header of the page):

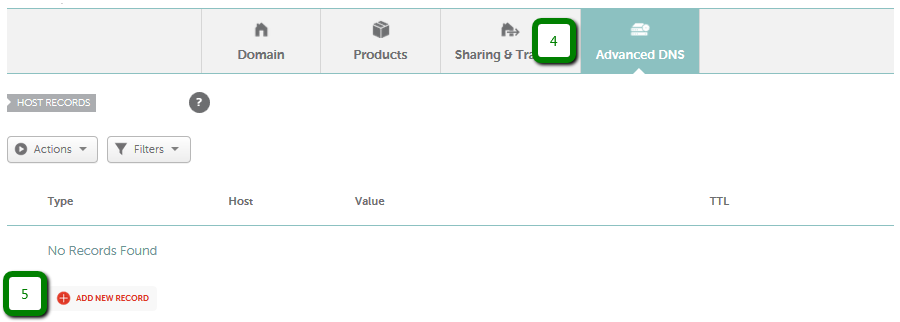
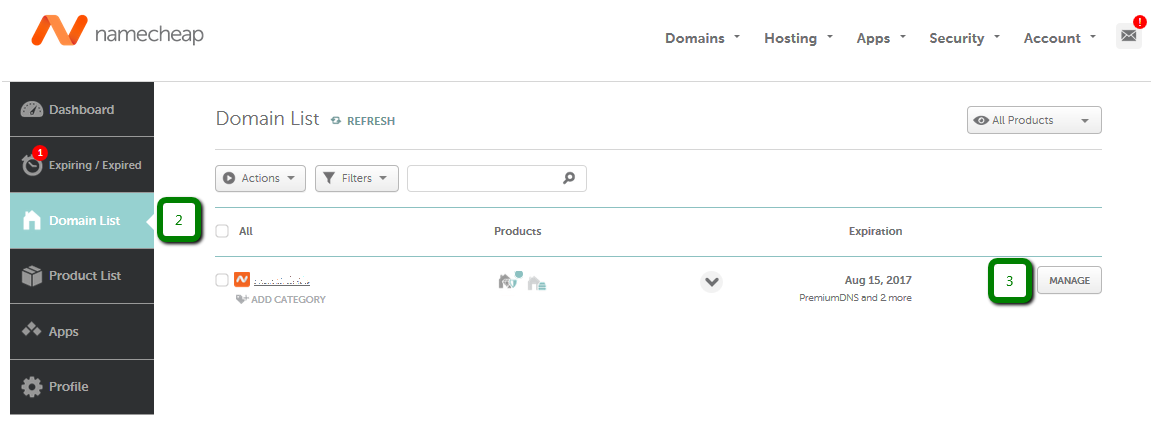
(2) Select Domain List from the left side menu and (3) click the Manage button next to your domain:

(6) Select CNAME Record from the drop-down menu for Type, put your desired host (e.g. www) for Host and enter the record itself (e.g. ghs.googlehosted.com) into Value:

Note: Namecheap DNS system automatically adds the domain name to the values
submitted during record creation. Please make sure that your domain name
is not duplicated in the values (e.g., that you enter your subdomain just like mysubdomain and not like mysubdomain.domain.tld). If your domain is using Namecheap
Basic nameservers or PremiumDNS, remove the "domain.tld" part of the
provided Host value before adding it to the validation record for the
domain. Copy the Host and Target values and paste them into the
corresponding fields in your DNS provider account. Set the minimum
possible TTL value.
Please note that the target value should be a
fully qualified domain name - a valid (sub)domain, not just a random string of symbols. Otherwise, you will get the "
Please enter a fully qualified domain name." warning.
(7) Click on the Save All Changes button each time you need to save the record:

Please check if there are any CNAME, URL Redirect (Unmasked/Masked/Permanent), ALIAS or A records set for the same Host. Such records can conflict with each other and they should be removed. CNAME record blocks any other records created for the same Host.
Here is a CNAME Example with conflicting records:

Once you've done this, wait for 30 minutes for the host records to be accepted.
That's it!
If you have any questions, feel free to contact our Support Team.


