This tutorial will help you to configure The Bat! email client for your Namecheap Private Email account.
NOTE: before setting up email account this way, please make sure you already have a
created email account in cPanel.
In order to set up your email account in The Bat! email client, follow the instructions below:
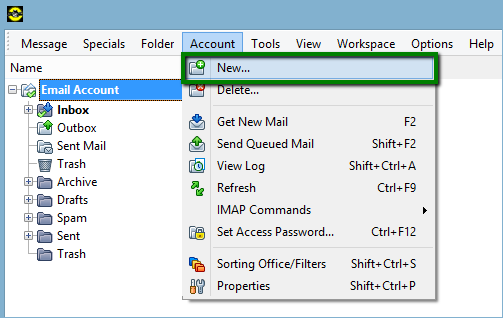
1. Run The Bat! application, go to Account menu and click New:
2. Enter the following settings into the corresponding fields:
Your full name: the name of your account in The Bat!
E-mail address: your full email address
Organization (if any): organization name
Password: your email account password
NOTE: if this is your first email account setup in The Bat! you will be forwarded to this window at once.
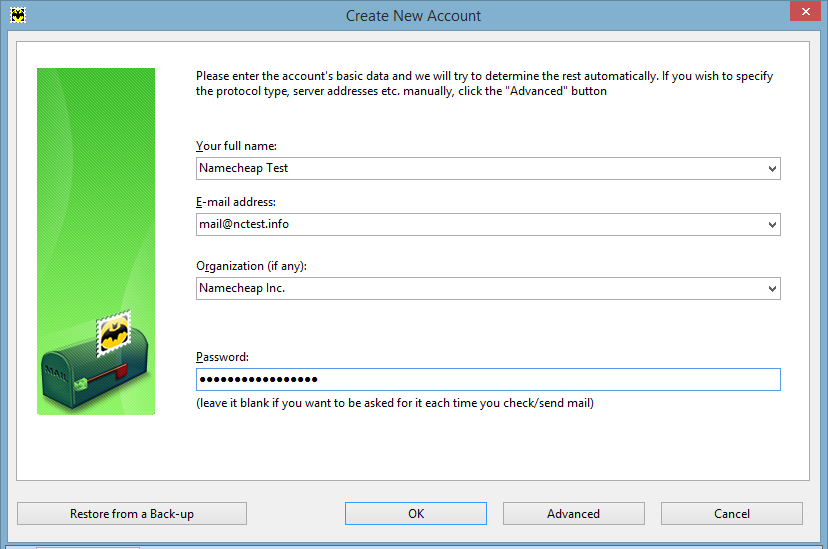
Once done click OK or Advanced.
3. Make sure you have inserted the following settings into the corresponding fields:
Outgoing (SMTP) server address: server your account is hosted on
Connection type (one of the following settings):
- Secure to dedicated port (TLS): port 465
- Secure to regular port (STARTTLS): port 587
- Regular (non-secure): port 25
My SMTP server requires authentication for sending mail should be checked.
Incoming mail server address: server your account is hosted on
Connection type (one of the following settings):
- Secure to dedicated port (TLS): 993 for IMAP, 995 for POP3
- Regular (non-secure): 143 for IMAP, 110 for POP3
User name: your full email address
Do not forget to select the corresponding protocol you wish your email account to be configured via IMAP or POP3:
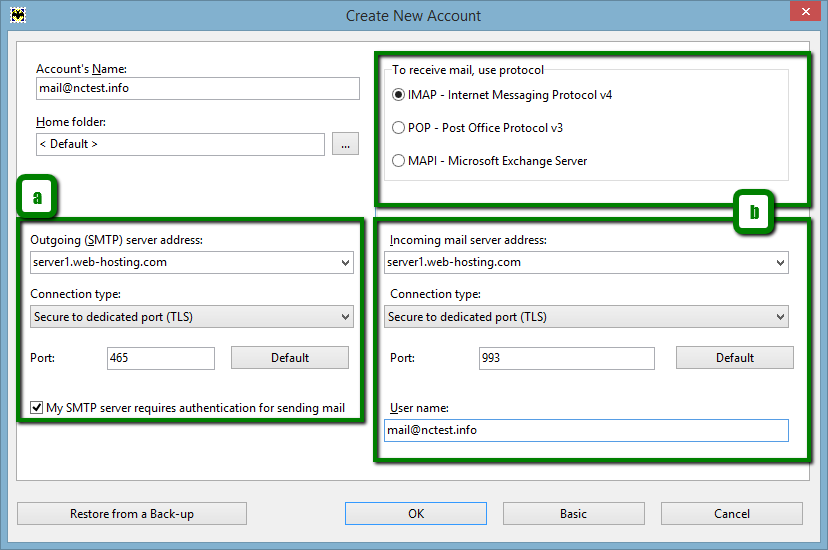
Once done click OK.
That's it!
Need any help? Contact our HelpDesk
