Though, if you've already got our Private Email, check the detailed steps to easily migrate old emails (Inbox, Sent and other folders content) to our servers using Webmail interface. Just follow the steps below:
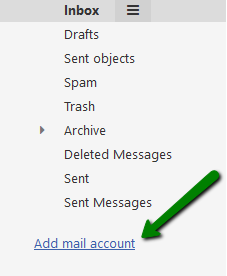
2. Click on the Mail tab >> Add mail account:
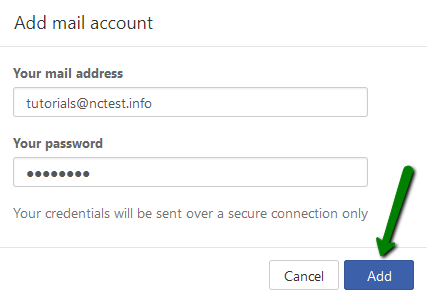
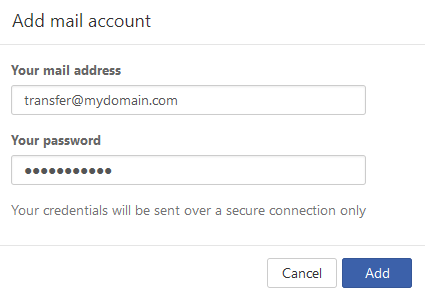
3. Paste your mail address and password there and click the Add button:
4. After the system will try to configure an email account automatically, you will receive the following warnings:
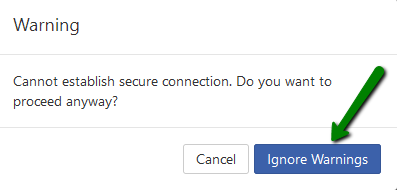
5. Skip this warning choosing the Ignore Warnings option and proceed with the Manual setup:
6. Fill in the following details in Account settings section:
Account name: any name (we will use Account Transfer in the article)
Your name: your actual name or any name
Email address: third party email address you want to fetch mail from (hereinafter we will use tutorials@nctest.info as third party email address)
Use unified mail for this account should be checked
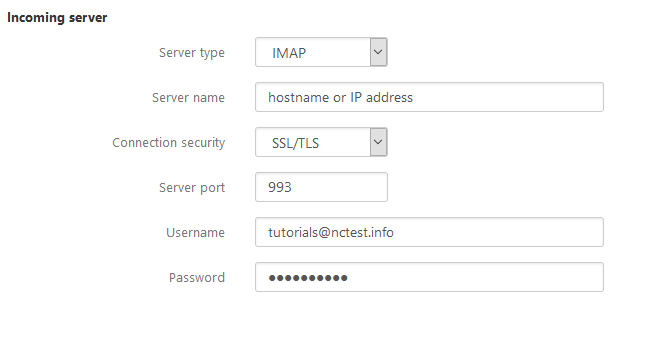
7. Fill in Incoming server section:
Server type: IMAP
Server name: hostname or IP-address of your third party mail server
Connection security: SSL/TLS
Server port: 993
Username: your email address you want to fetch mails from
Password: password for your third party email address
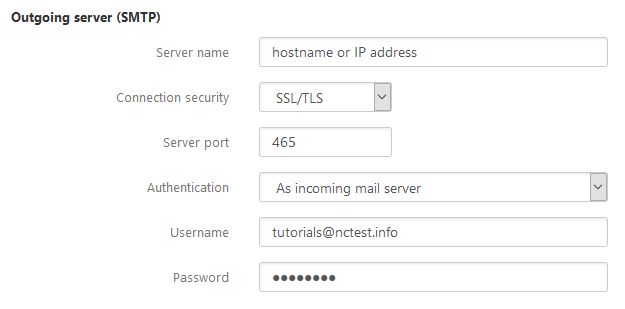
8.Fill in Outgoing server (SMTP) section:
Server name: hostname or IP-address of your third party mail server
Connection security:SSL/TLS
Server port: 465
Authentication: As incoming mail server
Username and Password will be fetched automatically (the ones specified in Incoming server settings)
9. Click
Save and wait till the message
Account added successfully is displayed.
That’s it. Your third-party email account is added to Namecheap Private Email one.
In order to transfer mails, proceed with the following steps:1. Navigate to
Mail icon on top bar.
2. Go to newly created account and check the email that were fetched.
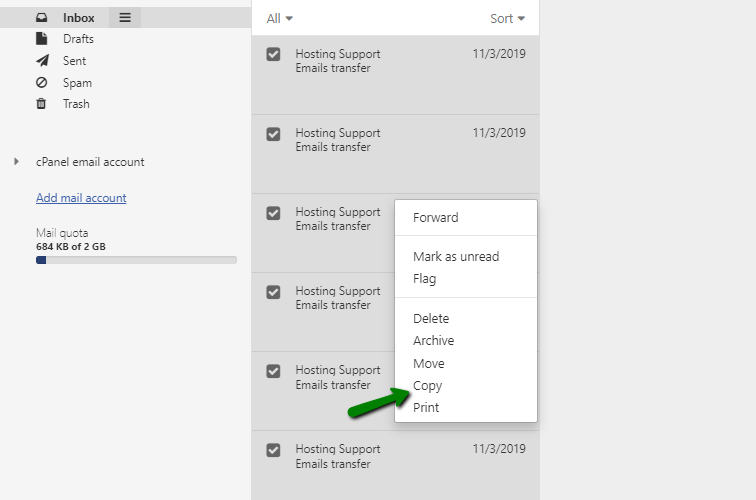
3. Click on a random message and use the
Ctrl+A combination to select the messages you want to transfer
4. Open the context menu via right-click and click
Copy:
5. Select all the emails that you wish to transfer and just copy them to your current email
Inbox: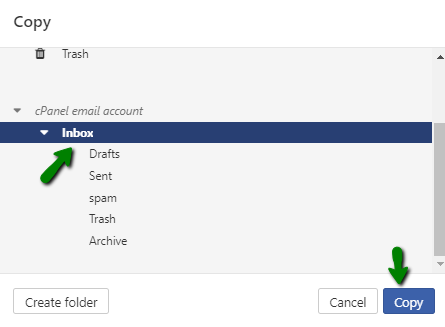
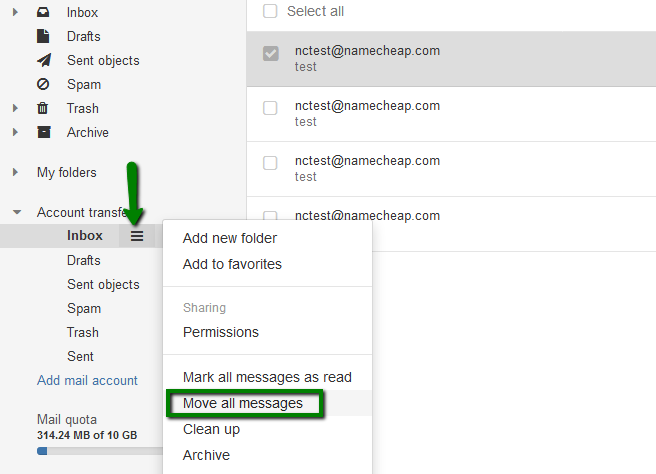
If you wish to
move all the emails from a specific folder, select the needed folder >> click on
three horizontal lines next to it (or right click on the folder name) >> click on
Move all messages:
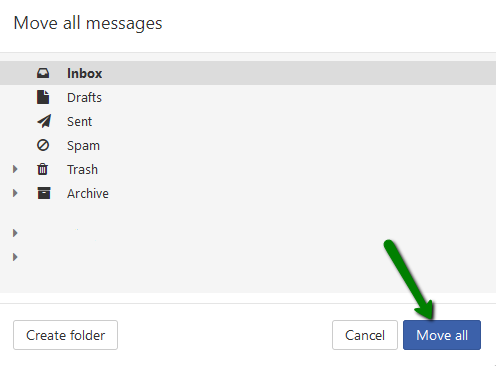
Next, select your current
Inbox (or any other folder) and click on
Move all button:
Once emails have been moved, you can delete the account by going to
System Menu >>
Settings >>
Accounts and clicking on
recycle bin sign.
You may follow
this guide in order to get more details on how to import and export emails via Private Email Webmail.
That is all, your emails have been transferred to new account.
NOTE: if you need to transfer emails from the same email address hosted on another server to Namecheap Private Email account, the tips below would be useful.
In our example, both Private Email address and third-party one will be
tutorials@nctest.info.
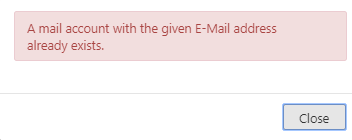
If you follow the general steps for the email account transfer, you will get
A mail account with the given E-Mail address already exists error:
In order to avoid it and get the email account added successfully, two steps are required:
1. Once all the details are inserted, go to
Account settings and change
Email address field to any other, like
transfer@mydomain.com as in our example:
2.
Incoming server username will be changed automatically. Change it back to the real one and click
Save.
The
Outgoing server username will be changed automatically too:
As a result, the email address (username) in
Account settings section will differ from that ones specified in
Incoming and Outgoing server fields. That will allow to avoid the error and add the same email account to Namecheap Private email.
Once done, you may transfer mails into the current email
Inbox in the same way as shown above.
That's it!
Need any help? Contact us via
Helpdesk
