$ U.S. Dollar€ Euro£ British PoundC$ Canadian DollarsA$ Australian DollarsRs Indian Rupees¥ China Yuan RMBMore Info
How to brand WHMCS
Branding is very important for the online business. The more places you your company brand appear in, the better it sticks in the customer’s mind.
In this article we will explain how to replace default WHMCS logo with your own.
WHMCS (WHM Complete Solution) - is a very popular all-in-one client management, billing & support solution for hosting reseller businesses. WHMCS client area is templated to allow to change the look and feel of everything. WHMCS uses powerful Smarty template system which allows to customize the layout with ease.
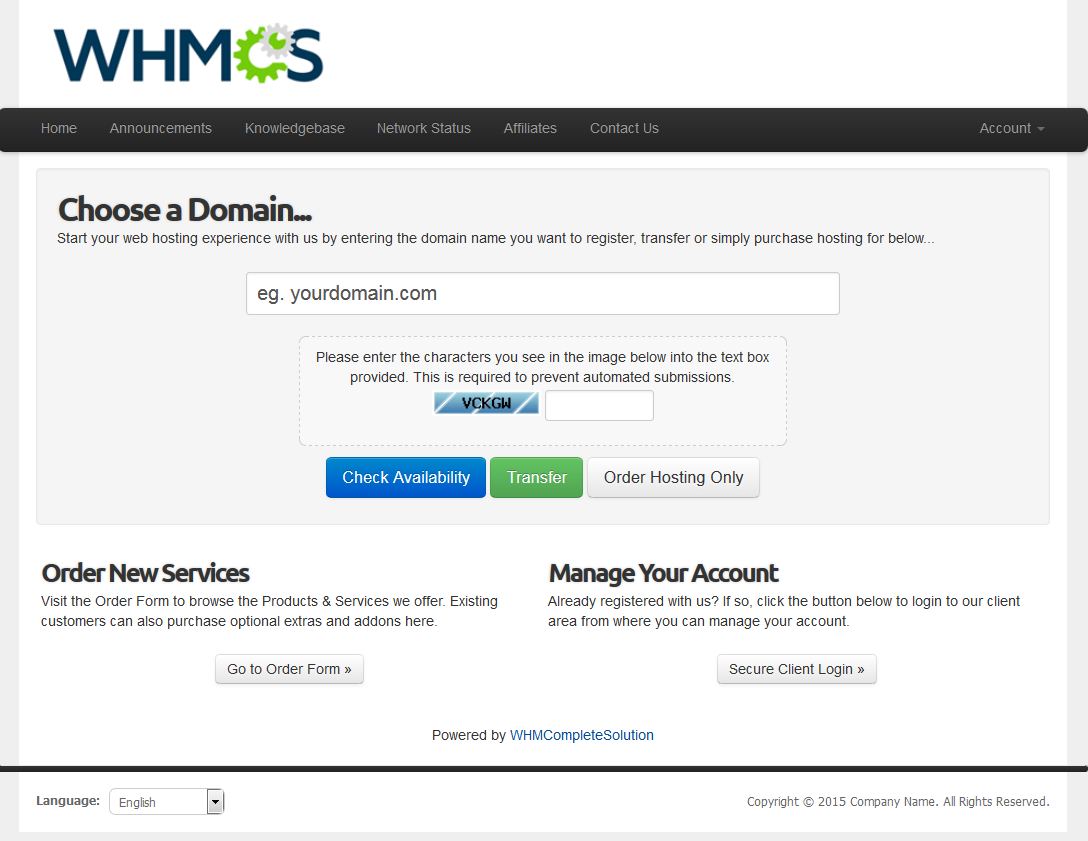
By default WHMCS Client Area looks as follows:
No doubt you would like your customers to see your company logo there instead. The process of the logo change is quite simple and includes a few steps:
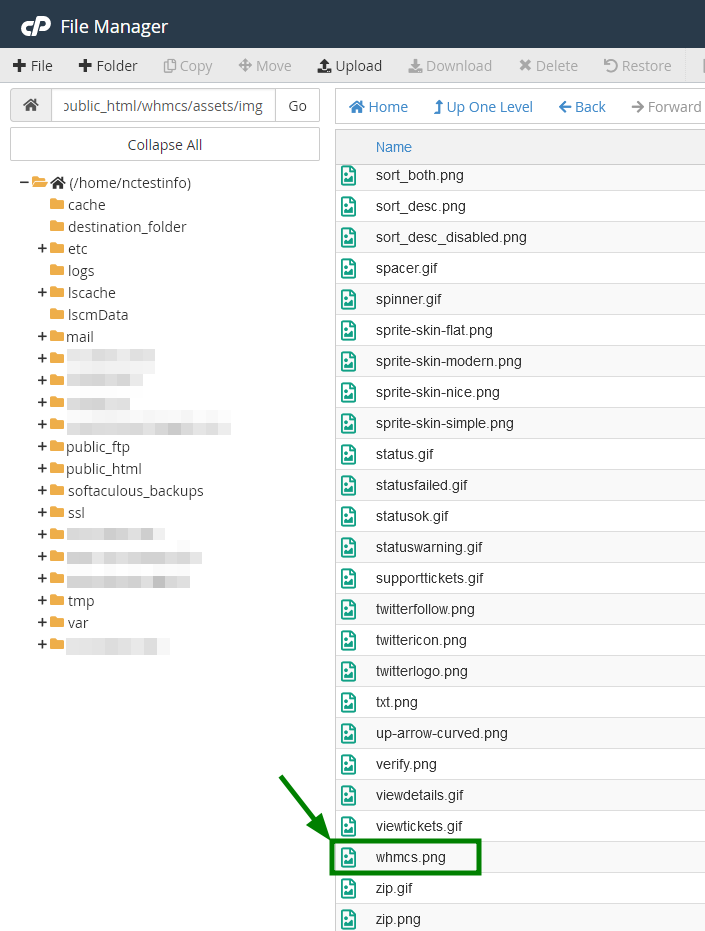
1) Login into cPanel and navigate to the WHMCS installation directory.
2) Open assets folder:
3) Then navigate to img folder and look for whmcs.png file in it.
6) Now you need to upload your own logo file to this directory and rename it to whmcs.png. You can change the name of the original file to whmcs_old.png for instance.
Make sure to adjust the size of the image *before* the upload in order to set the best logo scaling.
You might want to go with the logo that has transparent background for smoother header background integration.
7) Refresh WHMCS client portal to see your new logo:
This is it!
If you would also like to remove "Powered by WHMCompleteSolution" sign at the bottom, please refer to this article.