
ActiveSync is a protocol that allows synchronization of emails, contacts, and calendar appointments from a server to mobile devices. This article will explain how to configure your Private Email address as Exchange ActiveSync account on Windows 8.
In this tutorial we will be using a test email account example@ncsupport.info.
NOTE: before setting up email account this way, make sure you already have required DNS records and mailbox created.
NOTE1: If you've set up a Two Factor Authentication (2FA) for your mailbox and wish to use Exchange (ActiveSync) connection, you will need to set up an Application Specific Password.
This guide should be useful.
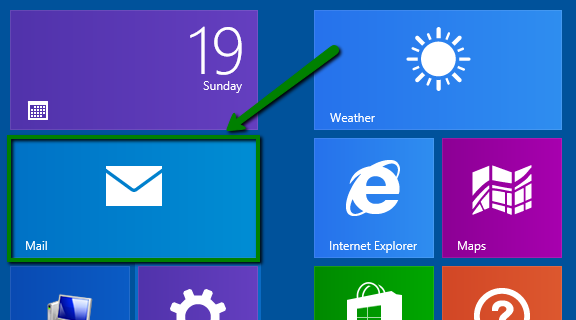
1. To create a new account, hit ![]() and click on Mail app on the start screen.
and click on Mail app on the start screen.
NOTE: start screen may look different on your side, and Mail app might be missing. Thus, feel free to use Search charm to find the app. Some tips on how to use it in Windows 8 can be found here.
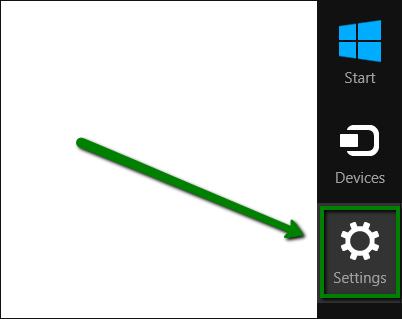
2. When inside, hover over lower right corner of the screen.
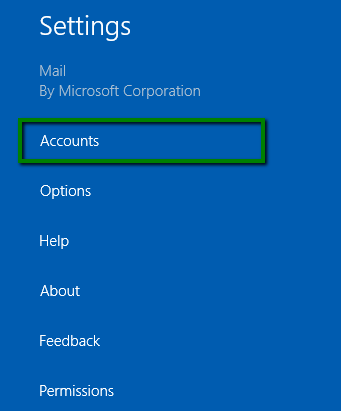
Once the Charms Bar is brought, click on Settings > Accounts:
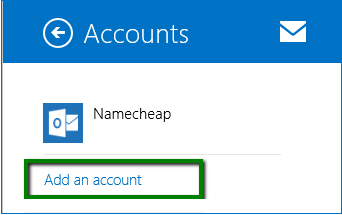
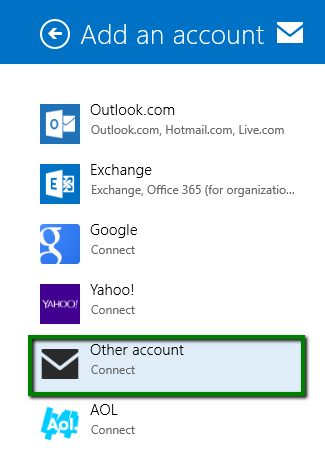
3. Click on Add an account > Other account option:
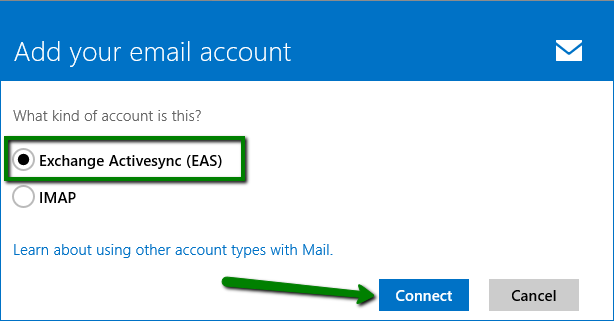
4.Choose Exchange ActiveSync (EAS) and click on Connect.
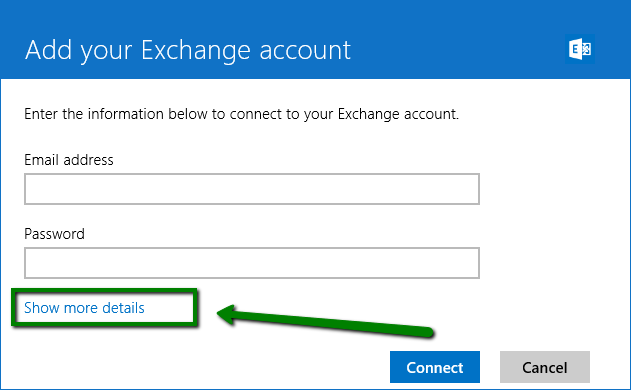
On the next page hit Show more details:
5. Enter the following settings in corresponding fields:
Email address: full email address
Server address:privateemail.com(the same for all subscriptions)
Domain: domain you have account created for, ncsupport.info in the example
Username: account name, example in our case
Password: password for this email account
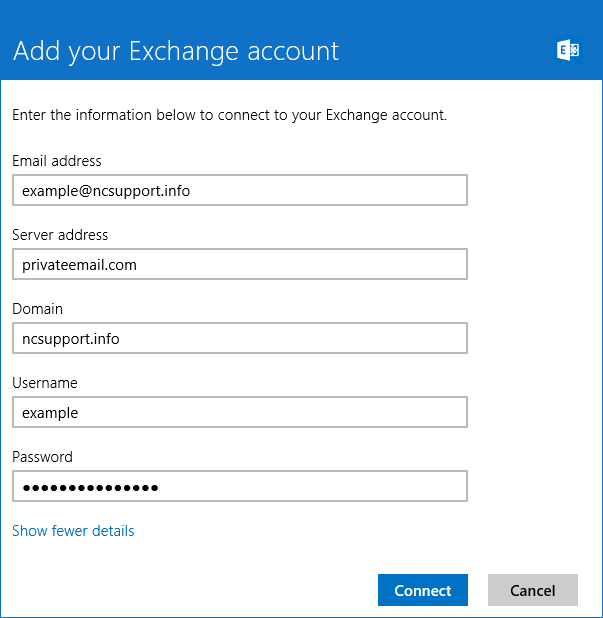
6. Once finished, click on Connect.
Your Exchange ActiveSync account is set up. Contacts, calendar appointments and tasks will be synchronized automatically in Calendar and People apps. No additional configuration is required.
That's it!
Need any help? Contact our HelpDesk
Need help? We're always here for you.