Getting your new website recognized by the leading search engines on the Internet is something you probably wish to do foremost in order to have people easily find it.
Though the process of crawling your website by Googlebots and adding it to Google Index may take quite some time, we will reveal in this article a few tips on how to get your website indexed by Google in the shortest terms.
Before we begin, let’s try to find out what Google Crawler is and how exactly the indexing process is handled.
Google Crawler is a web-robot that consists of multiple computers requesting and fetching webpages all over the World Wide Web and adding them to the Google Indexer. When Googlebot fetches a page, it culls all the links appearing on the page and adds them to a queue for subsequent crawling. Googlebot tends to encounter almost no spam because it uses a unique inspection technology that allows checking whether the webpage to be crawled is trusted. While gathering links from every page it indexes, Googlebot can quickly build a list of links that cover a wide part of the Internet.
To get a better understanding of how Google Search operates, we would recommend you to check this video additionally.
How to make Google discover your website
1. Create a sitemap
2. Submit your website to Google Webmaster Tools
3. Verify domain at Google Webmaster Tools
4. Update your website constantly and let search engines know about it
5. Optimize your website
1. Create a sitemap
The first must-to-do thing is creating a sitemap of your website. Sitemap is a file where you can list all the webpages of your site to help Googlebots crawl it more efficiently and intelligently.
You can generate a sitemap using different online tools. More information on principles of their work and how to generate a sitemap using third-party tools can be found in the following article.
2. Submit your website to Google Webmaster Tools
Once you have a sitemap for your website, it may be a good idea to submit it to Google Webmaster Tools in order to let Google know your website’s structure and speed up the crawling process.
To start, open the following link and log in with your Google Account credentials.
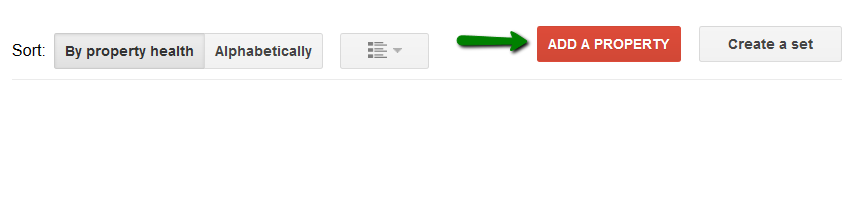
Once ready, click on the Add a Property button in order to submit your website to Google Webmaster Tools:
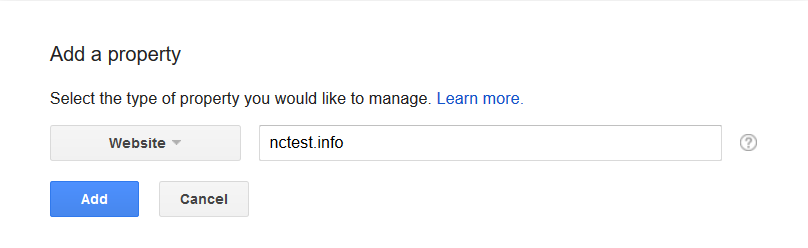
In the next window simply enter your website URL and click Continue:
NOTE: Google Webmaster Tools treats http and https as separate websites. It is recommended to add all versions of the website to the console, even if you have a redirect from http to https set. In the end, you should have four websites added: http://example.tld, https://example.tld, http://www.example.tld and https://www.example.tld. Each version requires a separate verification.
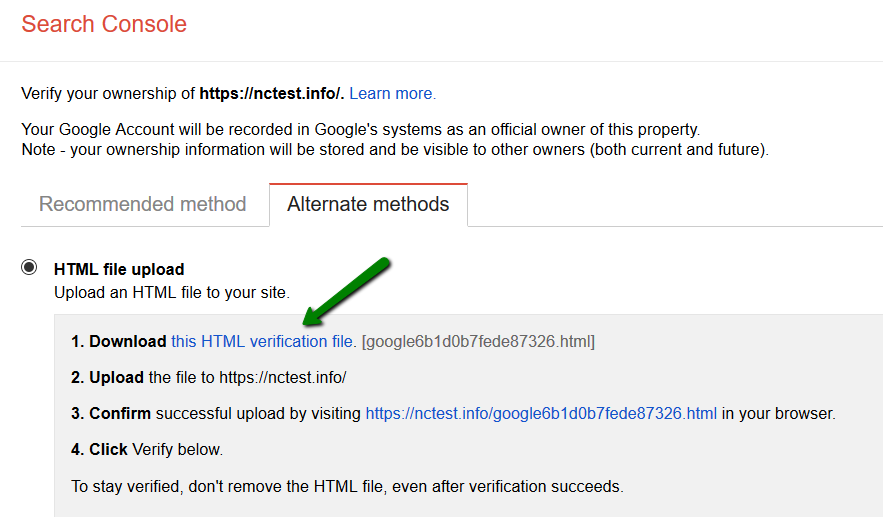
The next step will prompt you to complete your website ownership verification.
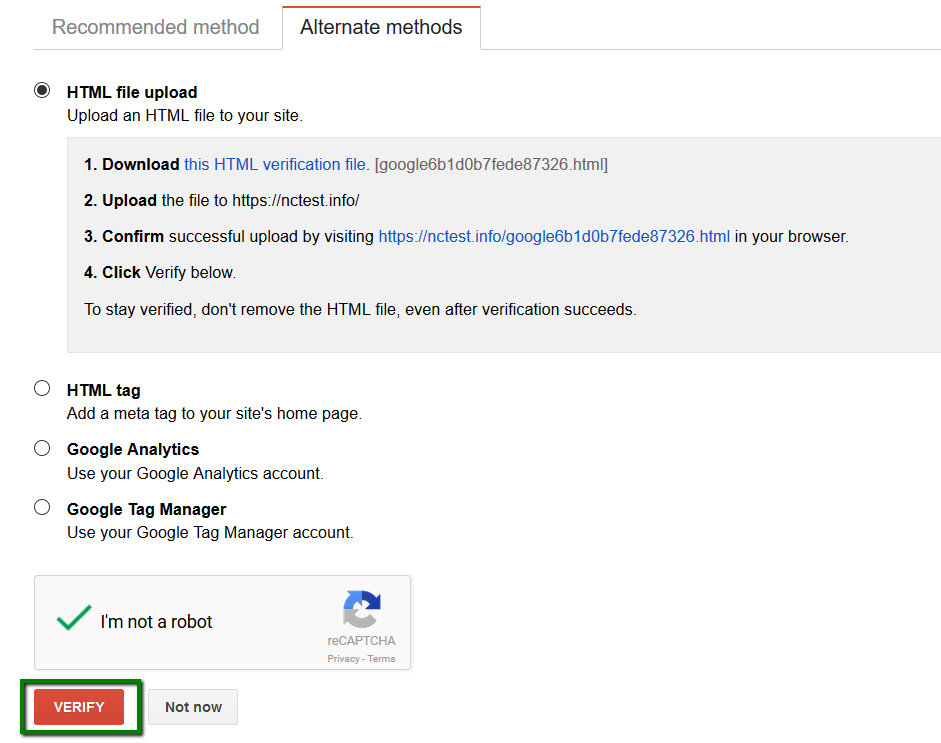
Go to Alternate methods and download the HTML verification file as shown on the screenshot and save it to your computer:
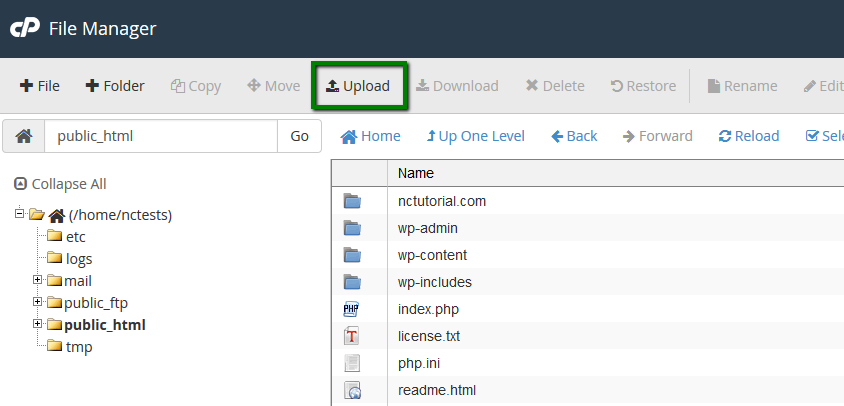
Now you will need to upload this file to your hosting account by means of FTP or File Manager available in cPanel. In this guide, we will stick to the File Manager option.
Here you need to navigate to the web-root directory of your domain name.
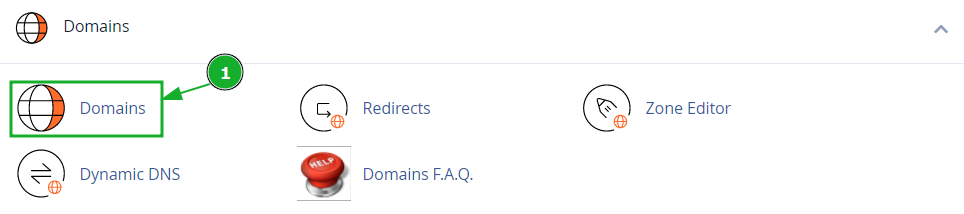
If you are working with your main domain name, the web-root folder is called public_html. If you are working with an addon domain name, the web-root folder should be youraddondomain.com. Alternatively, you can access your domain's folder via cPanel >> Domains menu >> click on the folder's name under the Document Root column:

In this case, we are working with the main domain name so public_html is the right place.
Log in to your cPanel account > Files section > File Manager menu:
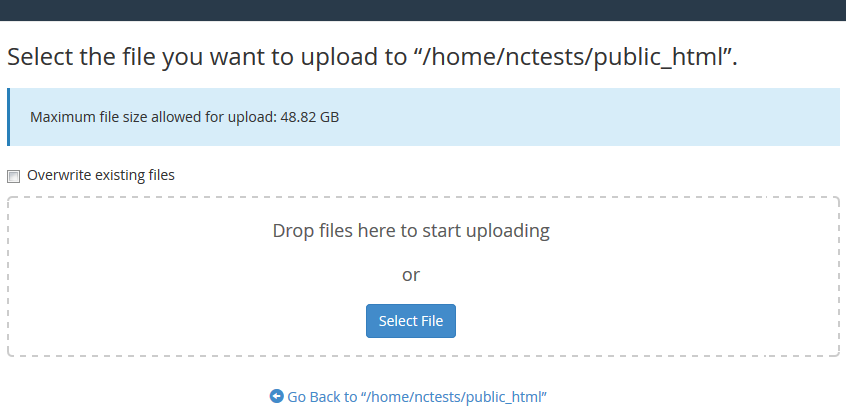
Once you are in the correct location, click on the Upload button and choose the recently uploaded HTML file:
Then click on Select File or simply drag-and-drop the file from your local machine:
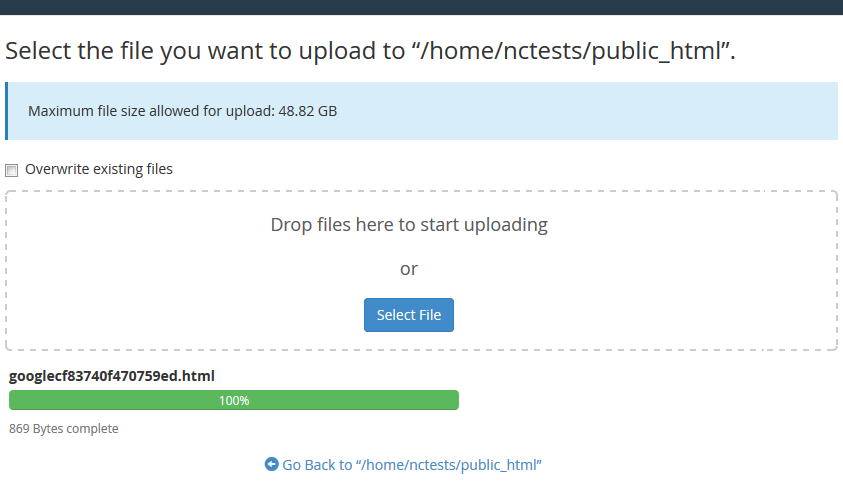
Now you will find the file in your public_html directory:
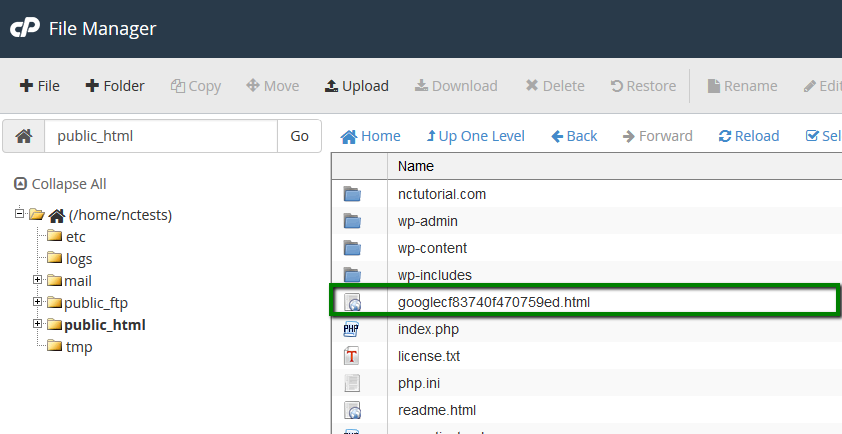
Once the file has been successfully uploaded, proceed to Step 3.
3. Verify domain at Google Webmaster Tools
Navigate back to Webmaster Tools verification page and confirm the successful uploading of the HTML file by following the corresponding URL link.
Simply click on the Verify button to finish the process:
The next step is to submit your website’s sitemap to Webmaster Tools.
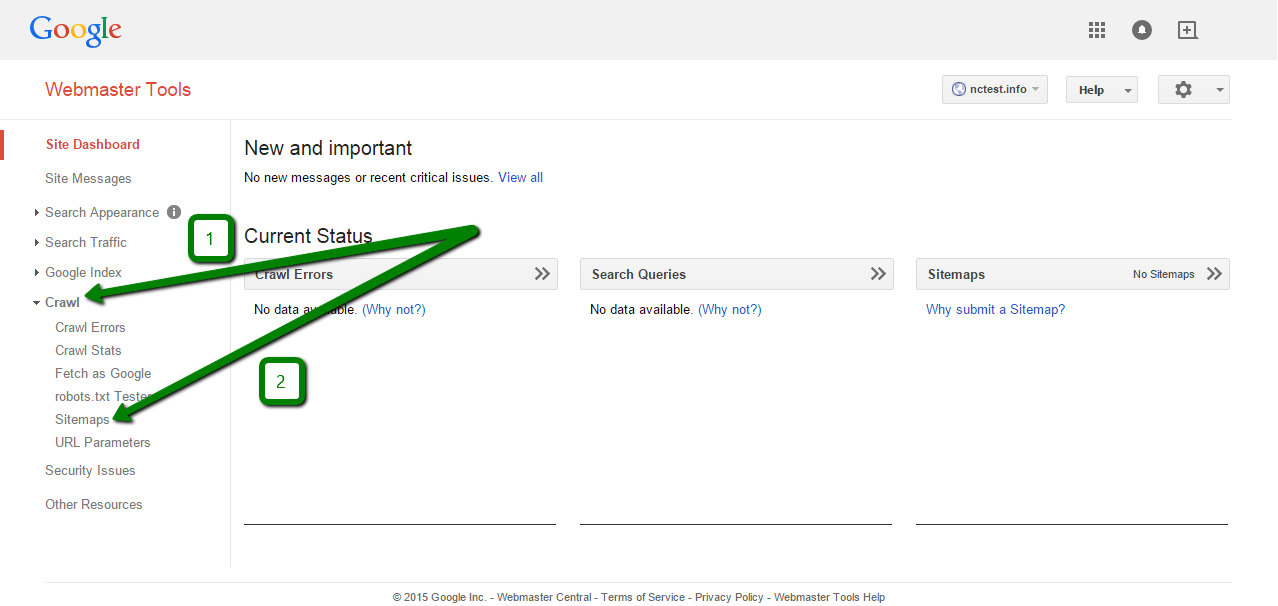
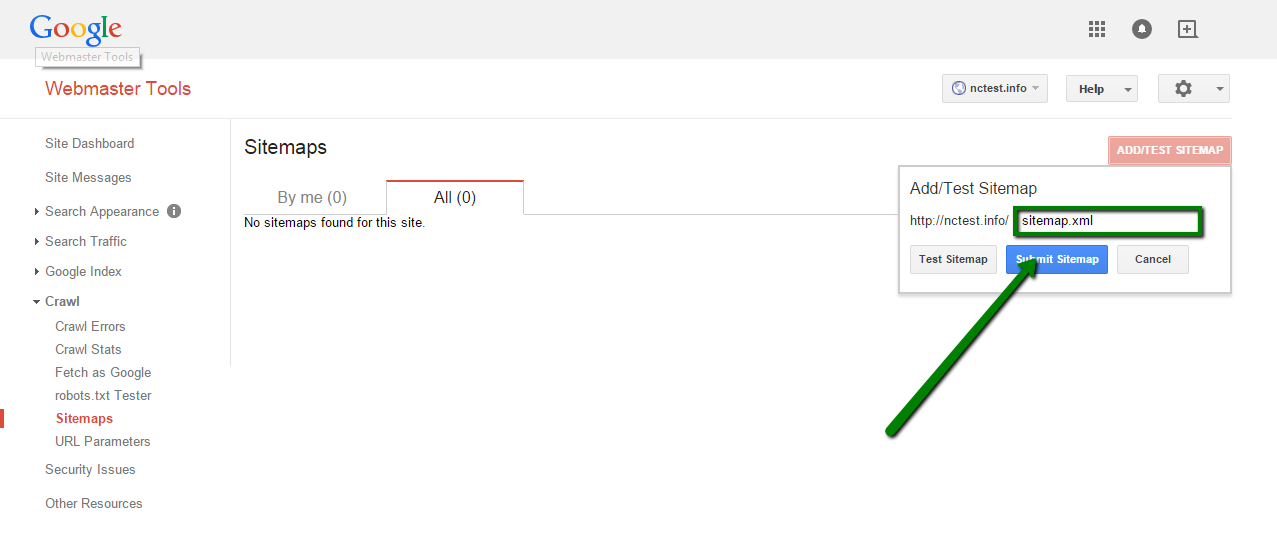
To start, navigate to Crawl > the Sitemaps menu:
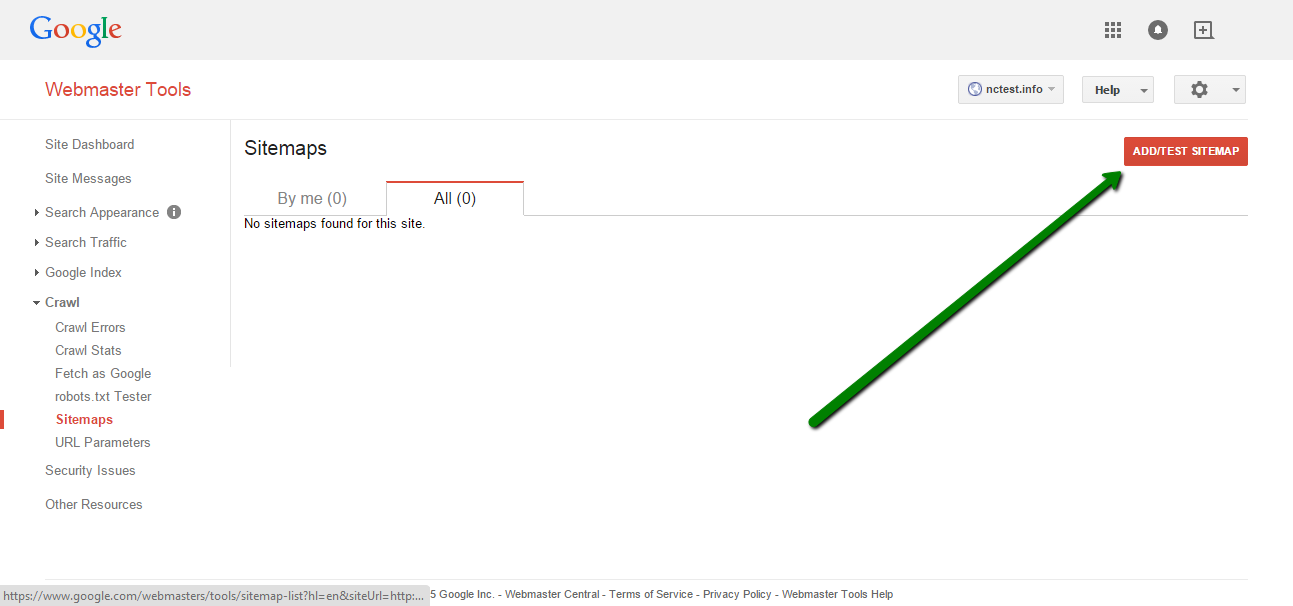
Then simply click on the Add/Test Sitemap button:
In the pop-under window, indicate the name of your sitemap file and click on Submit Sitemap to finish:
It may be useful to submit your newly created website here additionally.
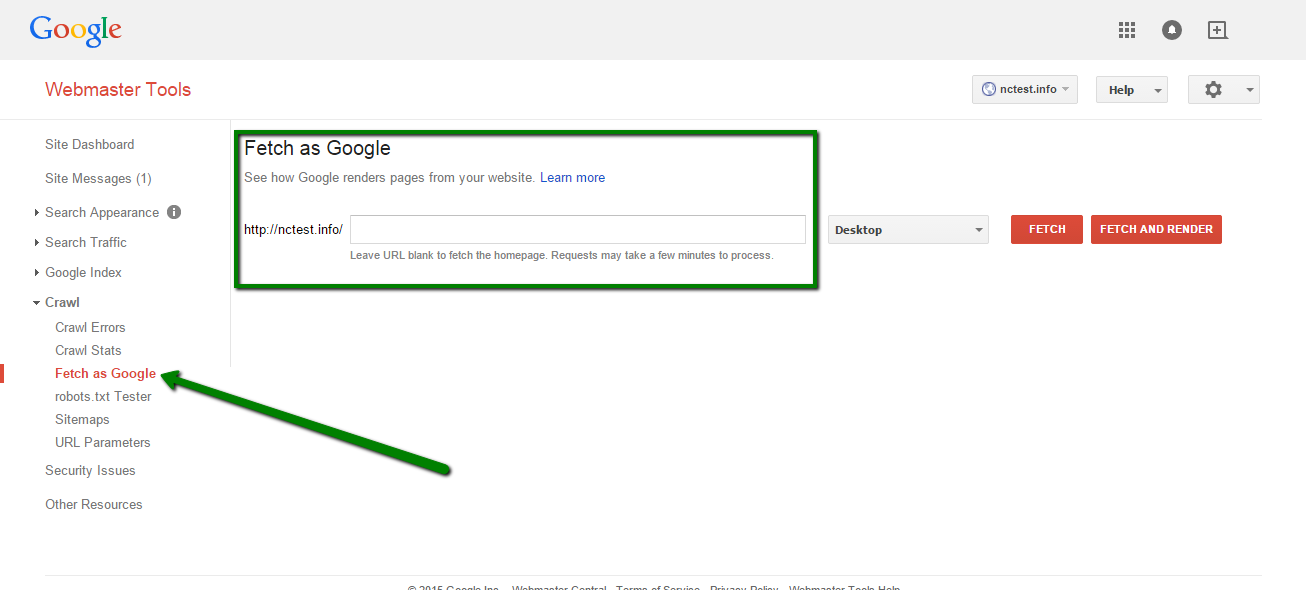
4. Update your website constantly and let search engines know about it
It is necessary to update your website with new posts and references on a constant basis and inform the search engines about these updates to keep the indexed information about your website fresh and up-to-date.
In order to let Google know about your newly created post or page, you can use Fetch as Google option in Webmaster Tools:
5. Optimize your website
In order to simplify and speed up the crawling process, it is necessary to keep your website fast, clean-coded and optimized. If you are running your website on the WordPress platform, check this tutorial on how to optimize your WordPress website. For further reading, refer to this guide from WPBeginner for SEO plugins and tools that can also be useful to improve indexing.
That's it!
Need any help? Contact our Helpdesk