
This article describes how to clear cache in Joomla 3.3.6.
The caching plugin is one of the website optimization methods that speed up the loading of your site. What it basically does is that it creates a static copy of your dynamic site to reduce server rendering times.
Caching is added to Joomla's functionality by default, thus, it is the easiest way to turn on caching for your Joomla site.
To enable the caching function in Joomla, follow the steps below:
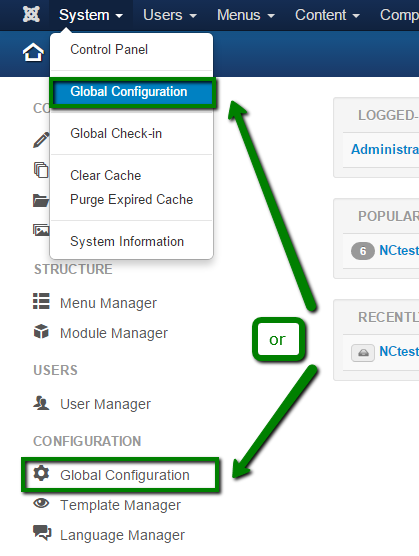
1. Log into Joomla Administrative Back-end and
go to System > Global Configuration:
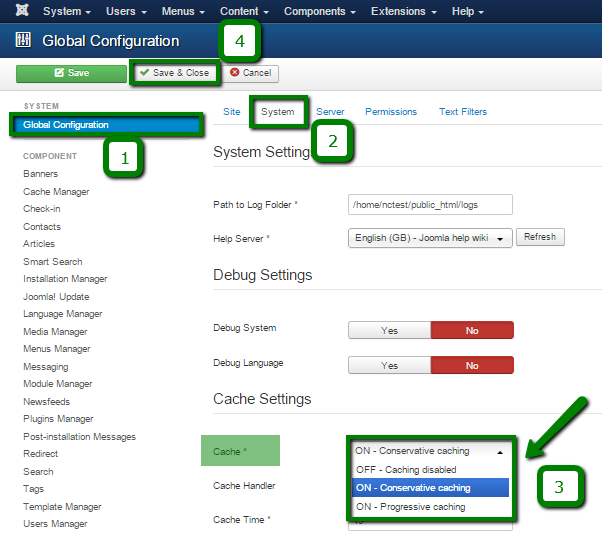
2. Click on the System link, find the section called Cache Settings and select one of On caching options and save the changes:
3. Go to Extensions > Plugin Manager: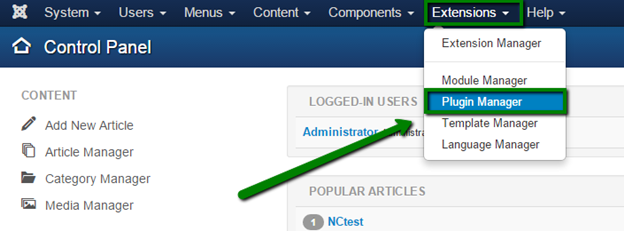
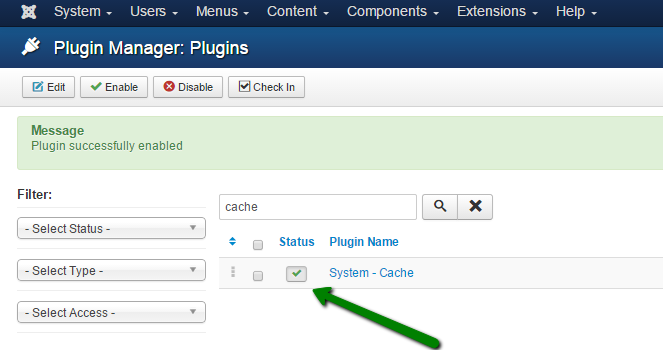
4. Find System-Cache in the plugin list and enable it:
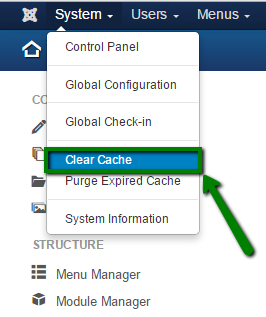
5. Now the caching system is enabled and functional. For clearing the cache, navigate to System > Clear Cache:
6. You will see the list of the cached items and pages, click Check All and then Delete on the left:
Unlike the embedded Joomla cache system, some caching plugins provide you with more functionality and can perform other maintenance tasks.
The following caching plugins are covered in the article:
Cache Cleaner
Quick Cache Cleaning (QCC)
With Cache Cleaner you do not have to waste your time checking and deleting expired files or a temp folder, as you can clear all cached items in one click.
You can clear cache in the Cache Cleaner plugin in the following way:
1. Log into Joomla Administrative Back-end,
go to Extensions > Plugin Manager:
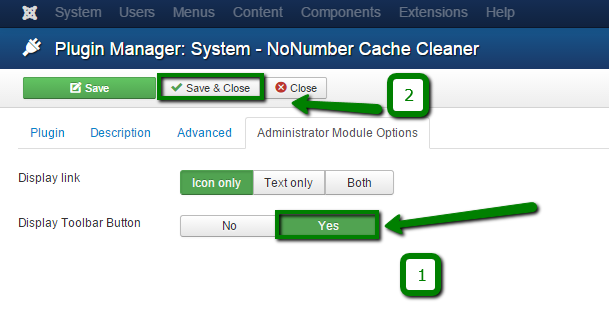
2. Go to Administrator Module Options, choose Yes for Display Toolbar Button and save the changes:
3. Once done, the Clean Cache button will appear in your Dashboard:

Quick Cache Cleanding (QCC) is a fast administrative module that performs global check-ins, clears cache and purges expired cache. It is simple in use and installation.
Once it is installed, the first thing you need to do is to change the plugin status and enable the Clean Cache button.
You can do it the following way:
1. Log into Joomla Administrative Back-end,
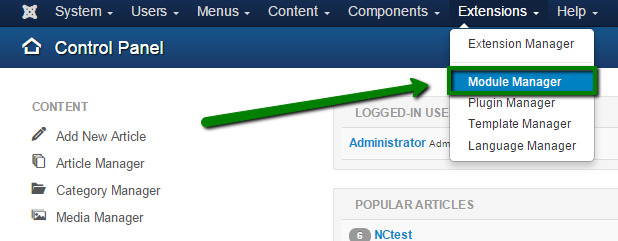
select Extensions > Module Manager:
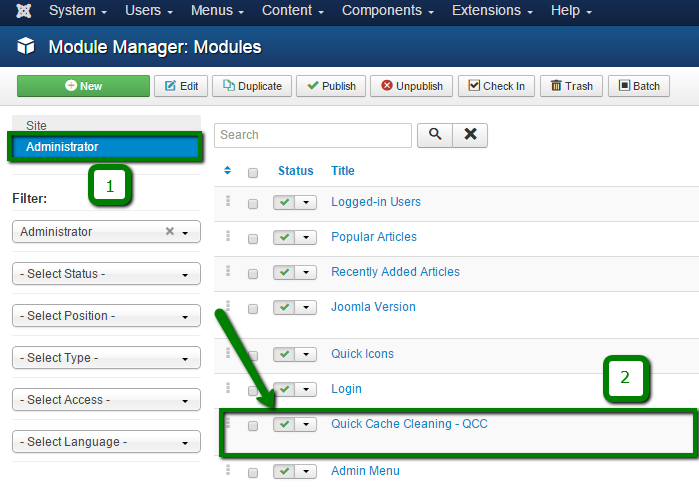
2. Change the module type from Site to Administrator on your left and choose QCC - Quick Cache Cleaning in the list:
3. Choose the position menu, status, toolbar or any other (depending on the view type) that will determine the way you will be seeing the QCC menu in the back-end.
4. Set the status to Published and save the changes: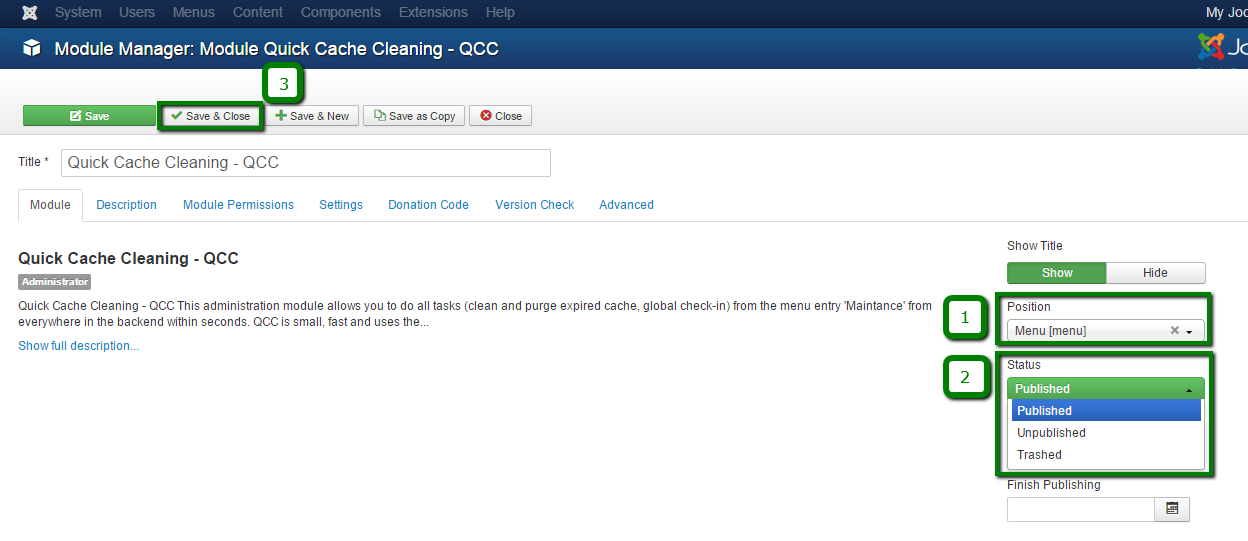
5. Once the plugin is configured, you can enable it as follows:
go to Extensions > Plugin Manager:

6. Find the plugin System - Quick Cache Cleaning and enable it: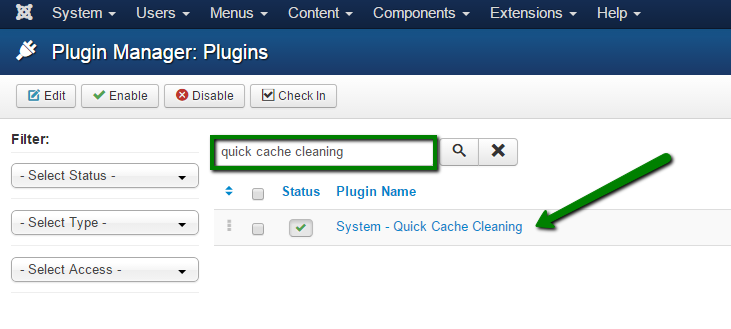
7. Depending on what position type you have chosen in Module Manager, you will see the Quick Cache Cleaning menu everywhere in the back-end of your Joomla site.
Click on it and select Clean Cache: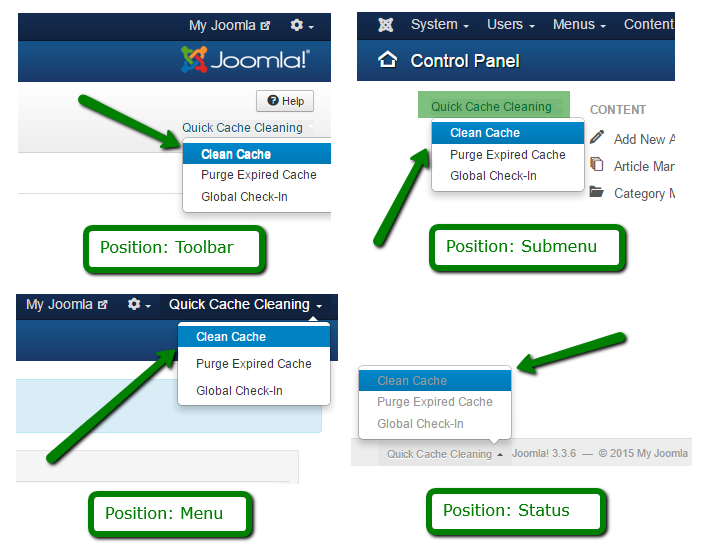
8. After this, you will get the message that the cache has been successfully cleared:
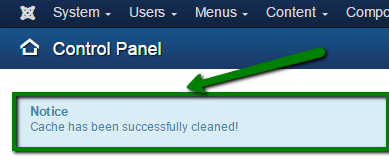
That's it!
Need any help? Contact our Helpdesk
Need help? We're always here for you.