$ U.S. Dollar€ Euro£ British PoundC$ Canadian DollarsA$ Australian DollarsRs Indian Rupees¥ China Yuan RMBMore Info
Non-cPanel hosting account transfer from GoDaddy to Namecheap
To transfer a non-cPanel hosting account from GoDaddy, you will need to move your content including files and databases manually as well as mail and FTP accounts.
If you have a simple HTML site which does not use a database, then you only need to copy your files from GoDaddy to your hosting account at Namecheap and switch nameservers.
In case you have a site which uses a database (WordPress, Joomla, and other CMSs), it is recommended to stick to the following instructions.
This manual will tell you how to transfer a site built on WordPress. The transfer of sites built on similar CMSs is a similar procedure.
The process of moving your site consists of three major stages. First, you need to move your files, then you need to import/export your database and after that, you just switch nameservers to the ones provided in the Namecheap hosting welcome e-mail.
Let’s start with creating a backup of your files.
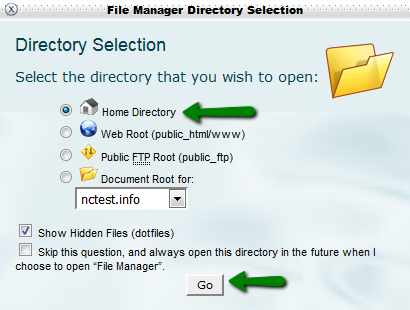
1. You need to
log into your hosting account at GoDaddy and go to File Manager:
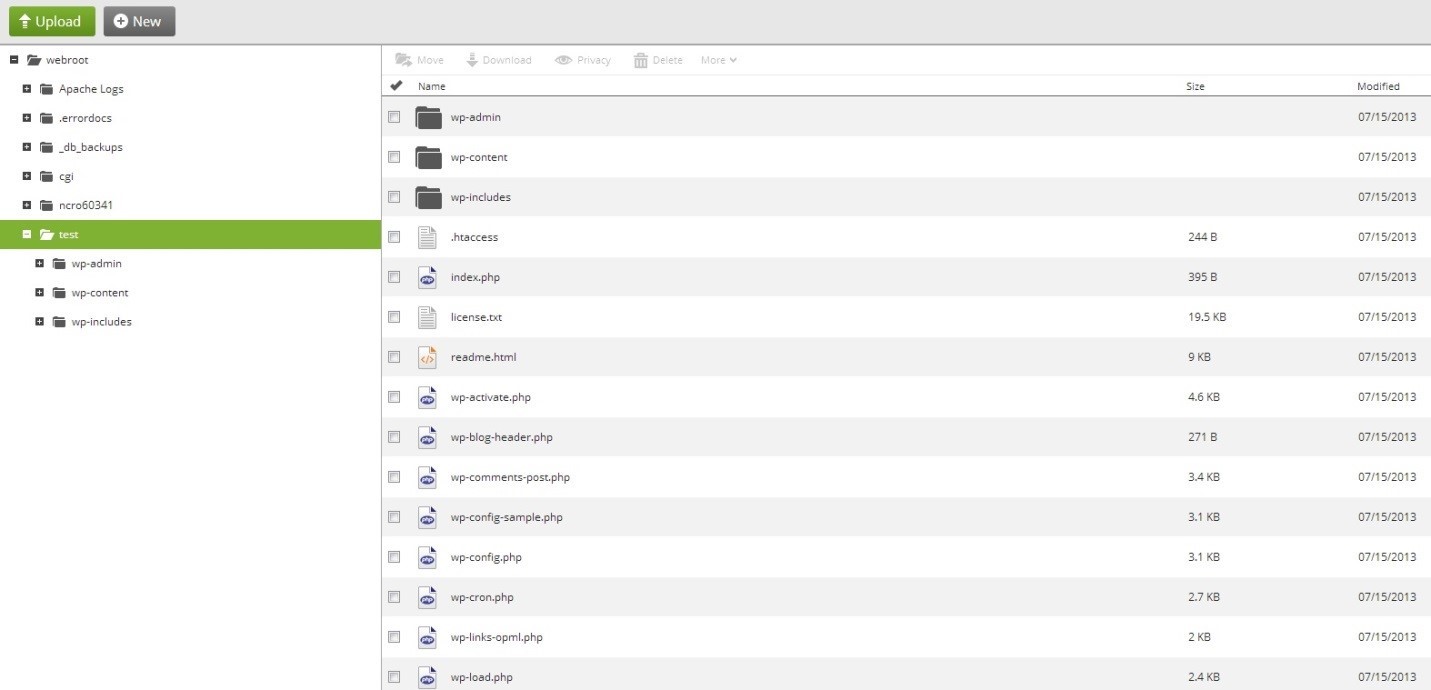
2. There you need
to find a folder which contains files of your WordPress. In our example WordPress is installed in the directory named test:
<
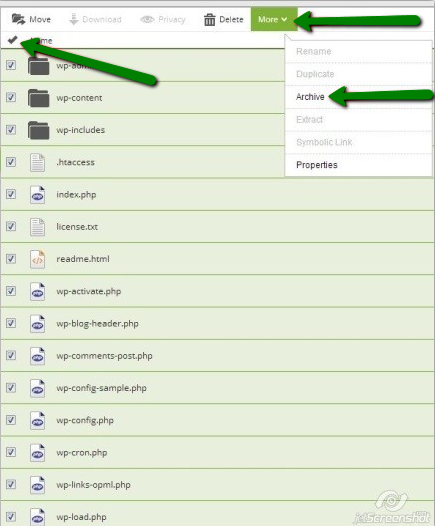
3. Click on select
all, then More and select Archive from the drop-down menu:
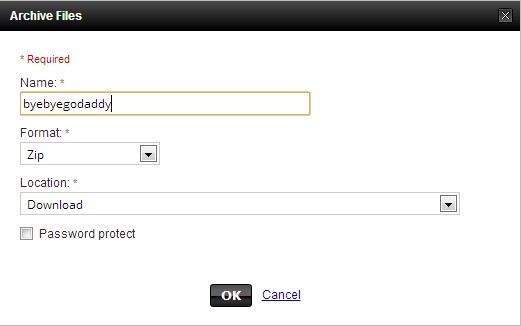
4. Then you can
also set password protection and select the format. When it is done, you can
download the backup:
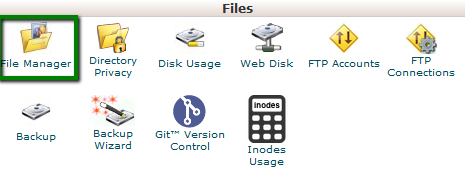
5. After that, you can start exporting your database. Go back to your hosting control
panel, find the Database section and click on the MySQL icon:
6. You will see
a list of your databases. You need to find a database which is assigned to your WordPress site and click on Actions > Back Up:
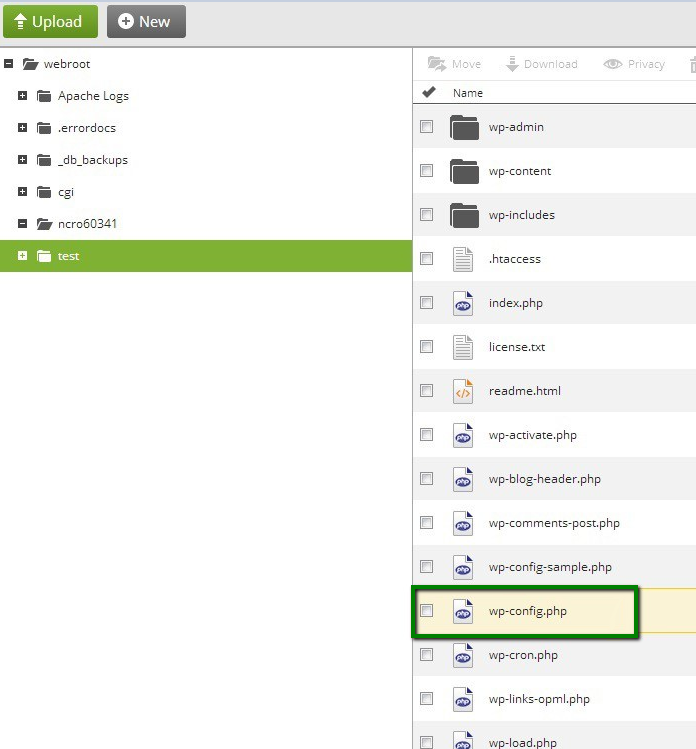
NOTE: If you do not know which of your databases
is assigned to this particular WordPress website, you can check it in File
Manager > folder of your WordPress site > wp-config.php file.
In our case the database is named ncr1319505293142.
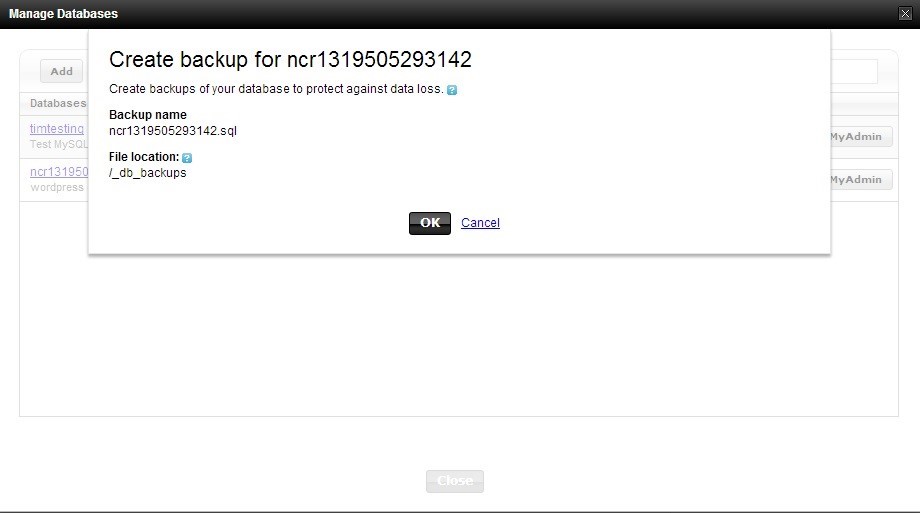
7. After
clicking on the Back Up button you will see the following window. It lets us
know what folder the backup will be located in. Click on OK:
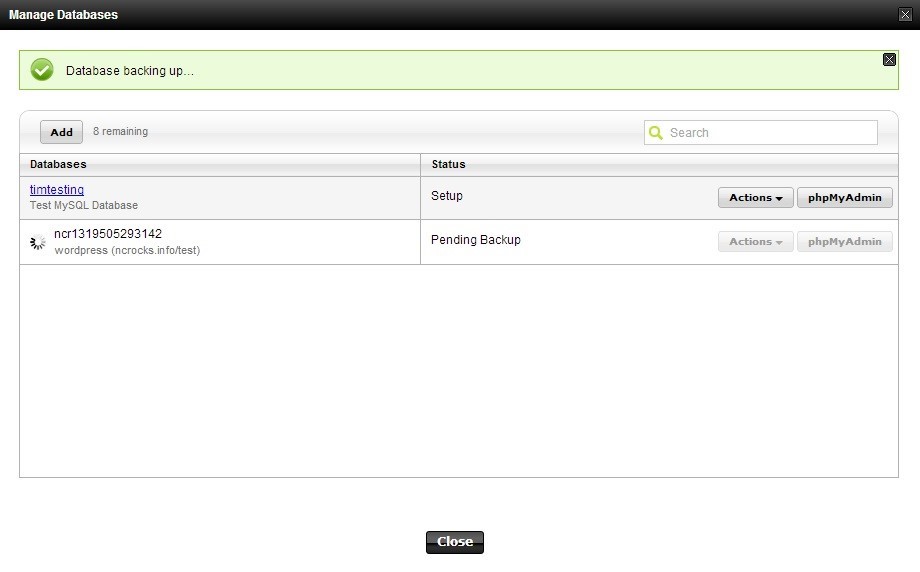
8. Allow some time
for the backup creation:
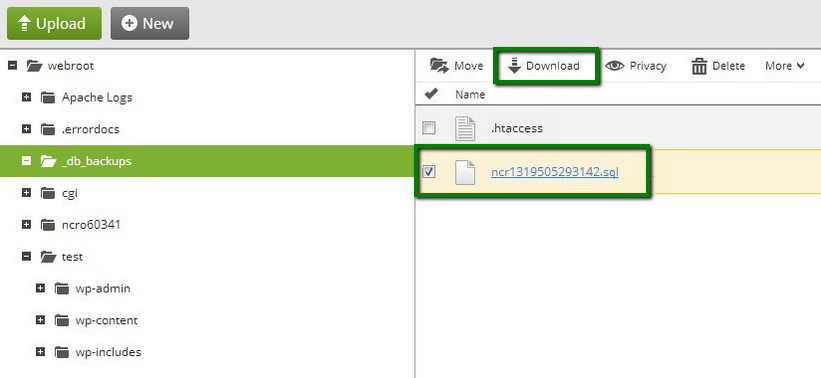
9. Once the
backup is created, you can go to the specified folder and download it:
10. Now when you
have a copy of your files and your database, you can upload them to your account
at Namecheap.
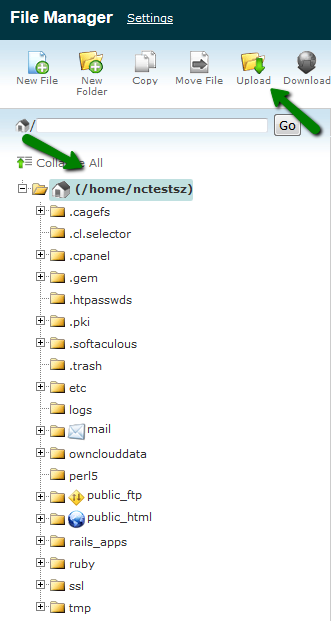
To upload a
backup of your files, you need to connect to your hosting account with Namecheap
via FTP or use cPanel > Files section > File Manager menu. If this is the
main domain name, then the backup should be uploaded to the /home/user/public_html/
folder. If this is a backup for an addon domain, you need to upload it to /home/user/public_html/addondomain:
11. Once the backup
is uploaded, you can see it in your folder. Now you need
to unpack it. To do that, use the right click > Extract button:
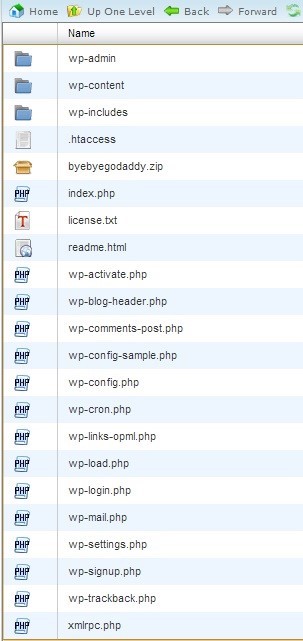
12. You will see
the files of your WordPress:
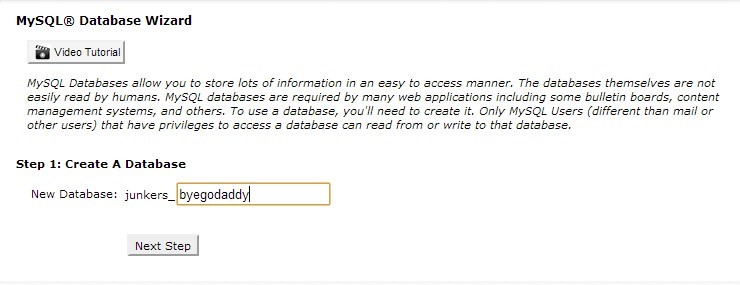
13. Now you need
to import your database. We recommend using MySQL Database Wizard to
create a database:
14. First you
need to specify name of your new database:
15. Then you will need to create the user which will be assigned to the database:
It is strongly
recommended to use strong password and save it somewhere in the safe place. You
will need these details soon to modify your wp-config.php file:
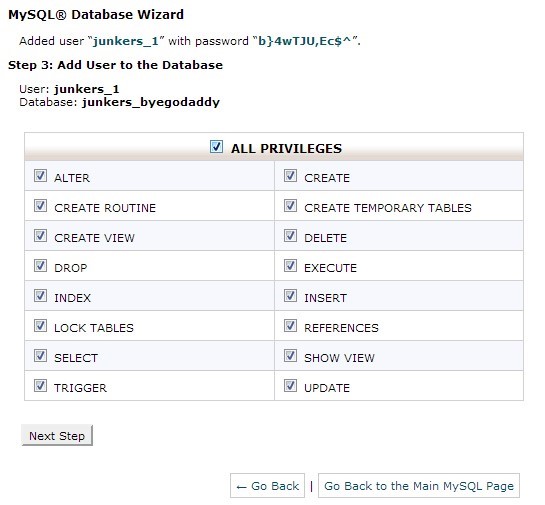
16. After that assign
the username to the database. Check All Privileges.
As a result, an
empty database is created under your cPanel account at Namecheap. Now you need
to import your .sql database to this empty one.
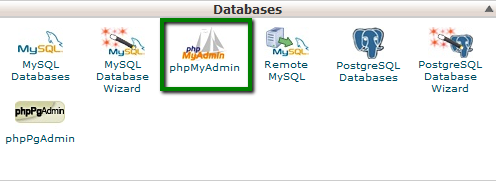
17. To do that, you need to log into phpMyAdmin:
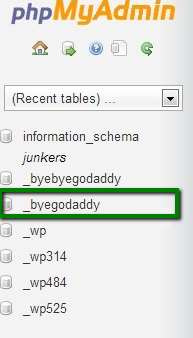
18. Then you need
to find a database which you have created recently:
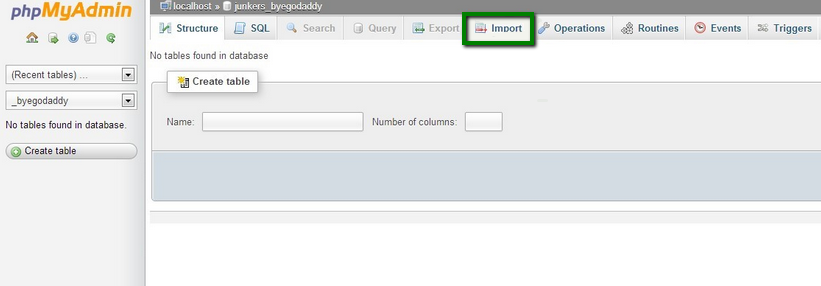
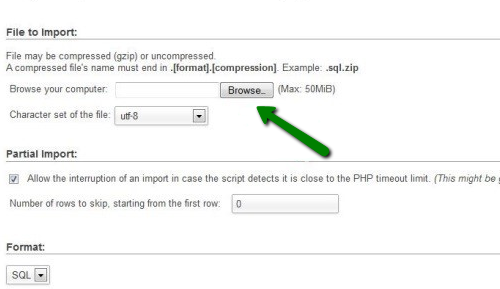
19. On the next
screen click on Import:
20. Click Browse:
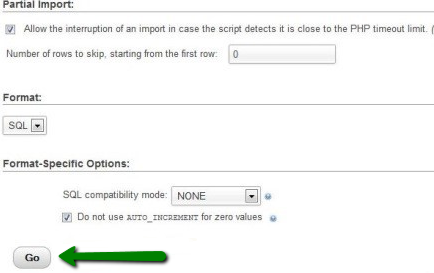
21. Click Go:
You will see a
notification which means that your database has been imported successfully:
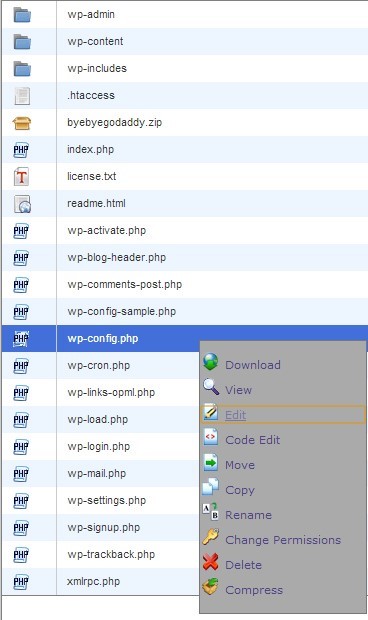
22. Now you need to
make some changes to the wp-config.php file to make your WordPress using the new
database. Go to File
Manager and find wp-config.php > right click > Edit:
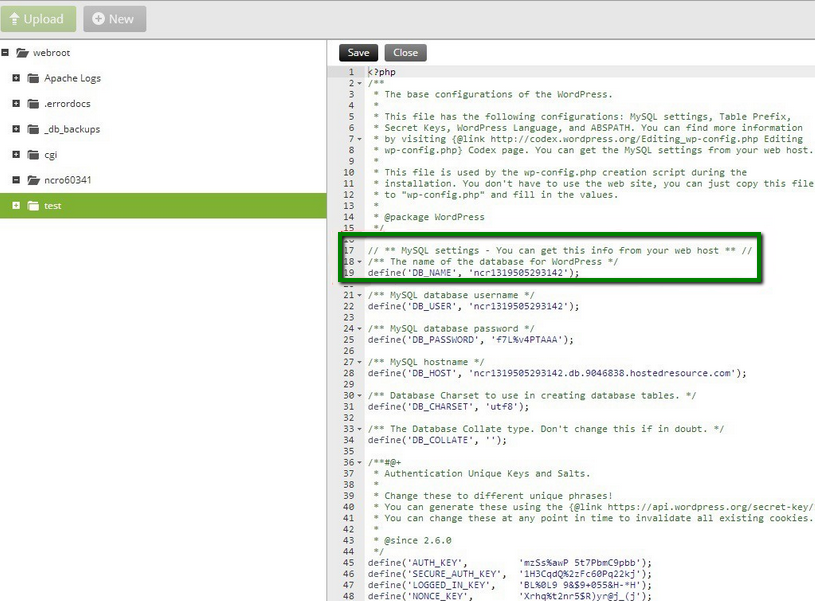
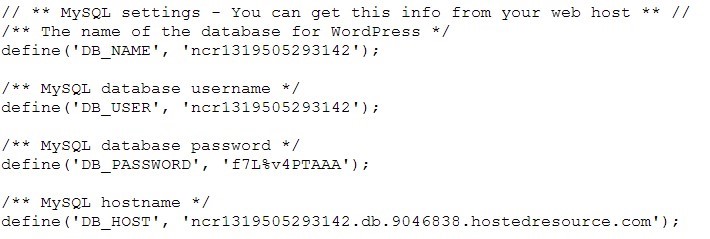
23. All you need
to do is to change values in the following lines:
DB_NAME is the database created by means of MySQL Database Wizard
DB_USER is a user which was assigned to this database
DB_PASSWORD is a password which was set during the database user creation
DB_HOST should be replaced with localhost
24. Save changes and that’s all. You only need to switch nameservers for your domain name to make your domain name resolve from your hosting account at Namecheap.
You will be able to check your website functionality during the DNS propagation directly from our server. The steps to achieve it are described in this guide.
Note that sites which are
built on other content management systems can be moved in a similar way.

 <
<