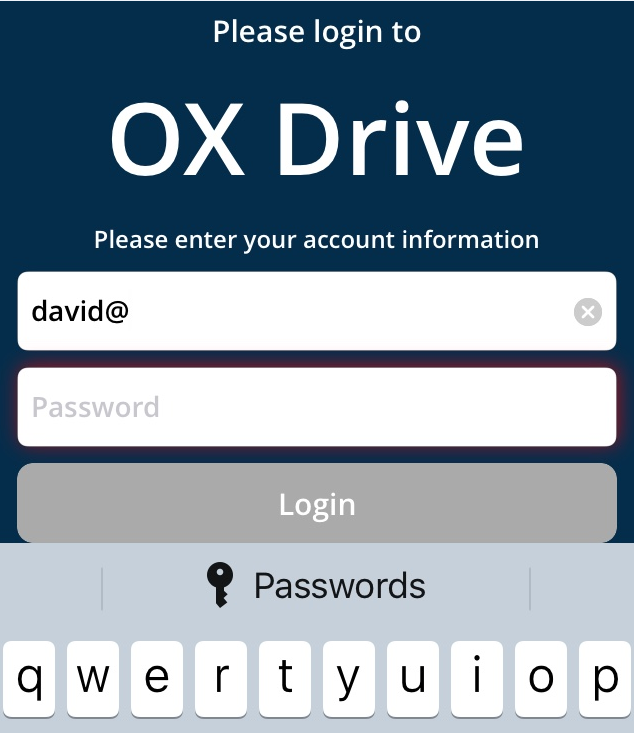
4. Next enter your full Private Email address and password.
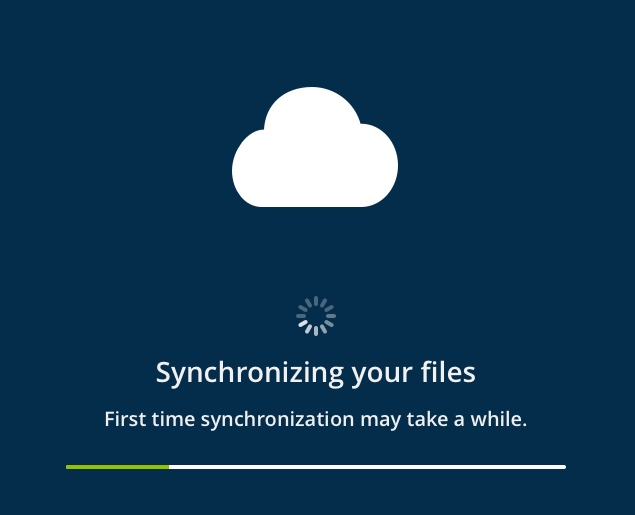
5. Wait for the files synchronization:
You have now setup OX Drive on your iPhone.
OX Drive for Android
1. On your Android smartphone or tablet go to the Play Store, search for OX Drive and install it.
2. After downloading the OX Drive Client installation starts. When it asks you for the
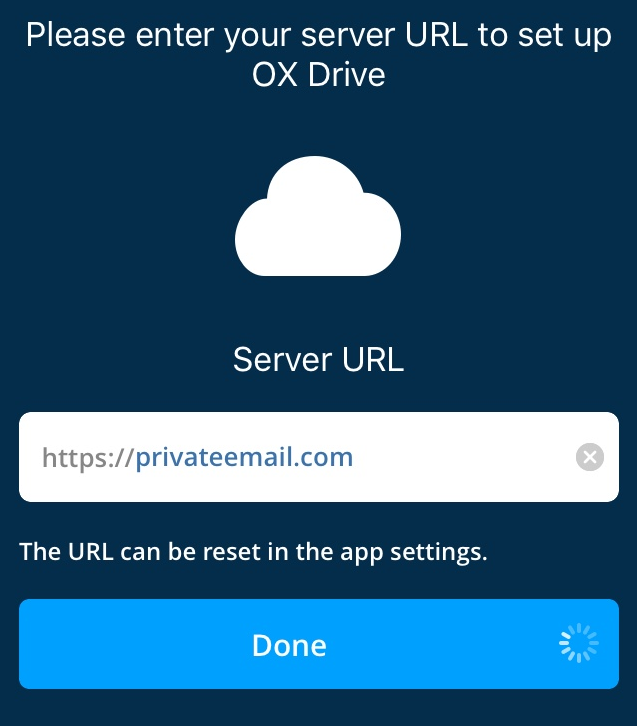
Server URL type:
https://privateemail.com
3. Next enter your full Private Email address and password.
For example:
User: david@mydomain.com
Password: your password
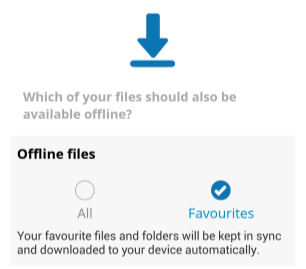
4. Select what to automatically download to your phone for offline access. Recommend Favorites only.
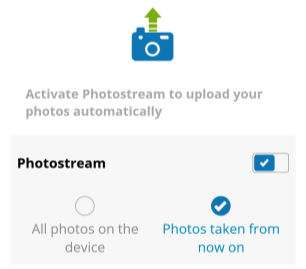
5. Finally select how to import photos (if you require this option). Recommended you choose
Photos taken from now on.
You have now setup OX Drive on your Android device.
OX Drive for Windows (application)
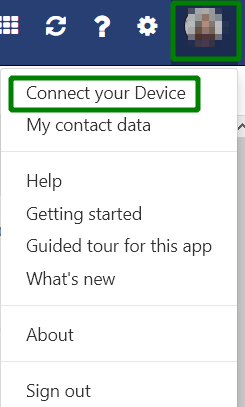
1. In order to install the
OX Drive for Windows, go to the
Private Email webmail >> click on the Profile photo at the top right corner >>
Connect your Device:
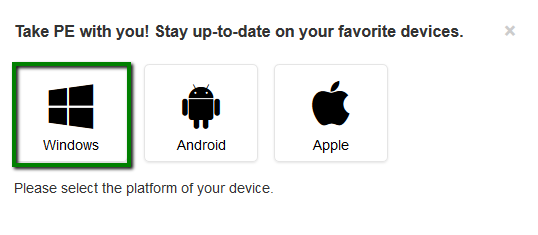
2. Choose
Windows as device platform:
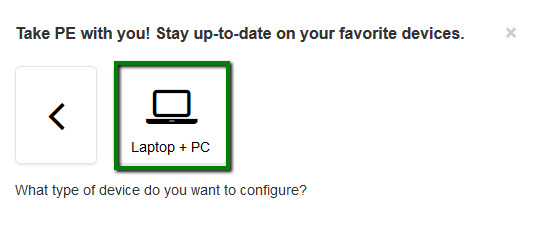
3. Then, choose the
Laptop + PC option:
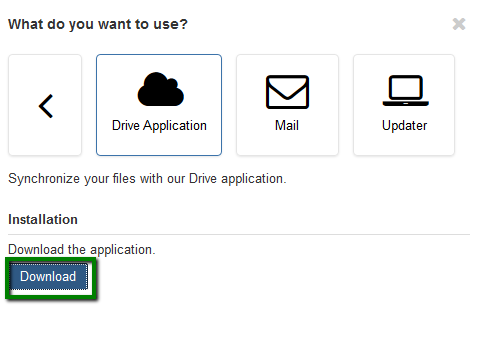
4. Click
Download under the
Drive Application icon:
5. As soon as the file is downloaded, open it. In the
OX Drive Setup window, choose
Next:

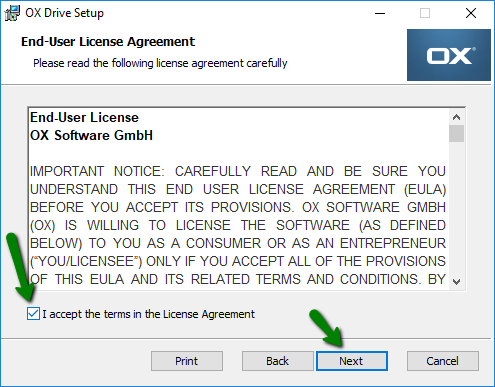
6. Accept the License Agreement and click
Next:
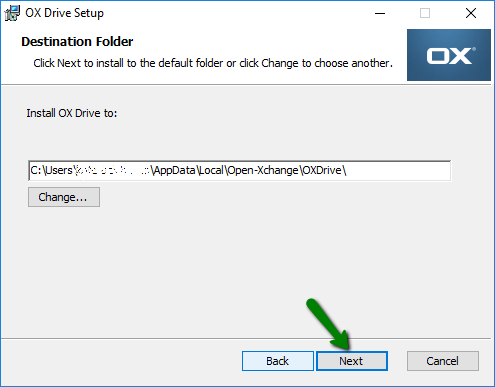
7. In the next window, you can change the installation path or leave the default one. Then, click
Next:
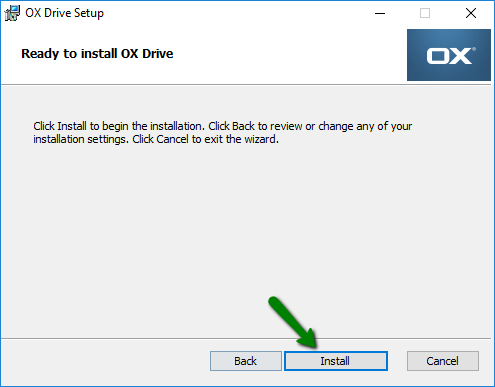
8. Click
Install to proceed with the installation. If there are any warnings, accept them.
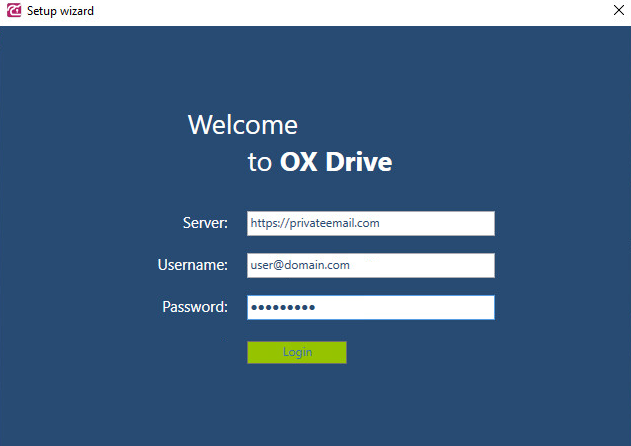
9. As soon as the setup is finished, the setup wizard will be opened. Alternatively, you can launch the OX Drive using the corresponding icon on the desktop.
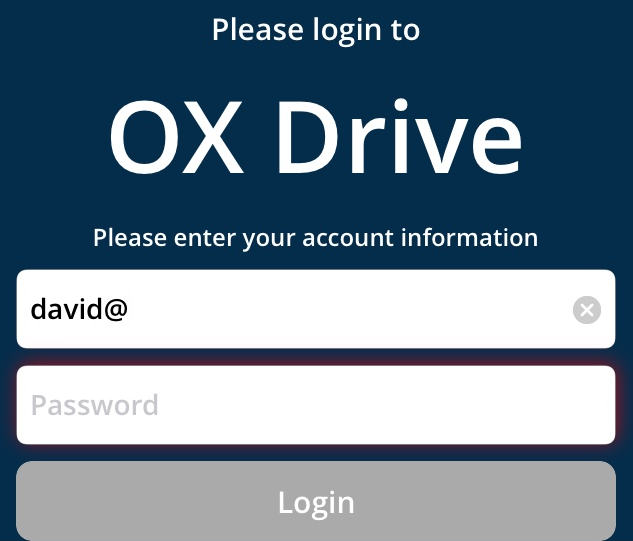
Fill in the following details:
- Server: https://privateemail.com
- Username: your full Private Email address
- Password: password for your Private Email account
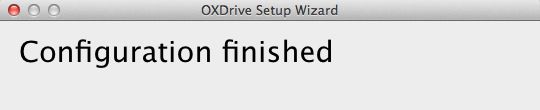
10. If all the details are correct, you will see the following message:
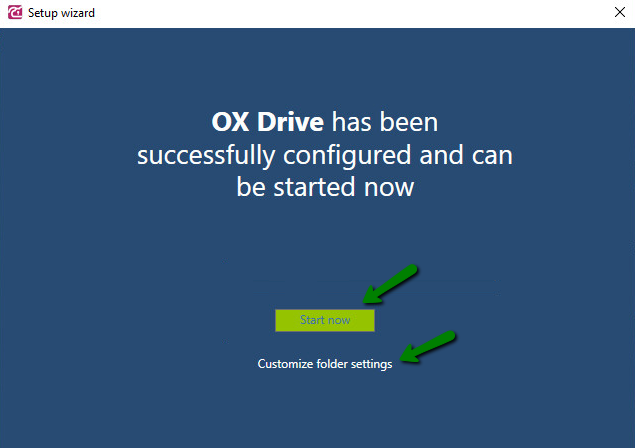
If you wish to change the
Local folder or
Synchronize folders, use the
Customize folder settings option.
Click
Start now to open the Windows folder dedicated to the OX Drive.
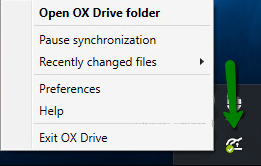
11. It is also possible to update the settings later using the
OX Drive tray icon >> Preferences:
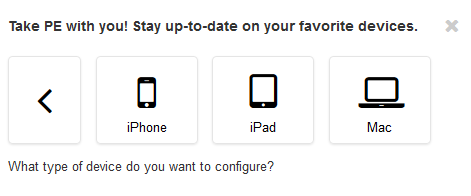
OX Drive for Mac OS Mac - OS X
In order to install the OX Drive for Mac, go to the Private Email webmail >>
Settings menu at the top right corner >>
Connect your Device:
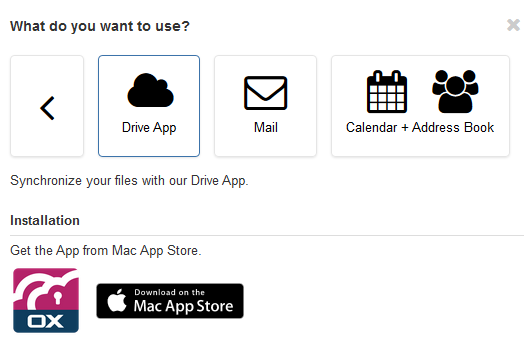
1. Once you click on the
Mac tab you will be able to download the
Drive App from the Mac App Store. Click on the icon in the Installation section:
2. You will be redirected to the App Store. Click
Get >>
Install app:

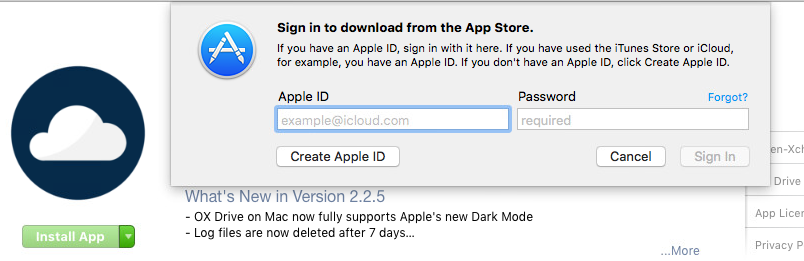
3. If requested enter your Apple ID and Password:
4. OX Drive will then download and be installed into your launcher:
5. Go to launcher and run OX Drive.
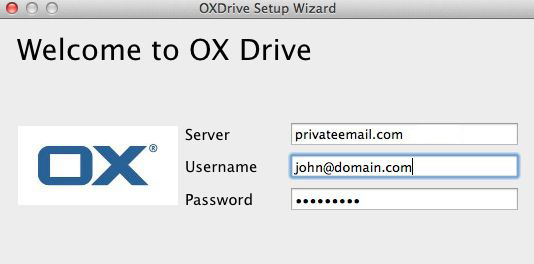
6 . Fill in the
Server URL, type:
https://privateemail.com
Also enter your full Private Email address and password.
For example:
User: john@mydomain.com
Password: your password
8. Select Advanced Setup Type.
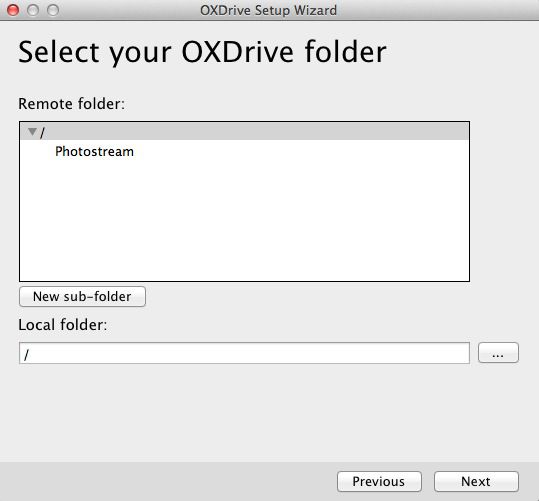
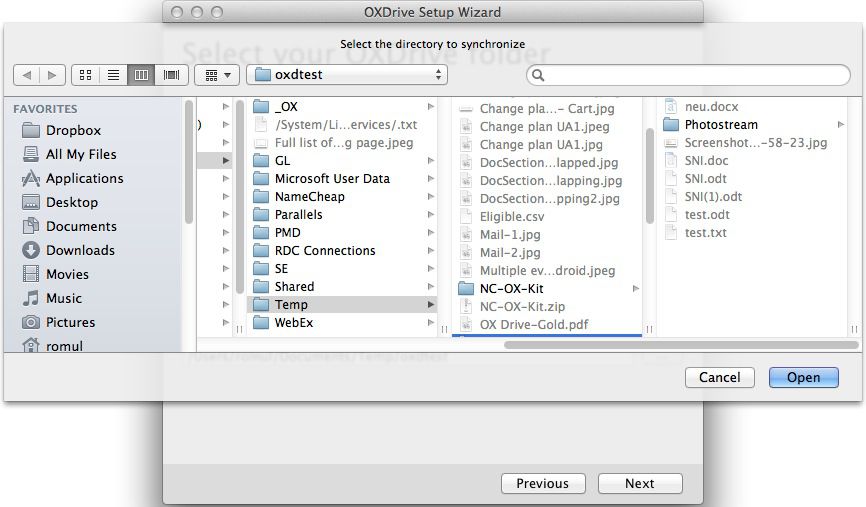
9. Select the directory in OX App Suite to synchronize with your desktop (you can only select directories in
My files):
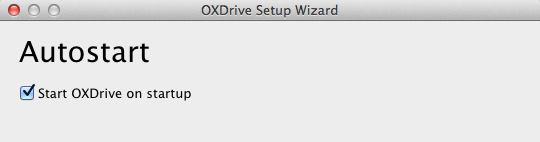
10. Select if you wish OX Drive to start automatically at startup (recommended: Yes):
11. Next click OK to the finish screen and you are done:
12. If you installed from a package you will get one more confirmation screen.
13. OX Drive icon will now be visible in your top bar