This article is valid for Private Email subscriptions purchased before June 2, 2026.
This tutorial will show you how to set up Active Sync and synchronize emails, contacts and appointments of your Namecheap Private Email email account on your Android device. We will use a test email account test@nctutorial.com to show you how to configure synchronization.
NOTE: before setting up email account this way, make sure you already have required DNS records and mailbox created.
NOTE1: If you've set up a Two Factor Authentication (2FA) for your mailbox and wish to use Exchange (ActiveSync) connection, you will need to set up an Application Specific Password.
This guide should be useful.
1. Open your Email application:
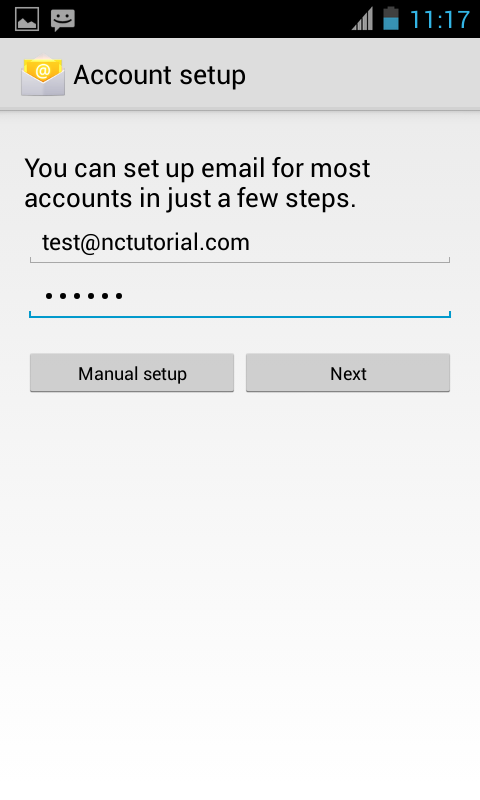
2. Fill in your email address and password. Click on Manual setup in order to configure account manually:
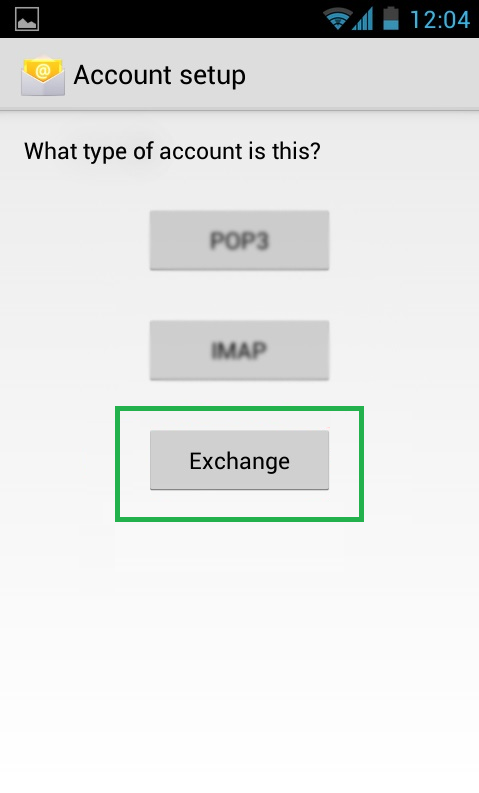
3. Choose Exchange protocol type:
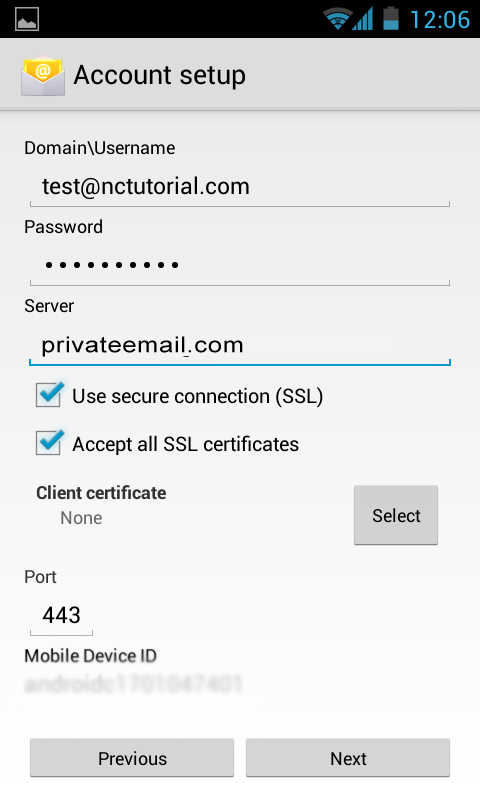
You will need to define the following information:
Domain/Username and password: should have been already filled for you
Type these credentials manually if it was not done automatically.
Server: privateemail.com
Use secure connection (SSL) and Accept all SSL certificates: should be checked
Click on Next button:
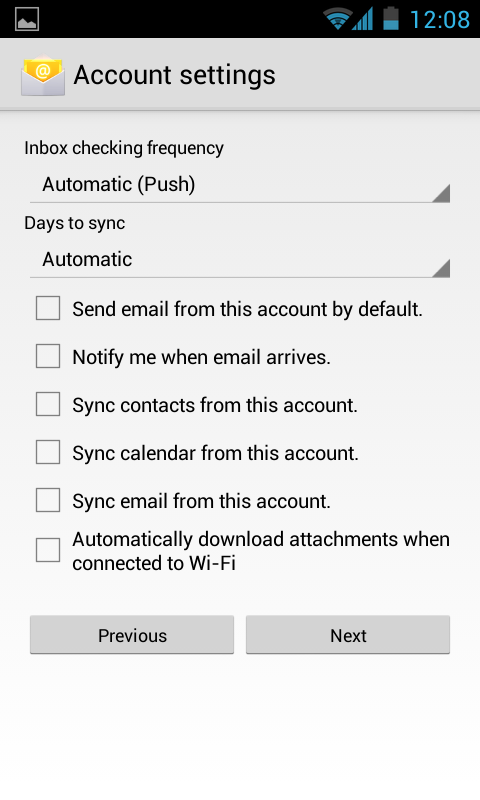
4. The next screen will allow you to indicate the following settings:
- Inbox checking frequency (Automatic (Push) is recommended)
- Days to sync (Automatic is recommended)
- Send email from this account by default (this will set this email account as default for your device)
- Notify me when email arrives (automatic notification on received emails)
- Sync contacts from this account (this option will sync contacts from your device’s address book with Namecheap Private Email account)
- Sync calendar from this account (this option will sync all your notes in calendar, your appointments, birthdays, etc.)
- Sync email from this account (all emails and folders will be synced if this option is checked)
- Automatically download attachments when connected to Wi-Fi
Click on Next button:
5. You may set the desired name in the following way:
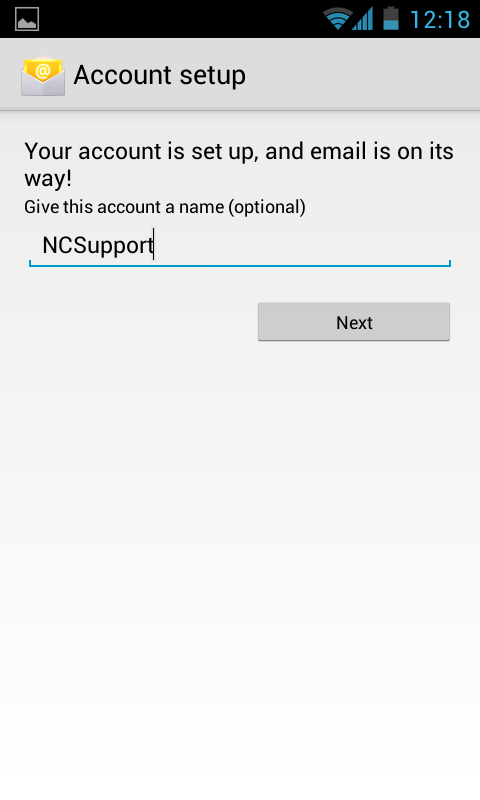
Click on Next button.
Note, that it may take some time for the account to be synchronized.
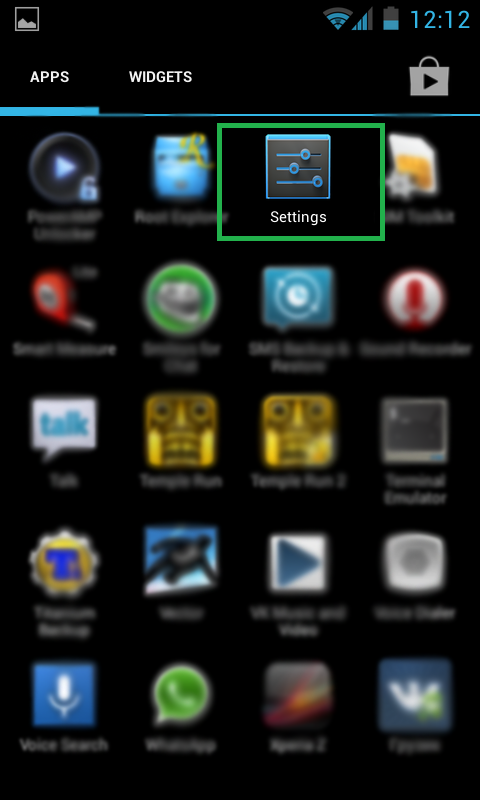
6. The following steps will show you how to add extra settings. Go to Settings menu to proceed:
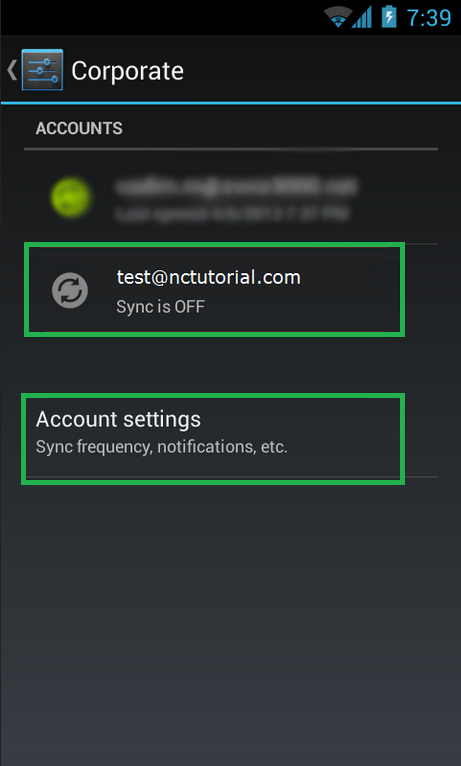
7. Your email account should be stated as Corporate under Accounts area (note, due to interface personalization difference and specifics of your Android device brand, this menu may be called Accounts and sync):
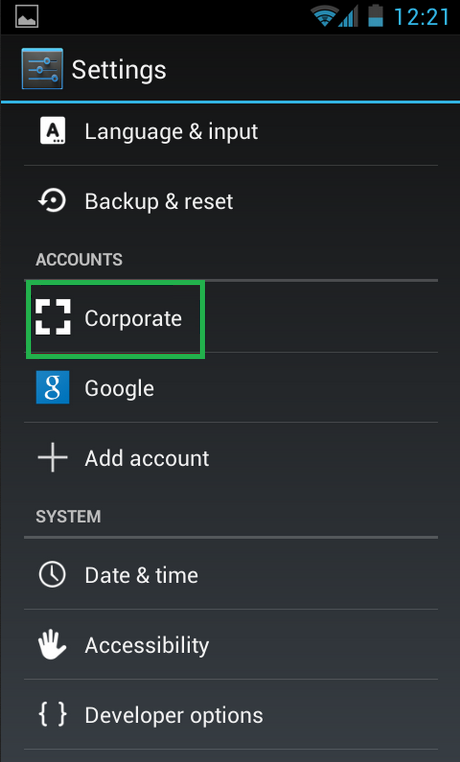
8. Choose email account you have just set up to check its options.
You can also choose sync frequency and other settings related to that account in Account settings:
You can check options to Sync Calendar, Sync Contacts and Sync Emails as follows:

Feel free to go ahead now and check appointment sync in webmail and on your device.
Below you can find the list of the supported features available for Android devices.
Supported:
- Calendar
- Address Book
- Replying to invitations via email client for third party (non Namecheap Private Email) users (external participants)
- Email via Exchange ActiveSync
Unsupported:
- Tasks (simply no such category exists in Android calendar)
- Response to invitations via email client apps for Namecheap Private Email users (webmail only)
That's it!
Need any help? Contact our HelpDesk
