
Before getting into the details, let’s run through a few important points.
When you transfer a domain, the nameservers will stay the same. If the domain uses your old registrar’s default nameservers, they’ll stop responding to domain queries once it’s transferred. As a result, you’ll experience some downtime until you switch your domain to our Domain Name System (DNS).
Learn how to reduce downtime during transfers.
On the other hand, if you’re using a custom or hosting DNS, transferring your domain won’t cause downtime issues — DNS server settings stay the same during transfer.
Before submitting a transfer request with us, you’ll need to:
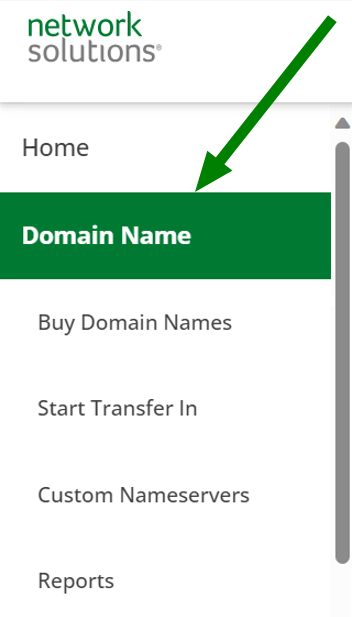
The following steps are to prepare your domain to transfer from Network Solutions.
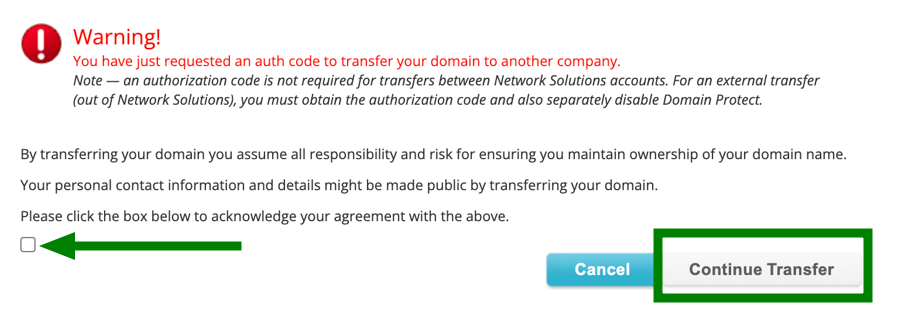
NOTE: The Auth code will be emailed to your primary contact in 3 days. If you do not receive the code, please contact Network Solutions support.
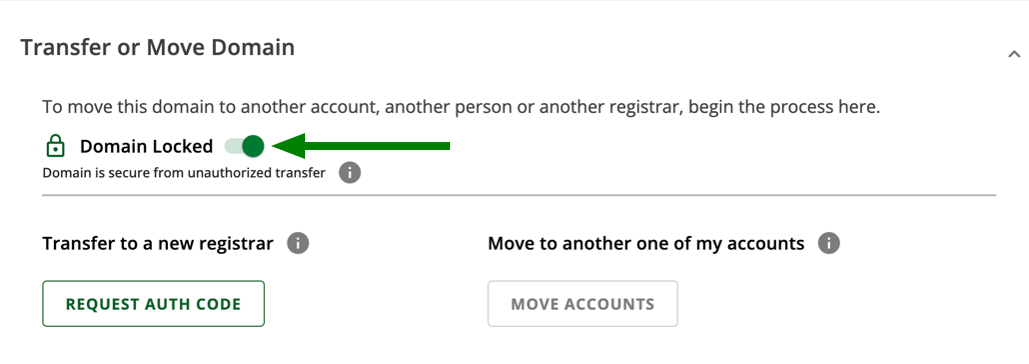
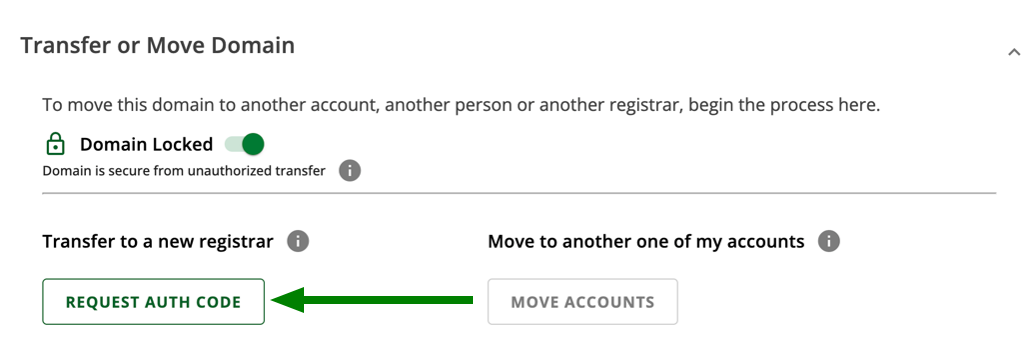
Important: If the Domain Locked switch or the Request Authorization Code option is inactive, it can indicate that your domain is not eligible for transfer yet. Most top-level domains cannot be transferred within 60 days after registration or previous successful transfers. Also, Network Solutions may place internal locks that prevent further transfers:
If this lock was placed on your domain, you can contact Network Solutions using your primary contact to review and remove it sooner.
Unfortunately, this lock cannot be lifted sooner. If you are just about to make this change, consider keeping the domain owner’s contacts intact and update them at Namecheap after the transfer to avoid waiting.
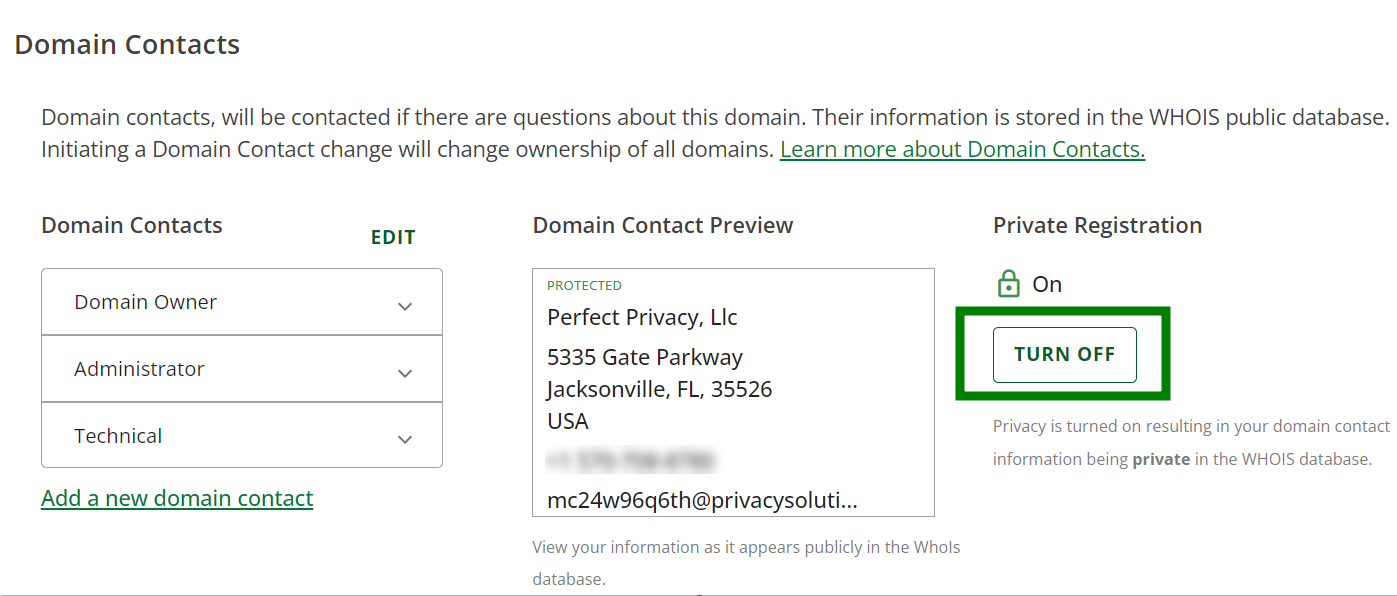
This step is required only if you purchased Private Registration for the domain name. If you don’t have any, just skip this step and proceed with the transfer on our side.

Once the domain name is unlocked and you have received your Auth code, you may initiate the transfer to Namecheap. After that, the transfer process takes up to 5–7 days for most TLDs. Learn more information on how to submit the transfer to us.
That’s it! We hope this tutorial was useful.
Need help? We're always here for you.