
Before you start using Dynamic DNS, make sure you set up an A record for the particular host (host refers to @, www, your subdomain). In order to start using Dynamic DNS, follow the instructions below:
1. Sign into your Namecheap account (The Sign In option is available in the header of the page).
2. Select Domain List from the left sidebar and click on the Manage button next to your domain: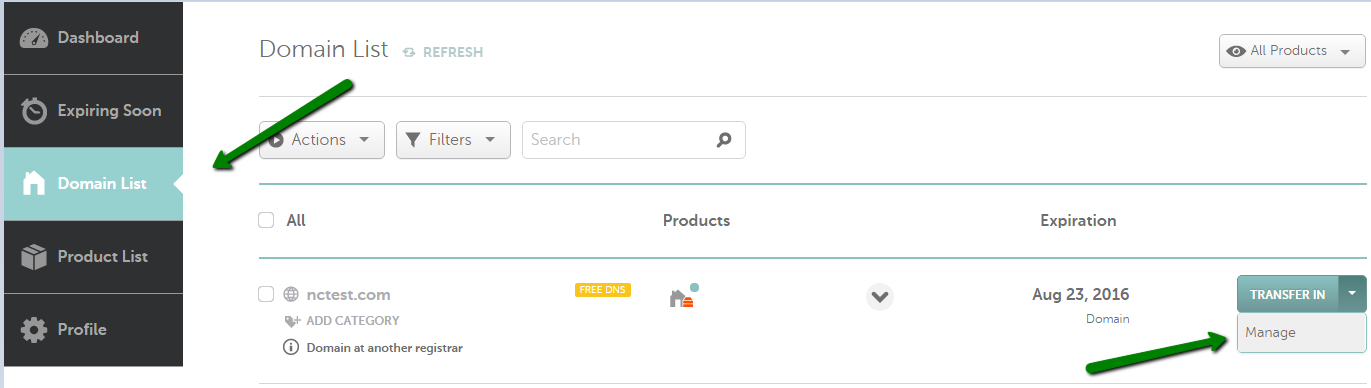
3. Click on the Advanced DNS tab at the top of the page and scroll down to the Dynamic DNS section: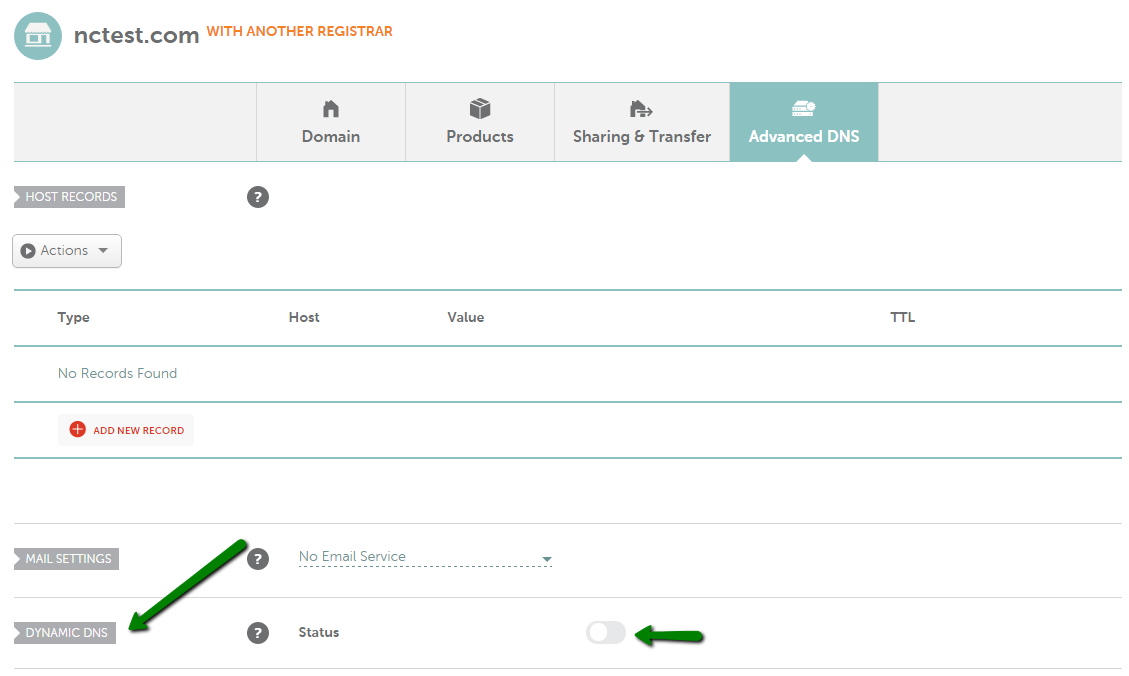
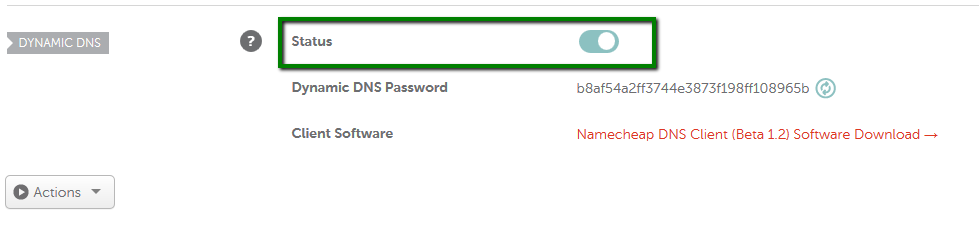
4. Toggle the button to enable the Dynamic DNS feature:
5. After that, please go to the Host Records section to set up a host for it. Select A+Dynamic DNS Record for Type and enter @ symbol as a Host:
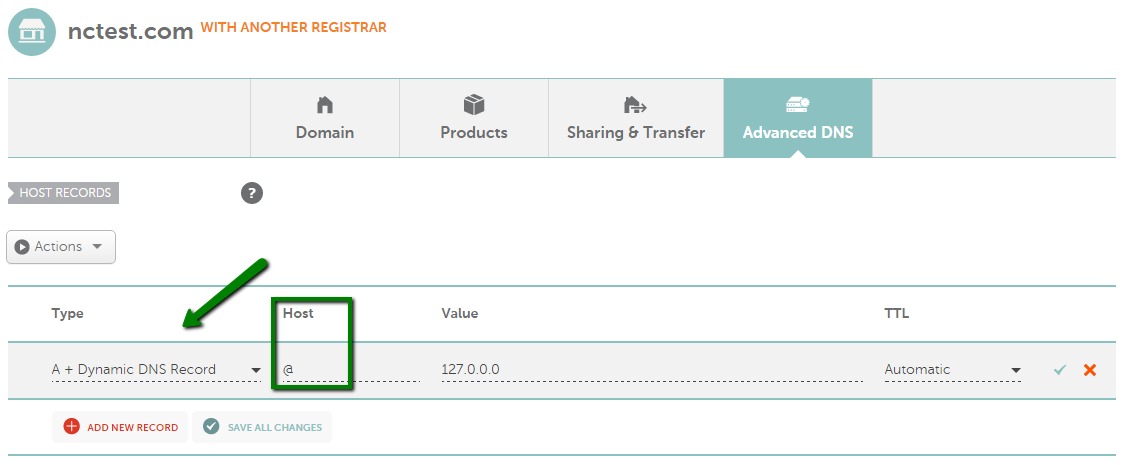
You may use any dummy IP address, like 127.0.0.0 for Value. Once your Dynamic DNS client is configured, this IP address will be updated automatically to your current one.
To have your IP address updated for www.yourdomain.tld or blog.yourdomain.tld for example, enter www or blog for Host accordingly.
6. Once all details are inserted, save them using the Save changes green icon.
That's it!
If you have any questions, feel free to contact our Support Team.
Need help? We're always here for you.