How do I authorize FreeDNS?

We recommend that you activate FreeDNS service for your domain by email or TXT record creation before pointing your domain to our FreeDNS nameservers in order to keep your website and mail up and running.

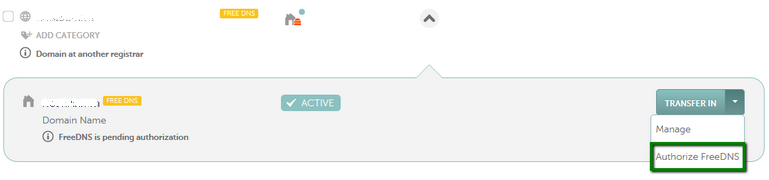
To proceed with activation, follow these steps:

1. Sign In to your Namecheap account.

2. Select Domain List from the left sidebar:


3. Click on the drop-down menu for your domain (shown) and select the Authorize FreeDNS option:


One more way is to click on the House icon and choose Authorize FreeDNS from the drop-down list:


4. Here, you can choose how to authorize FreeDNS, using either your domain-based email or TXT record setup:


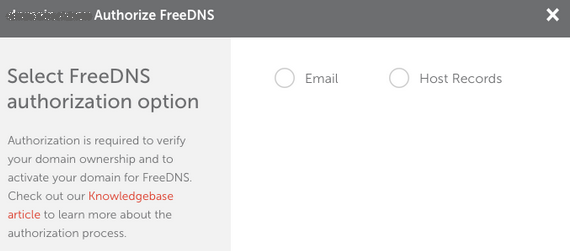
Please keep in mind that TXT record authorization is the default authorization method.

This means that once you enroll your domain/subdomain in FreeDNS, you should authorize FreeDNS by creating a TXT record with the values provided in your account’s Dashboard/Domain List.

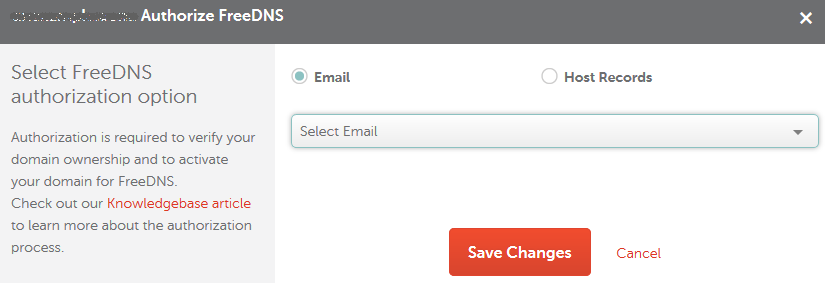
You may also select authorization via email in your Namecheap account.

  • Email authorization

In the "Select FreeDNS authorization option" window, choose a valid, domain-based email address and click the Save changes button:


The system will send a verification email through which you can activate FreeDNS for your domain.

For security reasons, an authorization link cannot be sent to any email address other than those shown as your chosen authorization email options. The authorization link is valid for 48 hours only.

NOTE: If you are having problems with email verification, please contact our Support Team for assistance.

  • TXT record authorization

If Host records option is chosen, you will need to create a randomly generated TXT record with your current DNS provider:


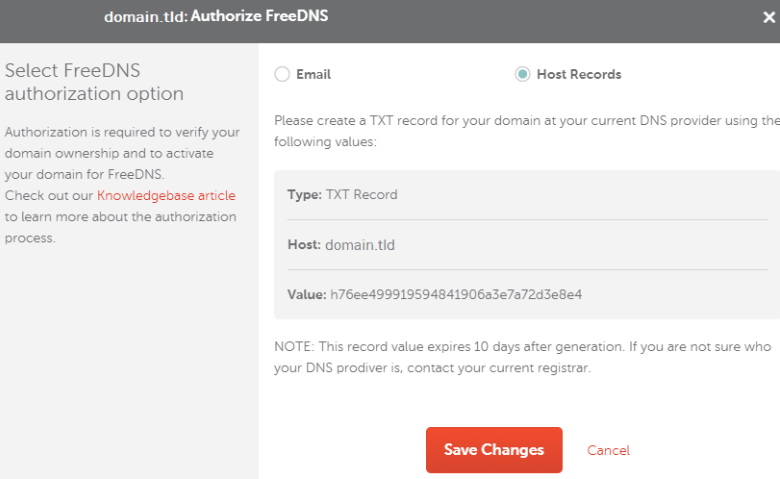
*Please note that the Host value may vary depending on your DNS provider (e.g, it could be just '@').

NOTE: A TXT record expires 10 days after being generated. If your TXT record has expired, you will need to select the authorization method once again and create a new TXT record.

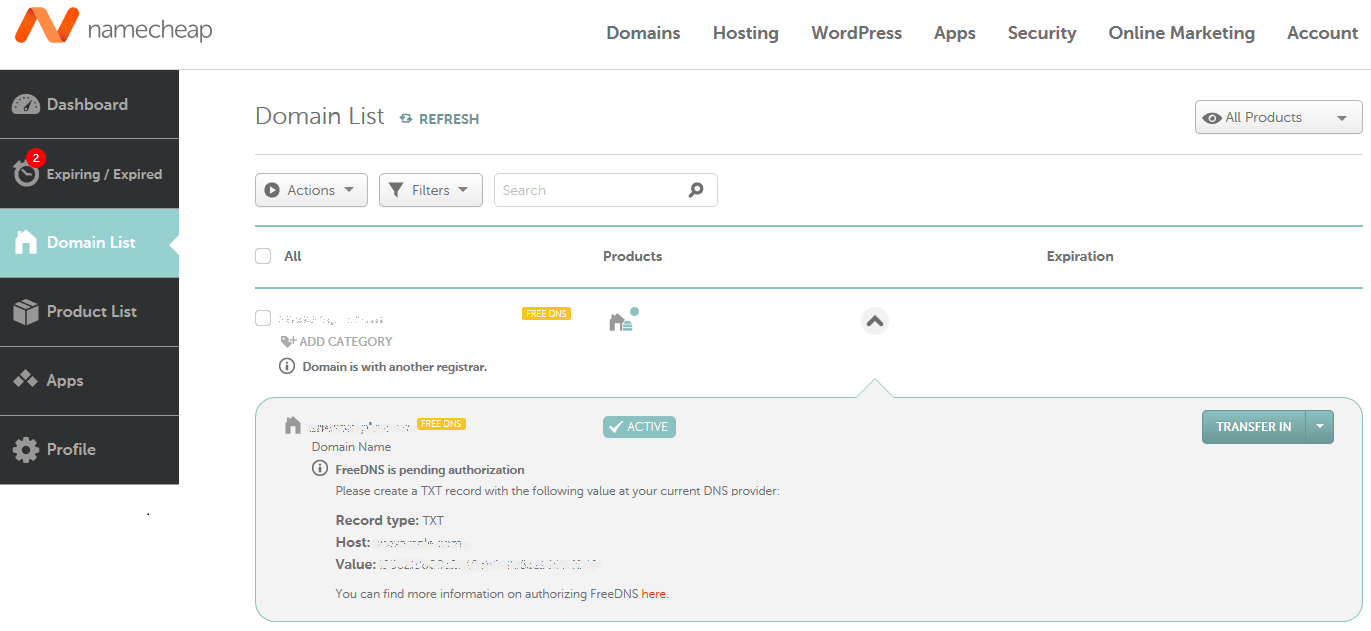
Once the changes are saved, you will be able to locate the TXT record values in your account directly from the Dashboard:


The required TXT record values can be checked in the Domain List as well:


NOTE: If you try selecting another authorization option after having chosen one method that is in progress (e.g., choosing TXT record authorization after having already begun email authorization), you will get the following error message when you click on the link in the email:

Oops! Something went wrong…
Looks like you have selected another authorization method for FreeDNS.
Please complete authorization using the previously selected method or contact our Support Team for assistance.

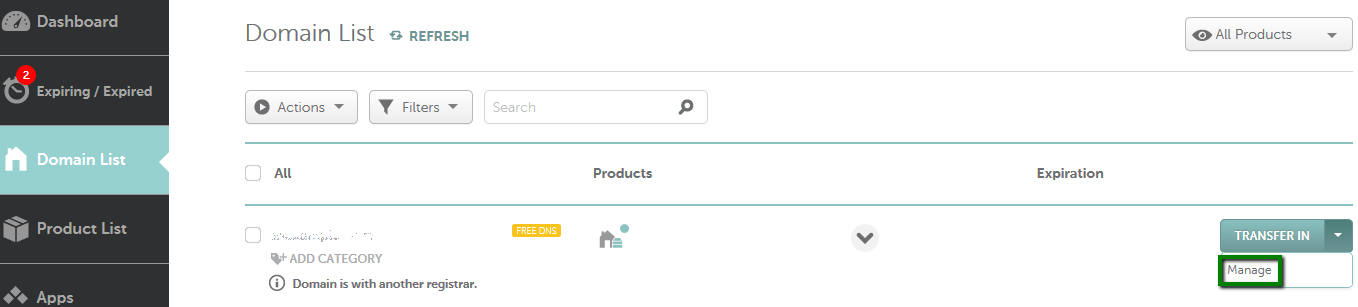
Usually, it takes up to 30 minutes for the authorization TXT record to be verified by our system. Once the FreeDNS service is authorized, you can manage your host records by following these steps:

- Select Domain List from the left sidebar and click the Manage button next to your domain:


- Click on Advanced DNS at the top of the page. Here, you can manage your domain's host records, mail settings, and enable/disable Dynamic DNS service:


NOTE: Please keep in mind that after setting host records in your Namecheap account, you should change nameservers on the Registrar’s side to our FreeDNS. Without adding host records at Namecheap, your services will stop running.

However, please wait for the domain/subdomain authorization process to be completed before changing nameservers for the verification. If a domain or a subdomain on FreeDNS is verified first (nameservers are changed before the domain is authorized via one of the methods described above), you will need to contact us for help with authorization.

Additionally, your services will experience a downtime after the settings are added. DNS propagation typically takes 24 to 48 hours, but in some rare cases, it may take up to 72 hours.

That's it!


If you have any questions, feel free to contact our Support Team.

Updated
Viewed
93285 times

Need help? We're always here for you.

notmyip