
Our free Email Forwarding feature allows you to create personalized email addresses for a domain and forward emails to other email addresses of your choice. This service is available for all the domains pointed to our BasicDNS, PremiumDNS or FreeDNS systems.
This is an email forwarding service that does not allow creating fully-featured email accounts and sending outgoing emails from address@yourdomain.tld since it’s a virtual email address. You can consider our Private Email service, which allows creating such an email account.
NOTE: It is not possible to use free Email Forwarding with Private Email at the same time.

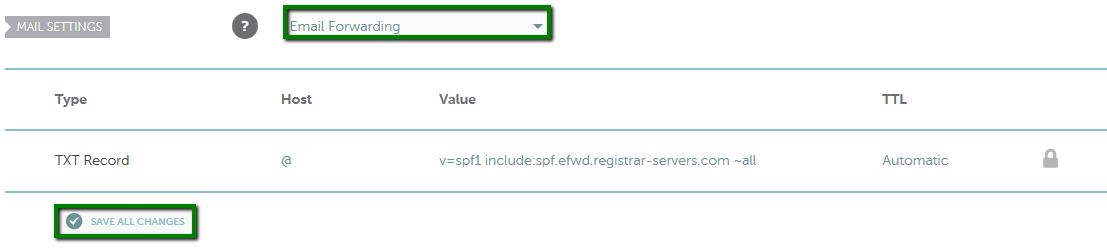
Once the MX records are set, you need to create your forwarding email addresses.
5. Choose the Domain tab at the top of the page and scroll down to the Redirect Email section. Click on the Add Forwarder button:
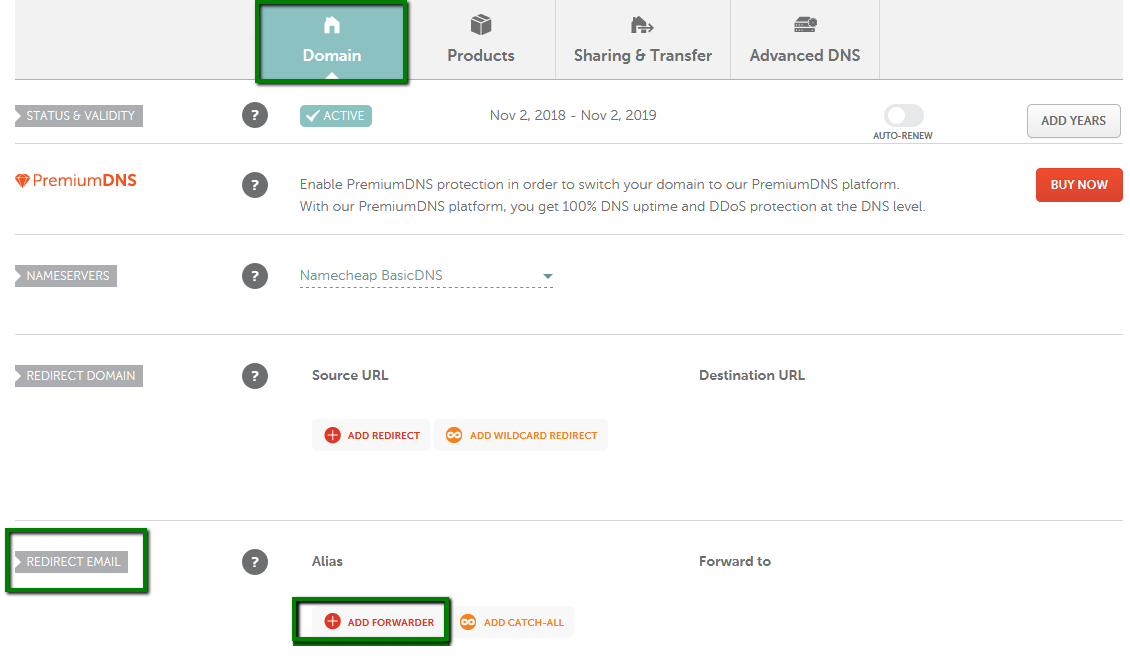
6. Fill in both the Alias and Forward to fields with the corresponding information and click on the checkmark icon to save the changes. Alias is the name of your forwarding mailbox. For example, if you are forwarding all emails sent to admin@yourdomain.tld to your destination email address, you will need to put admin in the Alias field (it is also possible to forward the same alias to several email addresses).
Make sure that the Forward to field contains your full destination email address as well.
Please allow about an hour for the newly created mailboxes to be
completely set up on the forwarding mail server. Once your settings
have been activated, you will be able to test your mail service.
NOTE: Delivery of test emails sent from the same email address that is set as Forwarded to will most likely fail. Thus, please use another email address when testing the email forwarding service.
This allows you to catch any emails sent to the misspelled email address. Please keep in mind that a catch-all address can be redirected to one email address only.
Note that you can set up a catch-all (wildcard) email address in your Namecheap account for a domain if it’s using our BasicDNS, PremiumDNS or FreeDNS.
First of all, make sure you have switched your MX records to free Email Forwarding according to this article.
Once the MX records for free Email Forwarding are set, you need to set up a catch-all (wildcard) email address in this way:
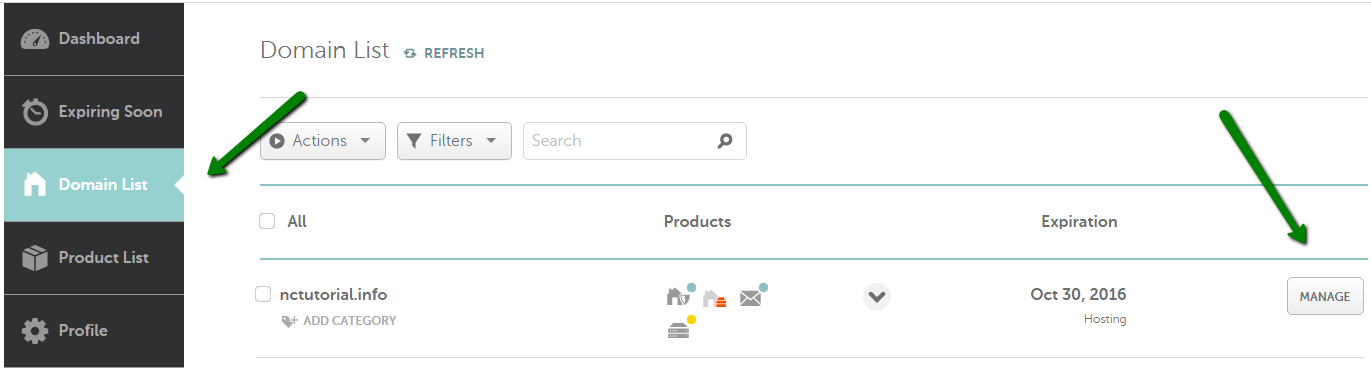
1. Sign into your Namecheap account.
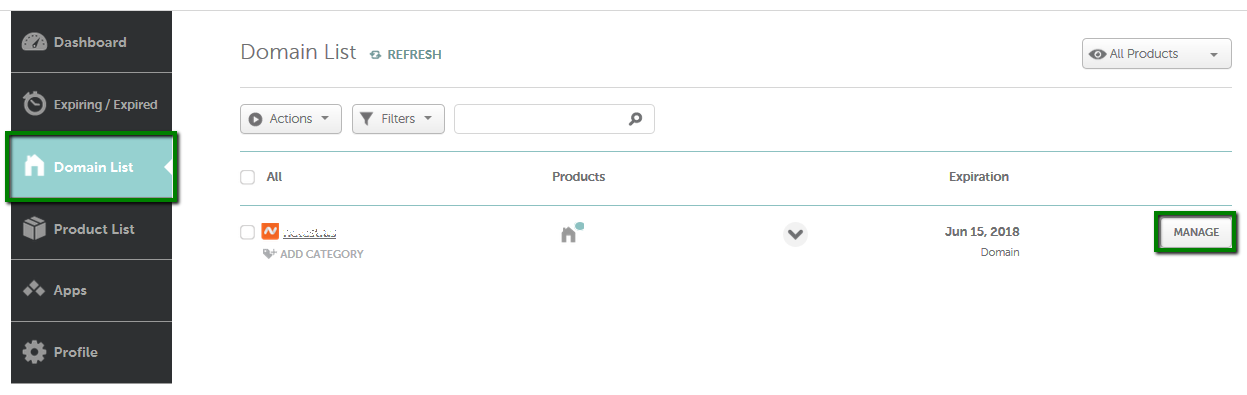
2. Select Domain List from the left sidebar and click on the Manage button next to your domain:
3. Scroll down to the Redirect Email section and click on the Add catch all button:

4. Enter the destination email address in the Forward to field and click on the checkmark to save the changes:

Once you save them, the following message appears:
![]()
NOTE 1: You can create up to 100 forwarding email addresses when using our BasicDNS.
NOTE 2: Delivery of test emails sent from the same email address that is set as Forwarded to will most likely fail. Thus, use another email address when testing email forwarding.
That's it!
If you have any questions, feel free to contact our Support Team.
Need help? We're always here for you.