1. Sign in to your Namecheap account and go to
.
2. Click on Manage next to the domain in question.
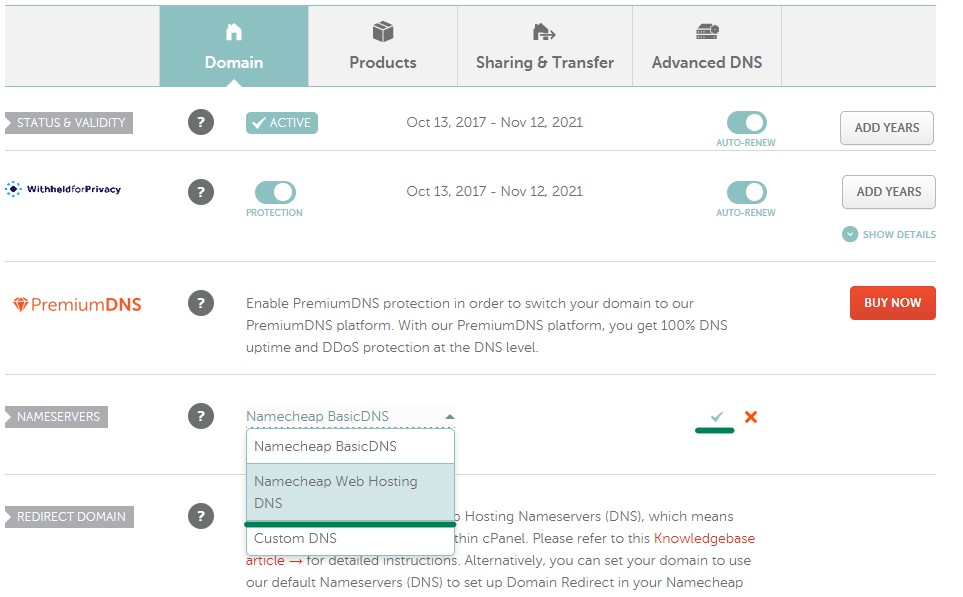
3. Select
Namecheap Web HostingDNS next to
Nameservers and save changes by clicking on the checkmark icon:
If you have a
Reseller plan, you can use either shared reseller nameservers or your personal nameservers. You can look up shared reseller nameservers in your Hosting Welcome Email. Personal nameservers need to be
registered and set up first.
If your domain is registered
with another registrar, you will need to obtain the correct nameservers from us and then configure the DNS on their side.
If your domain is registered with
GoDaddy, follow the steps
here.
Once the nameservers are changed, your website most likely will not be available. In most cases, the
propagation period can take up to 24 hours (in rare cases more, since the caching time varies between ISPs). Unfortunately, this process cannot be influenced or sped up because of its automatic nature.
During DNS propagation you can use online proxies to check your website. These proxies are designed to bring up the websites through different ISPs so you can see your website real time bypassing all kinds of caches. Examples of such online resources:
NOTE: When switching between Namecheap BasicDNS/PremiumDNS/Web Hosting DNS nameservers, the DNS changes come into the effect within one hour (24+ hours in rare cases).
That's it!
