NOTE: cPanel can be created only on a Reseller, VPS or a Dedicated server. Other plans are provided only with one cPanel account.
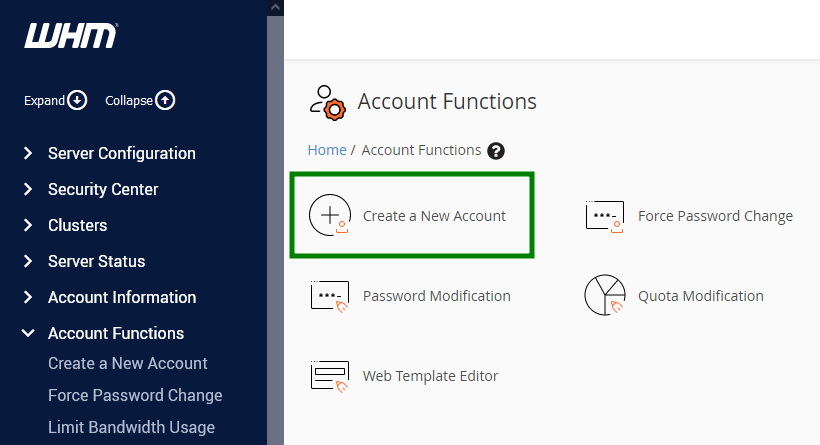
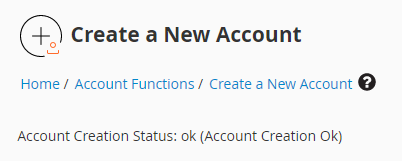
WHM allows you to create accounts for your clients quickly and easily in Account Functions section > Create a New Account menu.
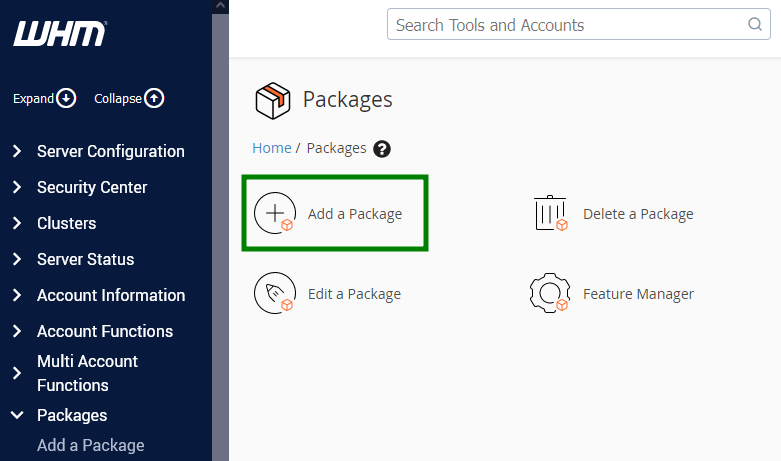
To speed up account creation, we recommend adding Packages, a specific set of features for the default use during cPanel account creation:
When creating a new cPanel account, you will need to configure the following set of account features:
Domain Information
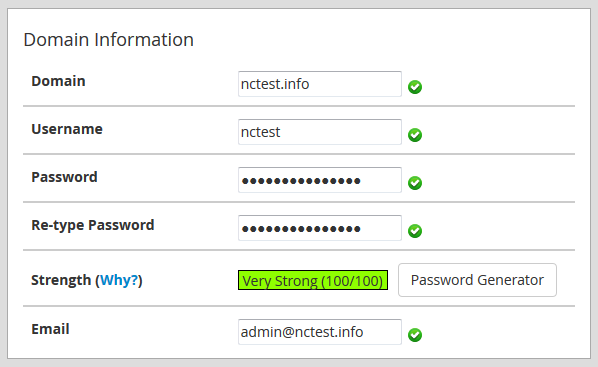
Domain: choose the main domain you are assigning to the account
Username: enter the username you are assigning to the account or leave the one created by default
Password: enter the password you are assigning to the account; passwords are case-sensitive and must be at least 6 characters in length and contain at least one number and one symbol
Email: here you need to specify contact email address which will receive server-side notification, like when you reset the password for your account
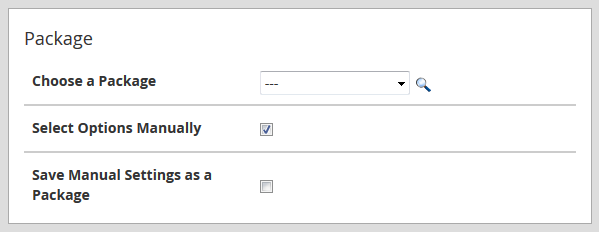
Package
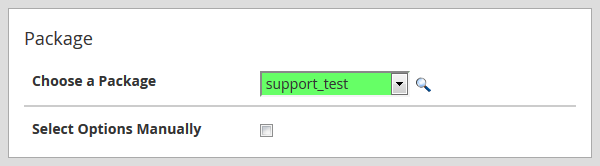
Package: in this drop-down menu you can see the list of the existing hosting packages and select one for your new account
Select Options Manually: if you enable this function, you will be able to set all the limits for your account in the menu below
Settings
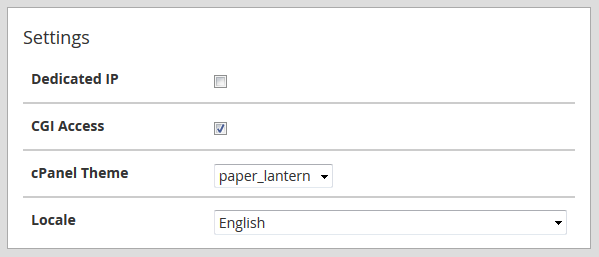
Dedicated IP: this option defines if the new account can use a dedicated IP address
CGI Access: by enabling this option you allow CGI scripts for this account
cPanel theme: select the theme that will be used by your new account; you can find overview for both x3 and paper_lantern theme in this guide
Locale: here you can set the language for the new cPanel
DNS Settings
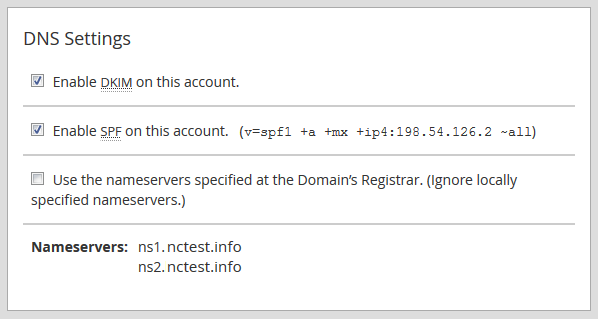
In this box you can enable DKIM and SPF records used for email authentication and define the nameservers – either the ones specified on your domain's registrar side or the ones set in Basic cPanel & WHM setup menu.
Mail Routing Settings
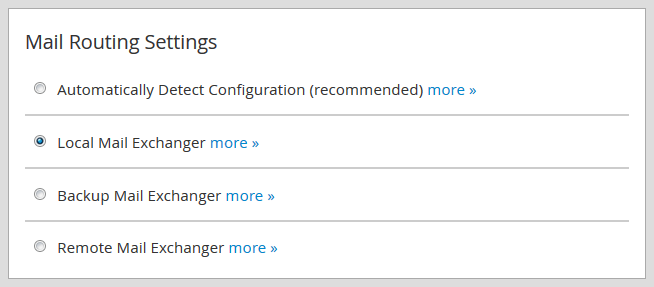
Automatically Detect Configuration: this option will configure mail exchanger depending on the MX records and priority you set for them
Local Mail Exchanger: this option will configure the server to always accept mail locally whenever it is sent from the server or outside the server, select it if you wish to use your cPanel email service
Backup Mail Exchanger: this option will configure the server as a backup mail exchanger; mail will be held until a lower number mail exchanger is available
Remote Mail Exchanger: this option will configure the server not to accept mail locally and send mail to the lowest MX record, select it if you wish to use a third-party email service
Once ready, click on Create. If the account creation has been successful, you will see this message:
That's it!
Need any help? Contact our HelpDesk
